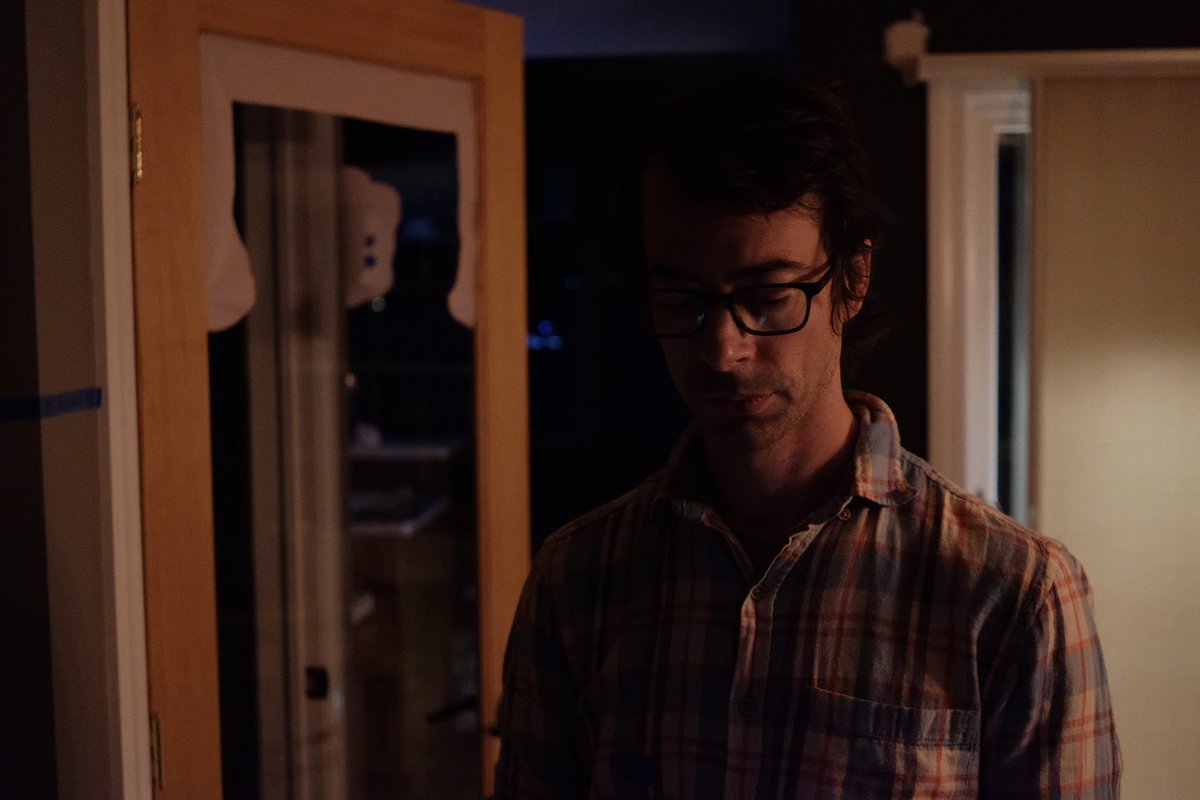
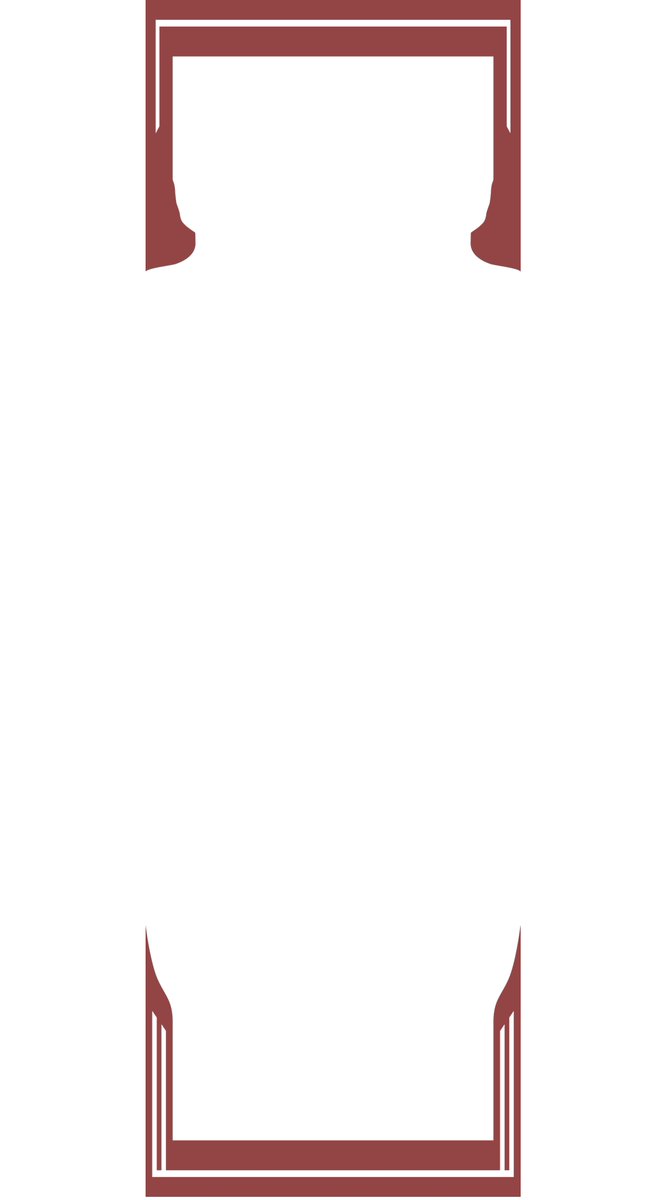
With THE NIGHT HOUSE on HBO Max I thought it’d be fun to go through some of the movie magic involved with designing the entity that shows up throughout.
With pretty much all of these, I used a mannequin for reference, and roughed-in shapes using lots of foam core and large sheets of newsprint that I would cut up. I also had a camera set-up feeding to my iPad that I’d use as a monitor so I could see what the hell I was doing.
All of this was trial and error to see what would even work within the scene. I knew from David Bruckner what the general shot and blocking would be, and the challenge was to figure out a forced-perspective negative space man that would form out of a confluence of edges.
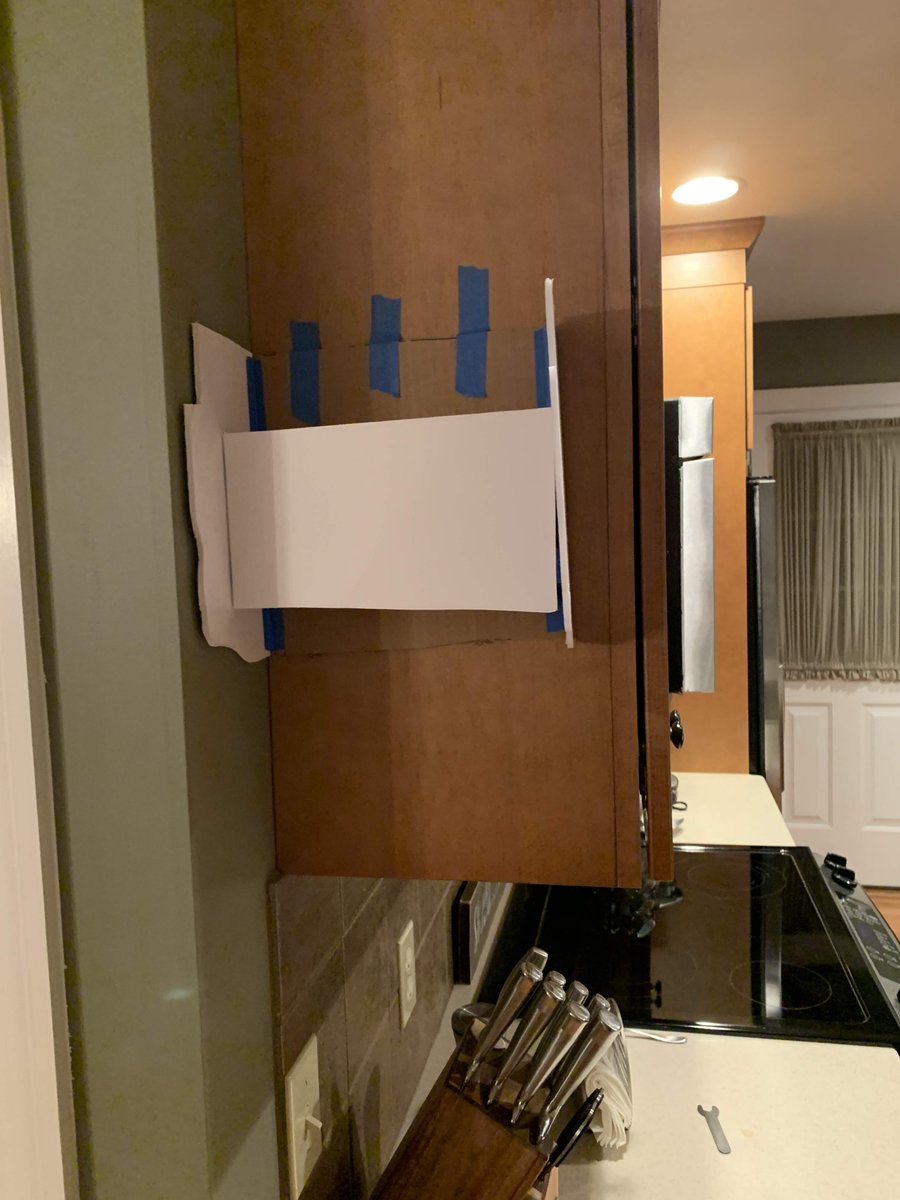
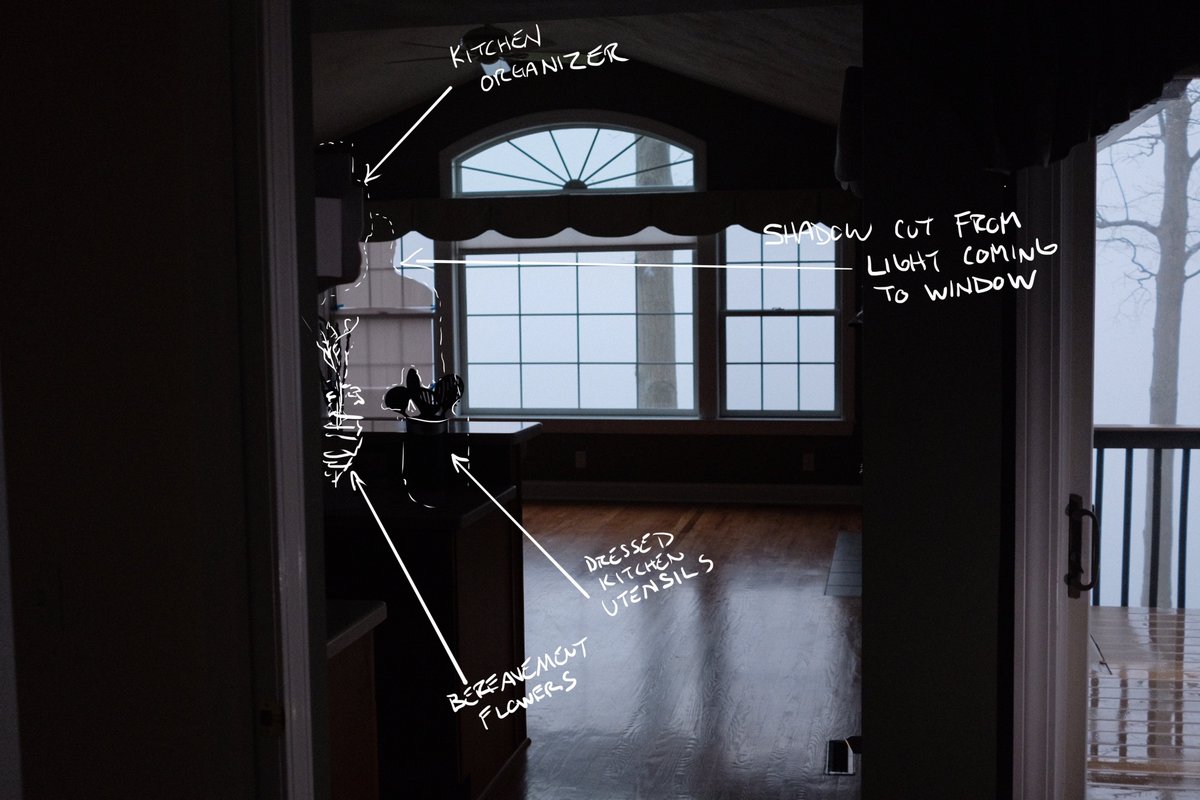
Originally, I thought that perhaps the edge of a kitchen / mail organizer could define a side of the head (roughed-out here in foam core), and a shadow cut across the wall in background might help complete it.
Sort of an okay idea, but it wasn’t really working with the depth enough. Not to mention I& #39;d need to be able to experiment with lighting at night, and I just didn& #39;t have access to that because they were using them to make the actual movie :)
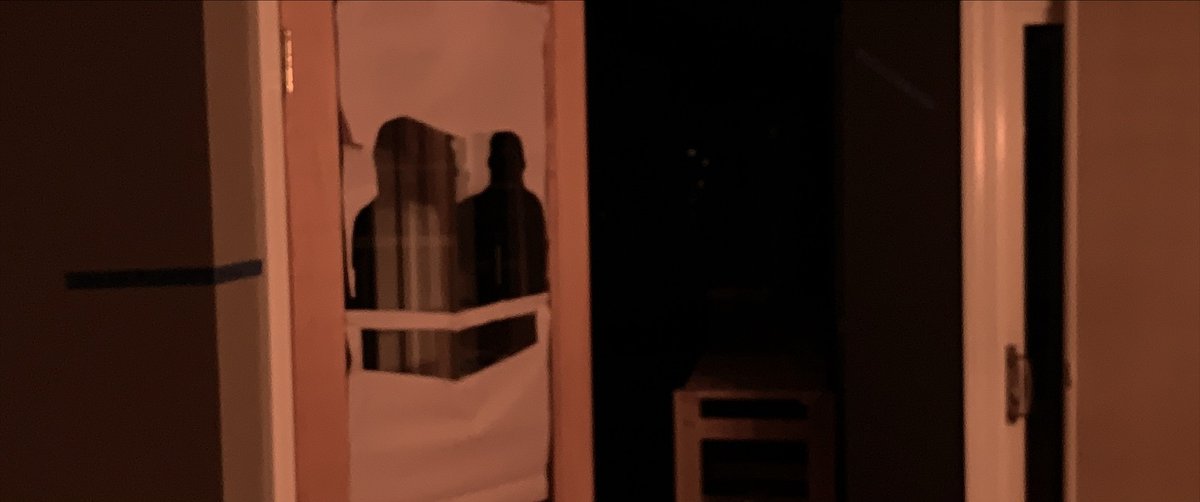
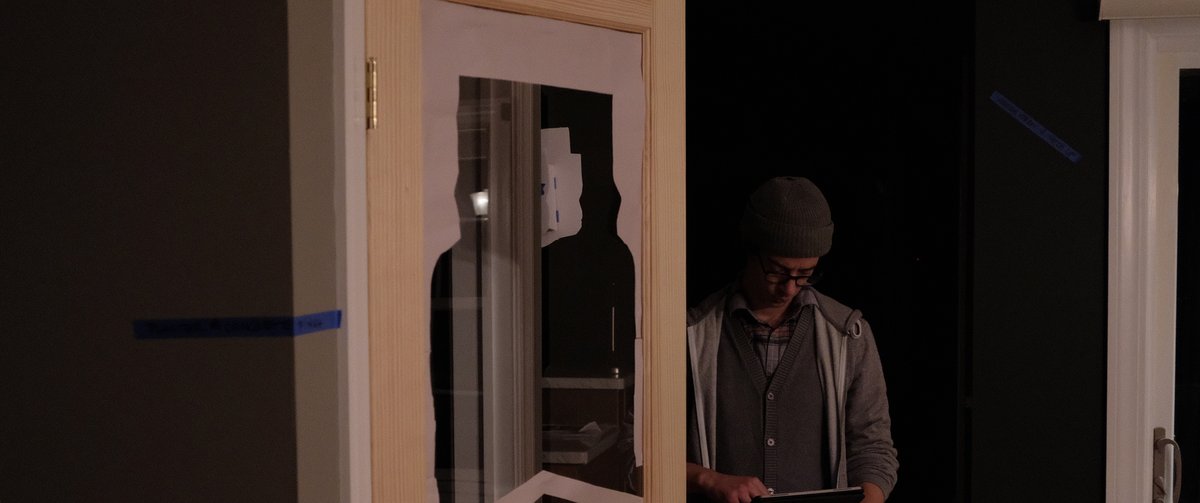
Talking through it with David, we hit on the idea that it needed to be connected to the door that led downstairs, and that’s when we started thinking of frosted window treatments.
We also realized that it needed to be as subtle as possible.
I messed around with whatever lighting I had available and realized we could play some sort of glare off of the back wall to help complete the shape
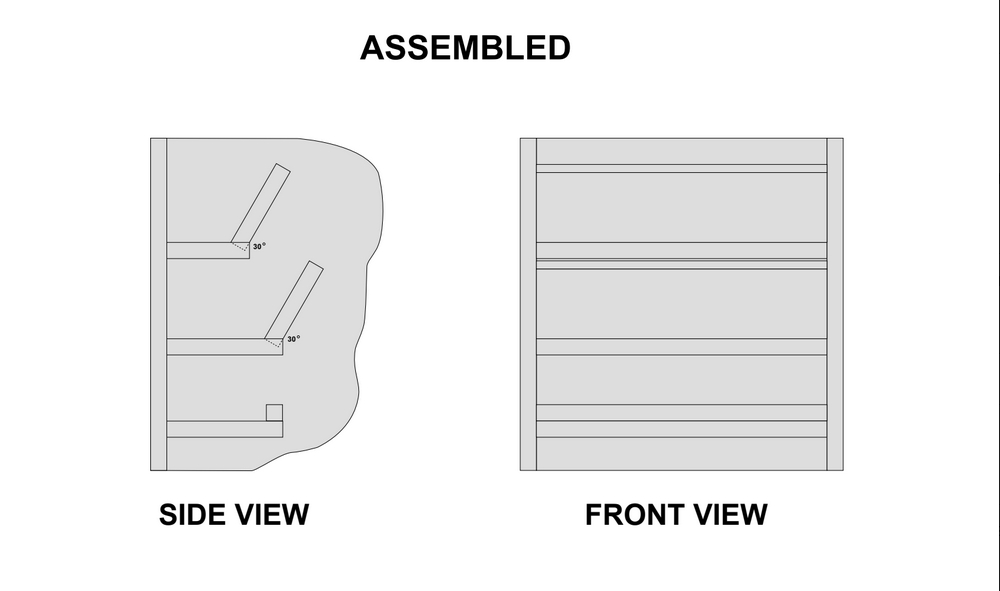
I designed the window treatment and specs for the kitchen / mail organizer in Adobe Illustrator, and sent them to Paratore Signs in Syracuse, NY. They printed up the window treatments and used their CNC router to cut out the shapes for that organizer using MD Fiberboard.
More to come. I need to take a break and eat some food :)
The man in the molding!
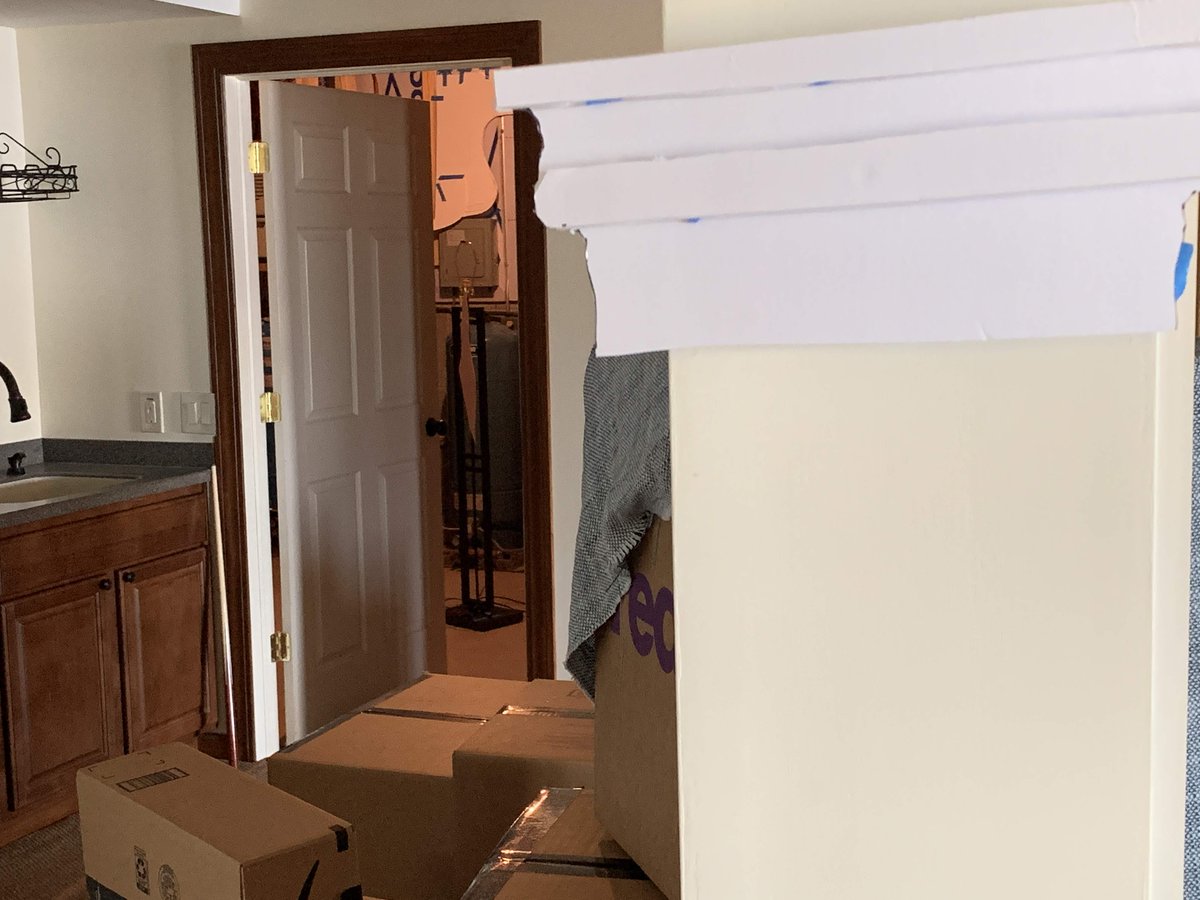
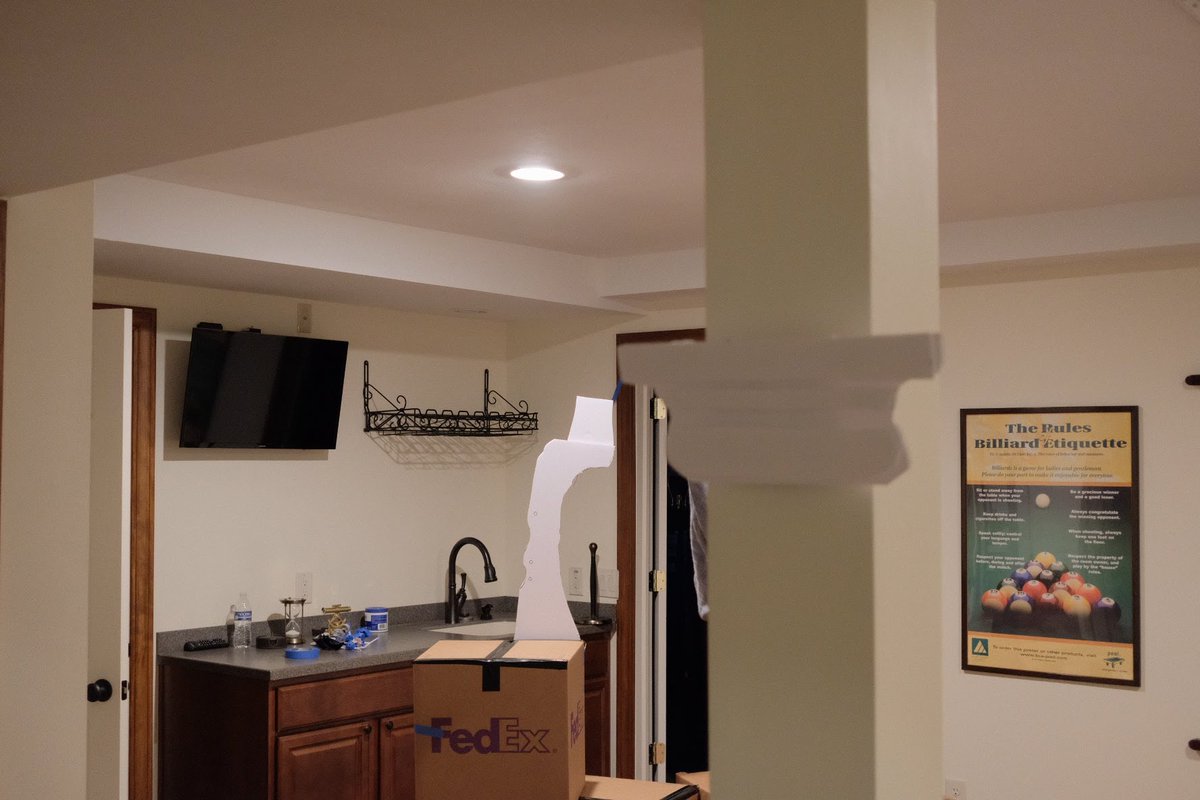
Here’s the initial angle that we figured would work best for the shot on location (obviously before anything had been pulled out and set dressed). We wanted to try and figure out a way to incorporate a part of the head-shape from some sort of wraparound molding on the pillar.
Initially tried to work with some sort of shape that incorporated the storage room beyond the door, but it wasn’t quite doing what we wanted.
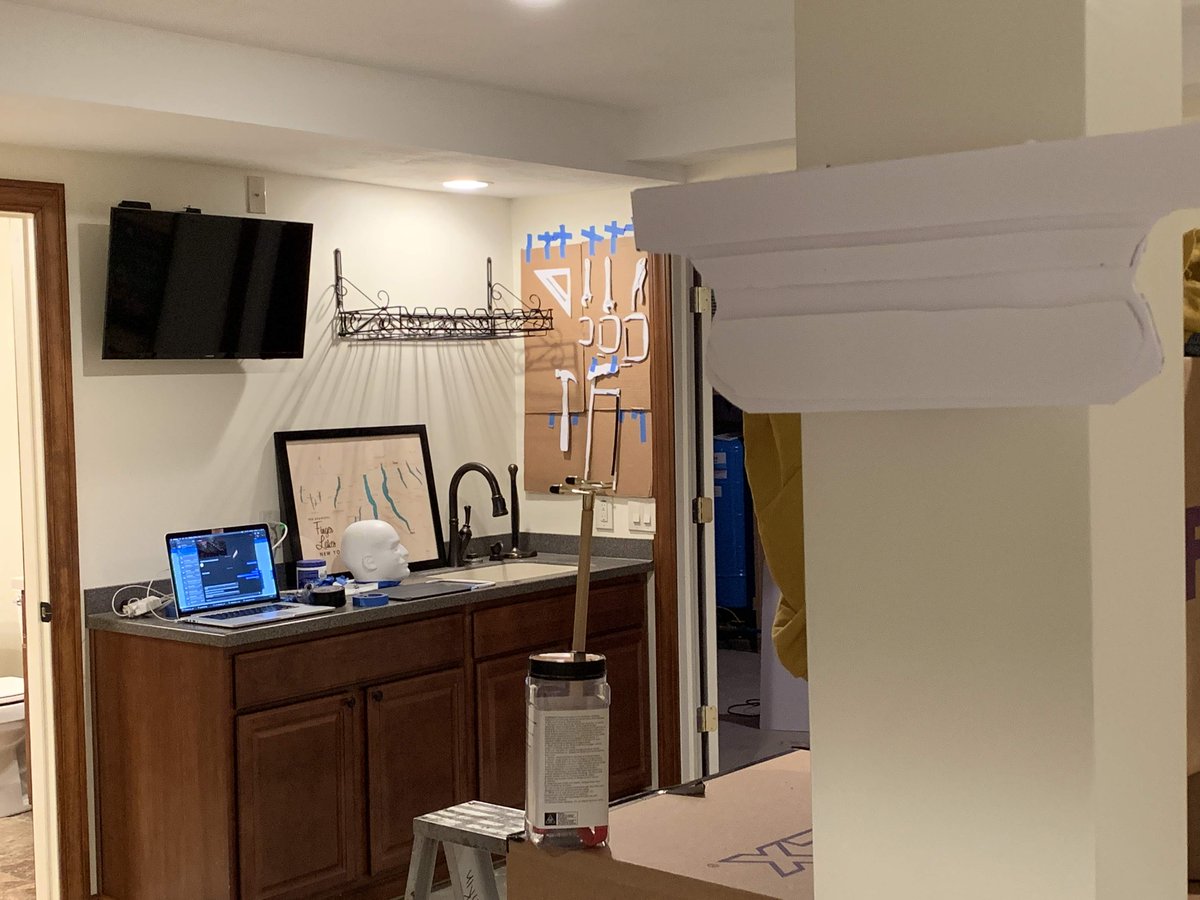
Shifted the angle a bit and liked the idea of playing it off of the back corner somehow with a middle-distance shape involved.
That evolved into possibly some tools on a peg board to help the shape out instead…. Also cut out a bunch of to-scale tool shapes from foam core :)
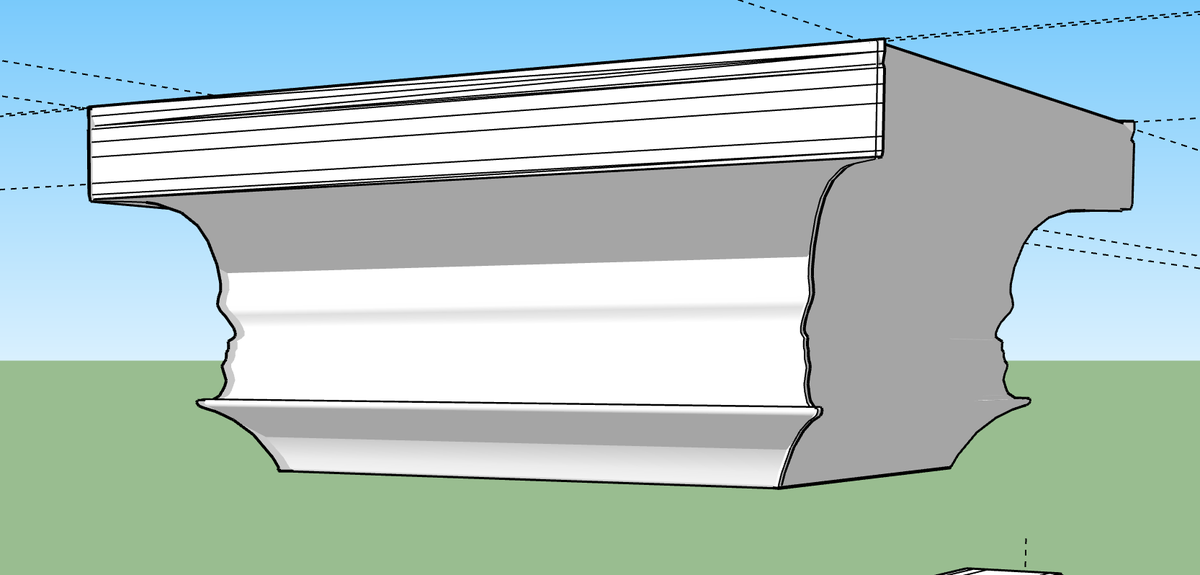
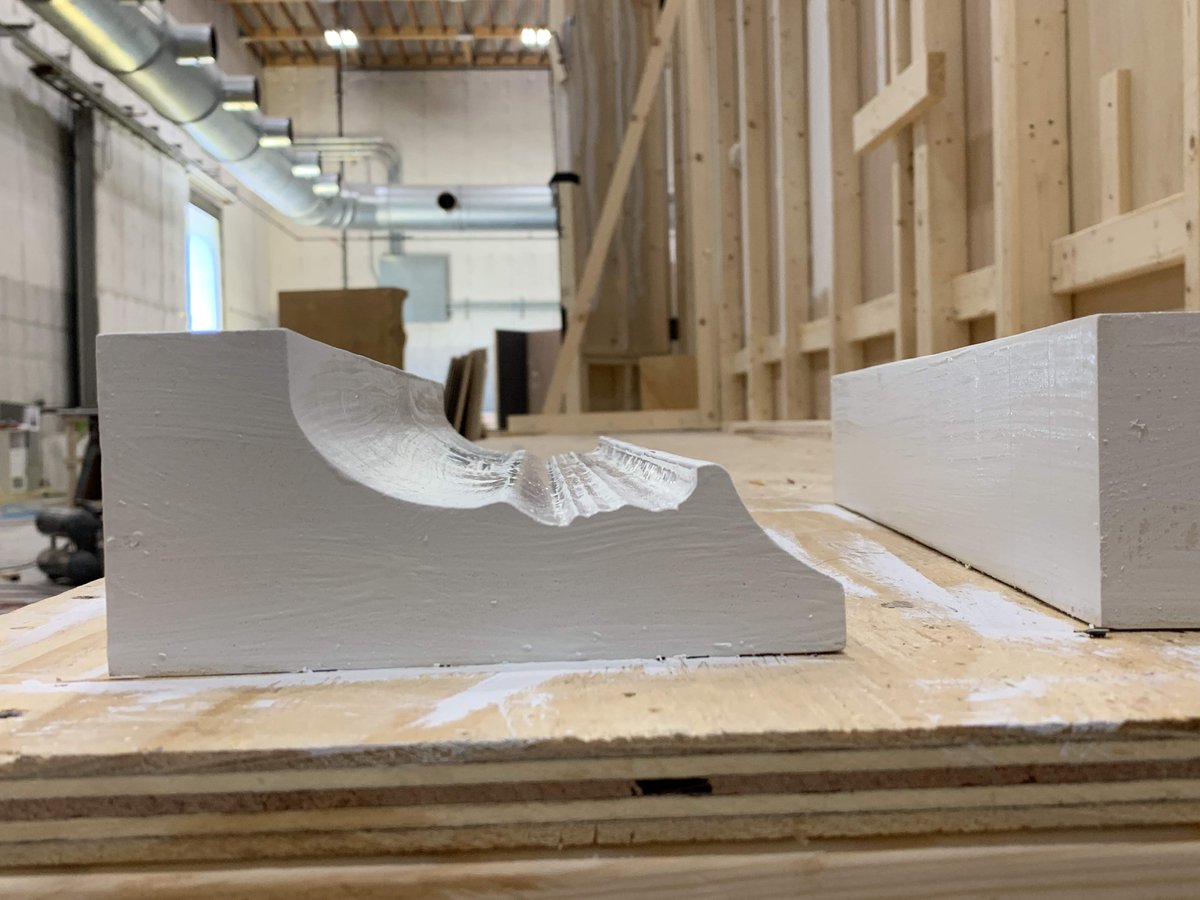
So let’s talk head shapes. We knew that the “rest position” (before VFX) of the molding was going to involve a profile of Negative Space Man’s face, and we wanted to be able to create a strip of it long enough to wrap around the pillar.
I designed the molding using Sketch-Up (I hadn’t been introduced to Blender yet), and figured out how much to squash the face in order for it to read as normal once you made a 45 degree cut on the corners (so it could wrap around the pillar)
But how to get the custom molding? The pain-in-the-ass version would involve creating a custom molding router bit to basically only do the 4 feet worth of molding that we needed, but the price and turnaround time just didn’t allow for that.
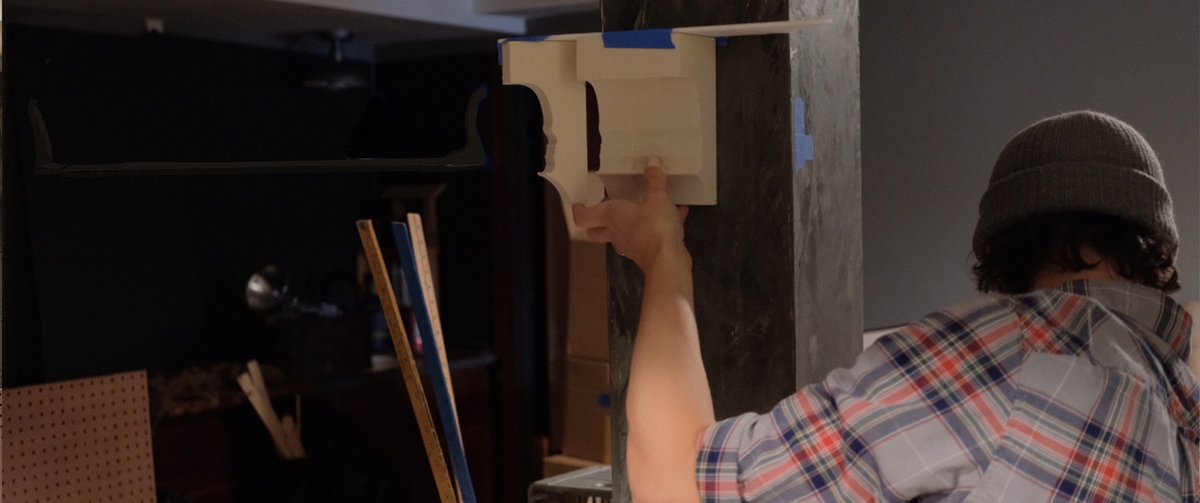
Instead, John Paratore (owner of Paratore Signs) came up with the genius idea to cut out a bunch of “profile” cuts of the molding pattern from 1”-thick high-density urethane boards. Glue ‘em together in a row, sand, paint, and you’ve got your custom molding.
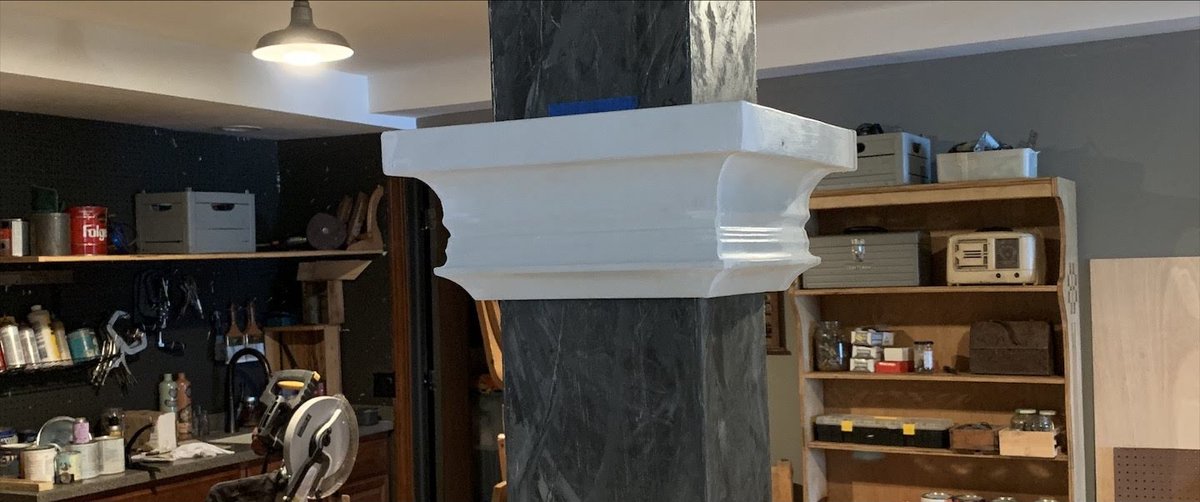
Lesson learned: MOST PILLARS ARE UNEVEN! Even after extensive measuring, it still came up short. Thanks to the fact that we had plenty of the molding, we were able to slice off ⅛” shims (at a 45 degree angle) to wedge in there, sand, and paint.
Finishing touch came from David Bruckner when I showed him this pic. He drew in the suggestion for a shelf that ran across the length of area in the back. I made a design for those little support arms for the shelf that completed the back of the head, and CNCd those parts as well
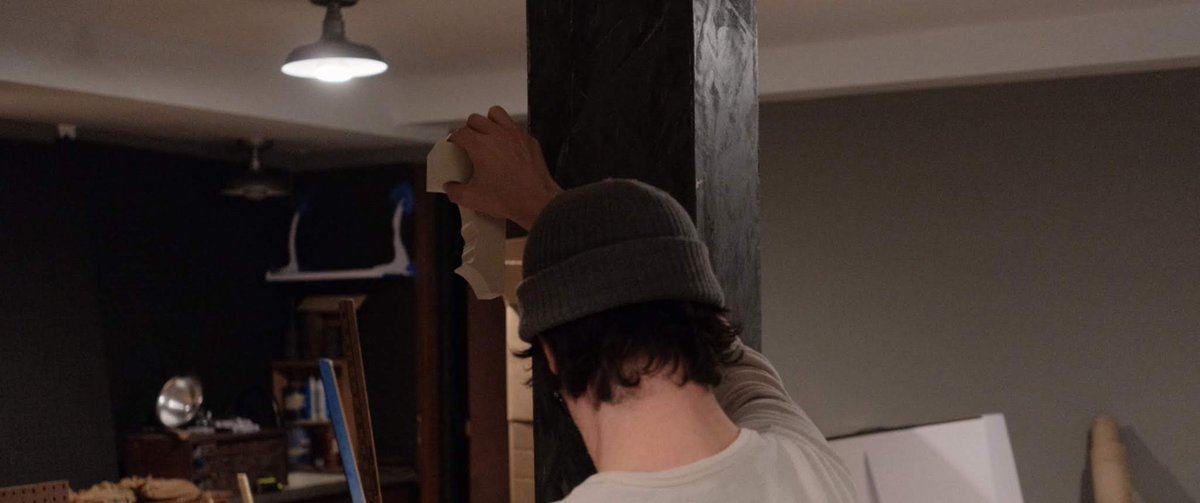
Video from the monitor while filming. Finishing touch adding in the bead board wainscoting to tie the molding into the pillar.
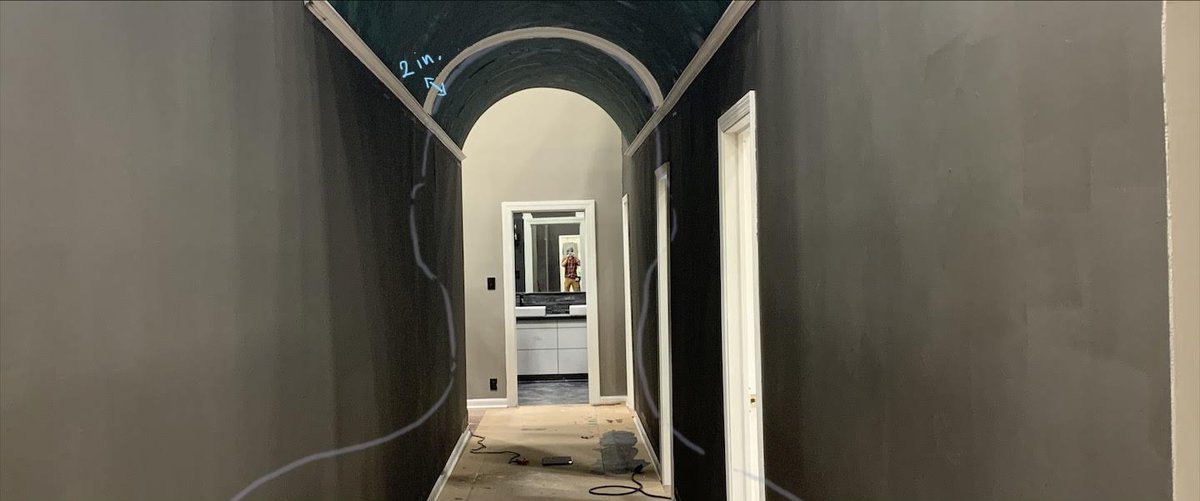
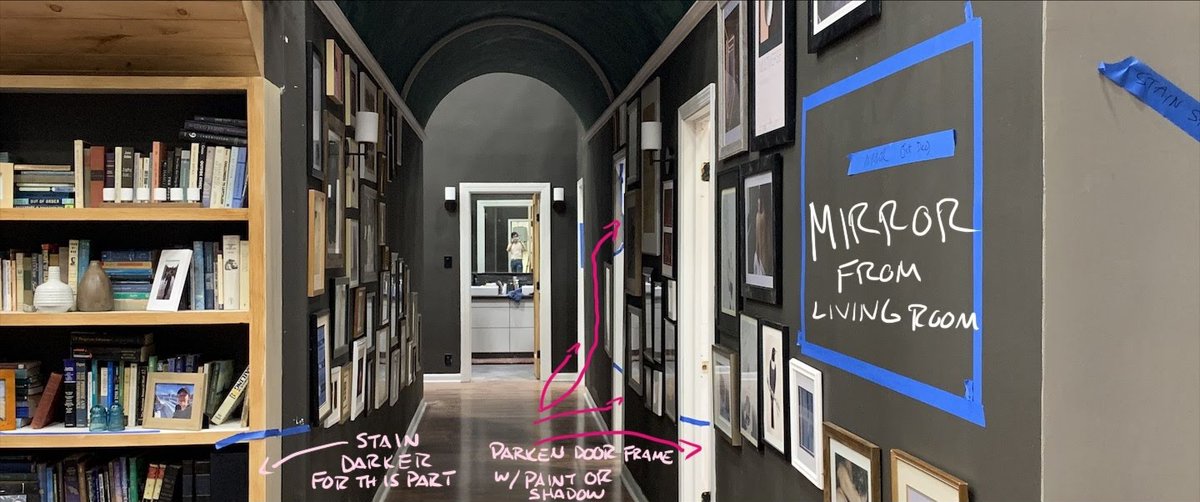
HALLWAY SHOT!!
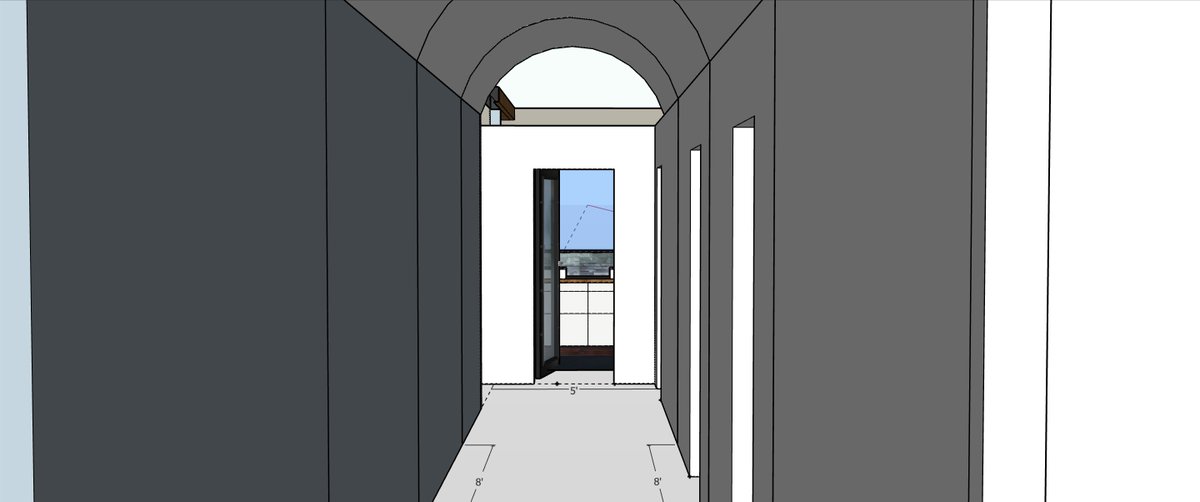
Here’s a view of the set design in Sketch-Up. We wanted to have Beth’s P.O.V shot pan over to this hallway and then realize that the entity is standing right in front of her. I threw in the arched ceiling to see if we could maybe create a top of a head.
Here are a couple of process pics of the set construction. Carpenters did a rad job, which came in particularly handy when I had to design a piece of arched molding to make the crown of the head.
Finished construction with indicated molding. Essentially we wanted molding running along the tops of the walls to hold some rope lighting, and the arched molding would offer a visual break (as well as block-off some of that lighting) to help define the head a bit more.
Last touch-ups involved a little paint for some door jambs and a bookshelf to complete the form of the entity. It was the biggest build of any of these, but the design was strangely one of the easiest.
All in all, this was definitely one of the most challenging jobs I& #39;ve ever had, but it was incredibly satisfying work. Invaluable help from superstar Prod. Des: Kathrin Eder, Art Dir: Josh Dobkin, Art Coord: Ivan Bakin, Set Dec: Prerna Chawla, DP: Elisha Christian
Go watch (or re-watch) THE NIGHT HOUSE. Lots of incredible work made it on camera, and a ton of talented people worked their asses off behind camera to make it happen :)
FOR THOSE CURIOUS ABOUT THE VFX: The augmentation for each of these shots was all handled by Crafty Apes. They did an incredible job with the film, not just with these shots, but also a bunch of seamless work throughout
And thanks again to everybody following along and sharing your kind words and enthusiasm! It’s always a blast to share the process

 Read on Twitter
