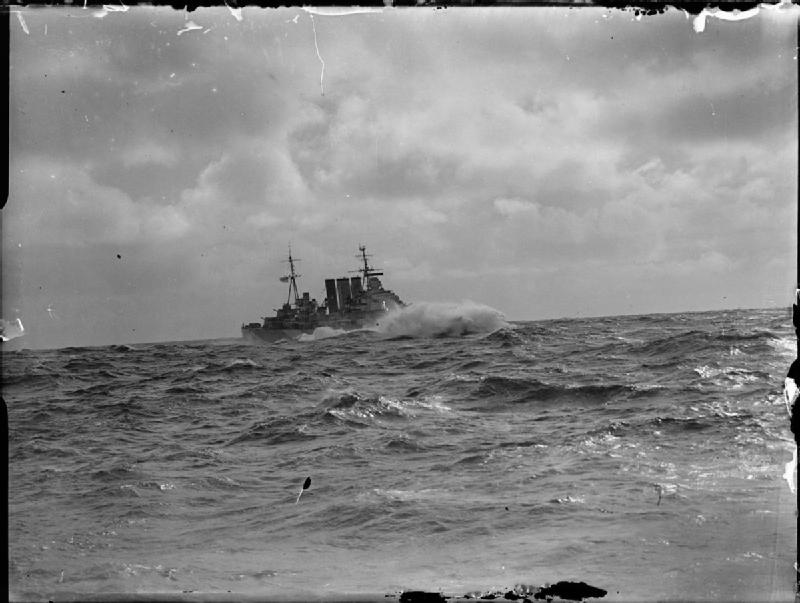
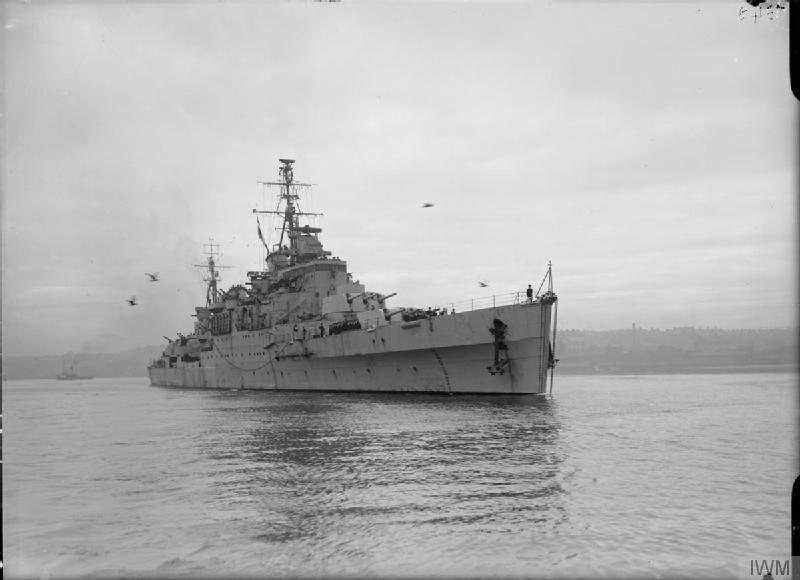
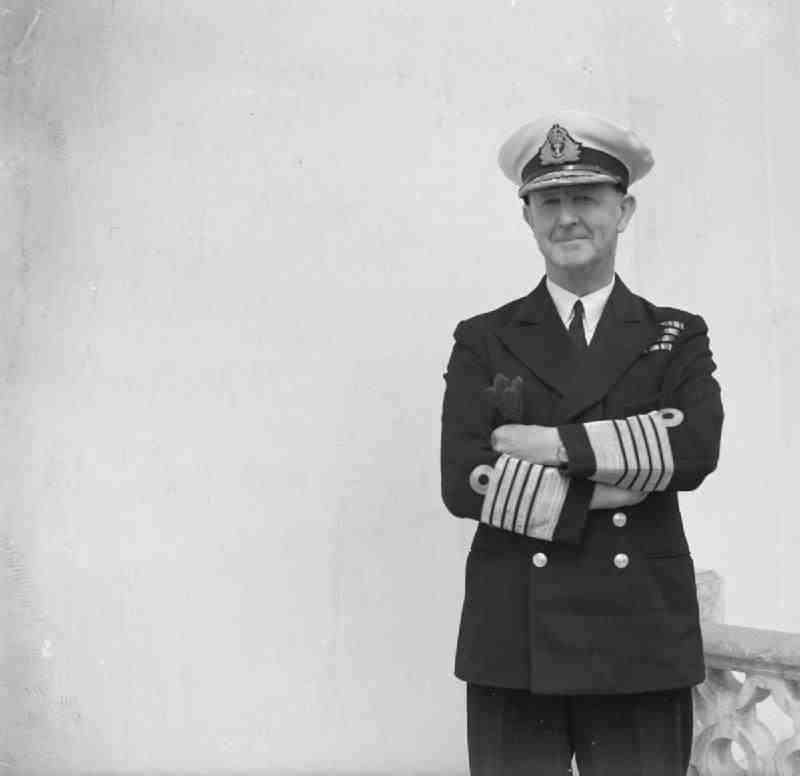
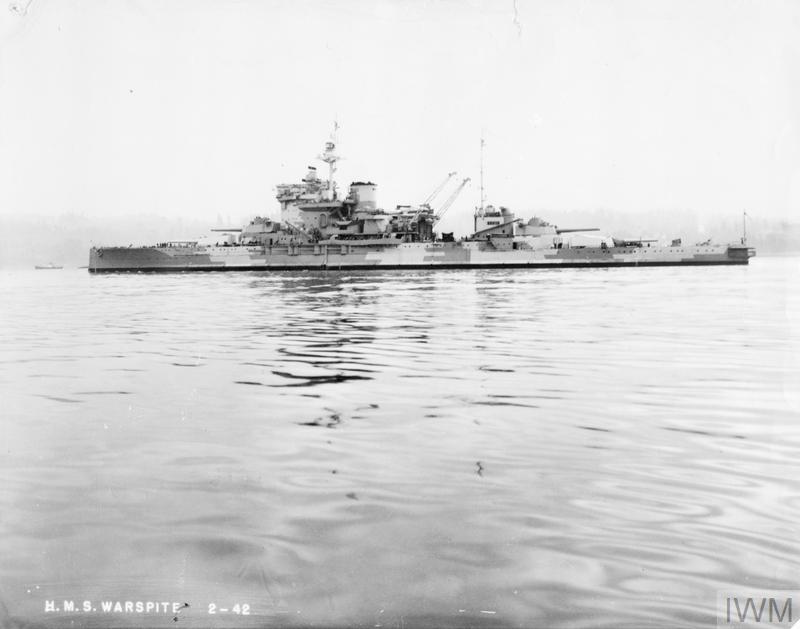
November 1940 was one of the most eventful & significant months of #WW2 at sea for the @RoyalNavy with fleets in action in the Atlantic & Mediterranean, while in the war against merchant shipping one particular loss in the Indian Ocean would go on to have far reaching effects.
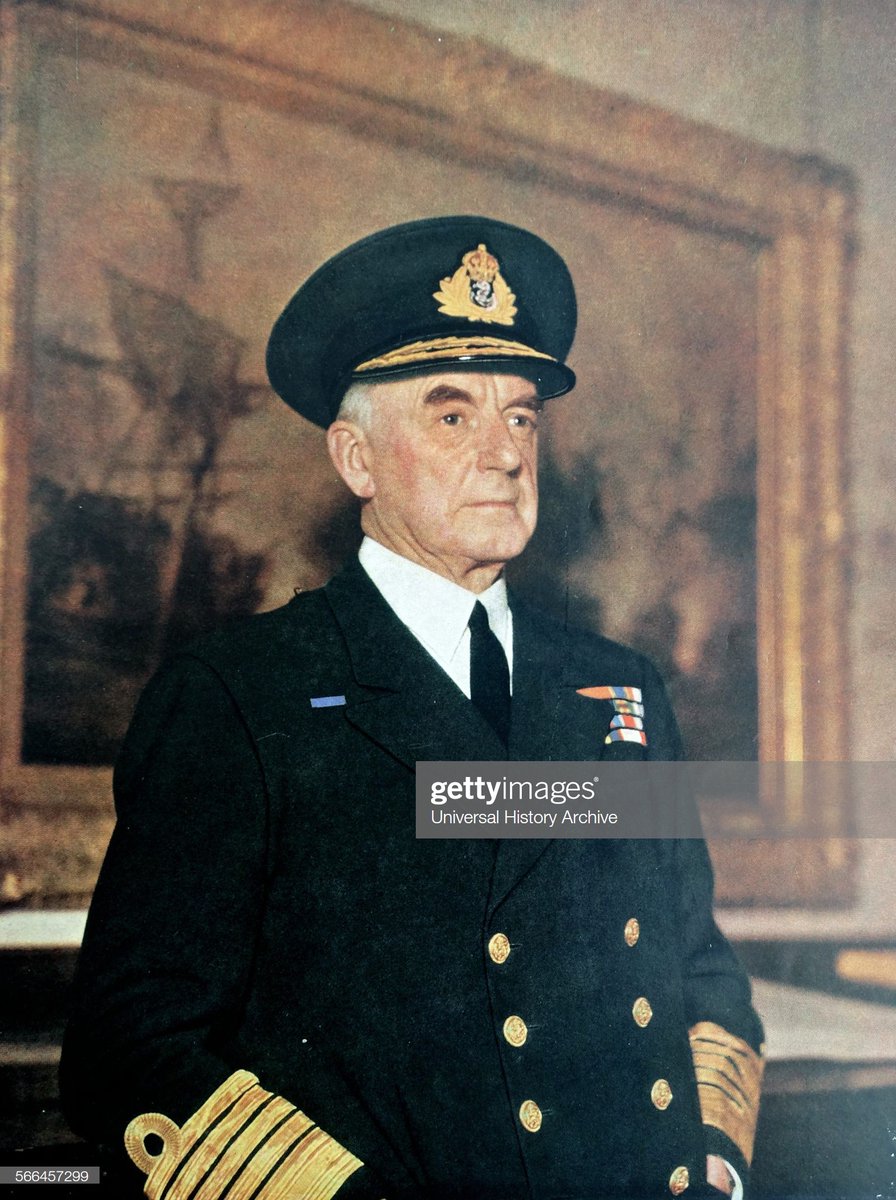
In the Atlantic, the month had begun with the German heavy cruiser Admiral Scheer slipping through the Denmark Strait & out into the Atlantic to begin her big commerce raiding cruise, triggering a major hunt by Adm/Flt Sir Charles Forbes & the Home Fleet https://twitter.com/navalhistorian/status/1325198677602824192?s=20">https://twitter.com/navalhist...
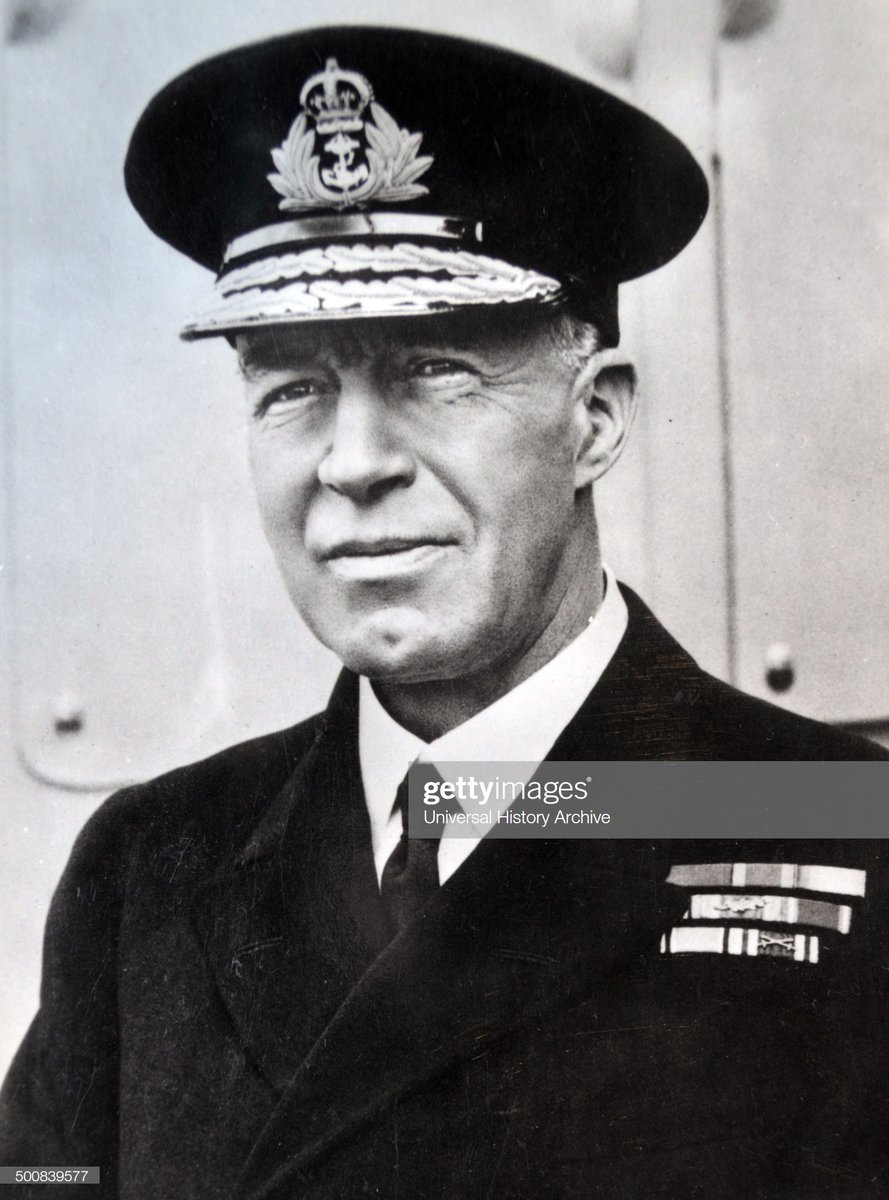
The Home Fleet could not be reinforced on its raider hunt, however, as things were moving in the Mediterranean, with V/Adm James Somerville& #39;s Gibraltar-based Force H sailed to begin MB8, a big, cross-Mediterranean series of operations including one of the most famous of the war
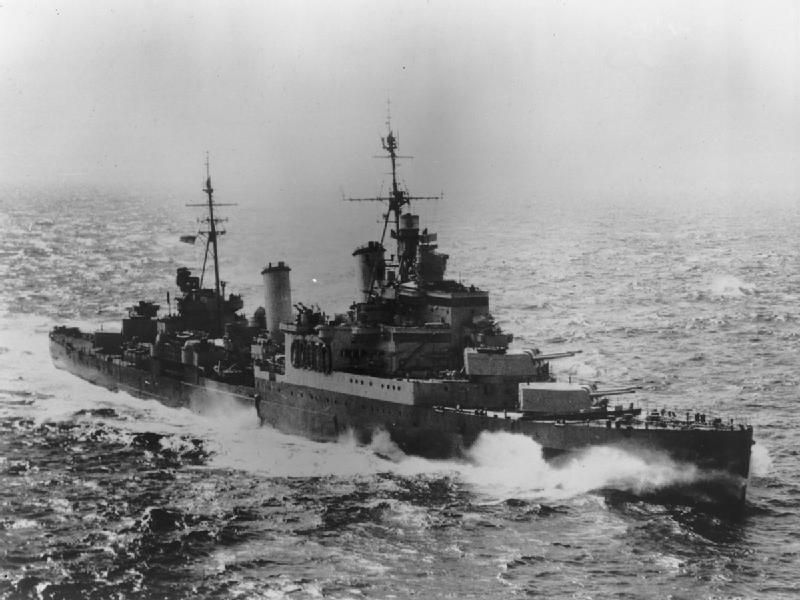
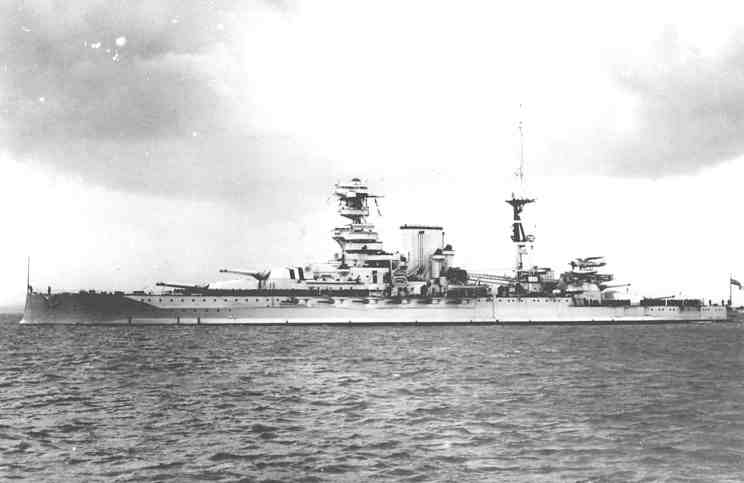
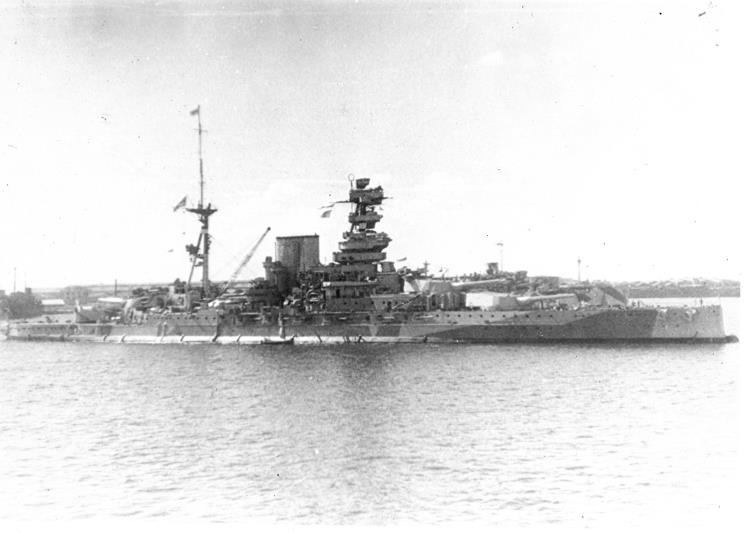
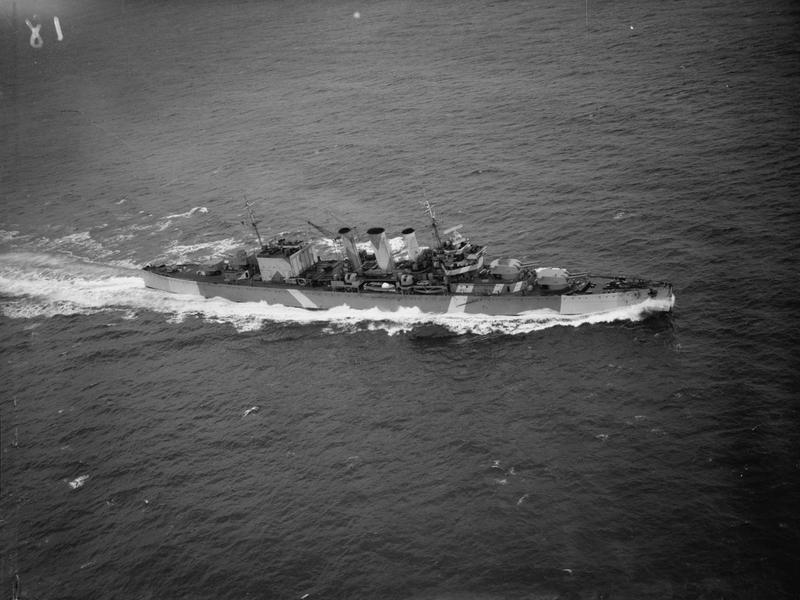
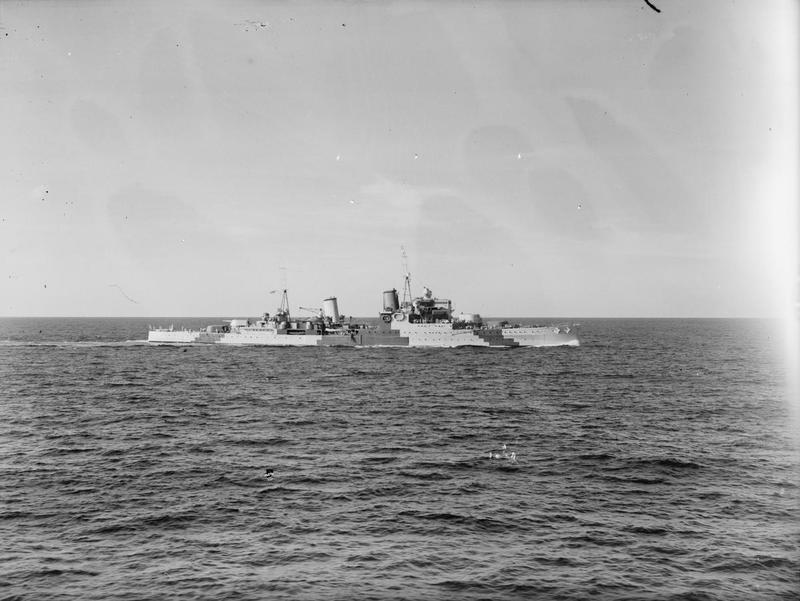
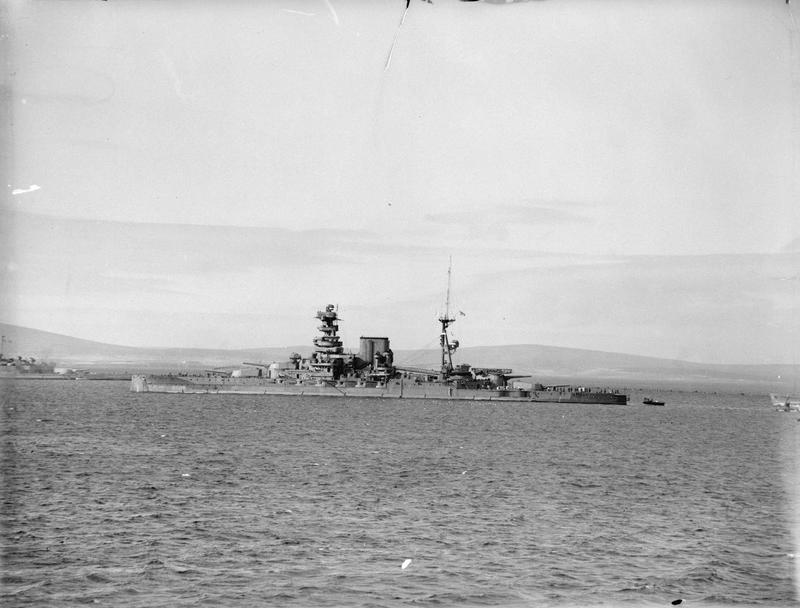
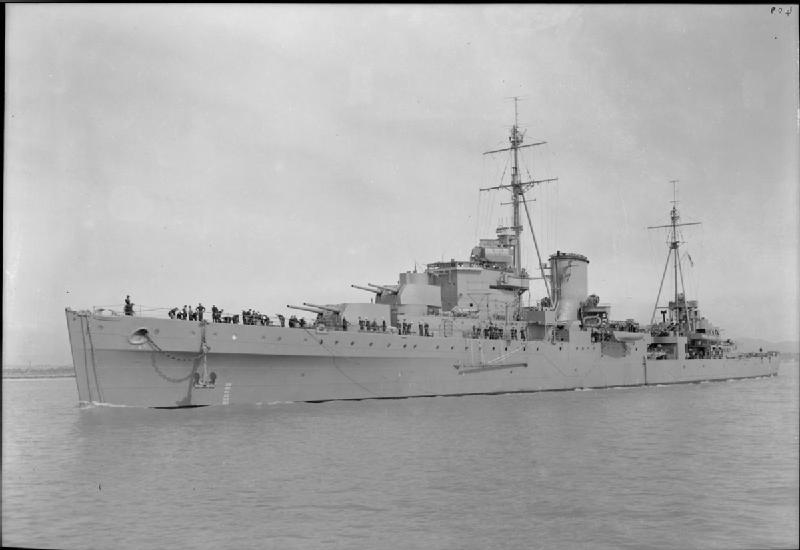
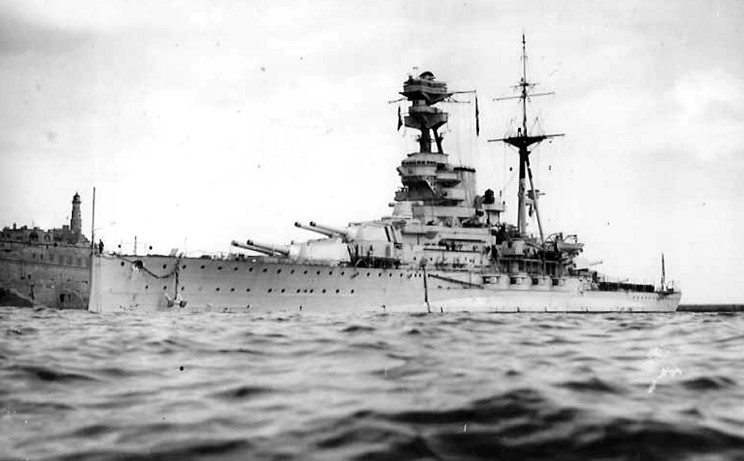
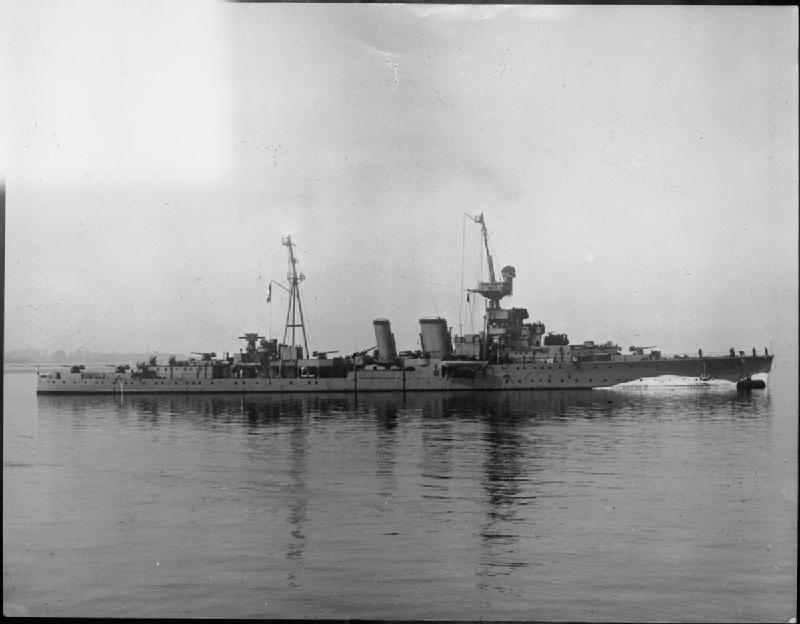
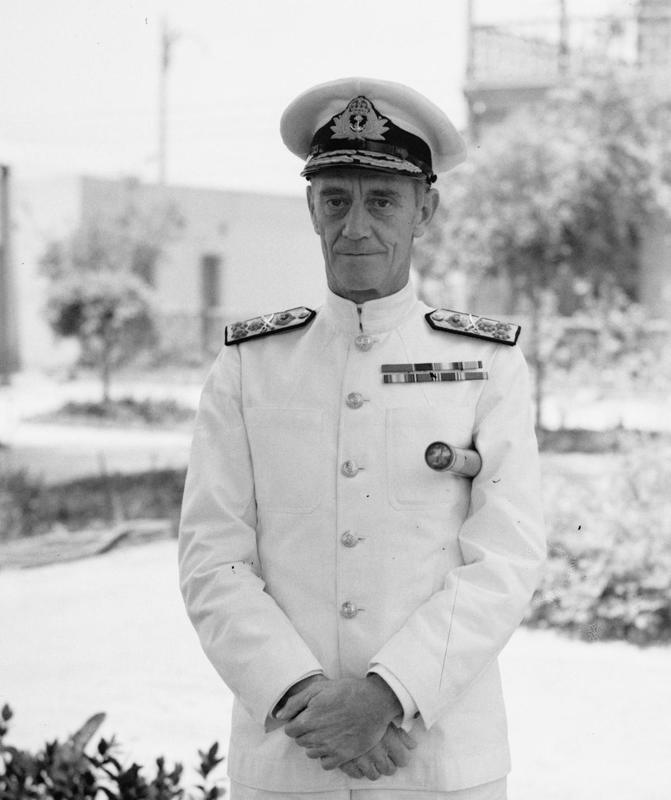
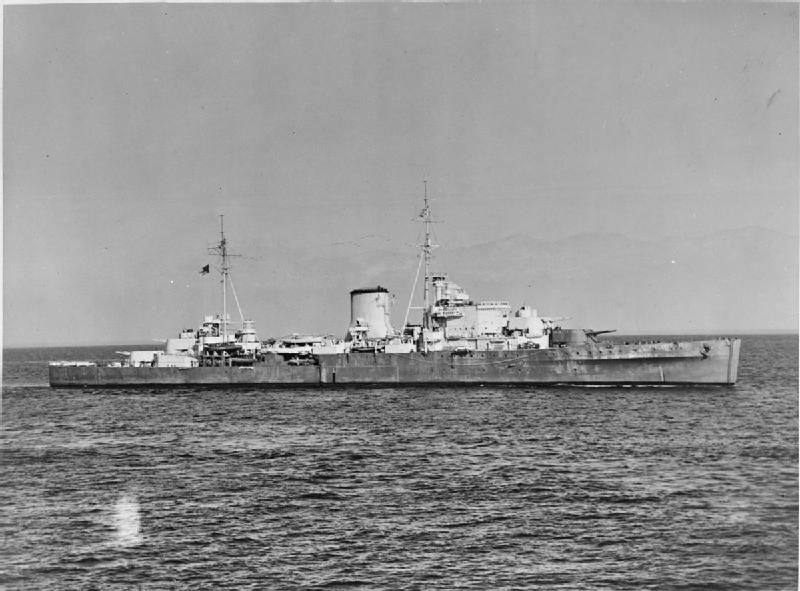
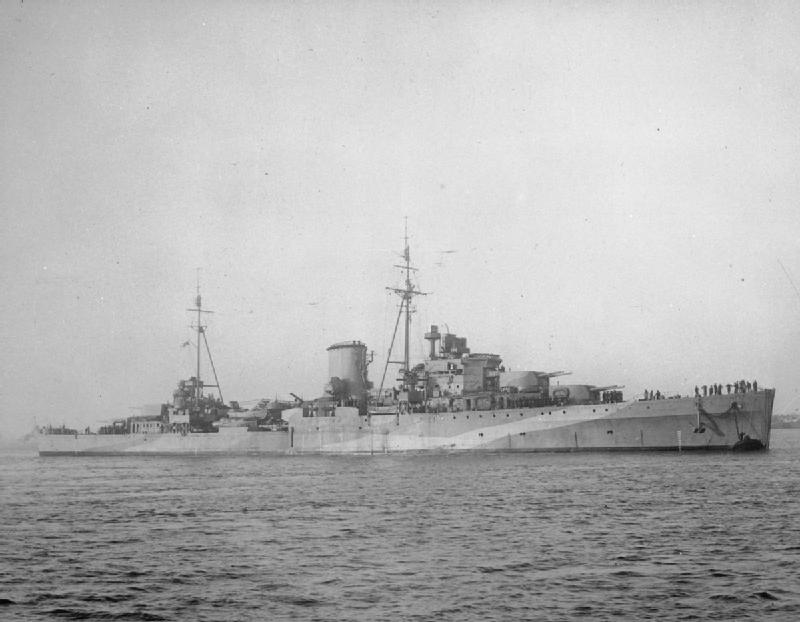
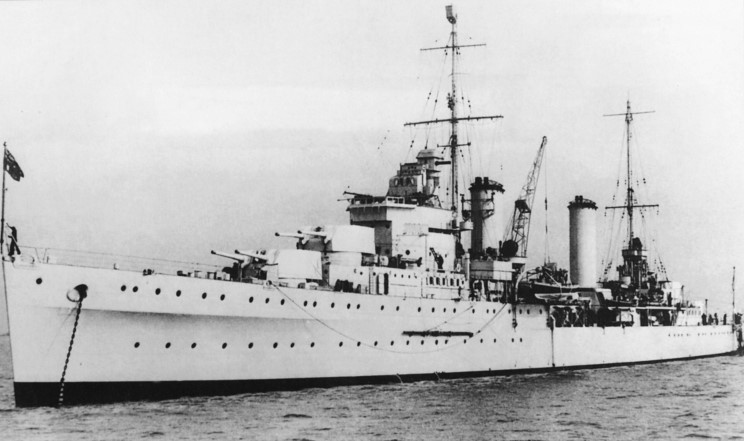
V/Adm Somerville& #39;s parts of MB8 were operations Coat & Crack. The former, escorting troop reinforcements to Malta carried aboard warship reinforcements to Adm Sir Andrew Cunningham& #39;s Mediterranean Fleet, including the battleship HMS Barham & cruisers HMS Berwick & HMS Glasgow.
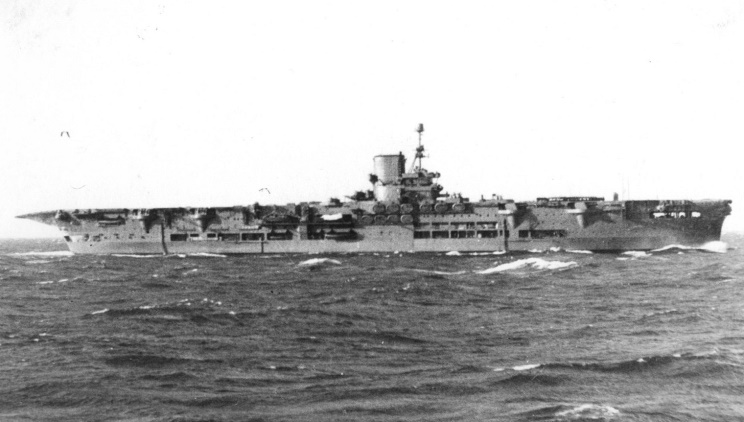
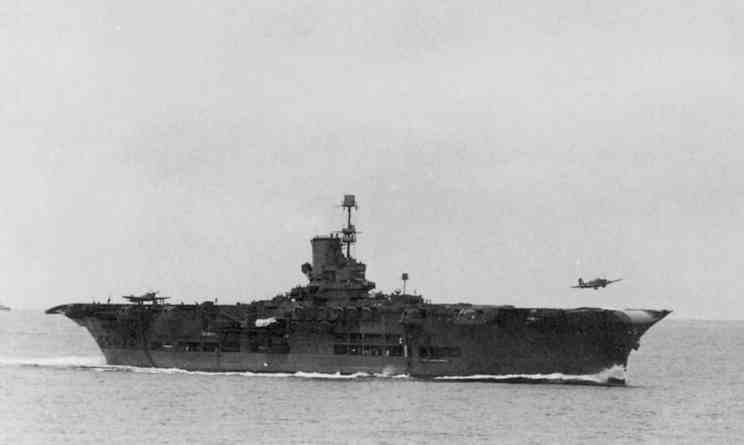
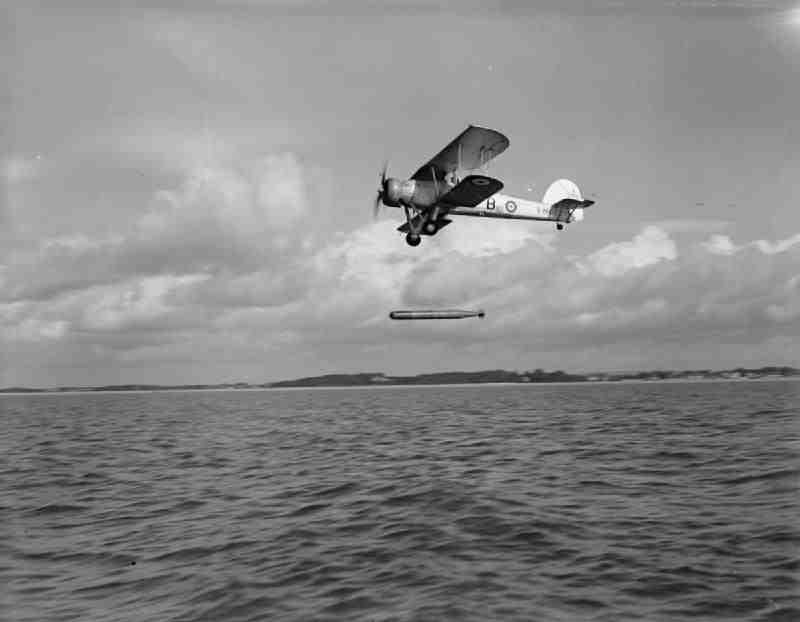
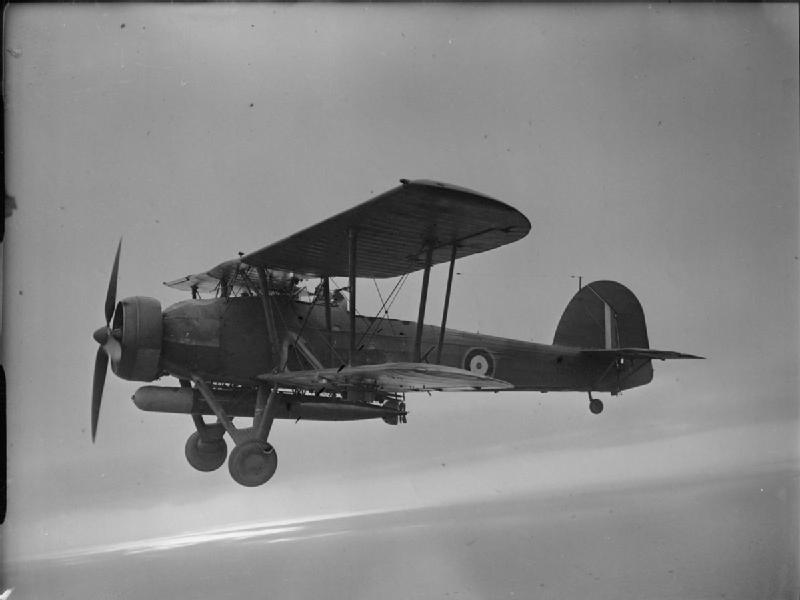
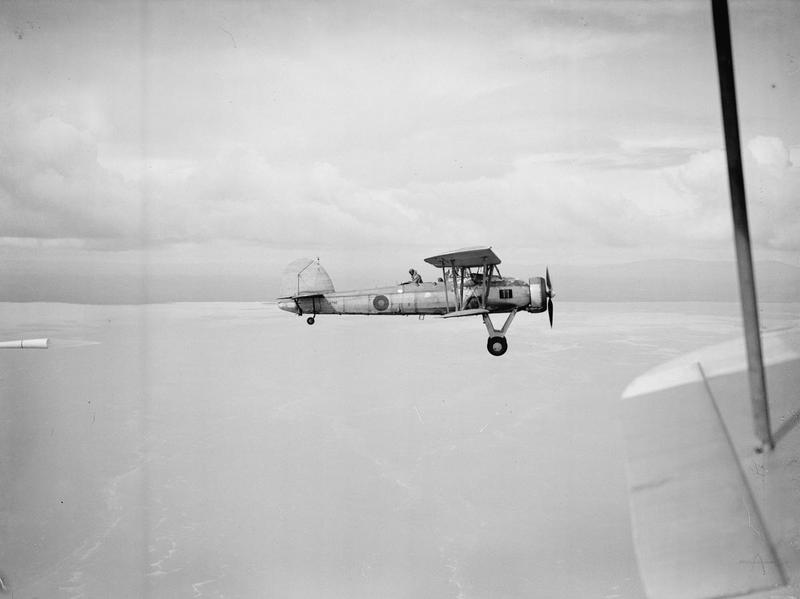
The latter was an air strike by nine Fairey Swordfish torpedo bombers from his flagship, the aircraft carrier HMS Ark Royal, on the Italian reconnaissance seaplane base at Elmas, near Cagliari on Sardinia, which launched on the morning of the 9th & successfully hit its target.
Job complete, V/Adm Somerville turned back for Gibraltar at midday, while HMS Barham, HMS Berwick, HMS Glasgow & destroyers headed on through the Strait to deliver their troops to Malta on the morning of the 10th before continuing east to rendezvous with the Mediterranean Fleet.
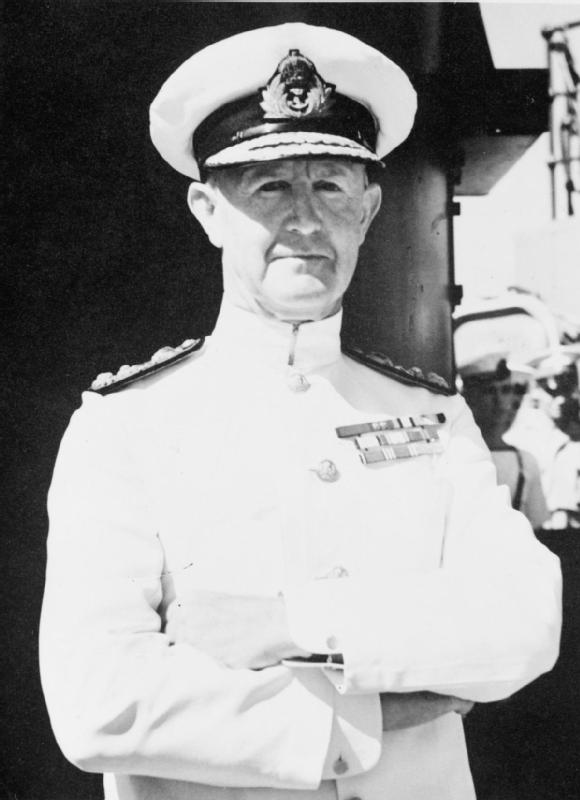
By this time of course, the Mediterranean Fleet, under Adm Sir Andrew Cunningham, whose brainchild the whole operation was, was already at sea, having sailed from Alexandria the day before Force H left Gibraltar, & was ready to meet them off Malta as part of their elements of MB8
The Mediterranean Fleet& #39;s role in MB8 was divided into five parts. There were three convoy operations, escorting one group of merchant ships with supplies to Malta, another to Greece, then a different group of empty merchant ships (+ Barham, Berwick & Glasgow) back to Alexandria.
Meanwhile, a cruiser force of HMS Ajax & @Australian_Navy& #39;s HMAS Sydney, under V/Adm Henry Pridham-Wippell, flying his flag aboard the light cruiser HMS Orion, was to deliver troops & equipment to Greece & Crete before raiding the Otranto Strait on the night of the 11th.
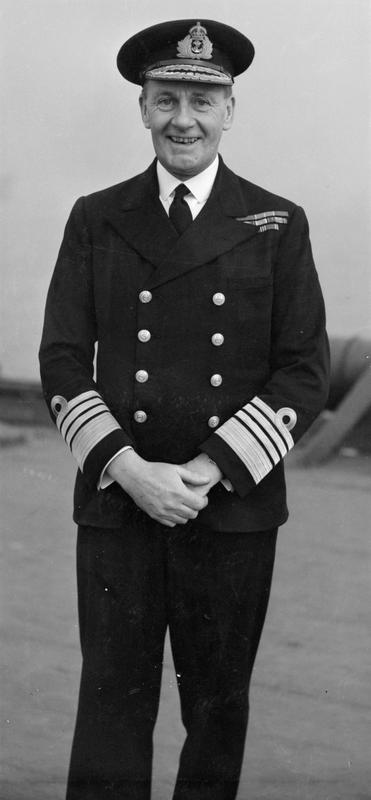
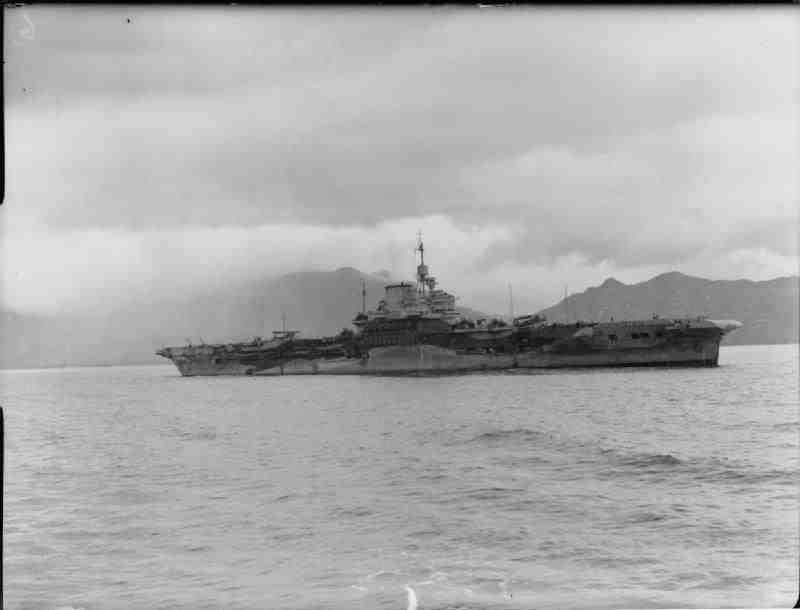
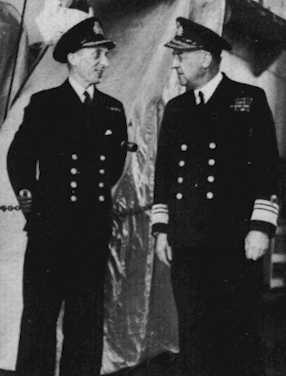
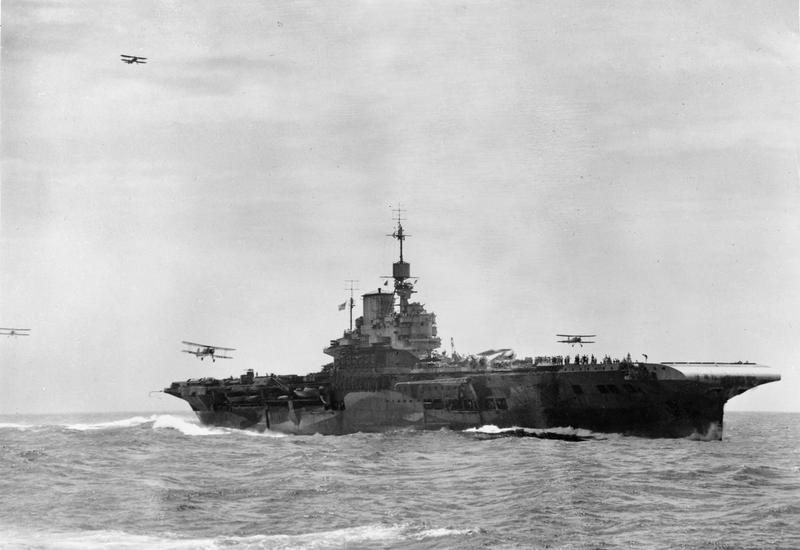
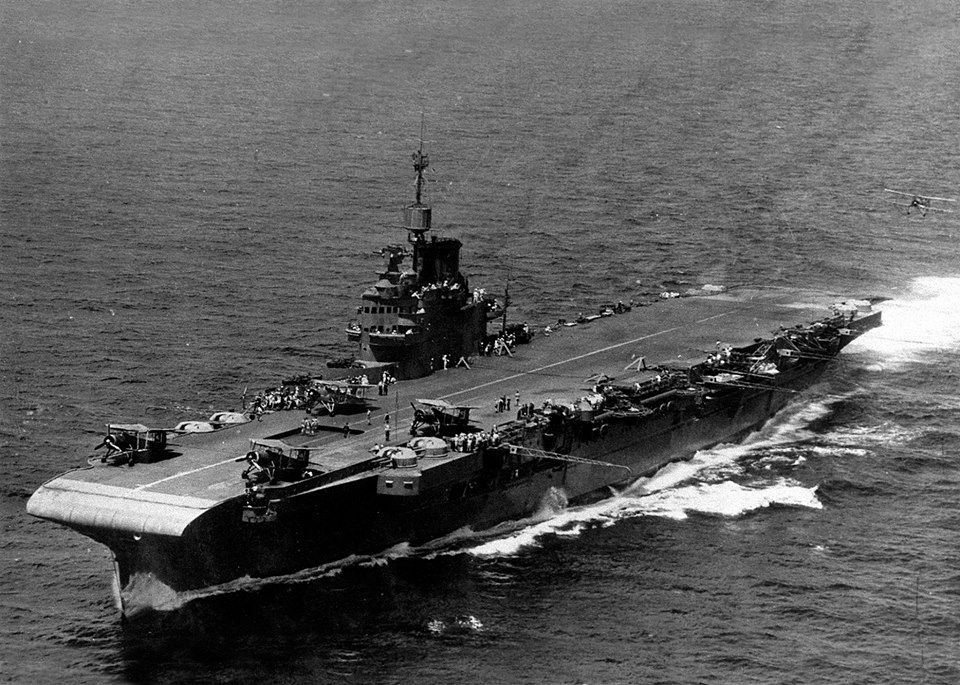
The centrepiece of Operation MB8 however, was to be Operation Judgement, a daring air strike launched from R/Adm Lumley Lyster& #39;s flagship, the aircraft carrier HMS Illustrious, to attack the Italian fleet& #39;s battleships at their main base at Taranto, also on the night of the 11th.
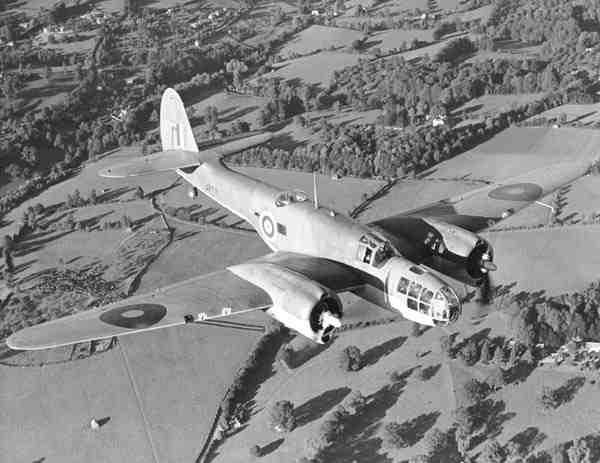
Aided by detailed reconnaissance, particularly by the US-built Martin Maryland& #39;s of @RoyalAirForce 431 Flight, their own range extended by new, auxiliary fuel tanks that rested in the middle cockpit (which periodically spilled their flamable contents into the aft cockpit)...
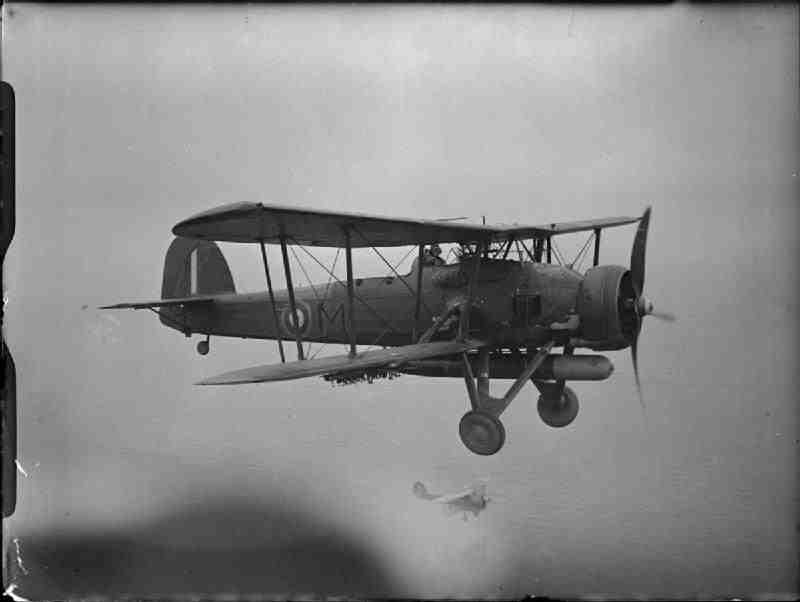
The 1st wave of 12 Fairey Swordfish torpedo-bomber took off from HMS Illustrious at 2030, led by Lt/Cdr Kenneth "Hooch" Williamson of @815NAS, arriving at around 2300 & diving into the attack at extremely low level. Six aircraft dropped torpedoes, the rest bombs or flares.
The 2nd wave of nine Fairey Swordfish, led by Lt/Cdr John Hale of 819 NAS took off an hour later, though this was quickly reduced to eight when one of the six torpedo carrying aircraft suffered a problem with its auxiliary fuel tank, forcing the crew to turn back.
Dropping torpedoes armed with magnetic detonators, set to explode under the hulls of the battleships, the results were quite astonishing. The reconstructed battleships Conte de Cavour & Caio Duilio each took a single hit & sank to the bottom of the harbour.
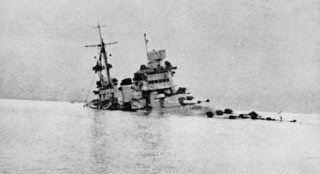
Hit three times, the brand new, 15in gunned battleship Littorio sank by the bow. Both she & Caio Duilio would be repaired & returned to service in six months, though Conte de Cavour would not be. An astonishing victory with just nineteen aircraft. https://it.wikipedia.org/wiki/File:Nave_Littorio_Taranto.jpg">https://it.wikipedia.org/wiki/File...
Just two aircraft were lost. The strike leader, Lt/Cdr Kenneth "Hooch" Williiamson himself, with Observer Lt Norman "Blood" Scarlett in Swordfish L4A were shot down & taken prisoner just after launching the torpedo that scored the effectively fatal hit on Conte de Cavour.
While Swordfish E4H was shot down, apparently attacking the cruiser Gorizia, though pilot Lt GW Bayley, & Observer Lt HJ Slaughter were not as lucky as Williamson & Scarlett & did not survive.
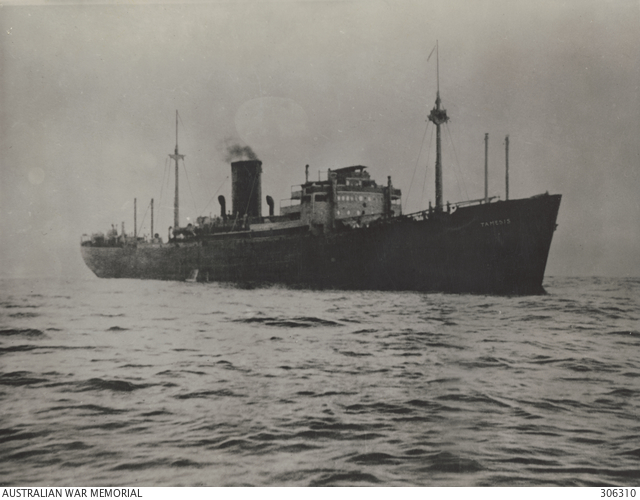
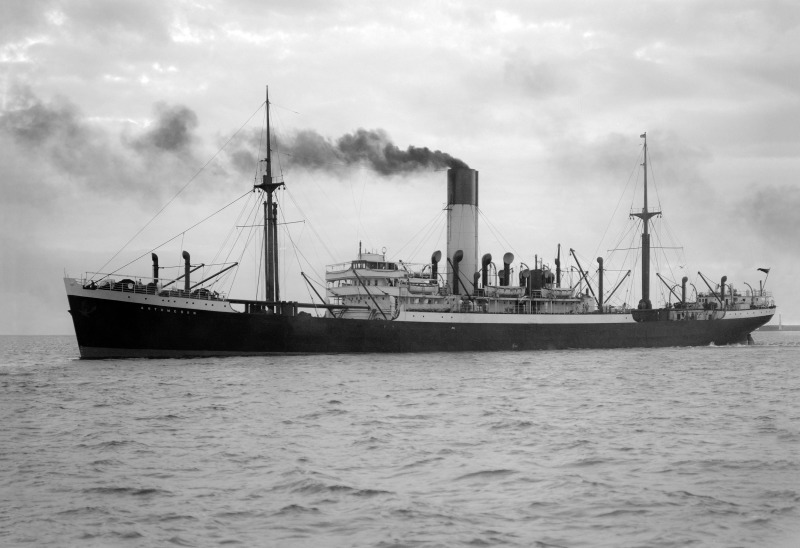
What nobody knew however, was that on the very same day the @RoyalNavy was scoring perhaps its most famous victory of the war, Britain was suffering a catastrophic intelligence loss, as the German armed merchant cruiser Atlantis captured the Blue Funnel Line freighter Automedon.
Sailing across the Indian Ocean for Singapore with a cargo of aircraft parts, cigarettes & alcohol Automedon also carried merchant navy codes, shipping orders & maps of minefield channels, but crucially, also a report outlining the defense plans & forces of Malaya and Singapore.
With the crew & naval team aboard incapacitated & unable to throw the documents overboard, they were captured & dispatched to Japan by Capt Bernhard Rogge aboard the Norwegian tanker Ole Jacob (which he had also captured), & handed to the Japanese (after being sent to Berlin...
via the Soviet Union in order to hide the source of the information from the Japanese).
When the story was finally revealed to the Japanese, Capt Rogge was presented with an ornate katana - one of only three such swords, the other two going to Hermann Goring and Erwin Rommel.
When the story was finally revealed to the Japanese, Capt Rogge was presented with an ornate katana - one of only three such swords, the other two going to Hermann Goring and Erwin Rommel.

 Read on Twitter