Just showing a few stages and general "behind the scenes" stuff for this wee critter. Don& #39;t know if anyone would be interested, but if it helps one person then that& #39;s a win! (1/?)
#blender #lowpoly
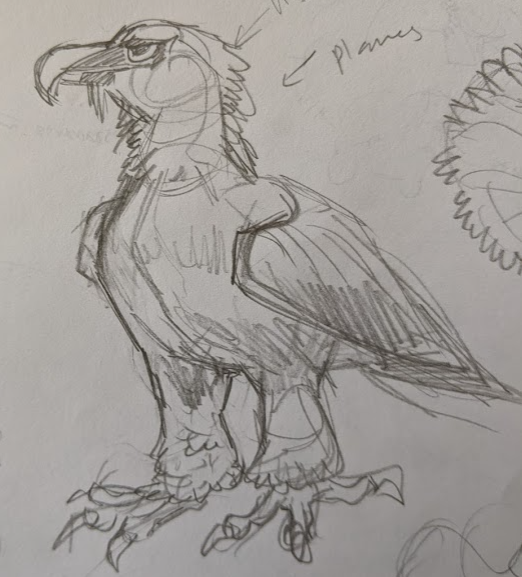
This was a commission - my client was super because he was clear & communicative and kind! I did many rough sketches (that have since gone in the bin) but this is the initial sketch I did for the character that I felt was working enough to build on. V. rough, on actual paper
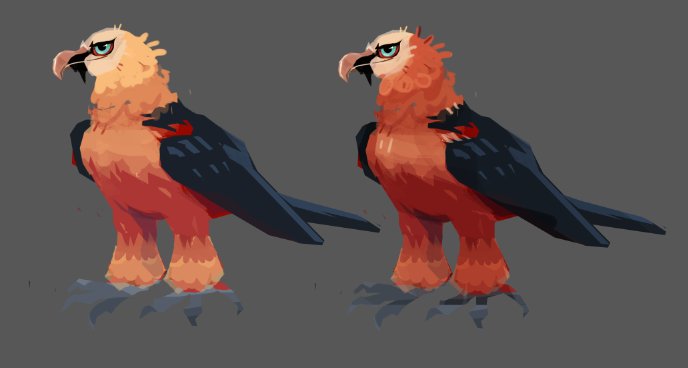
After that, I worked up some different colours and fleshed out the sketch. I had a colour palette I was roughly working around, which meant I could just find some nice colours in there that I felt worked well together, rather than having to consider the whole spectrum! (3/?)
I went back and revised the concept - making the wings longer and putting more detail on the feet for later. Now, because I am doing the concepts for my own modelling, keeping it rough is OK because I know in my head what& #39;s going on around the hidden areas (4/?)
If I was passing this off to someone else to model, I& #39;d want to give quite a few more details (a turn around for the back of the character). I roughed out some colours to check the contrast when I started modelling and adjusted as I went! (5/?)
First modelling update I sent through to my client! Wasn& #39;t done, but was starting to take shape. I& #39;d had an idea about how I was going to rig the pupils (and wanted to illustrate below!) All my textures are single colours, so it helps show how things are going more quickly (6/?)
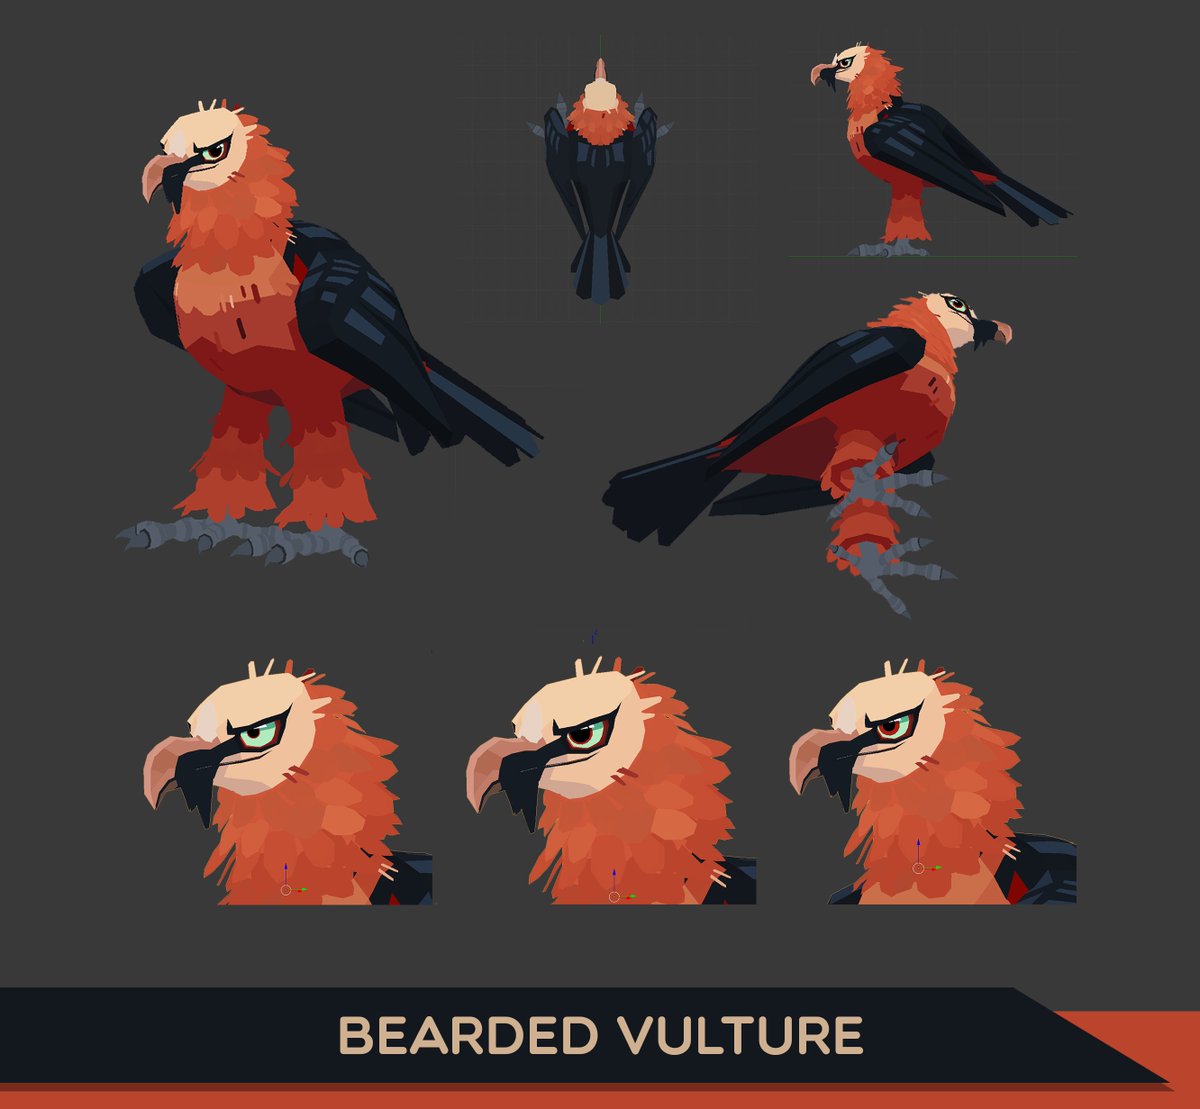
And a turn around! Some cleaned up topology and was ready for feedback (7/?)
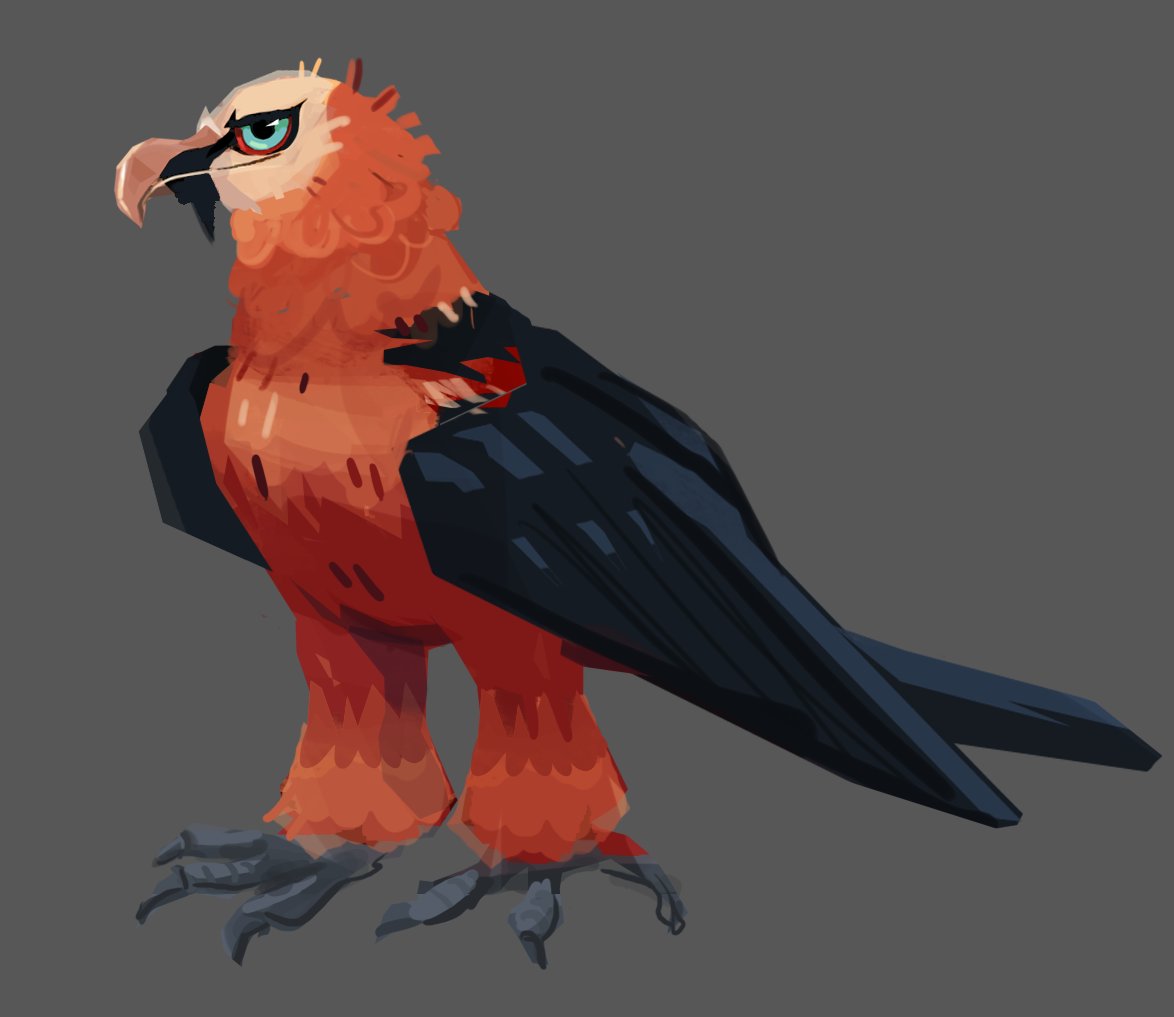
Before/ After Feedback comparison! Made higher contrast, altered the tones of some of the colours and made pupil smaller to look less friendly (8/?)
Didn& #39;t document rigging as it& #39;s not the most visually interesting to capture! But here was a mini animation I did to test the blink and pupil! Pupil just rigged with a separate bone so if you scale the bone it expands/ contracts (9/?)
Rough keyframe animation for feedback - just wanted to make sure that the idea behind it is working as a looping animation. Also SUPER rough - you want to get the idea across without spending hours tweaking things, before you know if the idea is working! (10/?)
Then after getting the thumbs up for the idea behind the animation, it& #39;s polishing, smoothing out curves and playing with timing.
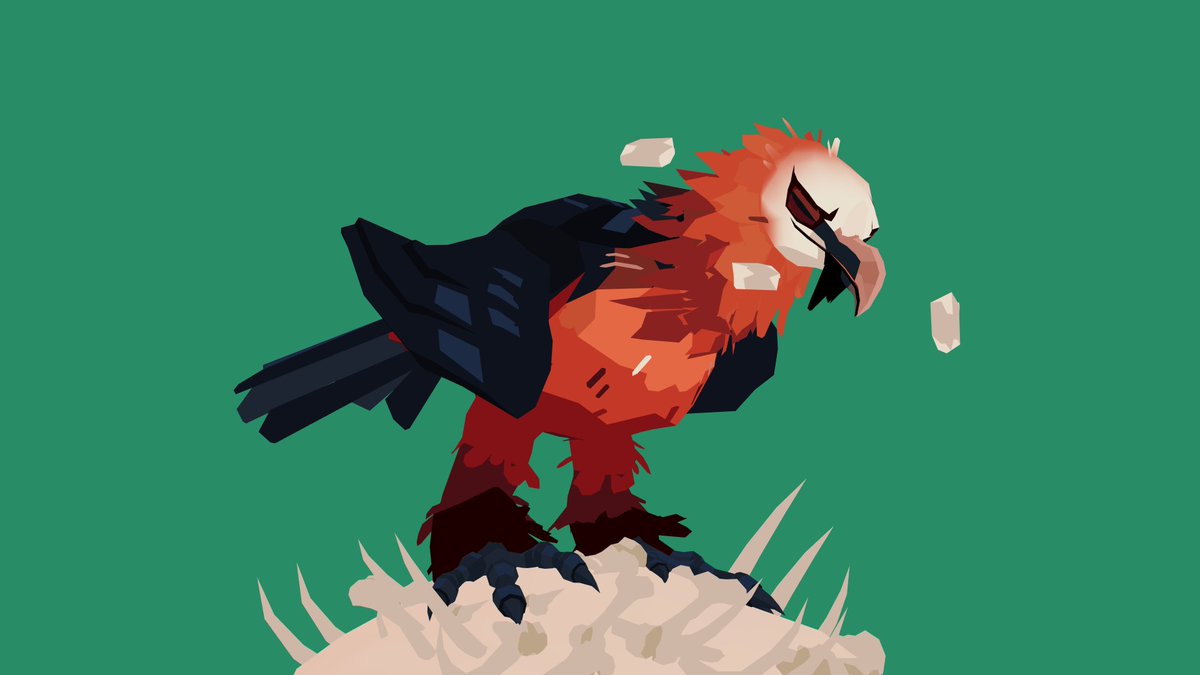
And viola! Below is the finished video! :) (11/?)
And viola! Below is the finished video! :) (11/?)
WELL! I know it& #39;s not a proper tutorial, but I know I always love seeing other people& #39;s processes, so thought I would share mine https://abs.twimg.com/emoji/v2/... draggable="false" alt="🤩" title="Vom Star geblendet" aria-label="Emoji: Vom Star geblendet">
Hopefully it& #39;s been of some use or interest to you if you& #39;ve gotten this far! Cheers!! https://abs.twimg.com/emoji/v2/... draggable="false" alt="✨" title="Funken" aria-label="Emoji: Funken"> (12/ END)
Hopefully it& #39;s been of some use or interest to you if you& #39;ve gotten this far! Cheers!!

 Read on Twitter
 Hopefully it& #39;s been of some use or interest to you if you& #39;ve gotten this far! Cheers!! https://abs.twimg.com/emoji/v2/... draggable="false" alt="✨" title="Funken" aria-label="Emoji: Funken"> (12/ END)" title="WELL! I know it& #39;s not a proper tutorial, but I know I always love seeing other people& #39;s processes, so thought I would share minehttps://abs.twimg.com/emoji/v2/... draggable="false" alt="🤩" title="Vom Star geblendet" aria-label="Emoji: Vom Star geblendet">Hopefully it& #39;s been of some use or interest to you if you& #39;ve gotten this far! Cheers!! https://abs.twimg.com/emoji/v2/... draggable="false" alt="✨" title="Funken" aria-label="Emoji: Funken"> (12/ END)" class="img-responsive" style="max-width:100%;"/>


