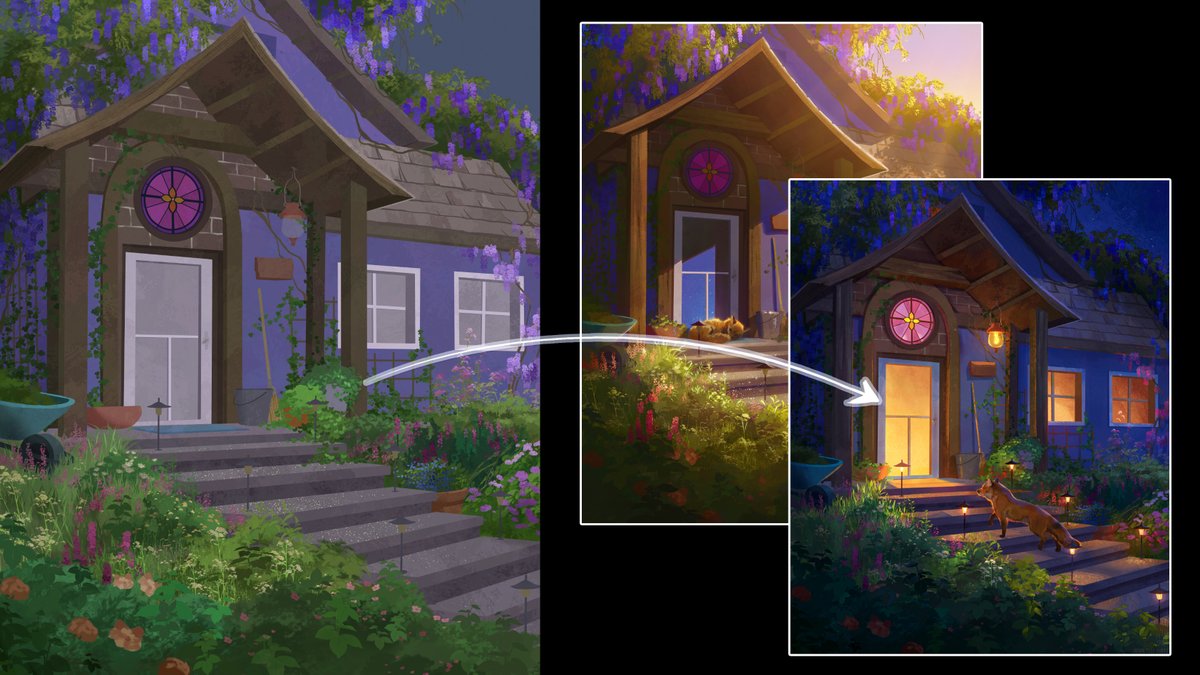
Devin’s Rough Guide to
TIME OF DAY VARIATIONS (thread)
The 3 key steps to time of day variations:
1) Plan key components you can differentiate
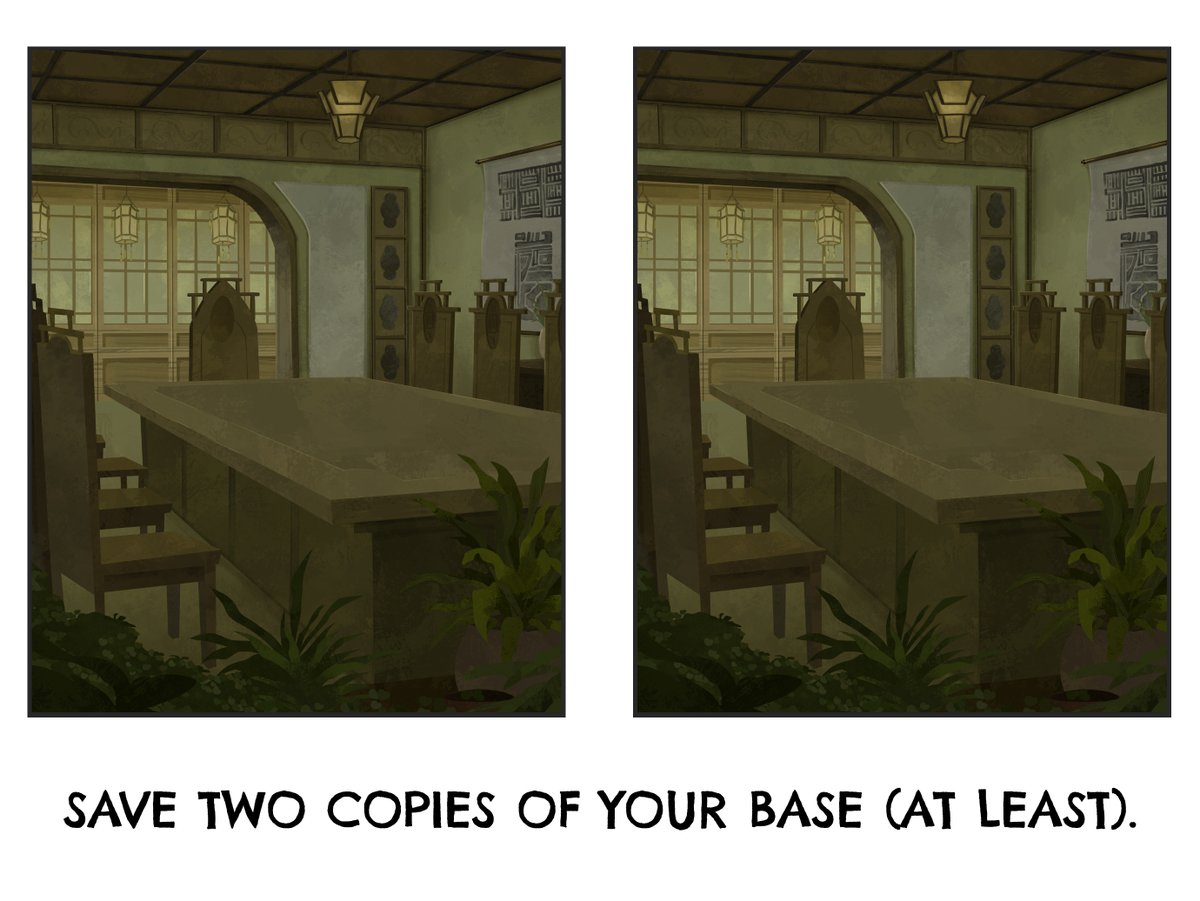
2) Build a neutral base & save 2 copies
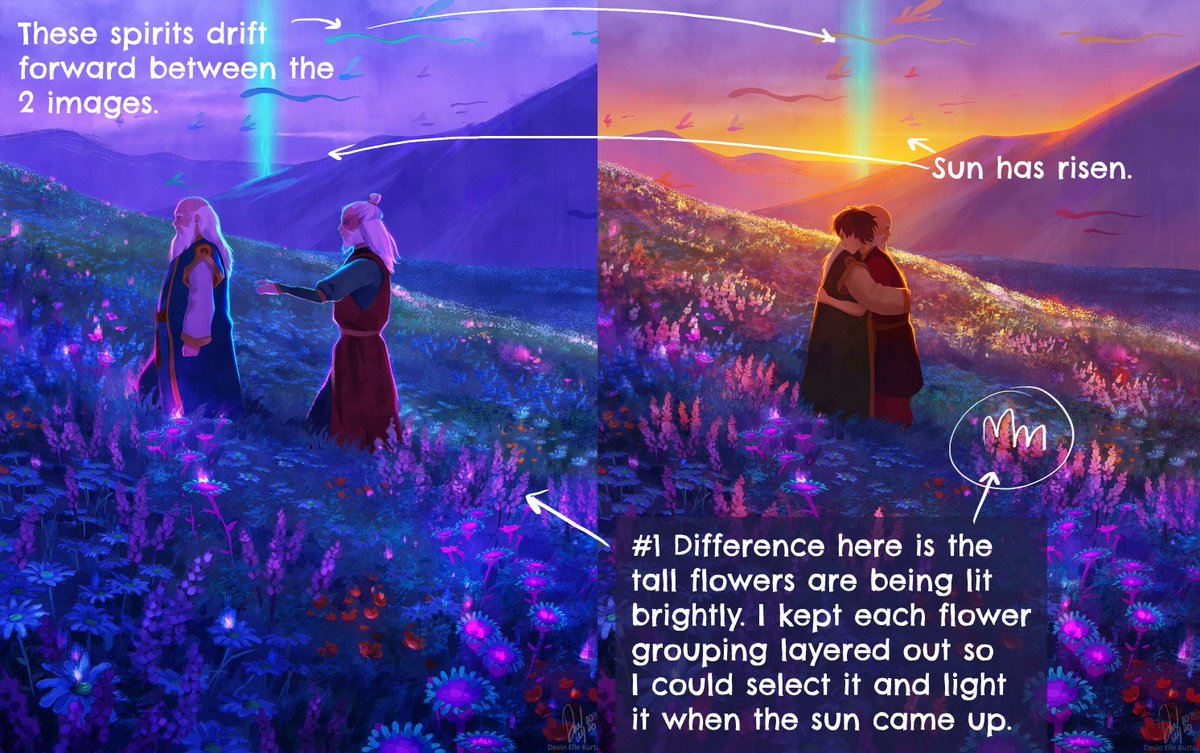
3) Keep every element layered out for individual adjustments
Lets go through all three! (1/?)
TIME OF DAY VARIATIONS (thread)
The 3 key steps to time of day variations:
1) Plan key components you can differentiate
2) Build a neutral base & save 2 copies
3) Keep every element layered out for individual adjustments
Lets go through all three! (1/?)
PLANNING AHEAD OF TIME
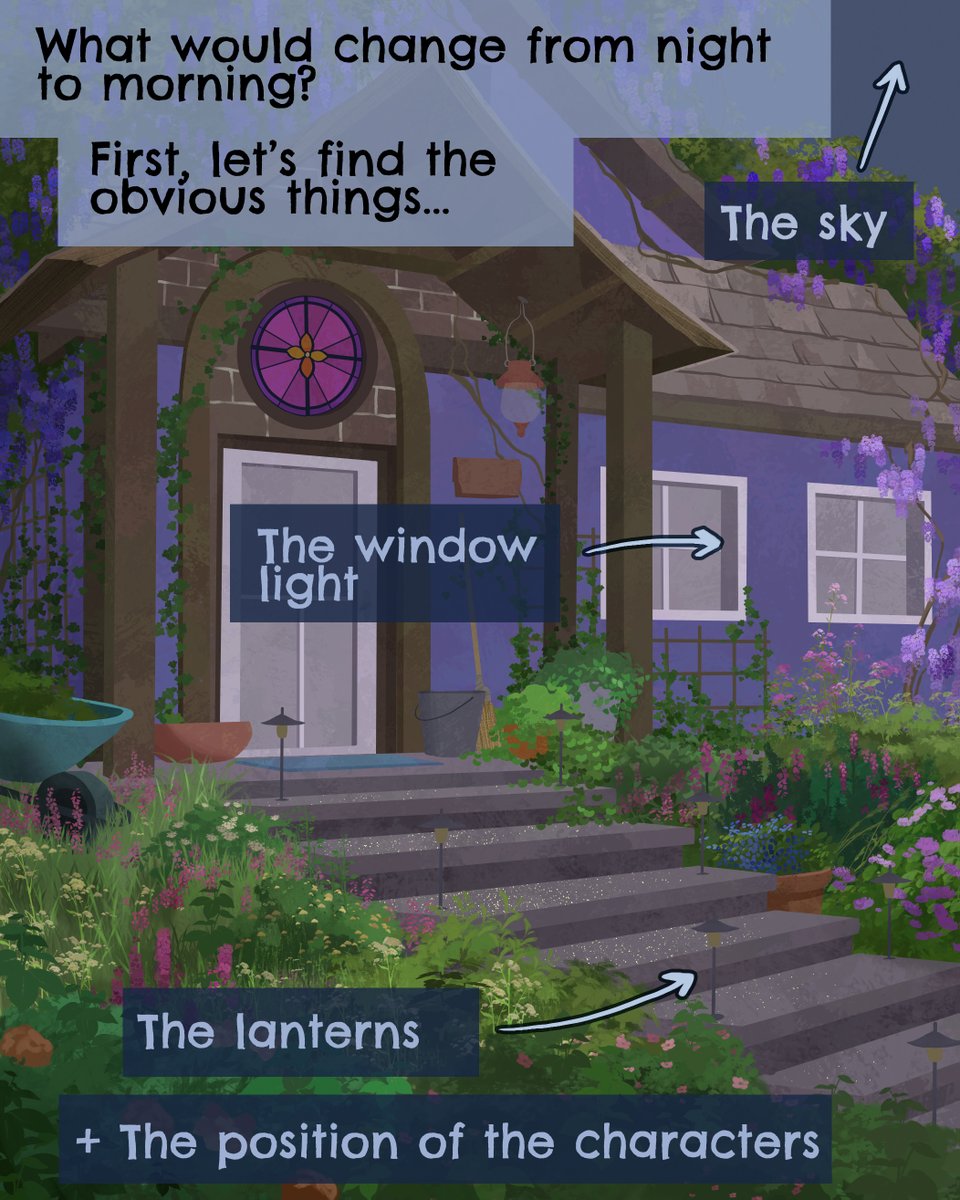
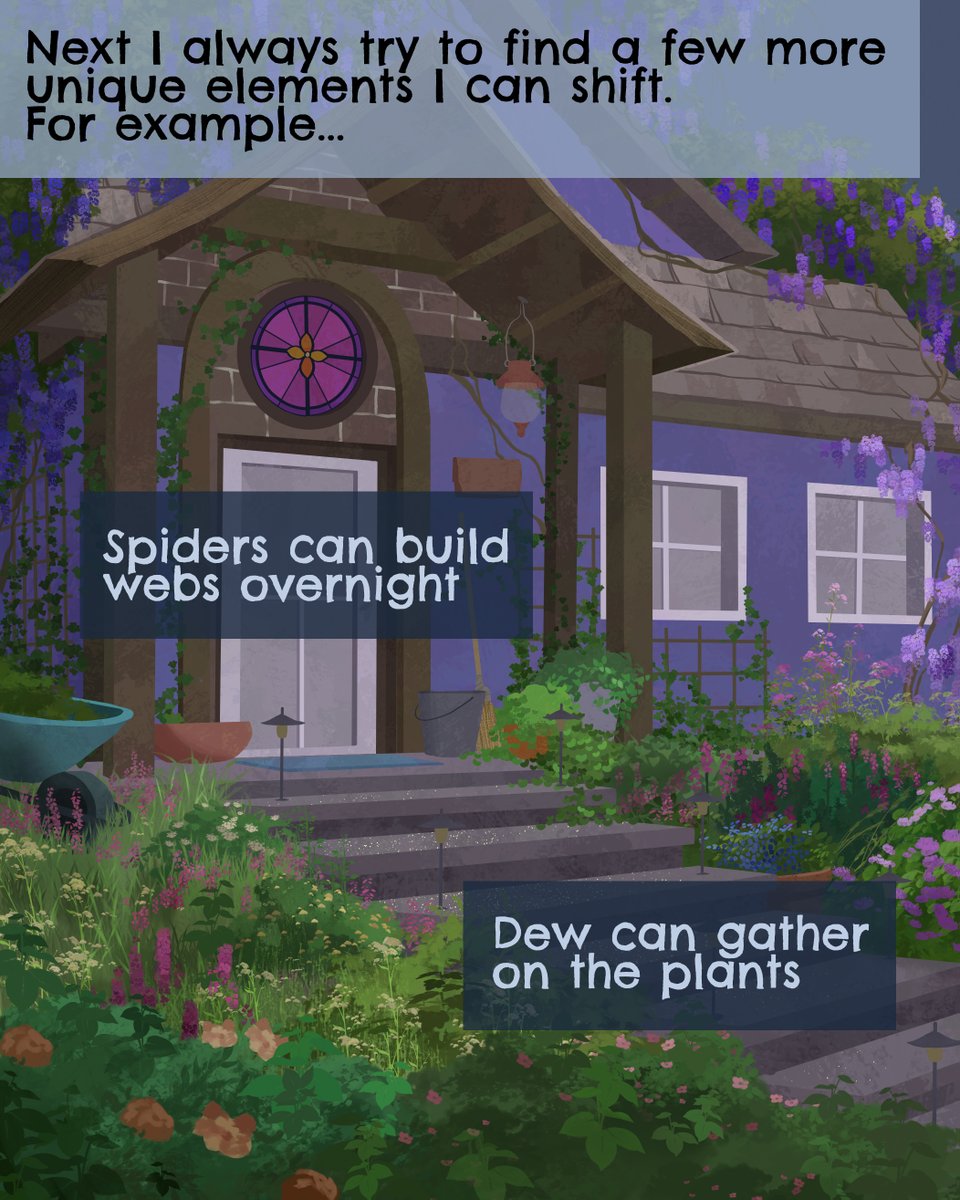
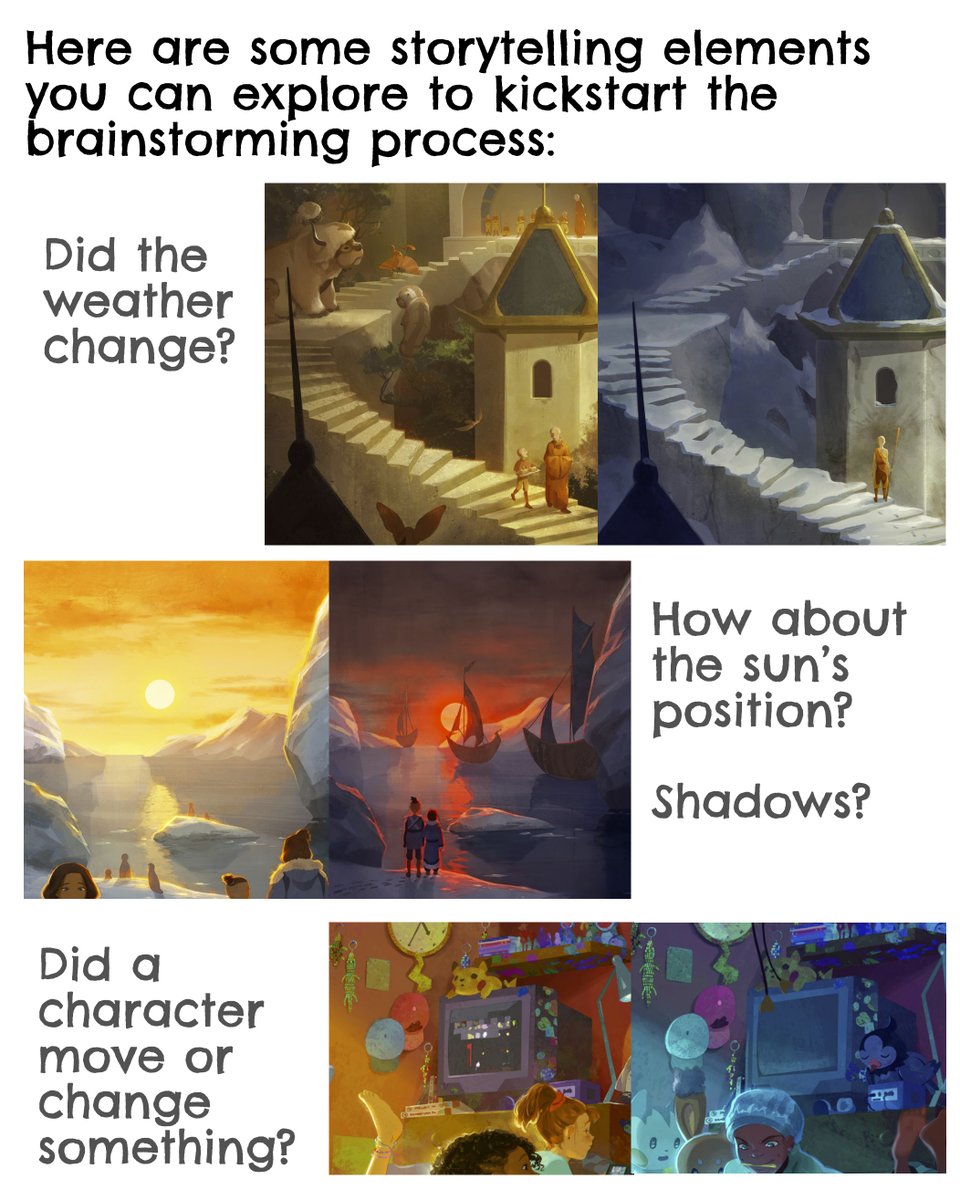
Ask yourself: What story do I want to tell? What unique elements can I add to this image that will change with a time of day (or seasonal/weather/time-jump) difference?
I find the brainstorming process to be very important.
Ask yourself: What story do I want to tell? What unique elements can I add to this image that will change with a time of day (or seasonal/weather/time-jump) difference?
I find the brainstorming process to be very important.
GATHERING REFERENCE
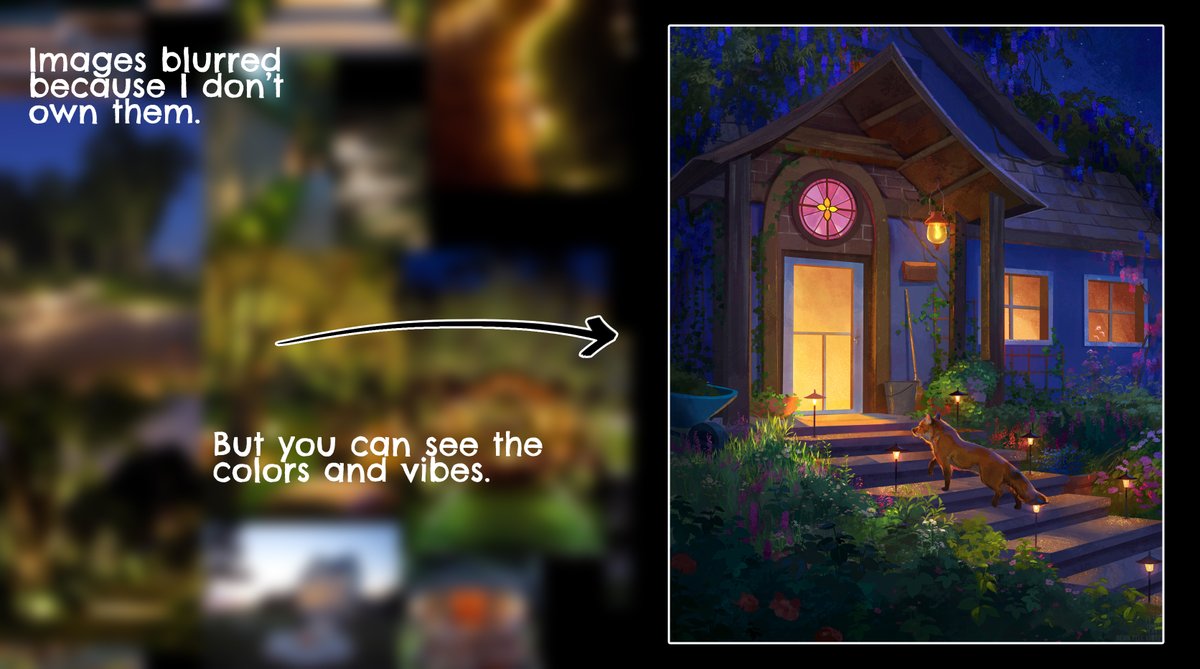
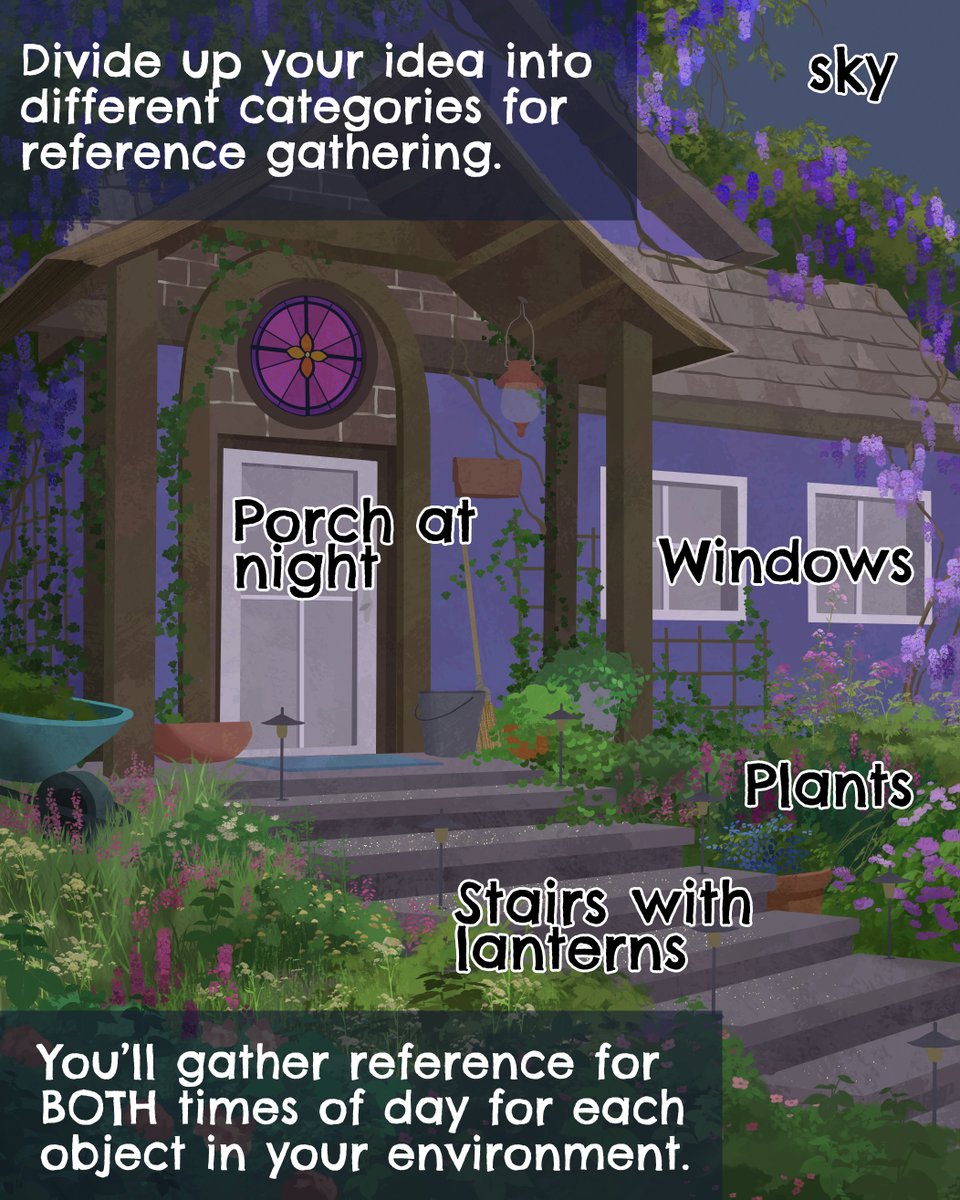
The next step I take is to gather a lot of reference for each time of day. This reference gathering will inform my brainstorming; I& #39;m searching for new ideas in the reference for each time of day.
I will create separate mood-boards for each time of day.
The next step I take is to gather a lot of reference for each time of day. This reference gathering will inform my brainstorming; I& #39;m searching for new ideas in the reference for each time of day.
I will create separate mood-boards for each time of day.
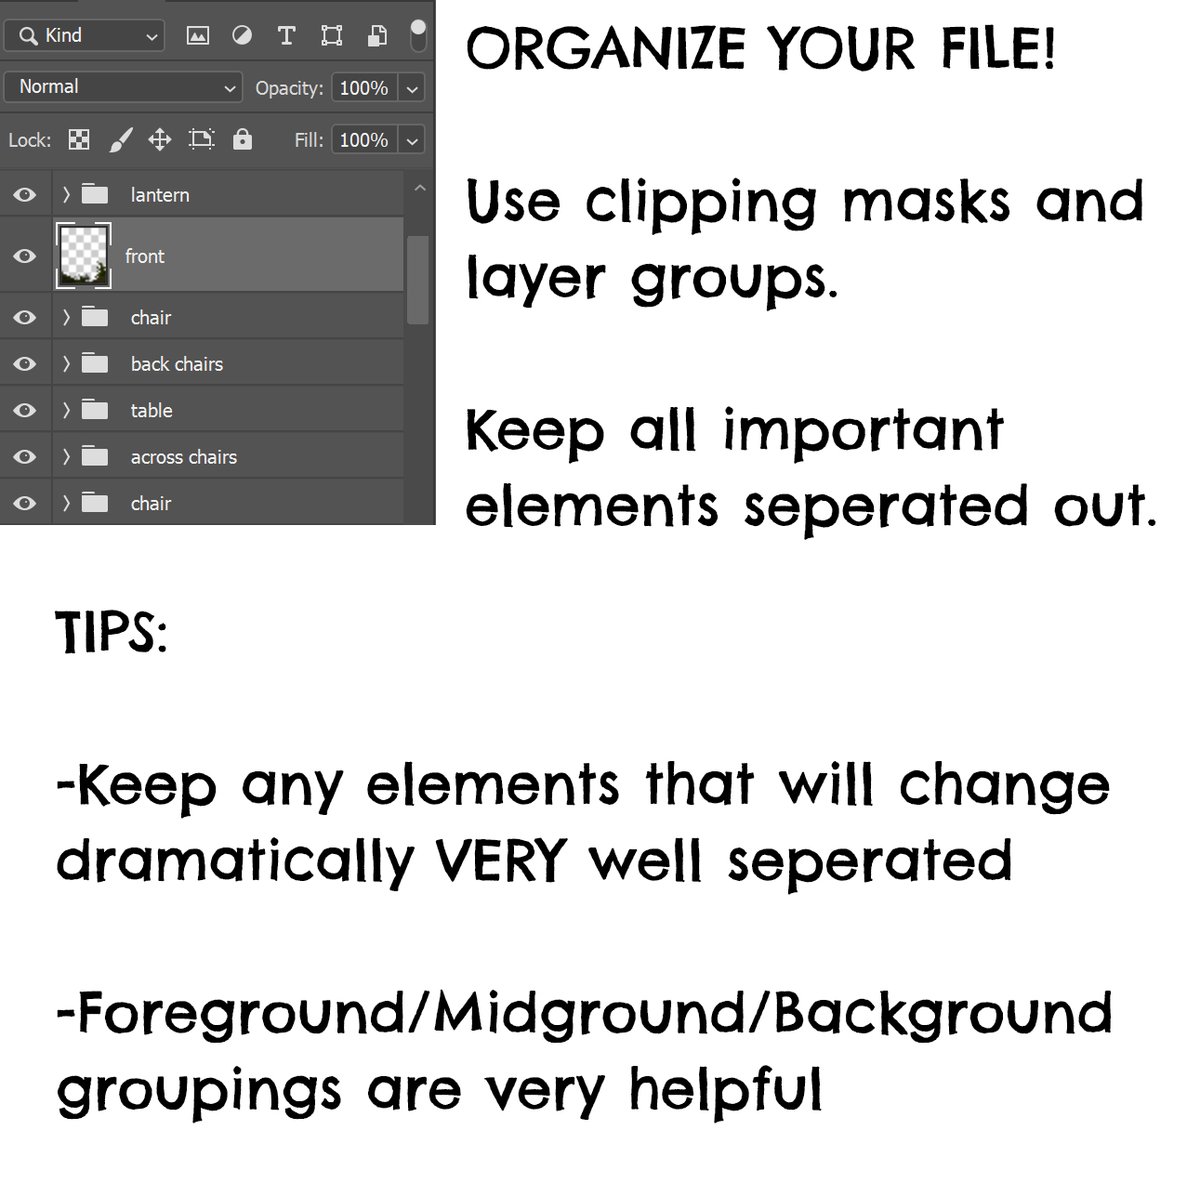
As I go about this reference gathering, I& #39;m thinking about what each element of the image will look like in both versions. This informs how I& #39;ll keep the file layered out. I want any element that will change between versions to be fully layered out & organized.
BUILDING A NEUTRAL BASE
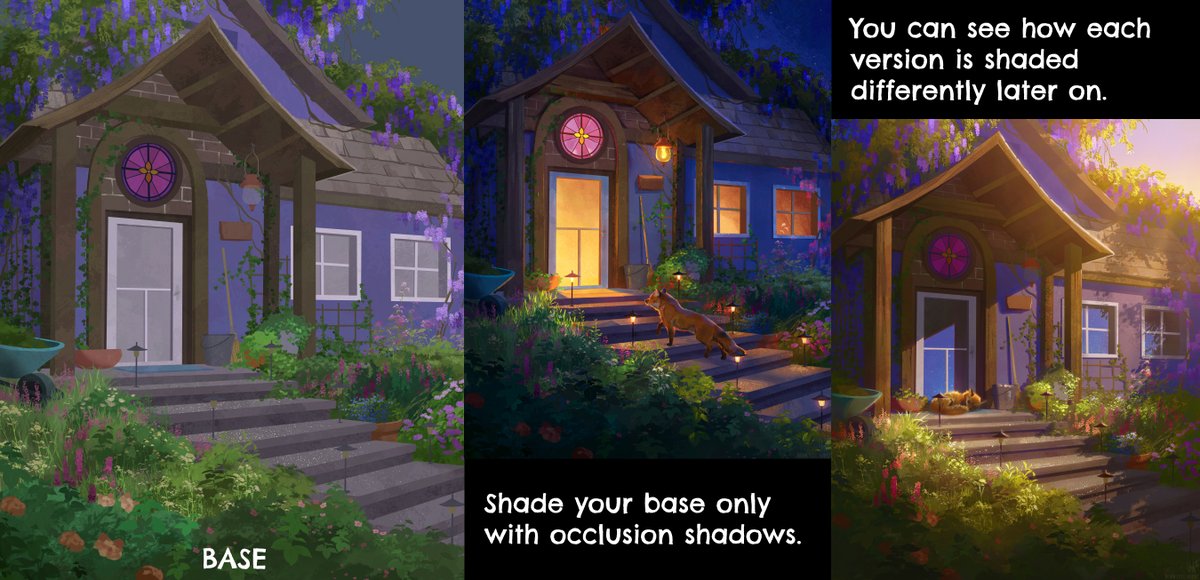
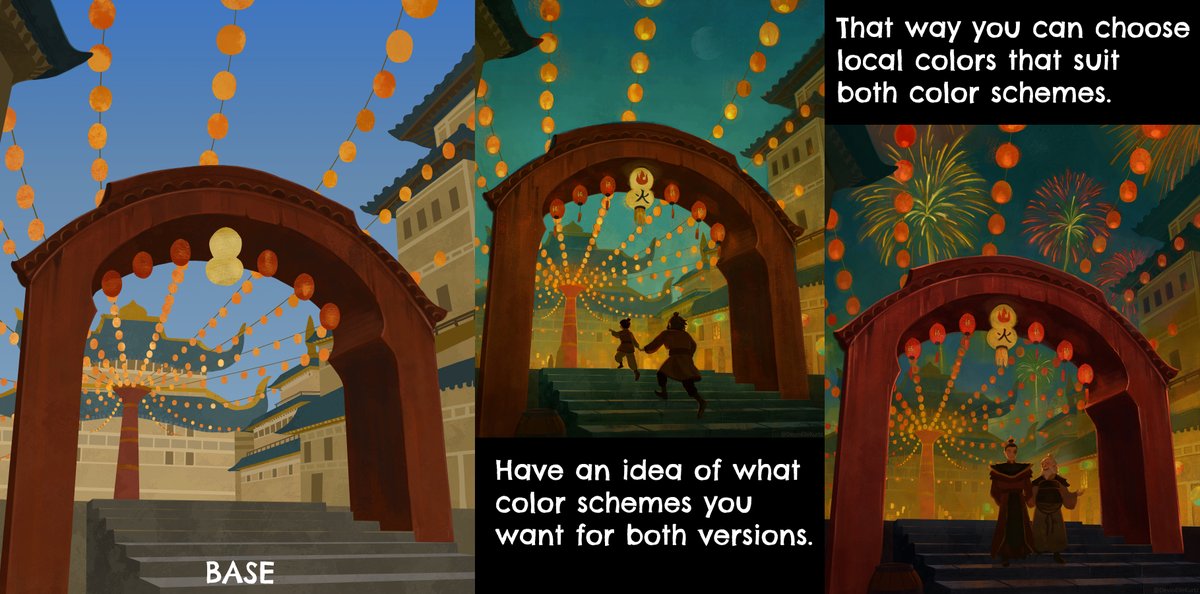
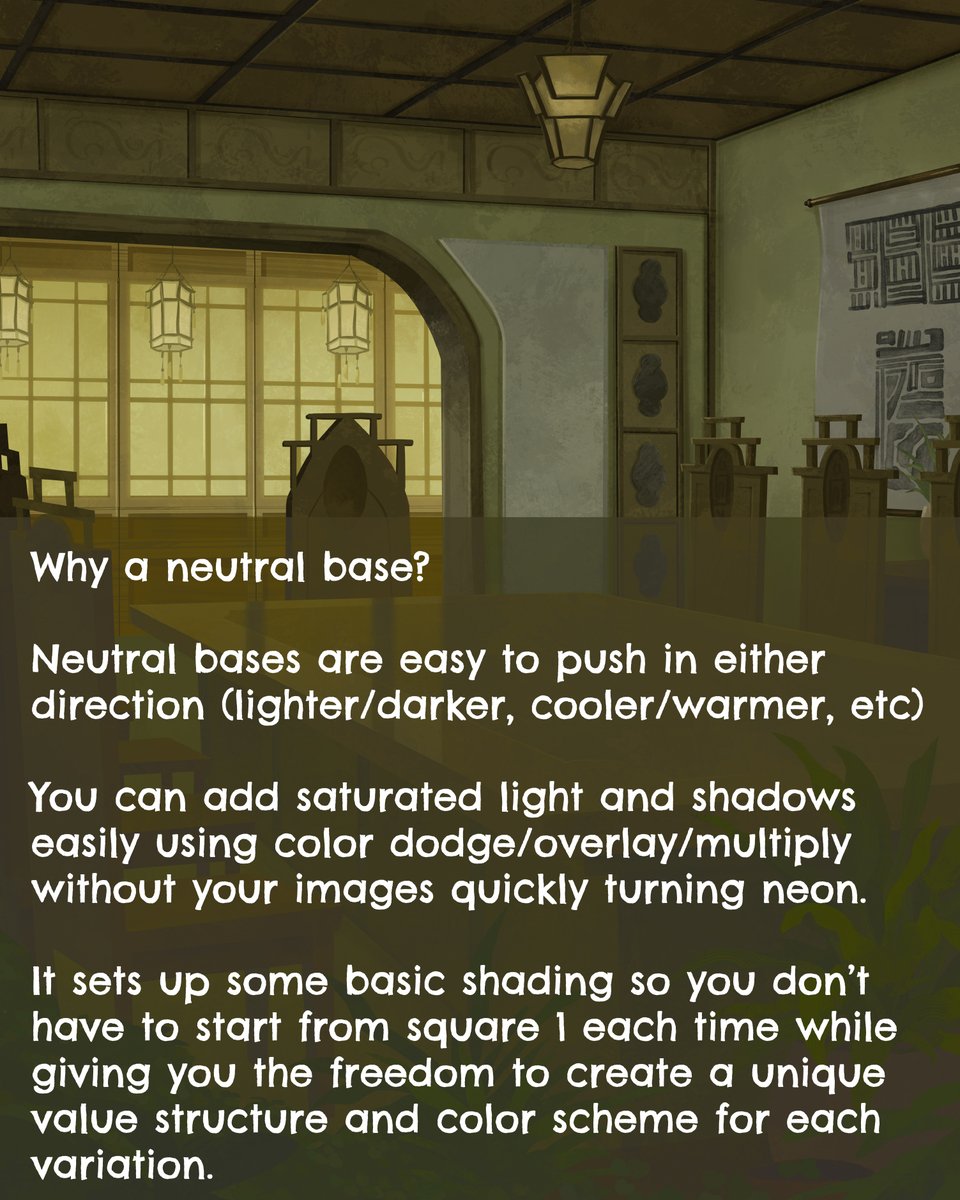
Now that we’ve figured out what we’re going to do, it’s time to build a neutral base that can be used for both images. I keep my bases muted with low contrast & only occlusion shadows. I& #39;ve included 4 examples of these bases here.
Now that we’ve figured out what we’re going to do, it’s time to build a neutral base that can be used for both images. I keep my bases muted with low contrast & only occlusion shadows. I& #39;ve included 4 examples of these bases here.
KEEP EVERYTHING LAYERED OUT
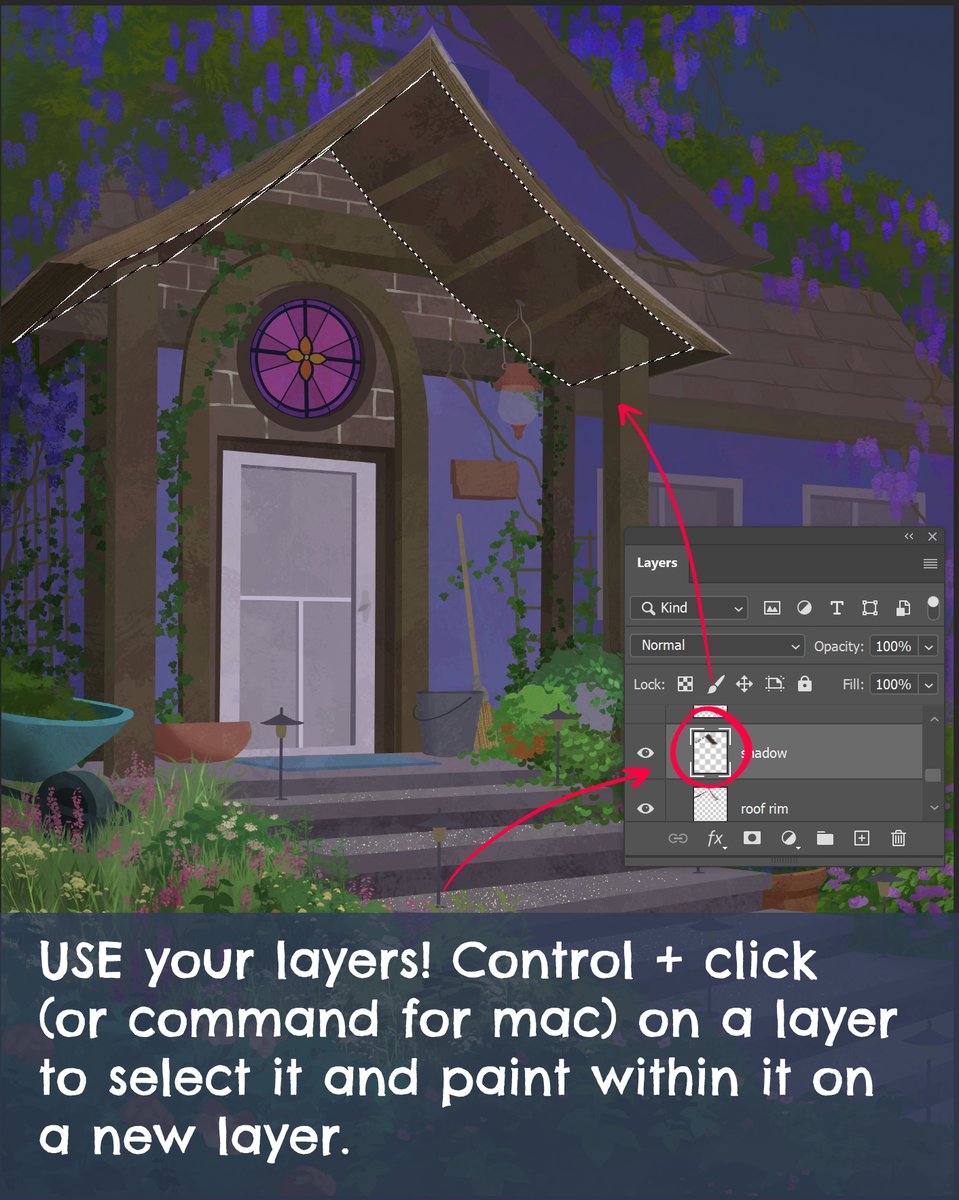
This is key. Keep every element of the neutral base layered out, organized, labeled, and grouped. This will help you adjust each element individually for a more natural looking end result & easier painting process.
This is key. Keep every element of the neutral base layered out, organized, labeled, and grouped. This will help you adjust each element individually for a more natural looking end result & easier painting process.
NOW WE’RE ALL SET UP… LET’S SHADE AND LIGHT THESE!
It’s harder for me to tell you exactly what to do from here because it will depend so heavily on what you’re painting, but let me give you some general tips, advice, and tools.
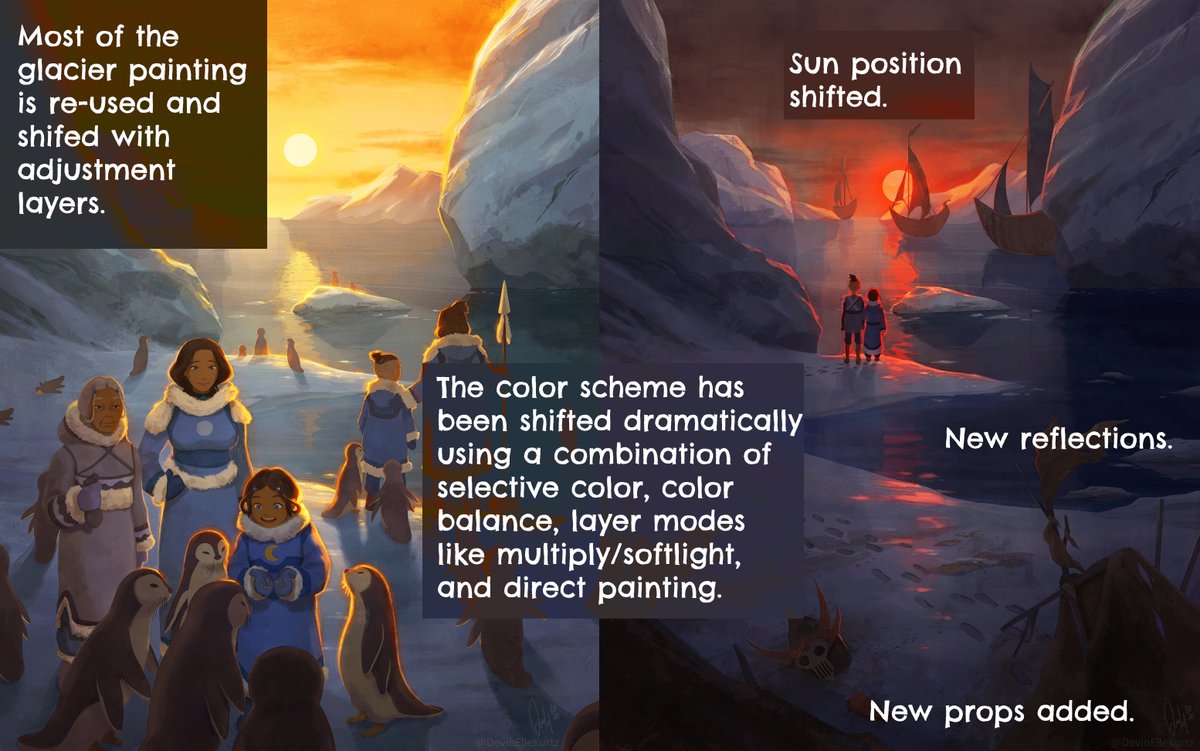
Color balance & selective color are king!!
It’s harder for me to tell you exactly what to do from here because it will depend so heavily on what you’re painting, but let me give you some general tips, advice, and tools.
Color balance & selective color are king!!
Now let’s get more into the nitty gritty of little hacks that can speed up the lighting/painting process.
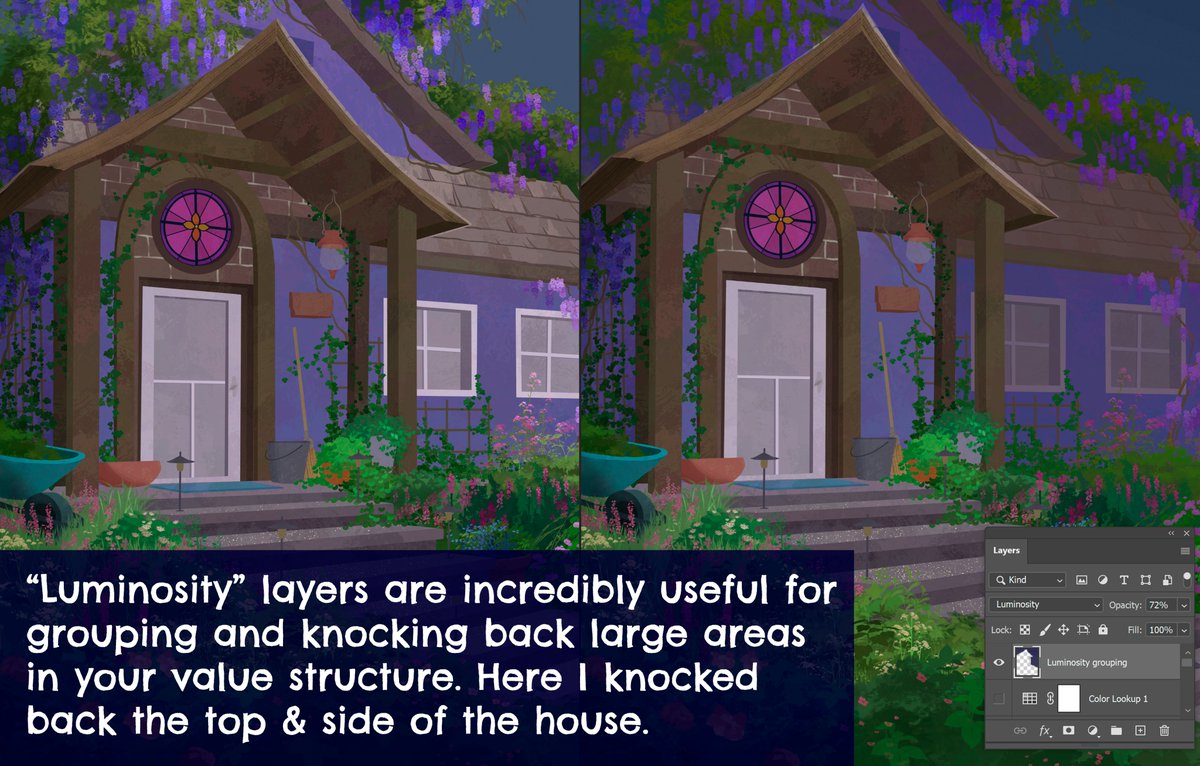
I try to work in LARGE groupings of light & shadows areas first, then slowly work down toward smaller details after the vibe has been established. Big statements first!
I try to work in LARGE groupings of light & shadows areas first, then slowly work down toward smaller details after the vibe has been established. Big statements first!
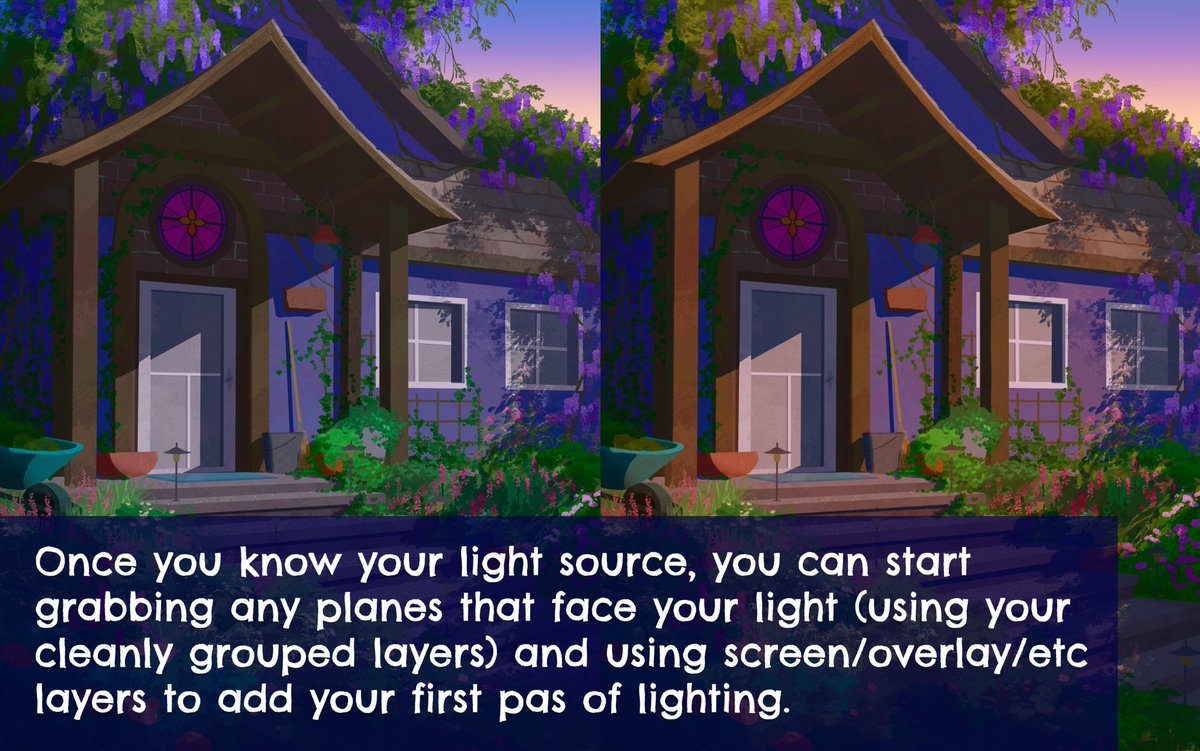
Here are some examples of everything that was going through my head while creating each of these dual sets. Pre-planning and organizing your files so that the elements that you want to change are easily adjustable is the #1 tip.
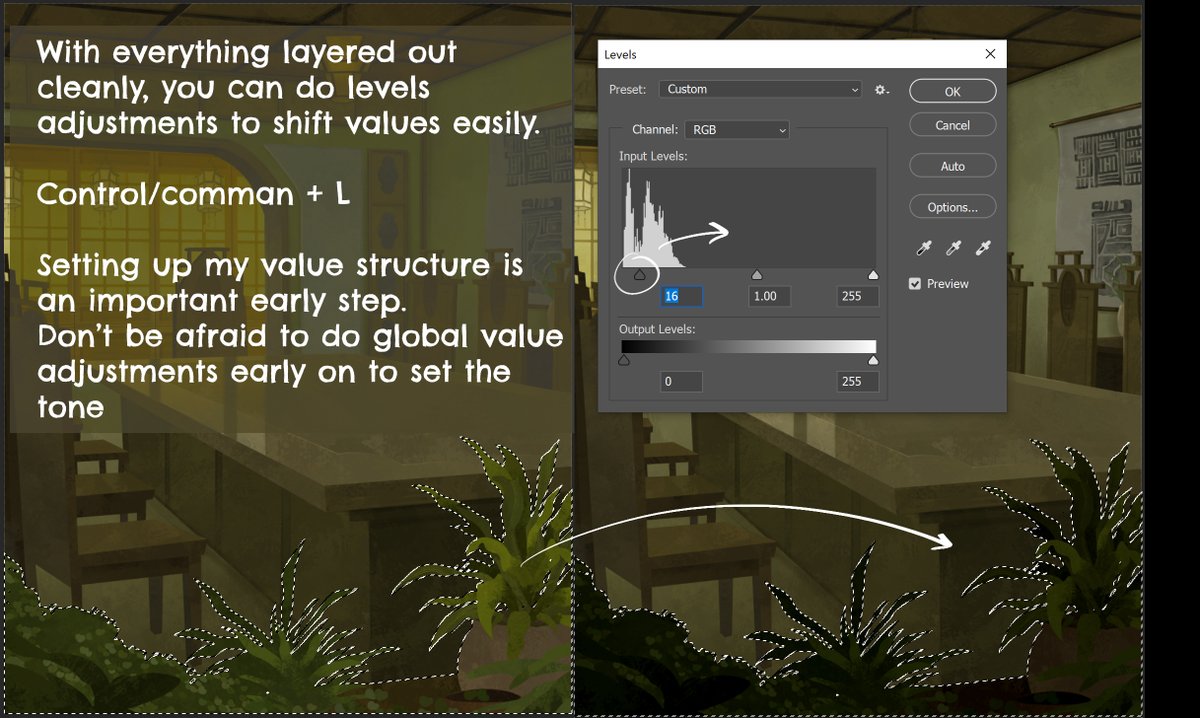
Remember to set up your value structures early. I group my bases into foreground, midground, and background and then when painting the final pieces, one of the first things I do is adjust each of those zones to where I want it.
Final thoughts: I love this both as a learning exercise & as a method of storytelling. Working in dual-sets pushed my storytelling ability as well as my ability to shade and light in different lighting situations. As always, these are just things that have worked for me! YMMV!

 Read on Twitter