How to lay out a multi-layered reflection scene.
This complex #BigCityGreens shot has two backgrounds, plus the characters.
A step-by-step thread:
This complex #BigCityGreens shot has two backgrounds, plus the characters.
A step-by-step thread:
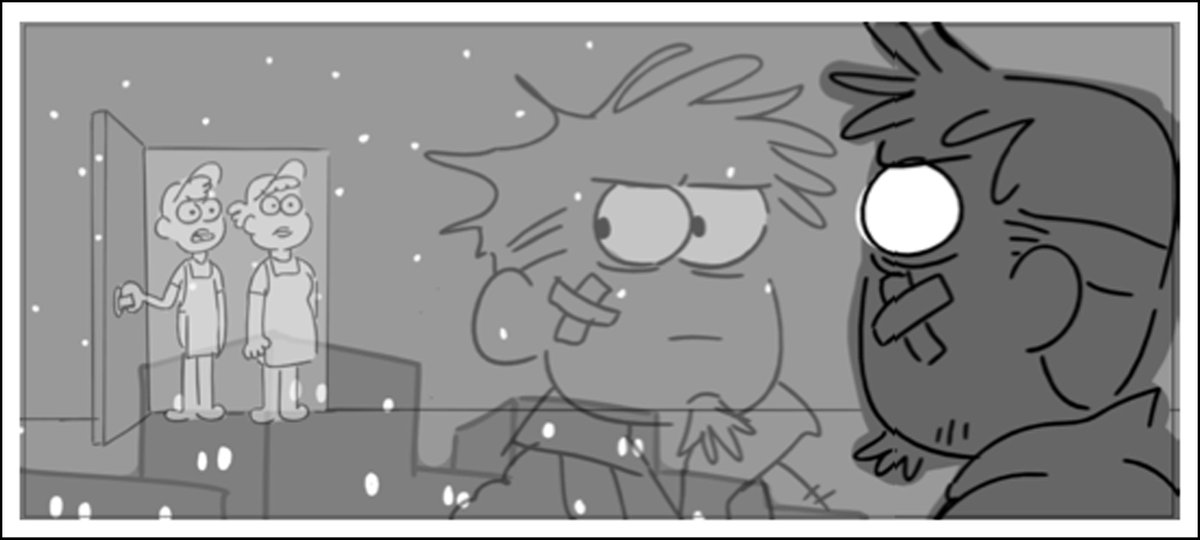
In TV animation, the layout process starts with the storyboard.
Do you notice the perspective is wrong?
It& #39;s impossible to simultaneously look up at the cityscape out the window and, through reflection, see horizontally across the room.
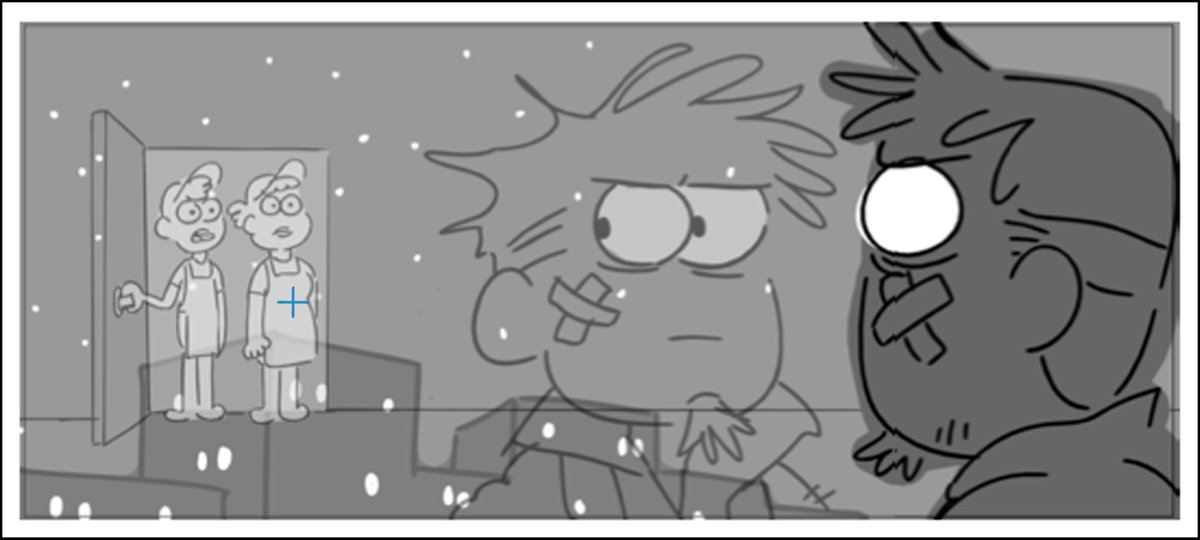
Do you notice the perspective is wrong?
It& #39;s impossible to simultaneously look up at the cityscape out the window and, through reflection, see horizontally across the room.
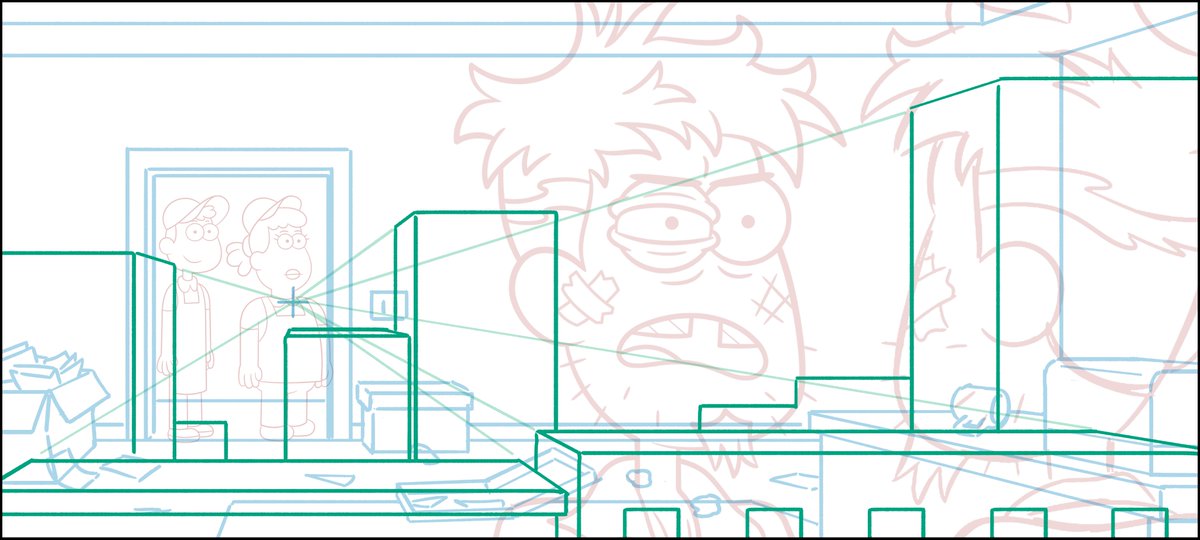
To remedy that, I need to define a single perspective.
I base it on the characters since their positions are way more important than the buildings. I& #39;ll redesign the city around them.
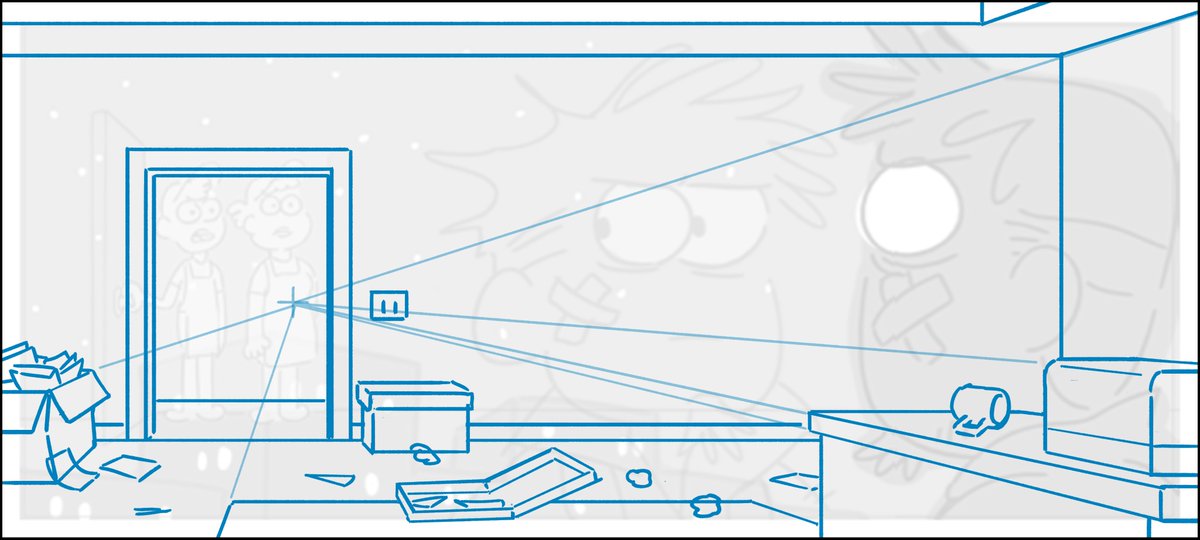
I place my vanishing point within the doorway because that& #39;s the foreground character& #39;s focus.
I base it on the characters since their positions are way more important than the buildings. I& #39;ll redesign the city around them.
I place my vanishing point within the doorway because that& #39;s the foreground character& #39;s focus.
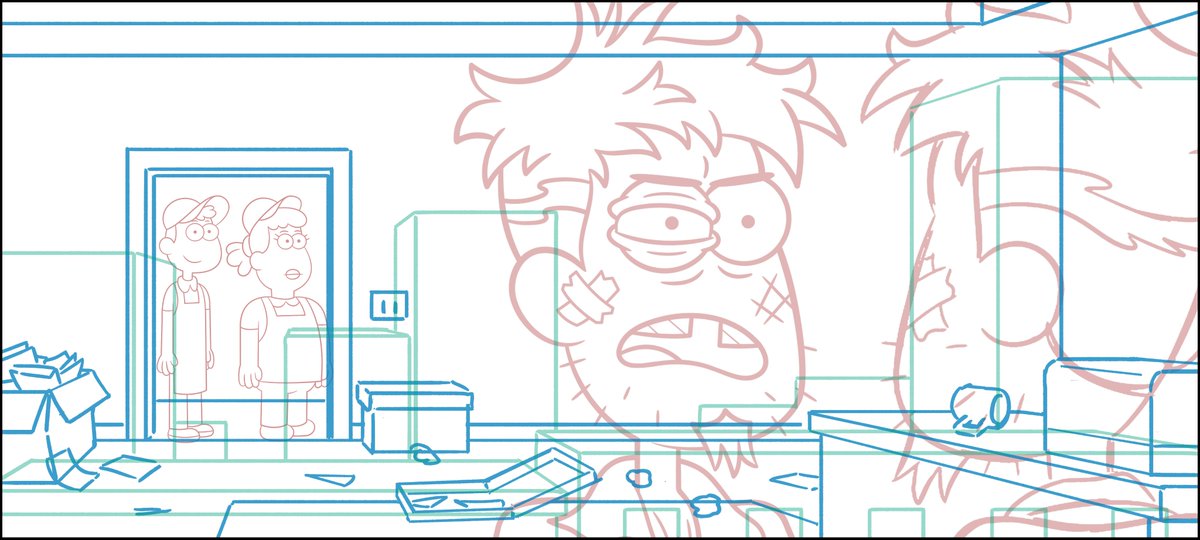
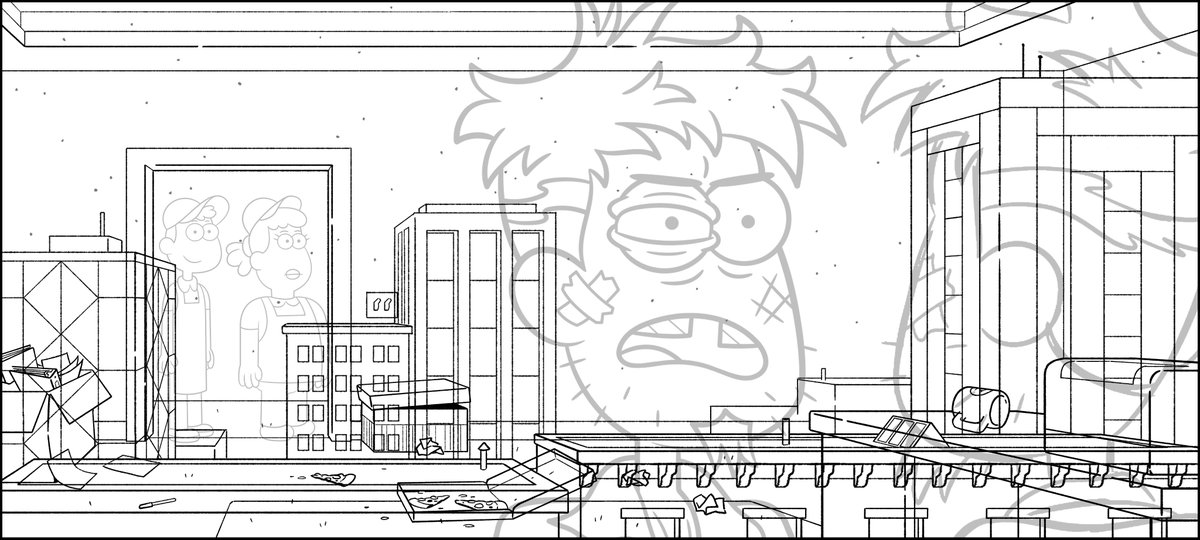
First I define the room because, again, that space is more important to the characters.
I& #39;ve drawn this office space for other shots so it needs to hook up with that, including the mess on the floor.
Remember, this is a reflection so I take care to draw it all mirrored.
I& #39;ve drawn this office space for other shots so it needs to hook up with that, including the mess on the floor.
Remember, this is a reflection so I take care to draw it all mirrored.
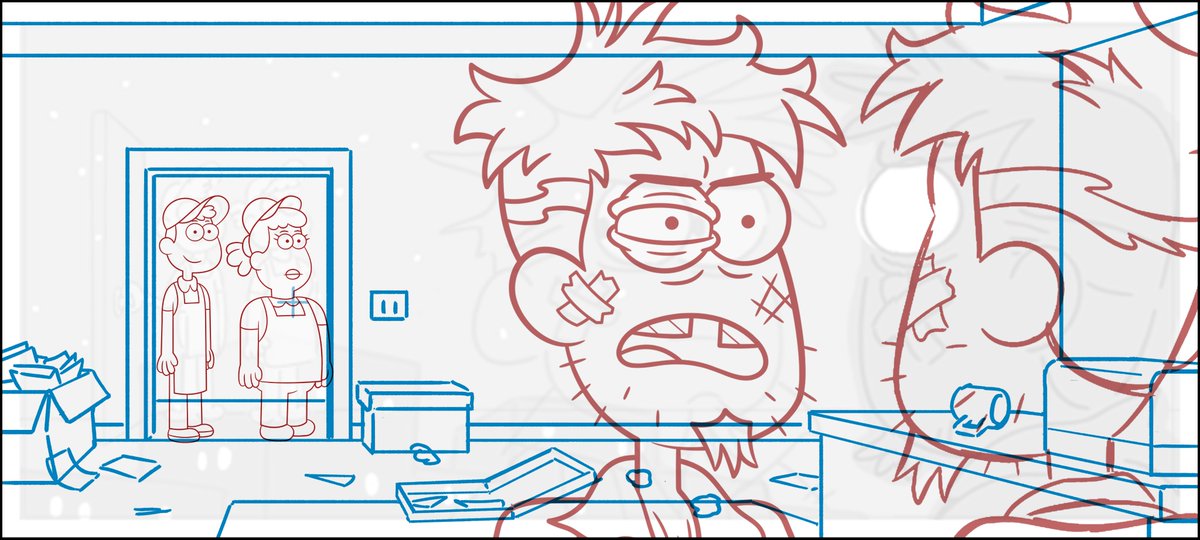
I usually don& #39;t need to lay in the characters but with a shot this complex, I want to make sure to plan around them.
I place into the scene these drawings from our talented character designers, using the storyboard as a guide.
Already I& #39;m trying to avoid tangents.
I place into the scene these drawings from our talented character designers, using the storyboard as a guide.
Already I& #39;m trying to avoid tangents.
I draw the cityscape to not interfere with characters, leaving negative space (the sky) around their faces for clarity.
But I don& #39;t put too much sky around them. We& #39;ll need to see the buildings through the characters in places in order for the reflection effect to work.
But I don& #39;t put too much sky around them. We& #39;ll need to see the buildings through the characters in places in order for the reflection effect to work.
I check to see how everything is working together before I clean up the line work in the background.
Another thing about the cityscape, is that it has to hook up with previously established buildings out the window. I push and pull their proportions to work for this shot.
Another thing about the cityscape, is that it has to hook up with previously established buildings out the window. I push and pull their proportions to work for this shot.
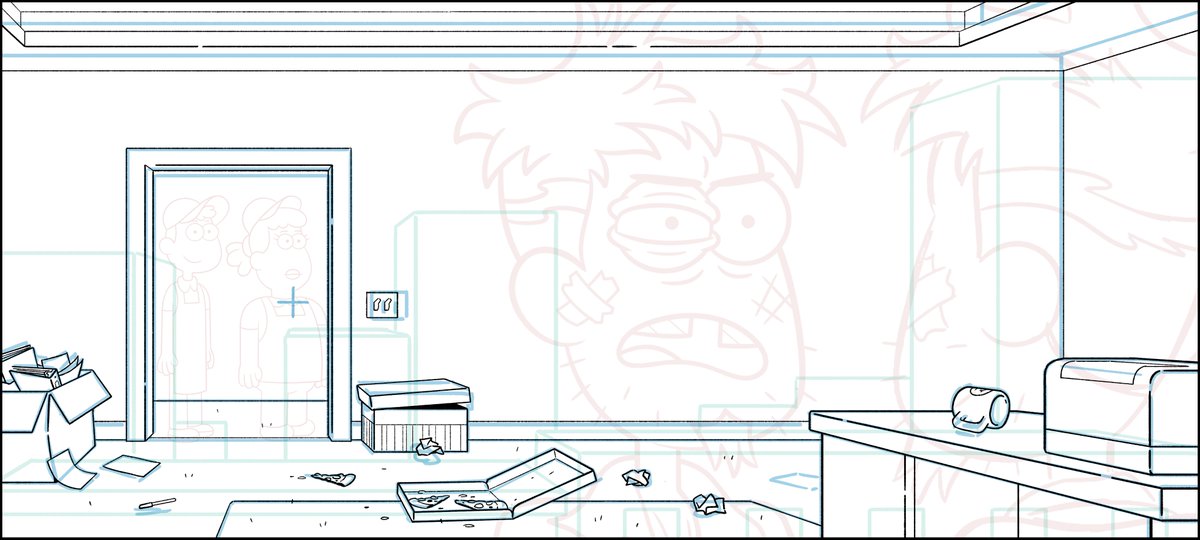
In the same order, I begin cleaning up the office first, refining details as I go along.
You can see I decided to lower the ceiling here to show a little more architectural detail. This will layer nicely with the blank sky.
You can see I decided to lower the ceiling here to show a little more architectural detail. This will layer nicely with the blank sky.
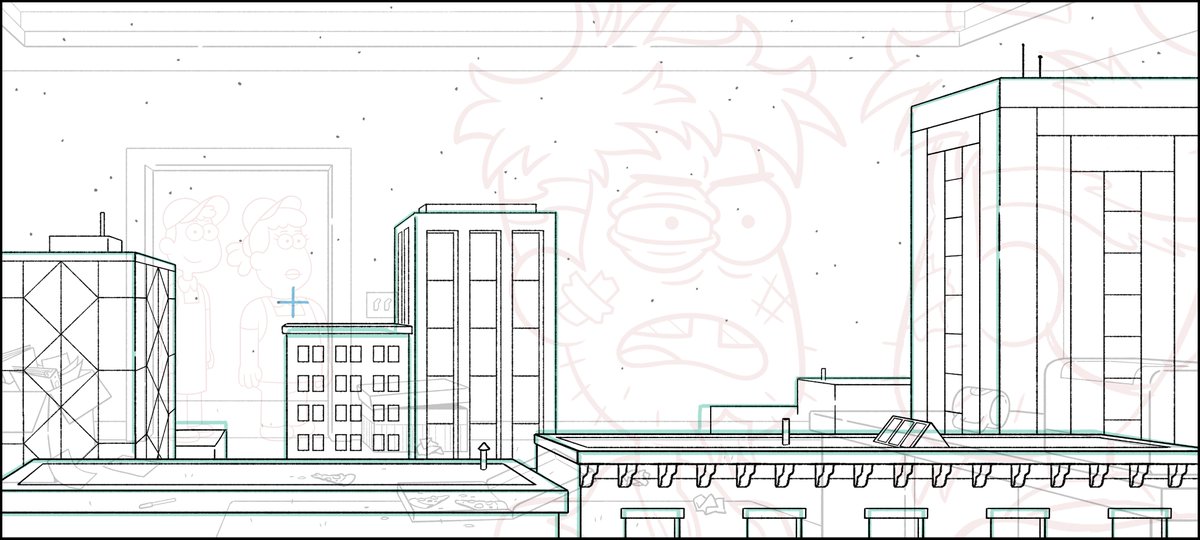
Next I clean up the cityscape layer.
The building styles are taken from the existing backgrounds of the window view.
Everything adheres to that same vanishing point.
The building styles are taken from the existing backgrounds of the window view.
Everything adheres to that same vanishing point.
Finally, here are the complete background and character layers laid out together.
You can see how the one point perspective pulls the scene together.
Some of it gets really busy and complex where it overlaps but it will become more clear in color.
You can see how the one point perspective pulls the scene together.
Some of it gets really busy and complex where it overlaps but it will become more clear in color.
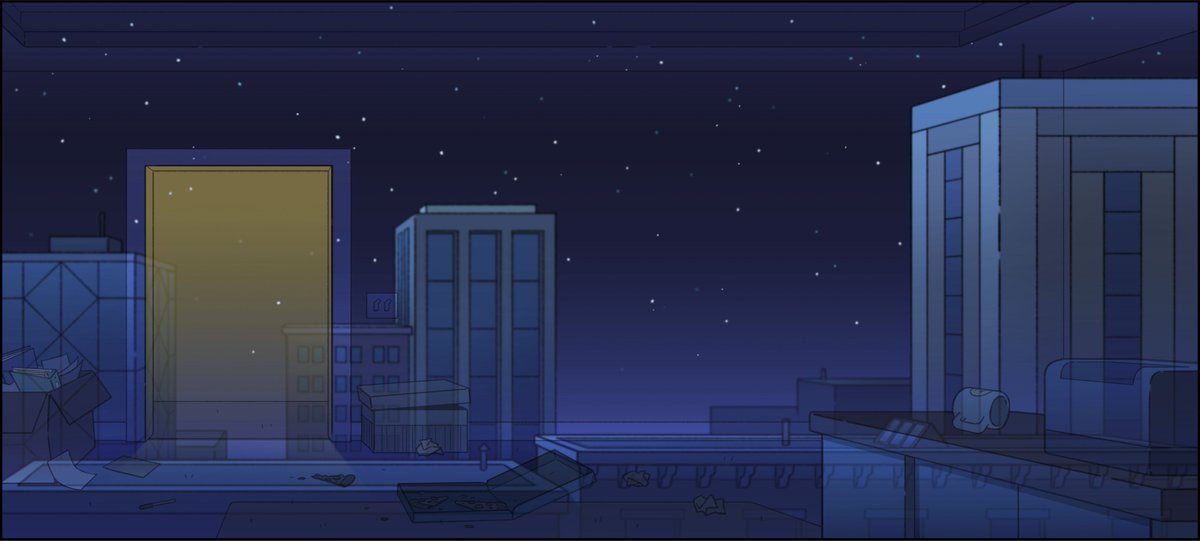
Looking at just the painted background (painted by another artist), you can see how the reflection works against the cityscape.
Let& #39;s look at it all together again.
The most complicated part of the reflection overlap is between the foreground & background characters.
As your eye follows their conversation, that& #39;s the constant visual cue that they& #39;re seen in reflection, in addition to their transparency.
The most complicated part of the reflection overlap is between the foreground & background characters.
As your eye follows their conversation, that& #39;s the constant visual cue that they& #39;re seen in reflection, in addition to their transparency.
The shot opens on the right side of the frame with no characters, then Chip and his reflection enter from opposite sides.
It very clearly establishes the reflection right off the bat.
We don& #39;t need to rely on the background to do that at all. But every bit helps to sell it.
It very clearly establishes the reflection right off the bat.
We don& #39;t need to rely on the background to do that at all. But every bit helps to sell it.

 Read on Twitter