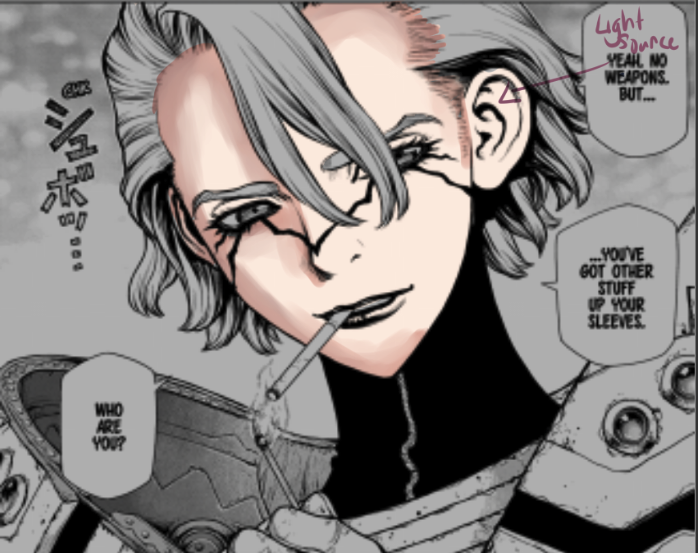
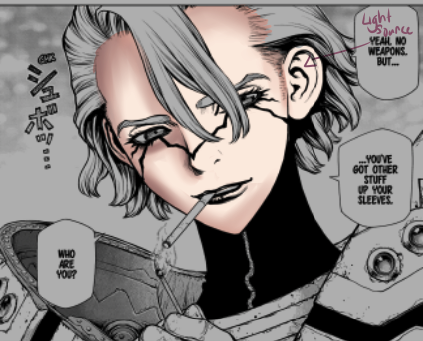
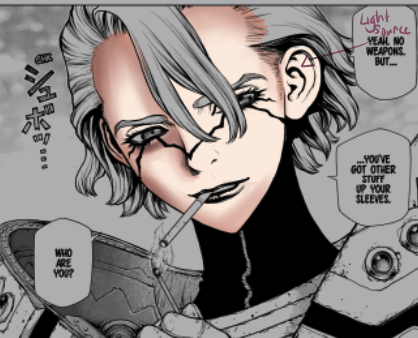
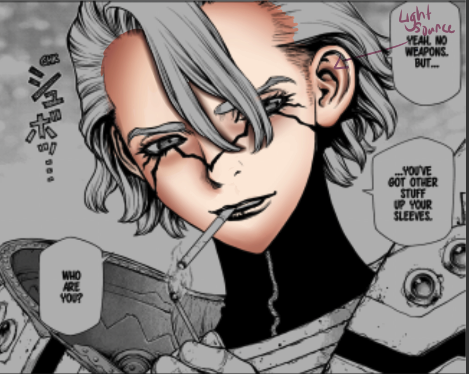
~a tutorial on how i color skin on clip studio paint ~
first, make sure your canvas color is any other color aside from white. when you color on a white background, it kinda skews your color choices and makes you accidentally choose the wrong colors +
first, make sure your canvas color is any other color aside from white. when you color on a white background, it kinda skews your color choices and makes you accidentally choose the wrong colors +
there& #39;s a scientific explanation for this but idk how to describe it correctly
normally i would color the background first (so that you can identify the light source for the subject of the manga panel) but since this is going to be a "short" tutorial, i will ignore the bg
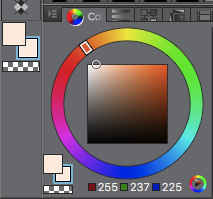
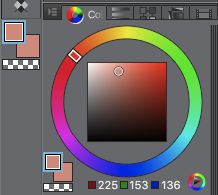
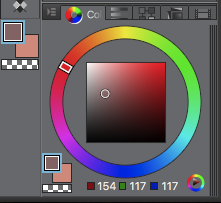
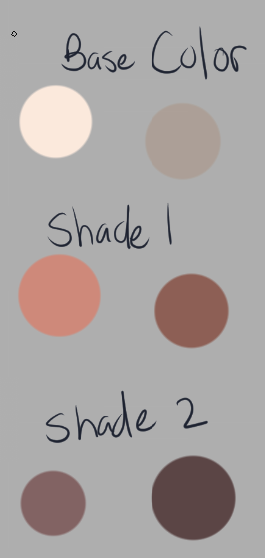
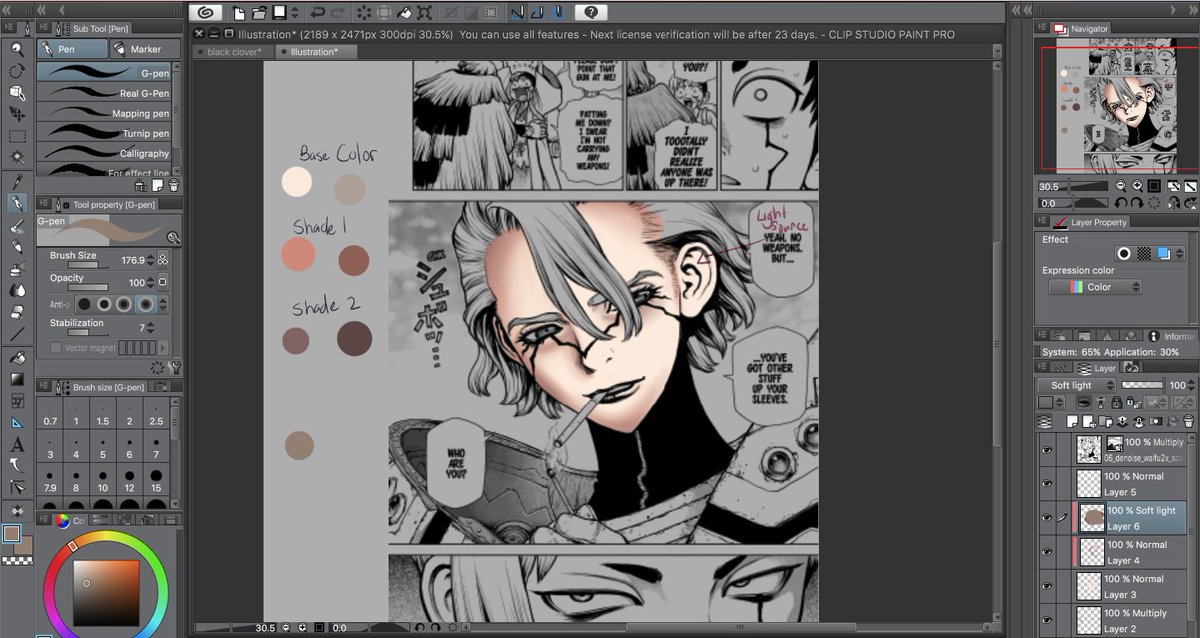
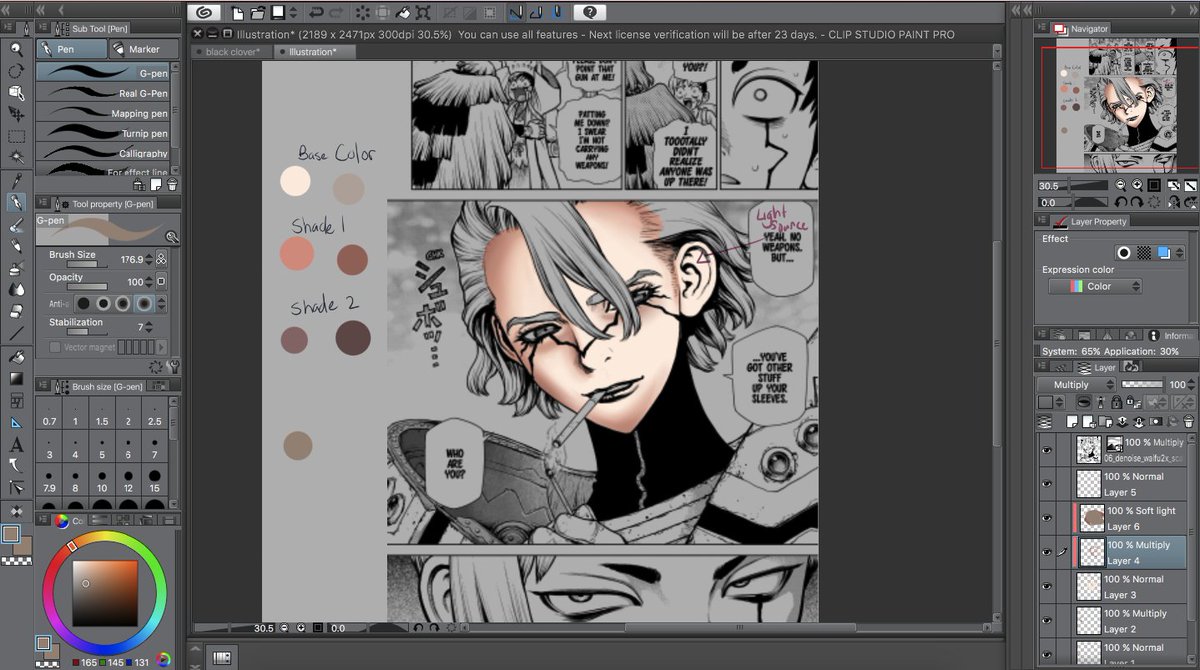
on the left side are the colors for skin i typically choose. how i chose the base color is that i chose an orange color with a white tint (tint is when you add white to a color). then for the first shade color, i move the color wheel cursor towards the red, and then i move the +
color box cursor to the bottom right slightly. if you were to just add shade (shade is adding black to the color) to your base color, then your coloring will look kinda gray and not lively (idk how to describe this either lol). for the second shade color, i use a grayish red
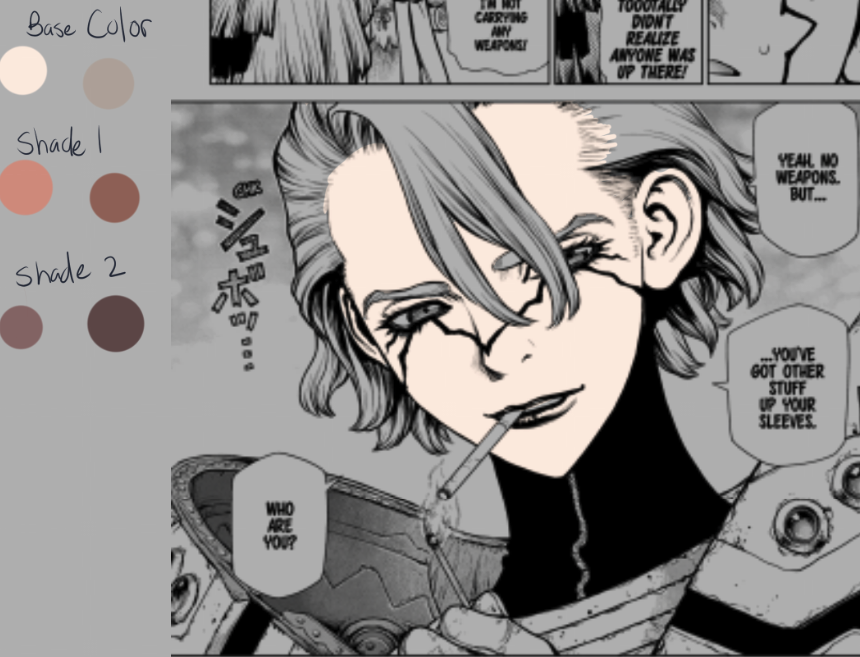
use the base color for the skin. it& #39;s ok if there& #39;s some of the skin color on the hair because the hair coloring will cover it up
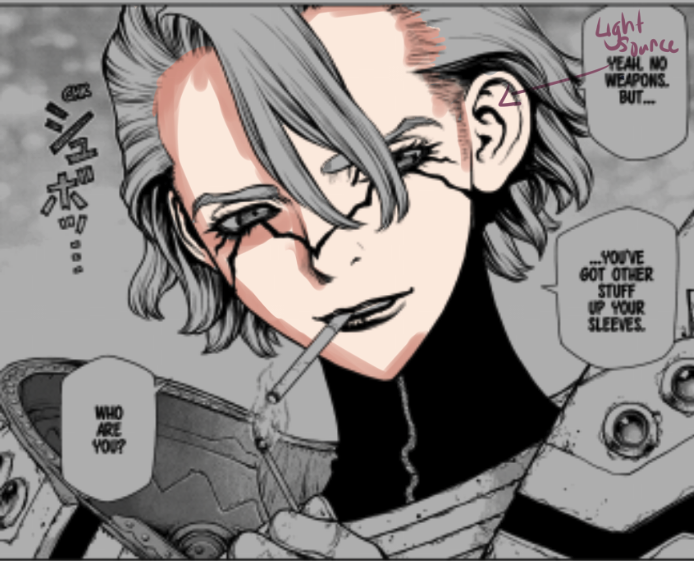
i identified a light source (in this case the light is in front of him, coming from the top right. using the opaque watercolor tool, use the shade 1 color. then i added the shade 2 color on top of the shade 1 color. this part can be messy because i will clean it up later
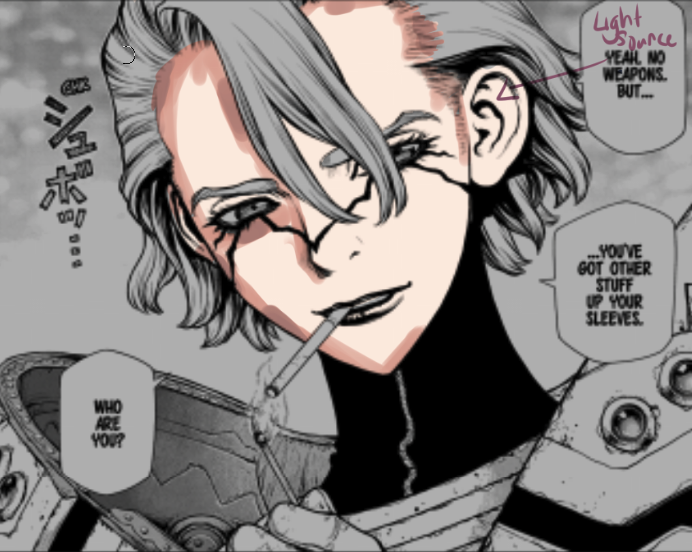
using the transparent watercolor tool, use both the shade 1 and shade 2 colors and blend everything out. then use the smooth watercolor tool to make things neater
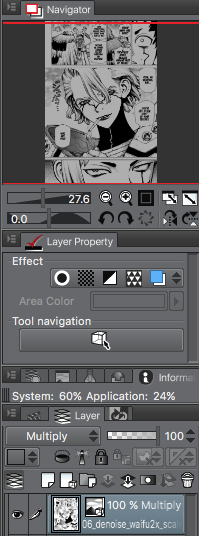
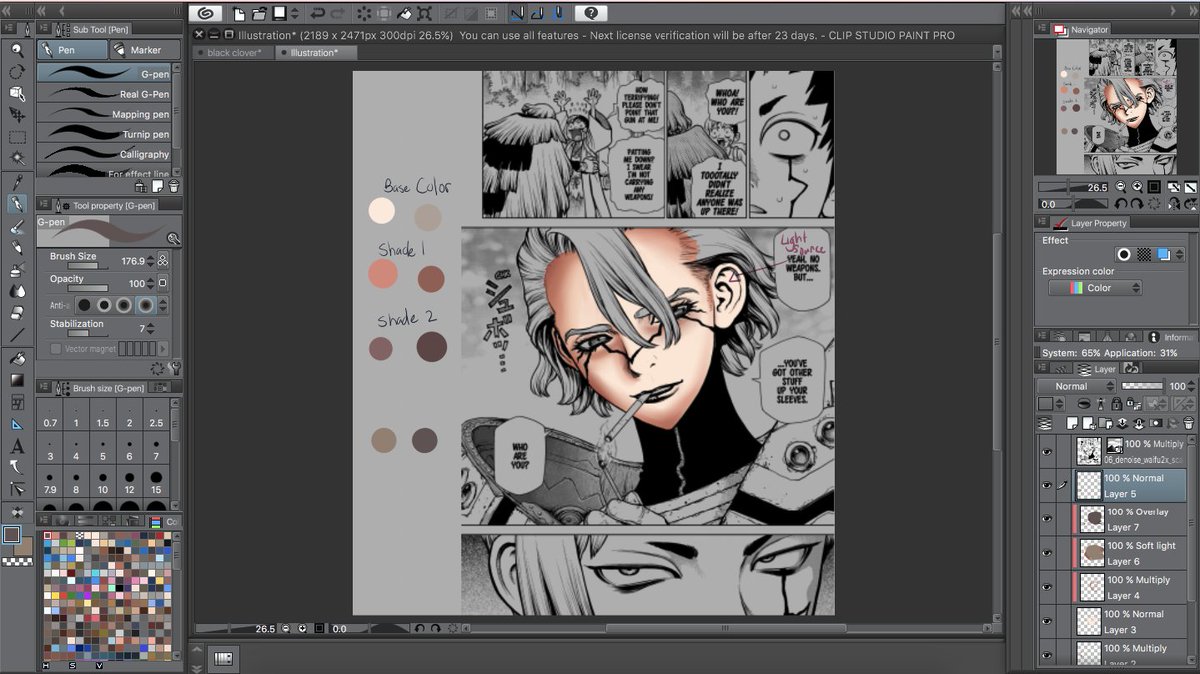
then i set my shading layer to multiply (you can do this at the beginning of your shading, it does not matter) and then fix the spots where i feel the shading is uneven
this is a bonus step: i made another layer, set that layer to soft light, chose an orange color with a little bit of shade, and colored the skin with that orange-gray color
first image is the shade layer on normal mode, second image is the shade layer on multiply
first image is the shade layer on normal mode, second image is the shade layer on multiply
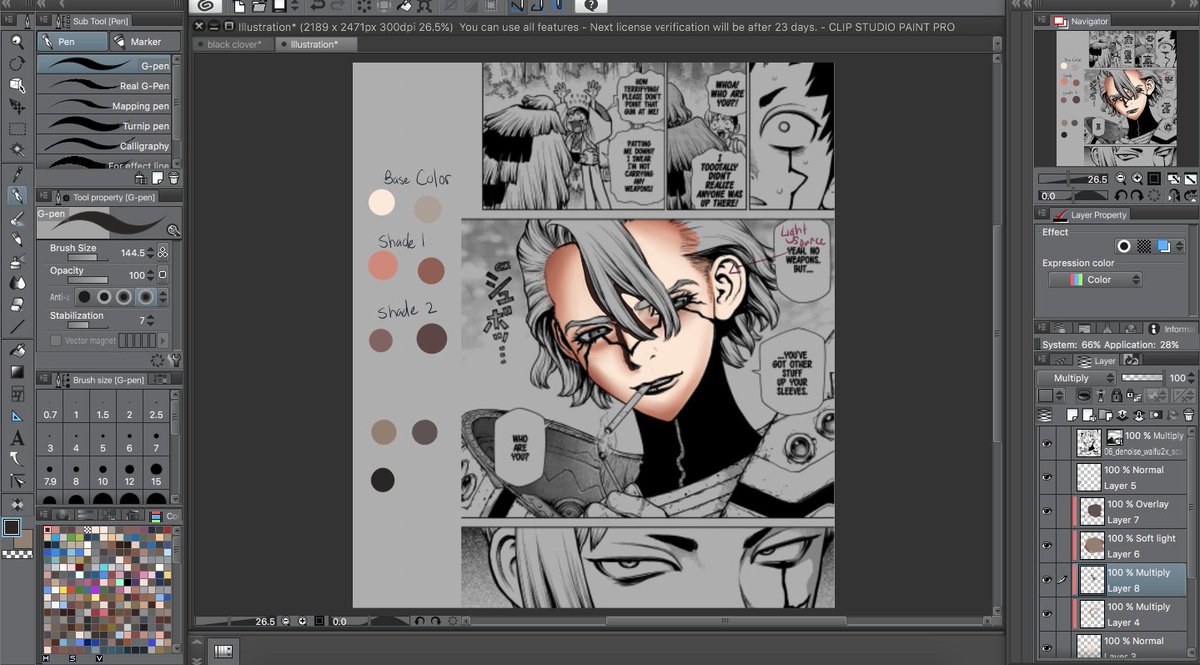
make another layer, set that layer to overlay, use some shade of gray and color the skin. the darker the overlay, the darker the skin will become
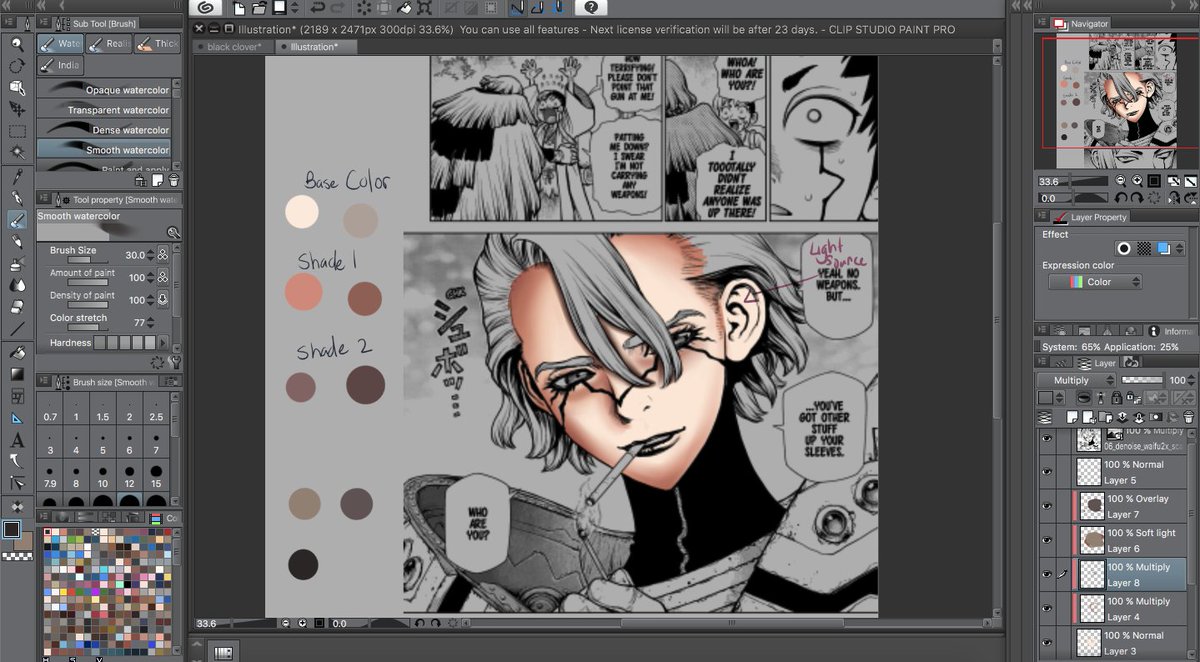
on another multiply layer (place this under your color correcting layers) put some shade where his bangs are. then use the smooth watercolor tool to make the shade more even
and then you notice tiny mistakes with your coloring and fix accordingly. the end

 Read on Twitter
