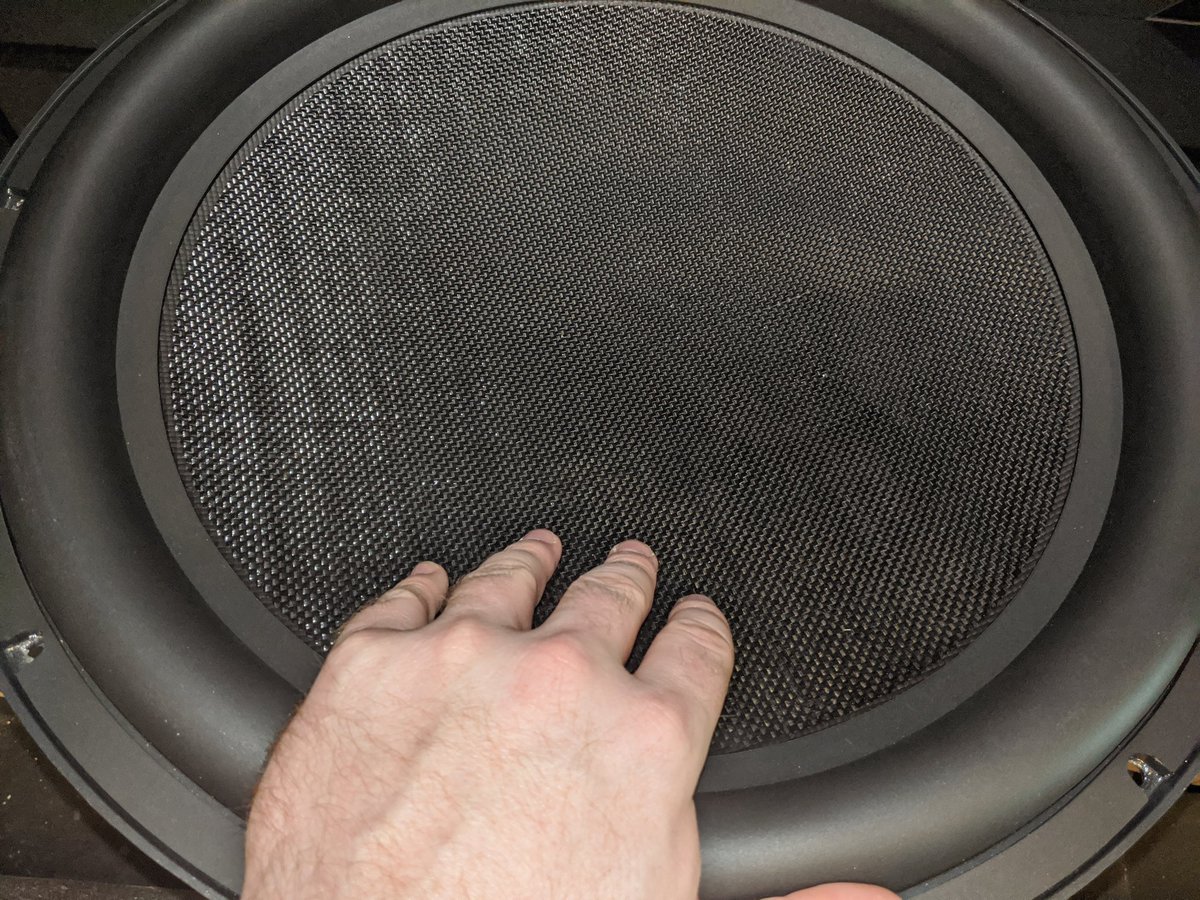
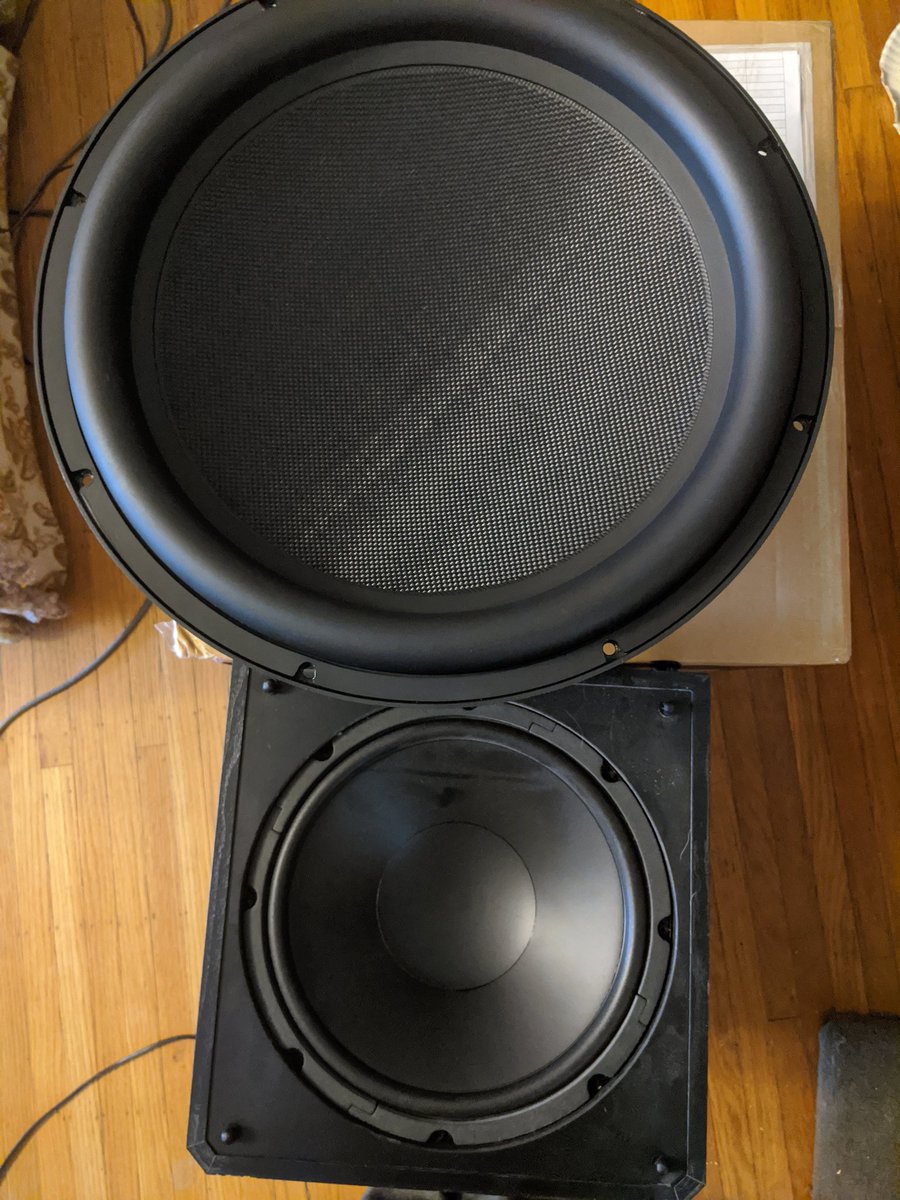
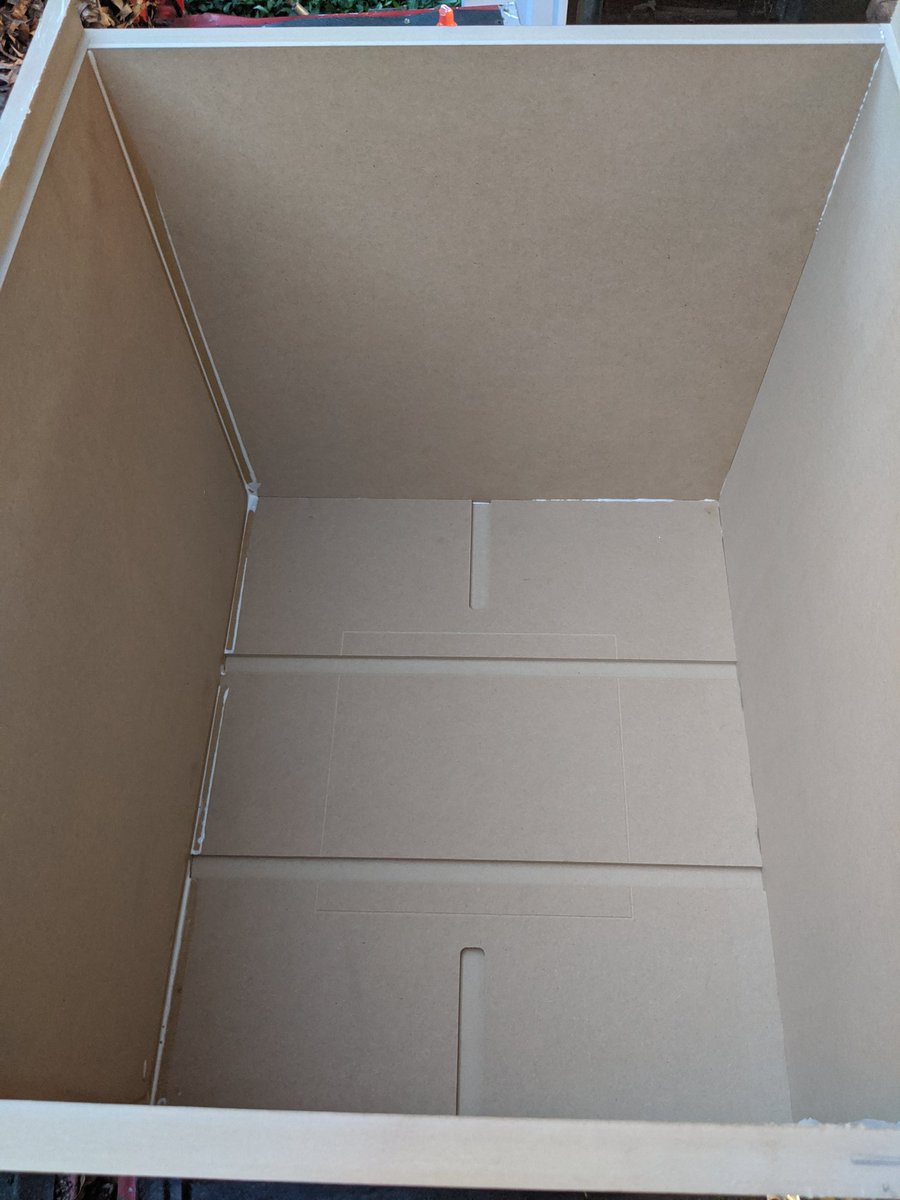
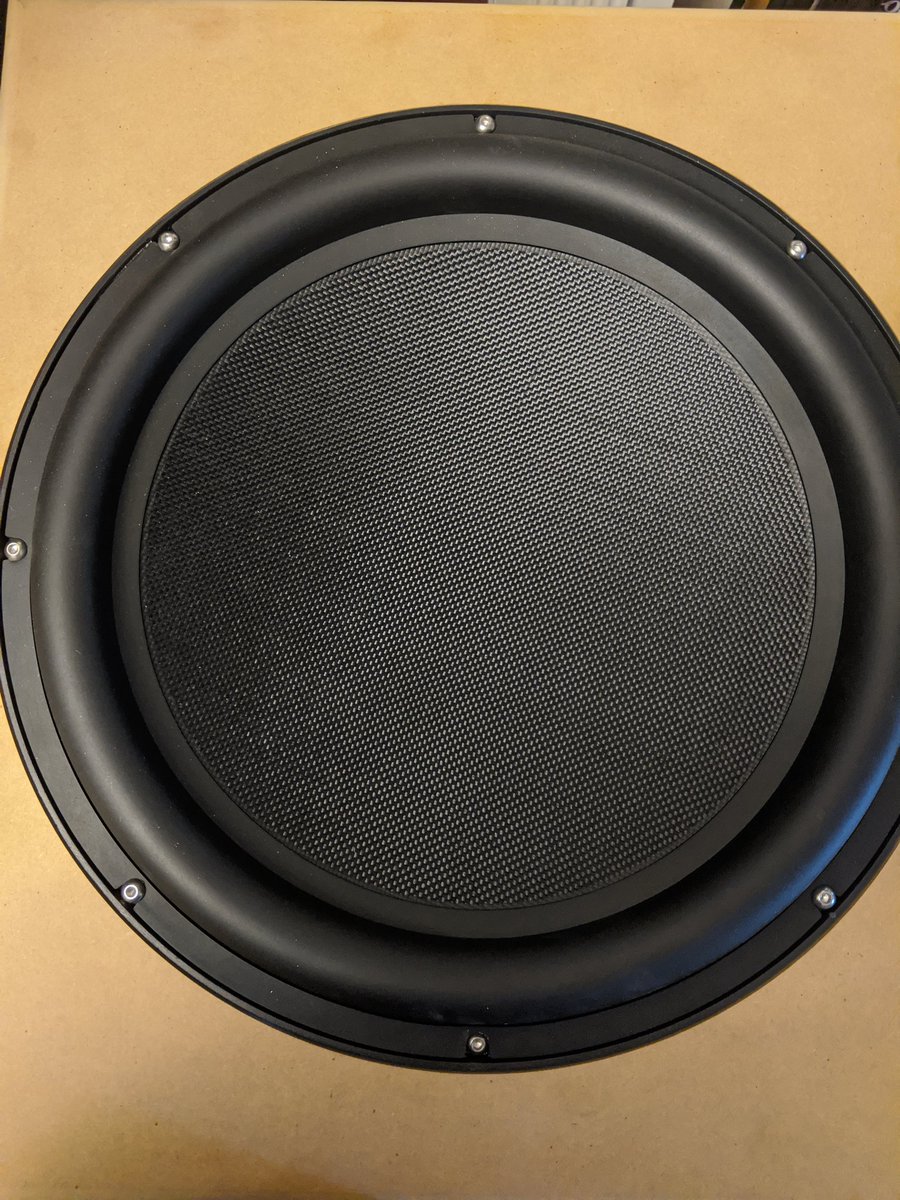
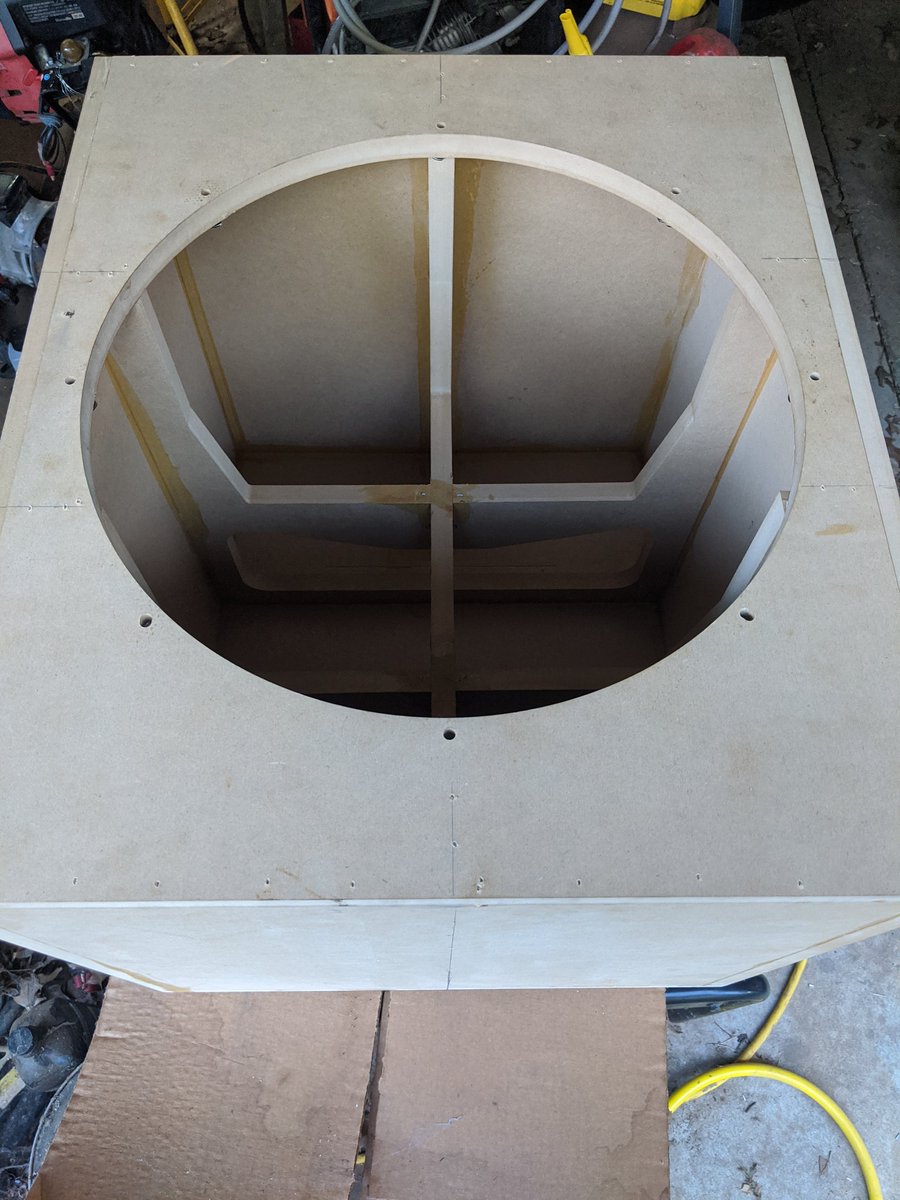
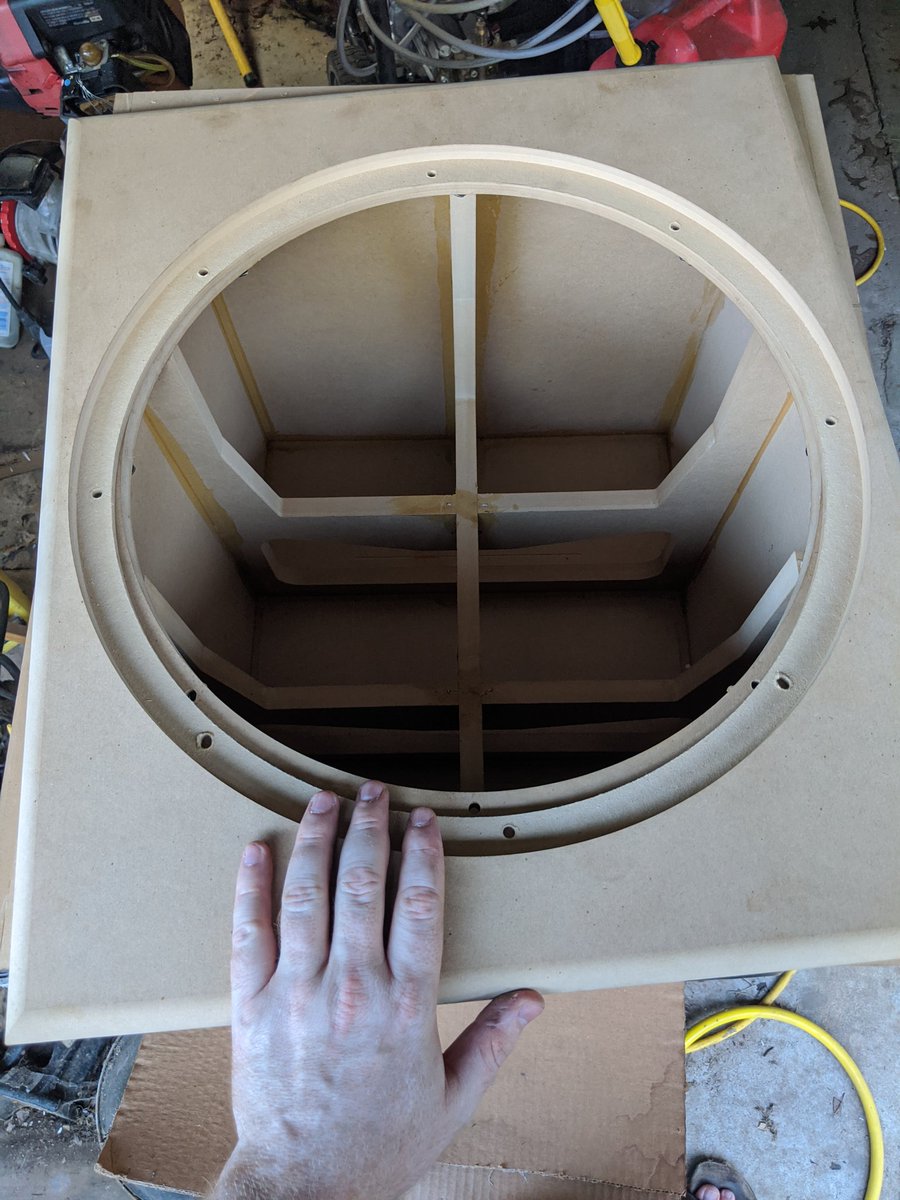
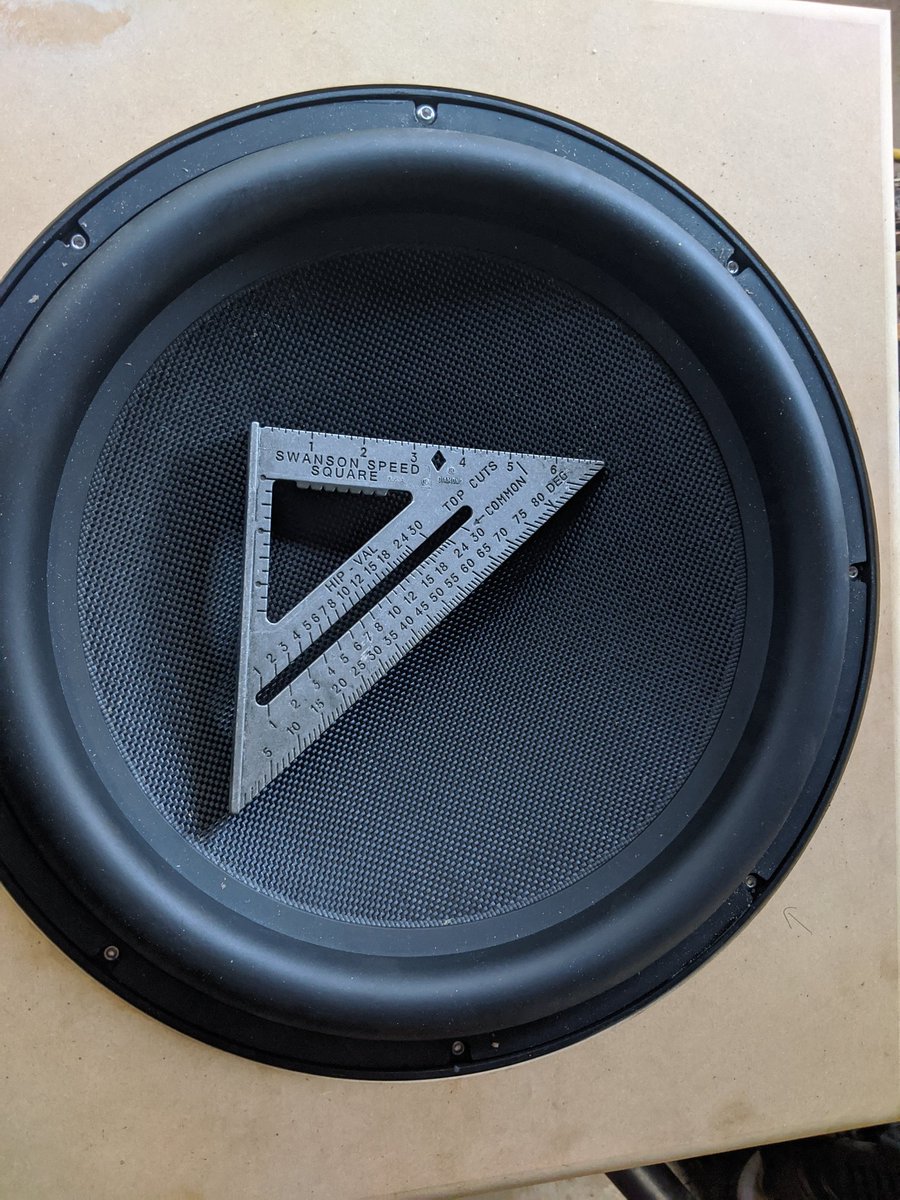
The new subwoofer is in and it is huge. Almost absurdly large. I feel like I should apologize to my neighbors preemptively for that which is going to come. I may lose my "favorite neighbor" status...
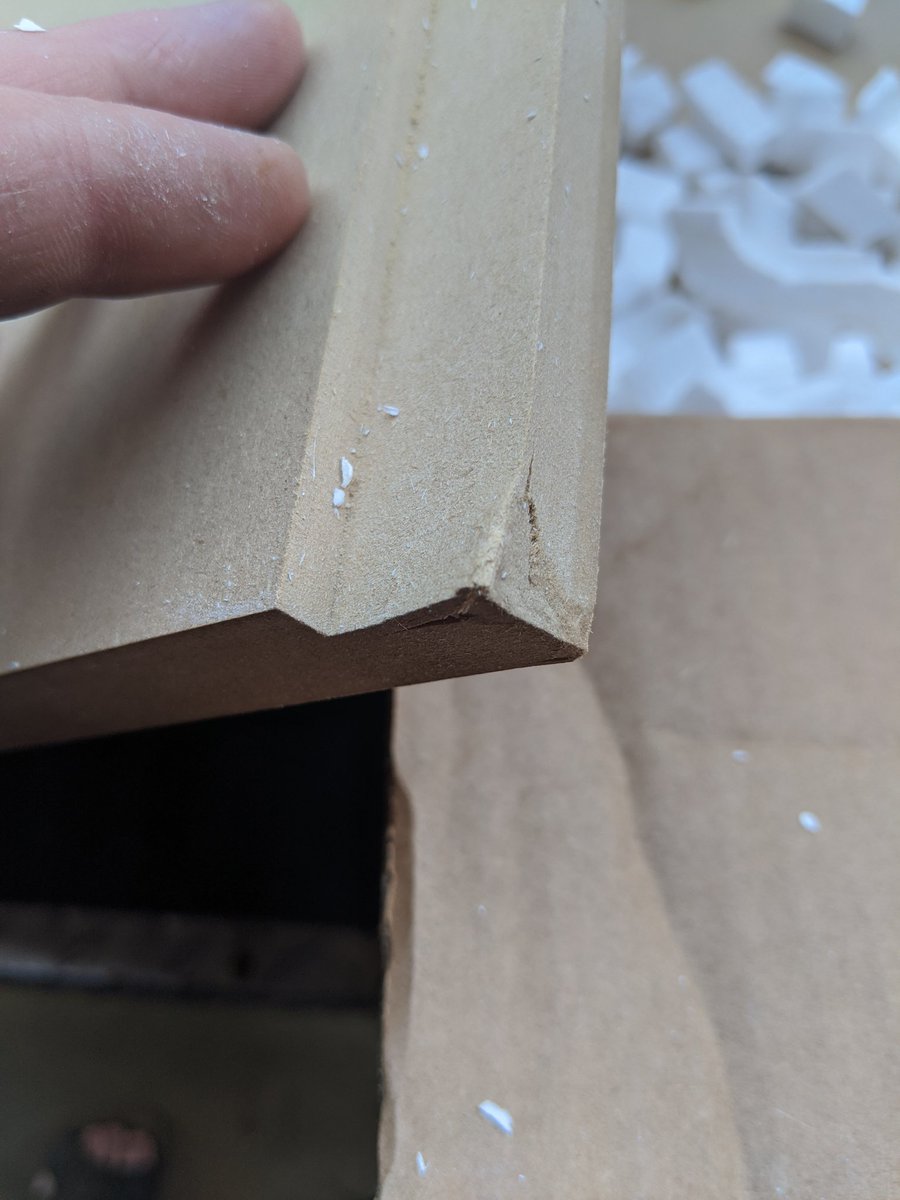
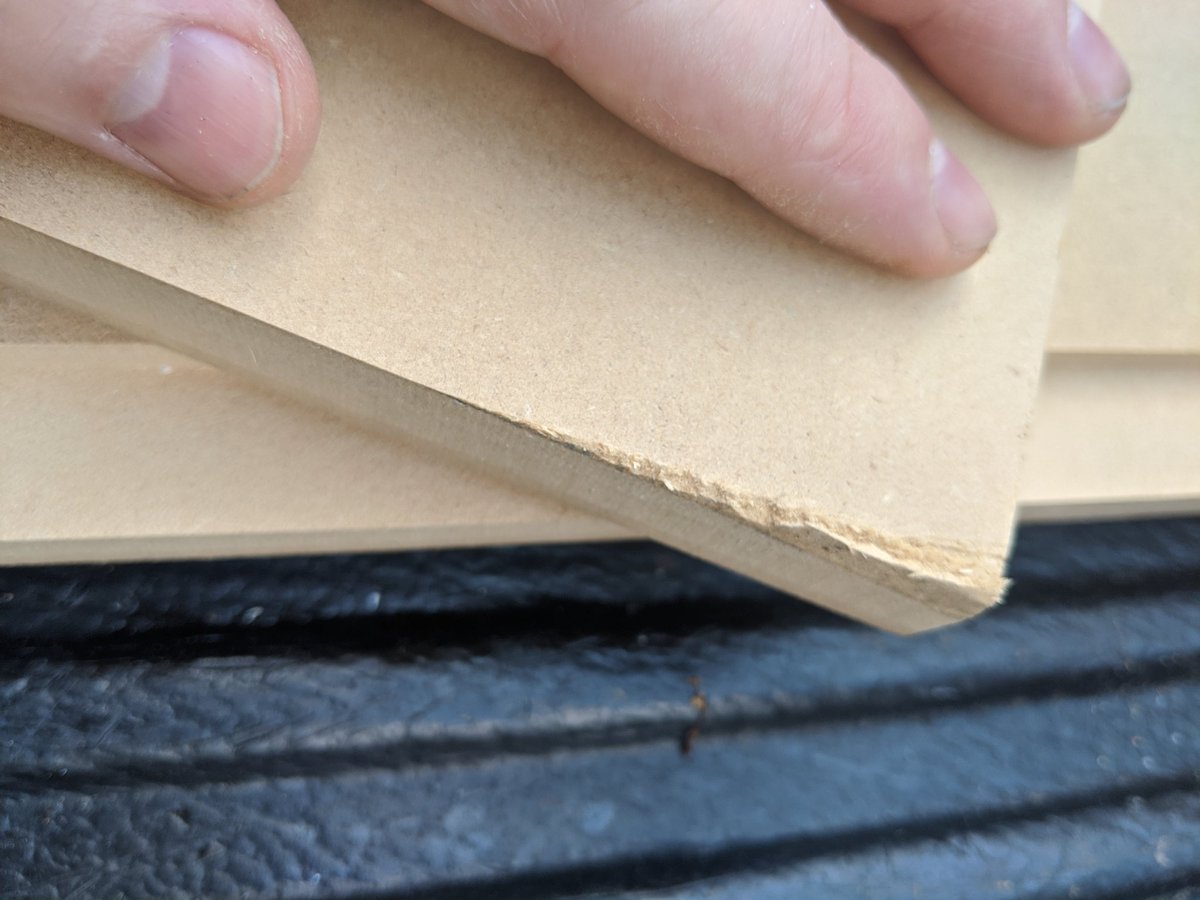
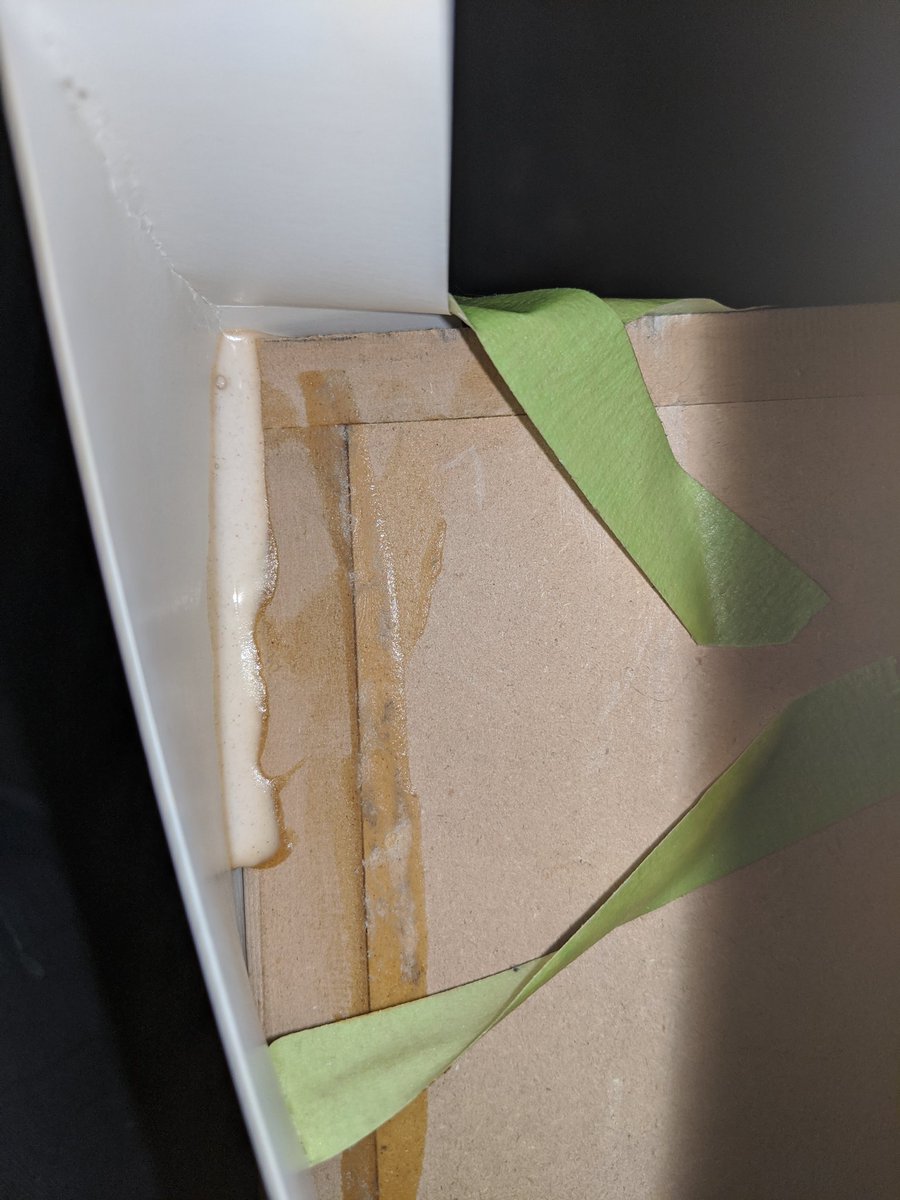
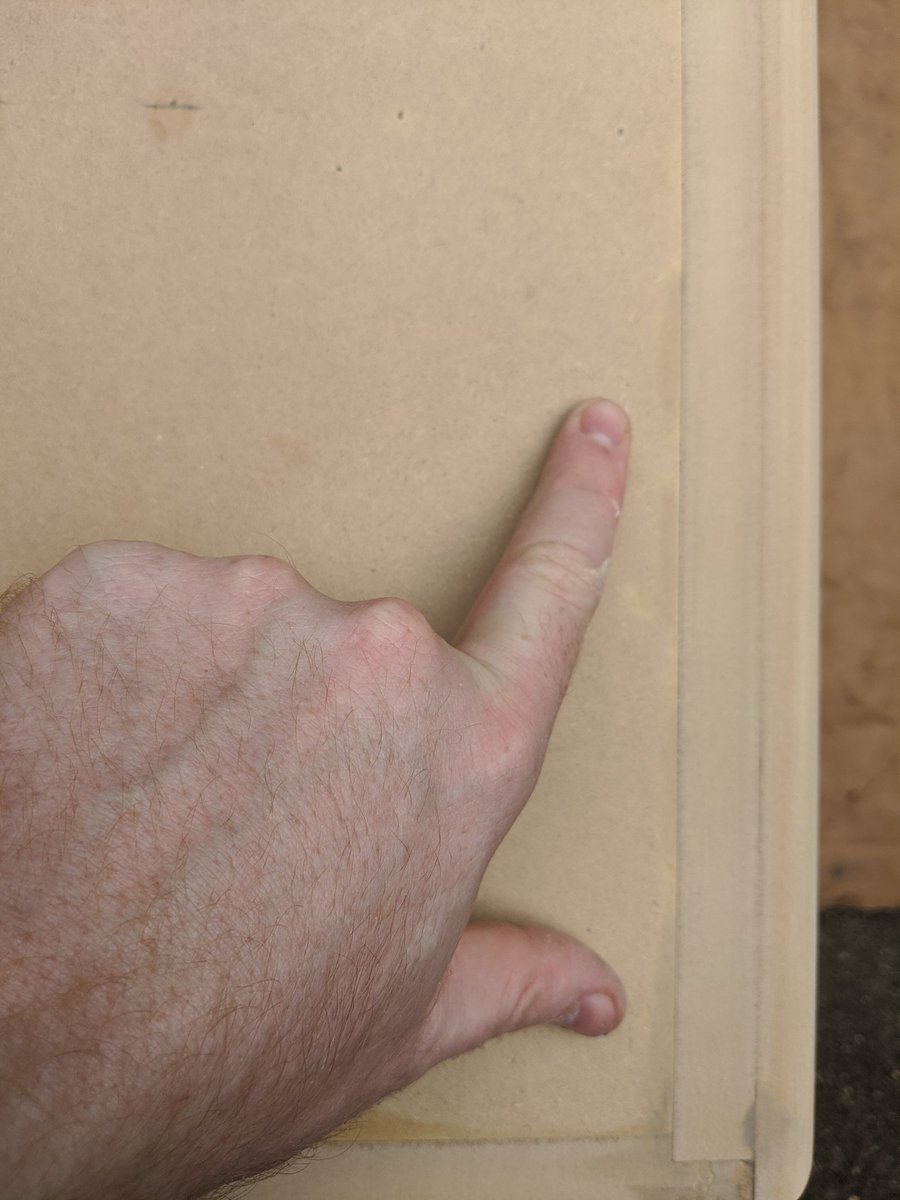
First step of the box build is carefully unpacking and inspecting for damage like this; this isn& #39;t from shipping; it was put in the box like this, but I should be okay:
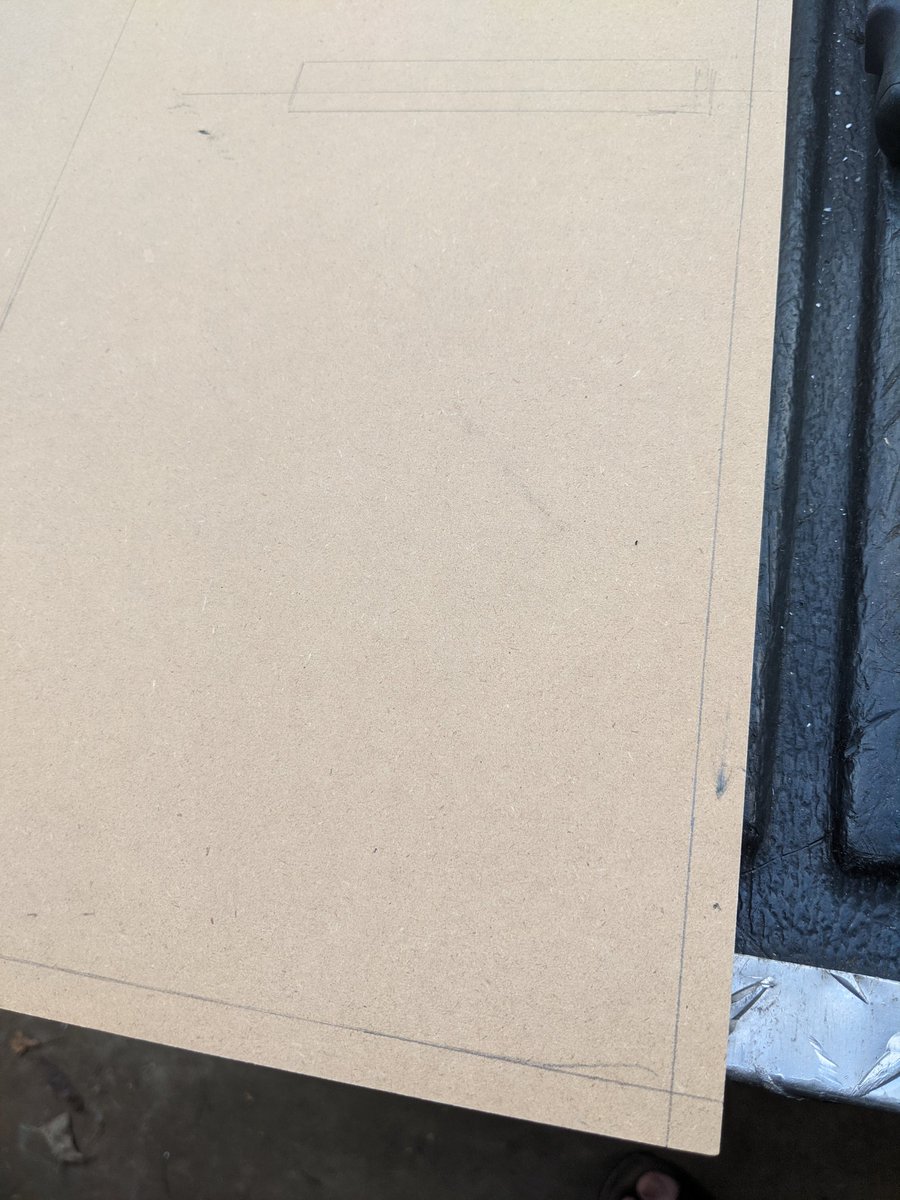
Oof; this one& #39;s on me. Bumped it off the truck bed.
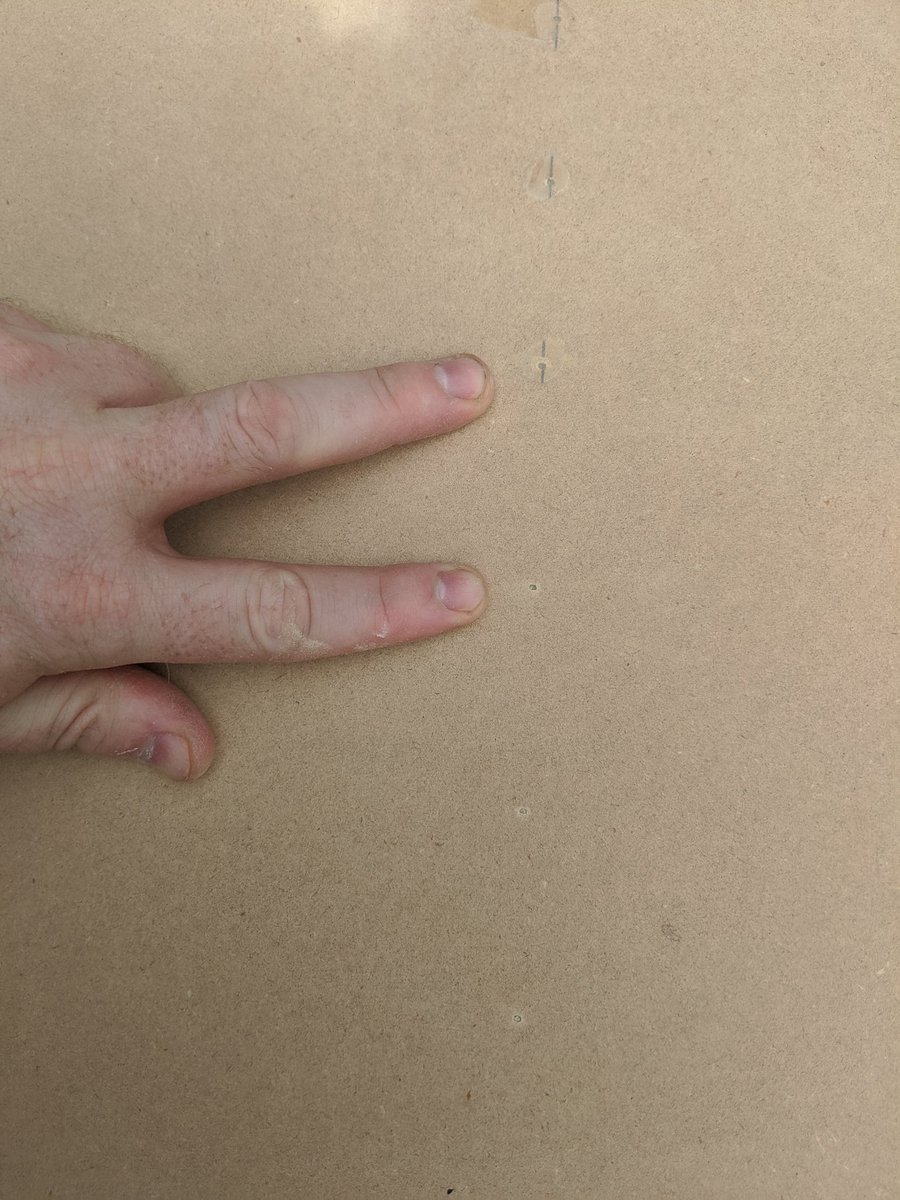
I can put that on the inside however, and hide it. Nobody will ever know if you agree to help me keep the secret:
I can put that on the inside however, and hide it. Nobody will ever know if you agree to help me keep the secret:
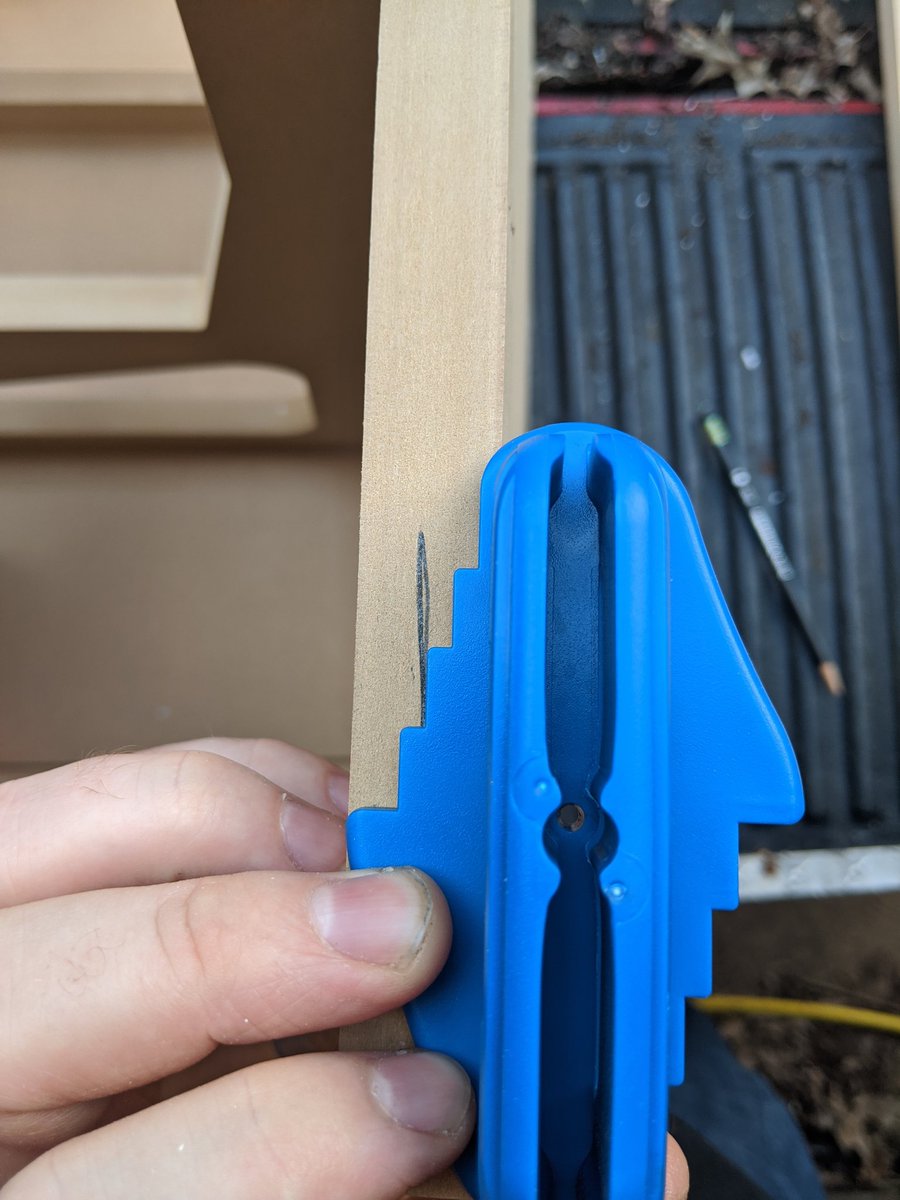
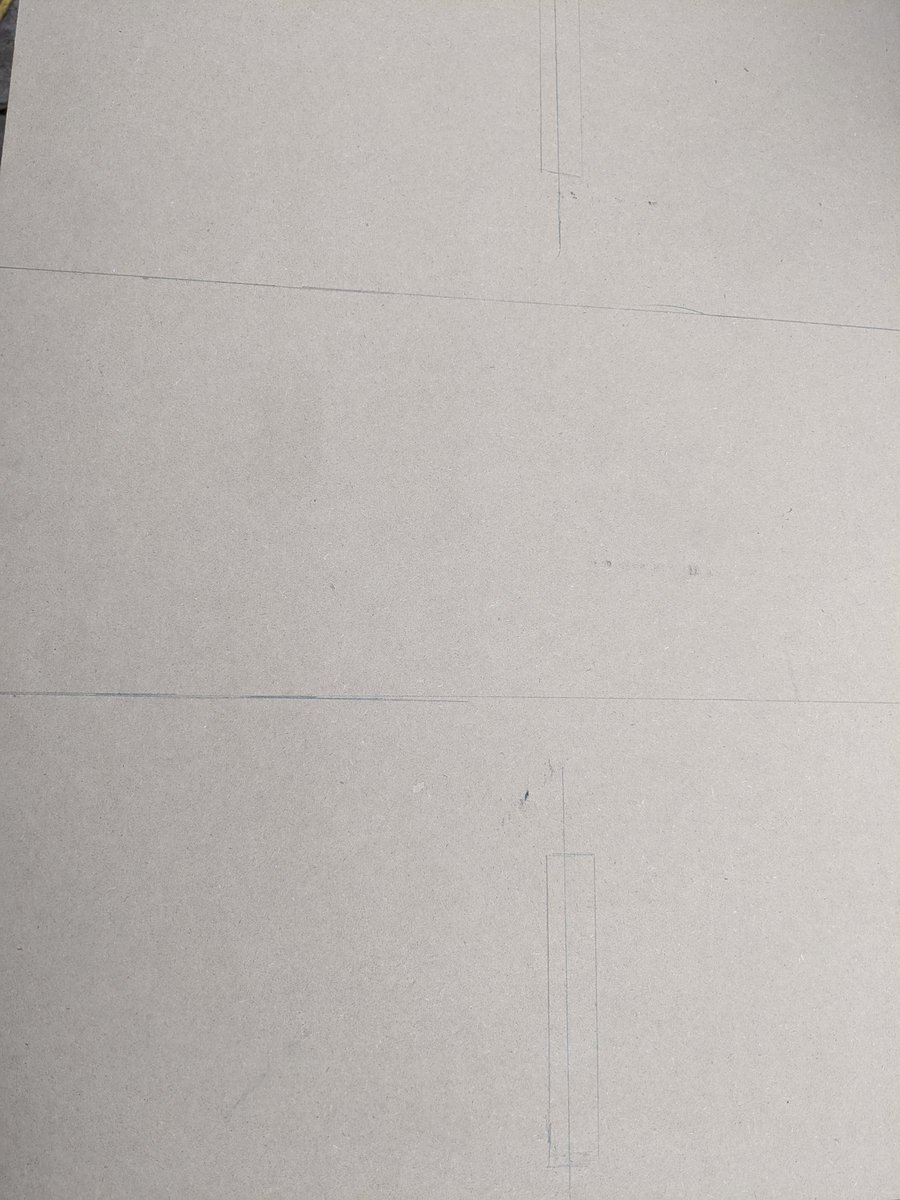
I marked the center line and found the depth gauge that matches; I will use this for placing the Brad& #39;s to hold this together while the glue sets:
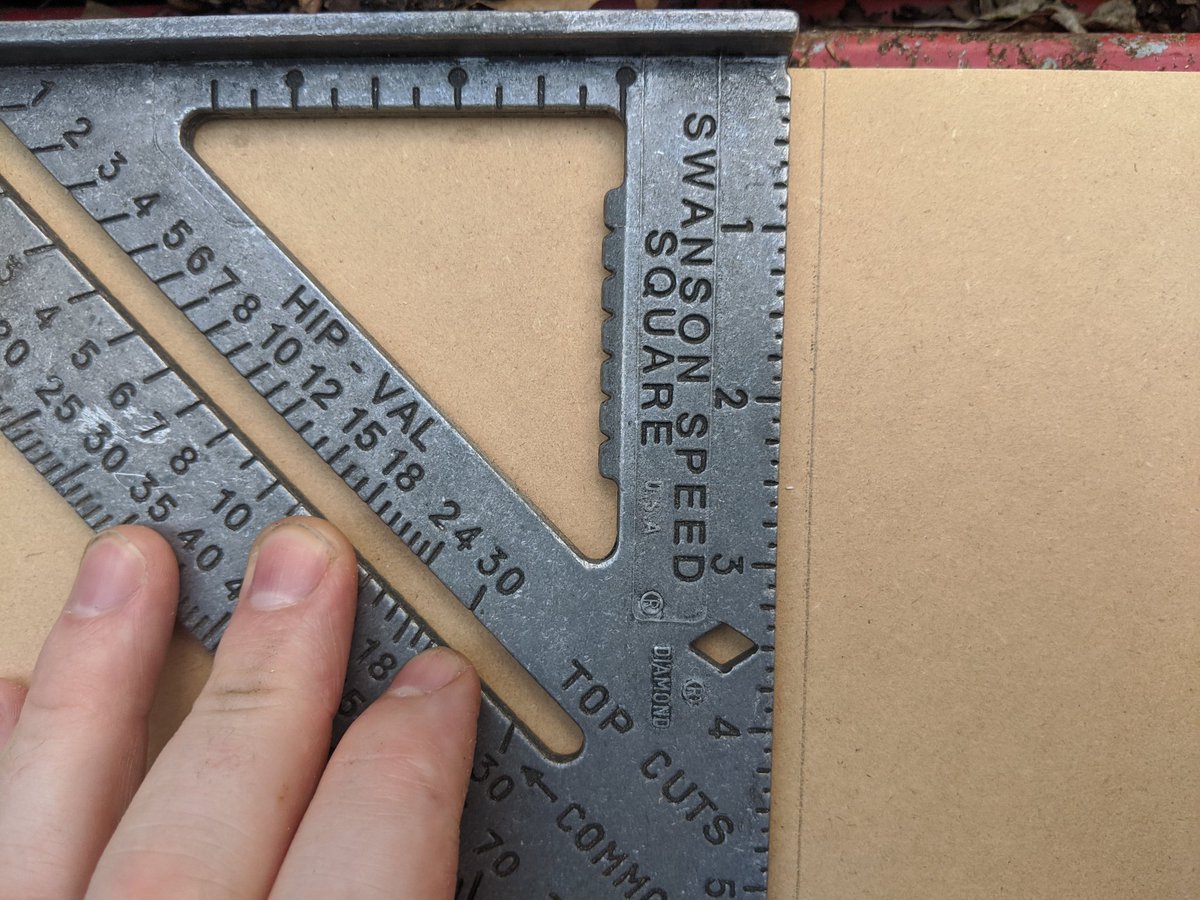
Using a speed square to identify the centerline& #39;s for the internal bracing:
Mocking up the placement I can now identify exactly where I need to place the Brad& #39;s later:
Now I have a path for all the Brad& #39;s on this peice and I can prepare it for gluing up to its new neighbors:
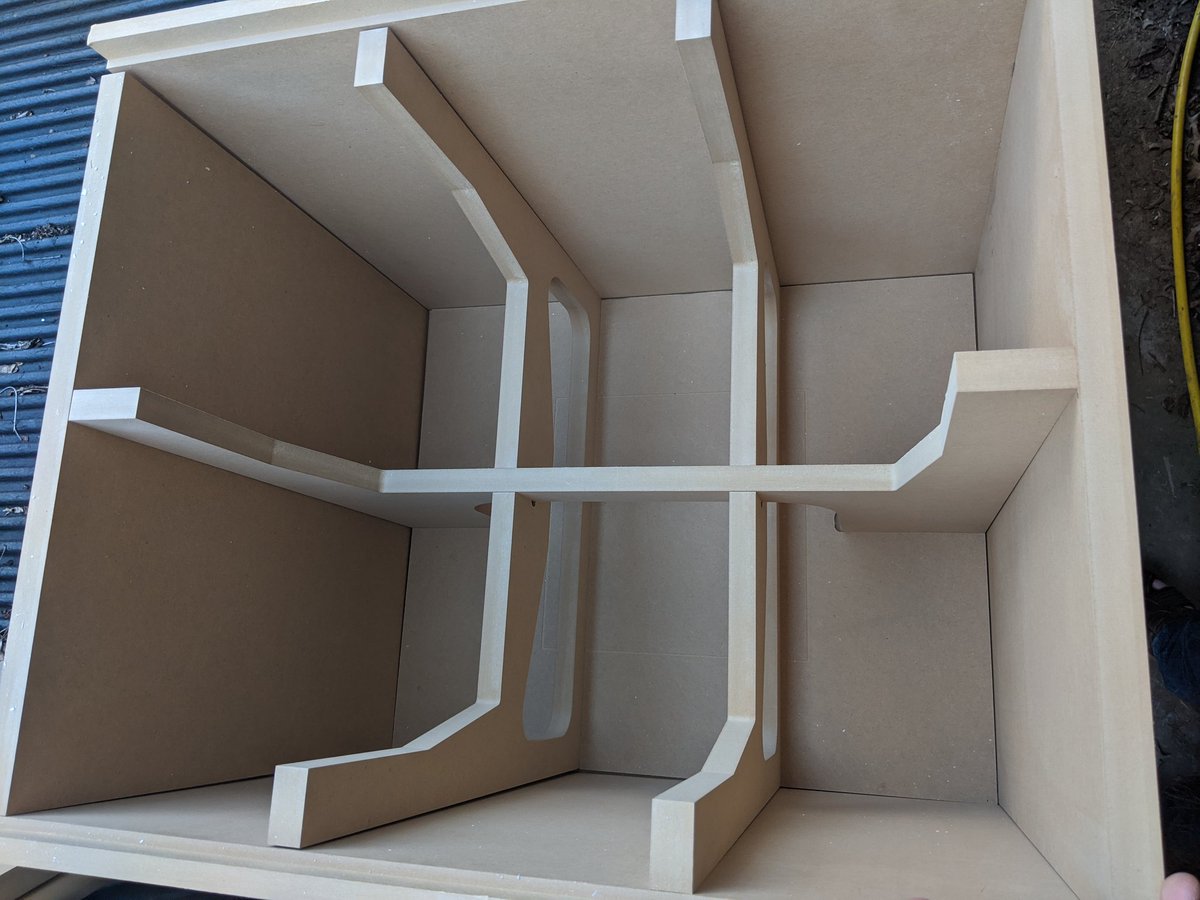
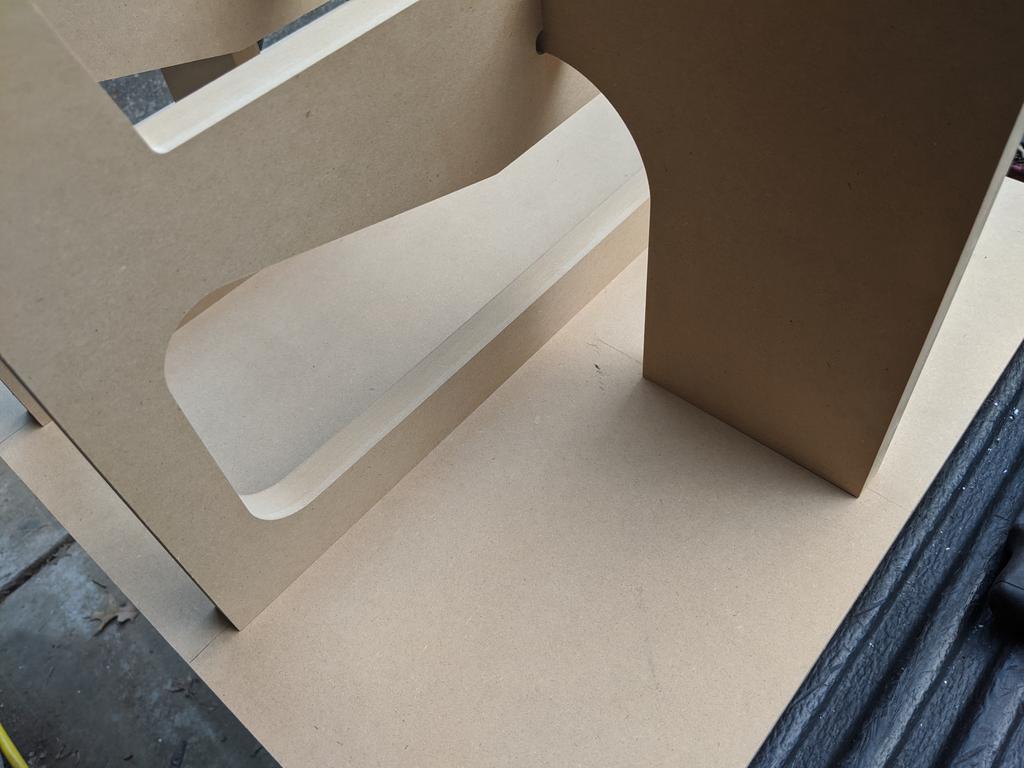
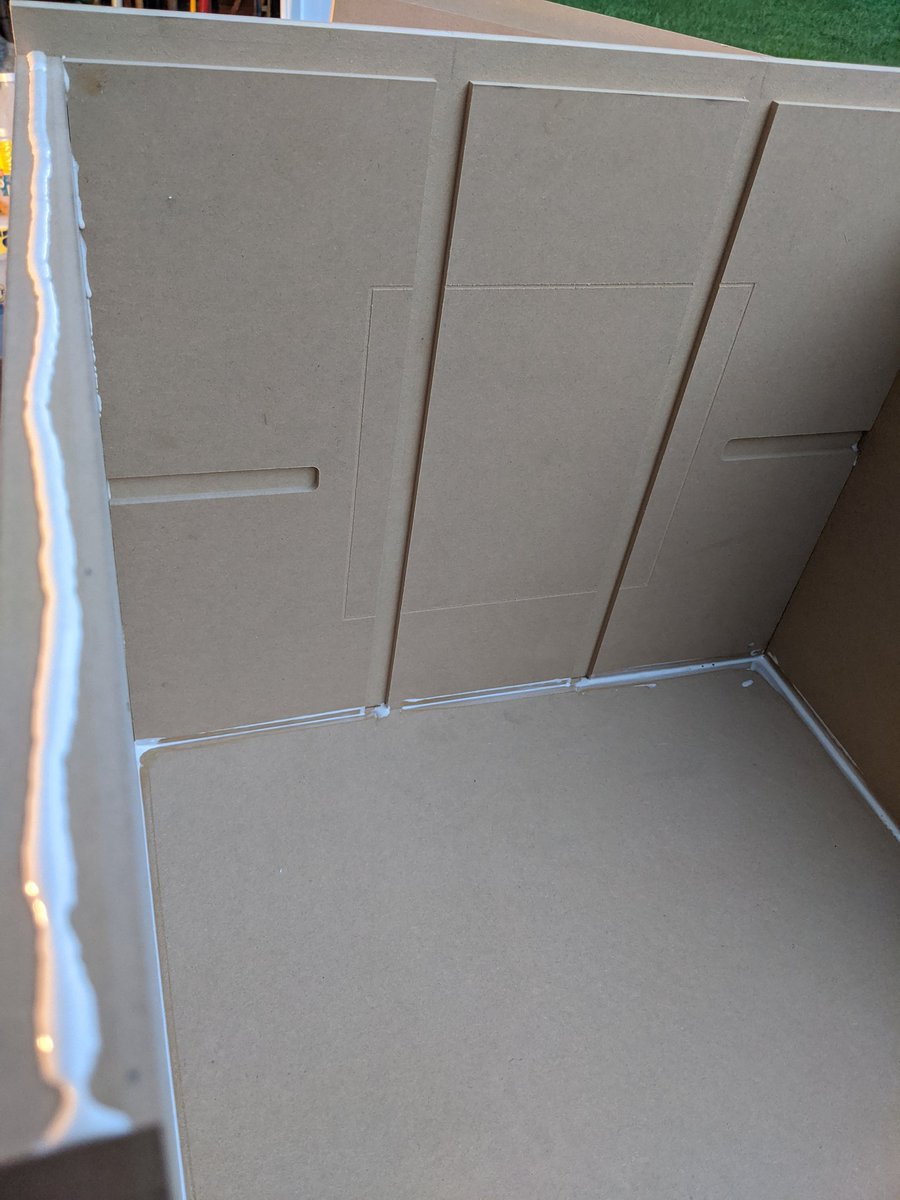
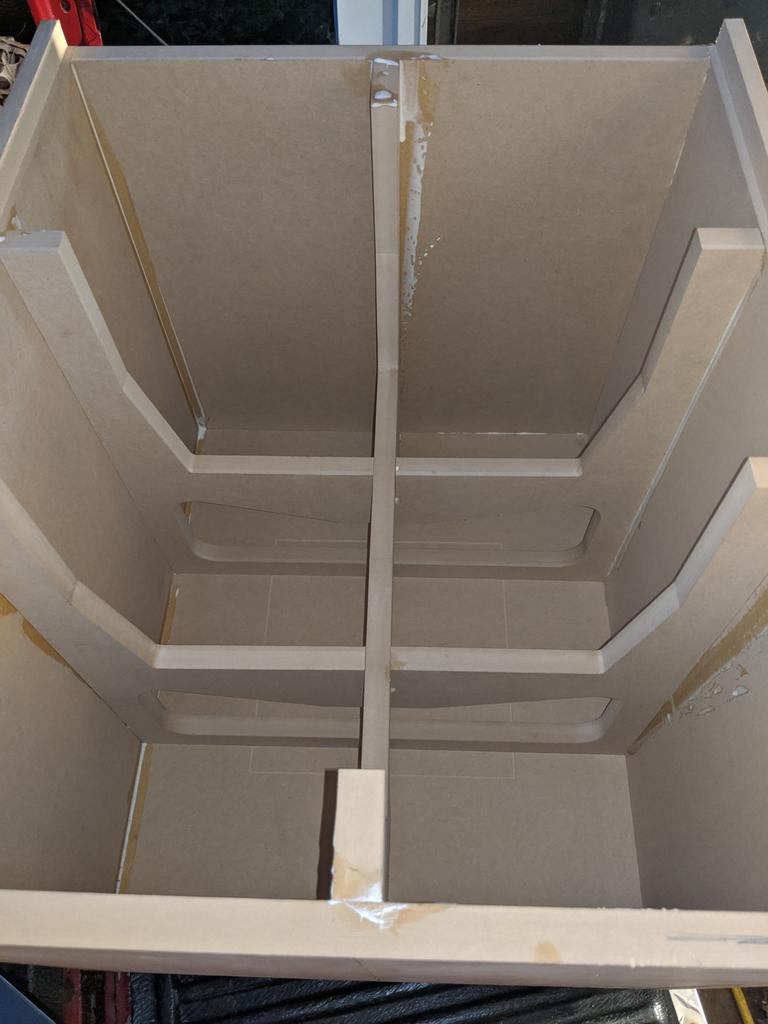
The outer sides are done; time for the bracing. Why so much bracing? We don& #39;t want to lose any energy to flex in the sides of the box. A stiffer box forces more energy into the desired direction (our ear holes and the vibration of the house):
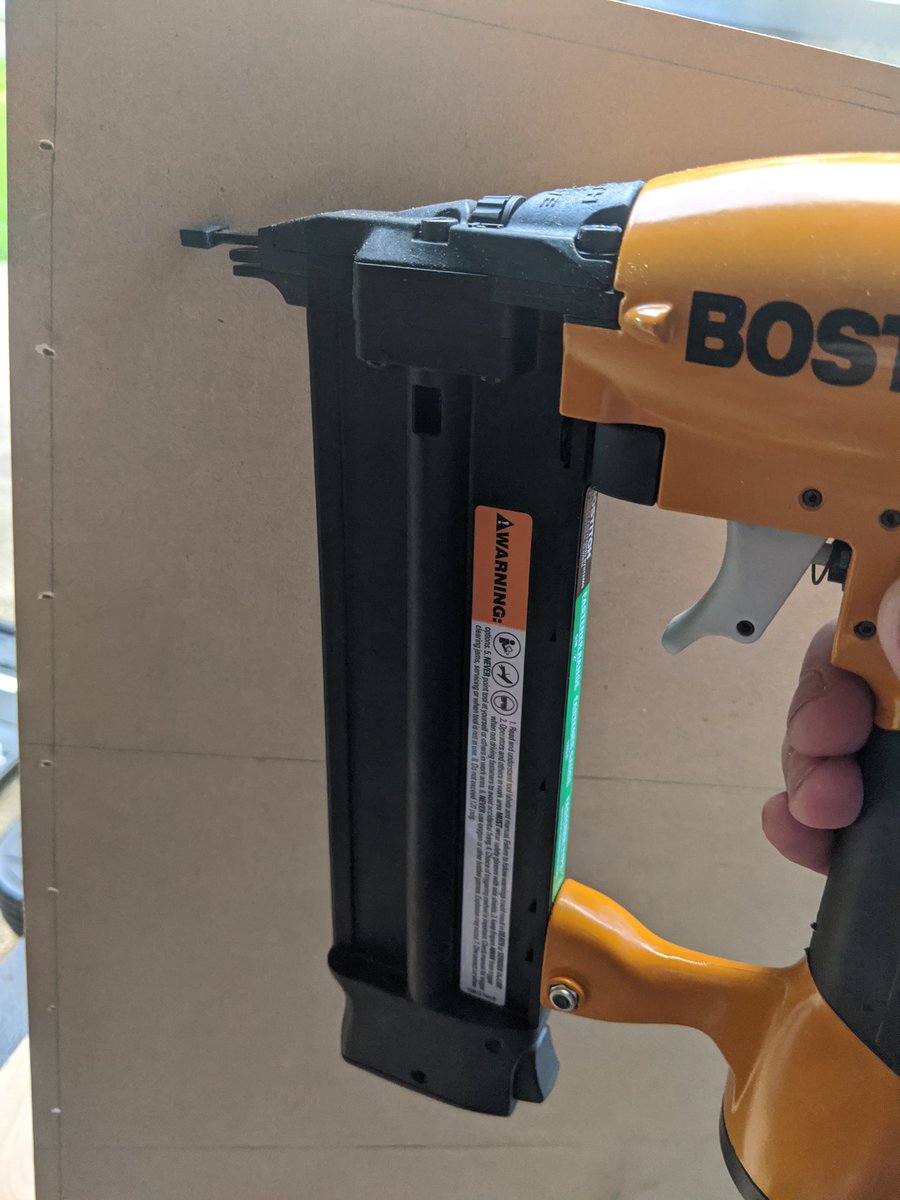
Here& #39;s how I spaced the Brad& #39;s; they& #39;re just going to hold it in place and "clamped" until the glue sets; that will be the primary strength of the box:
Well that& #39;s it for tonight! I& #39;m out of light and I don& #39;t yet have my dream shop (or a real shop) so time to wash the glue off my hands and out of my beard.
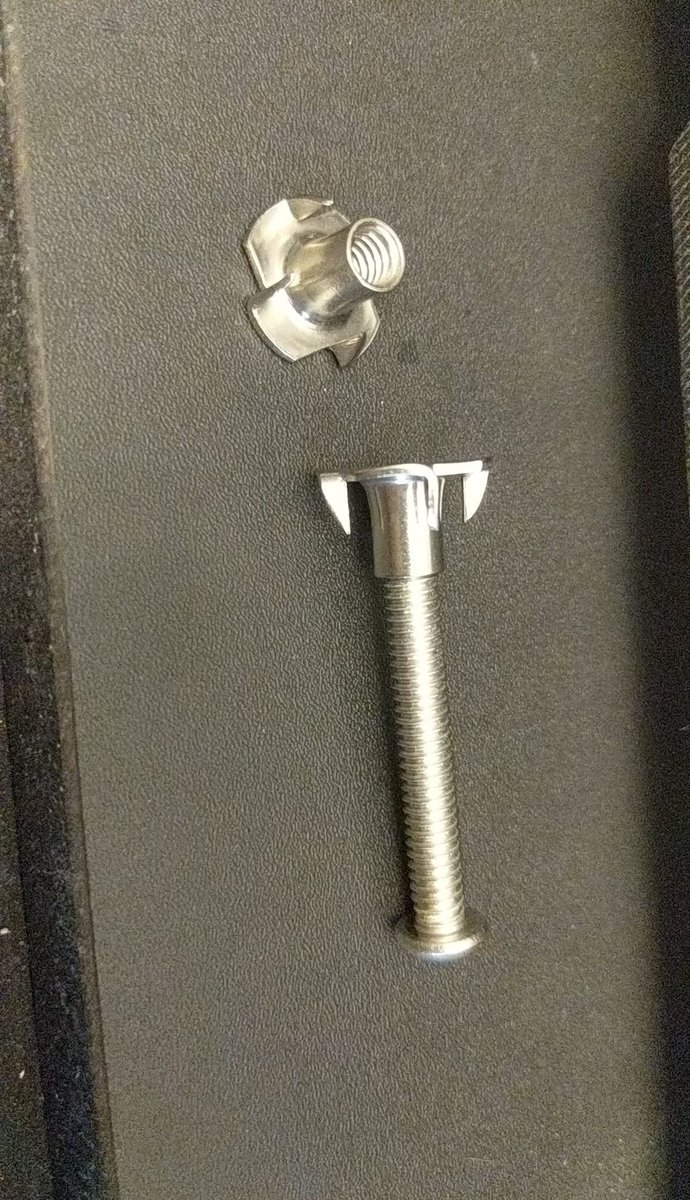
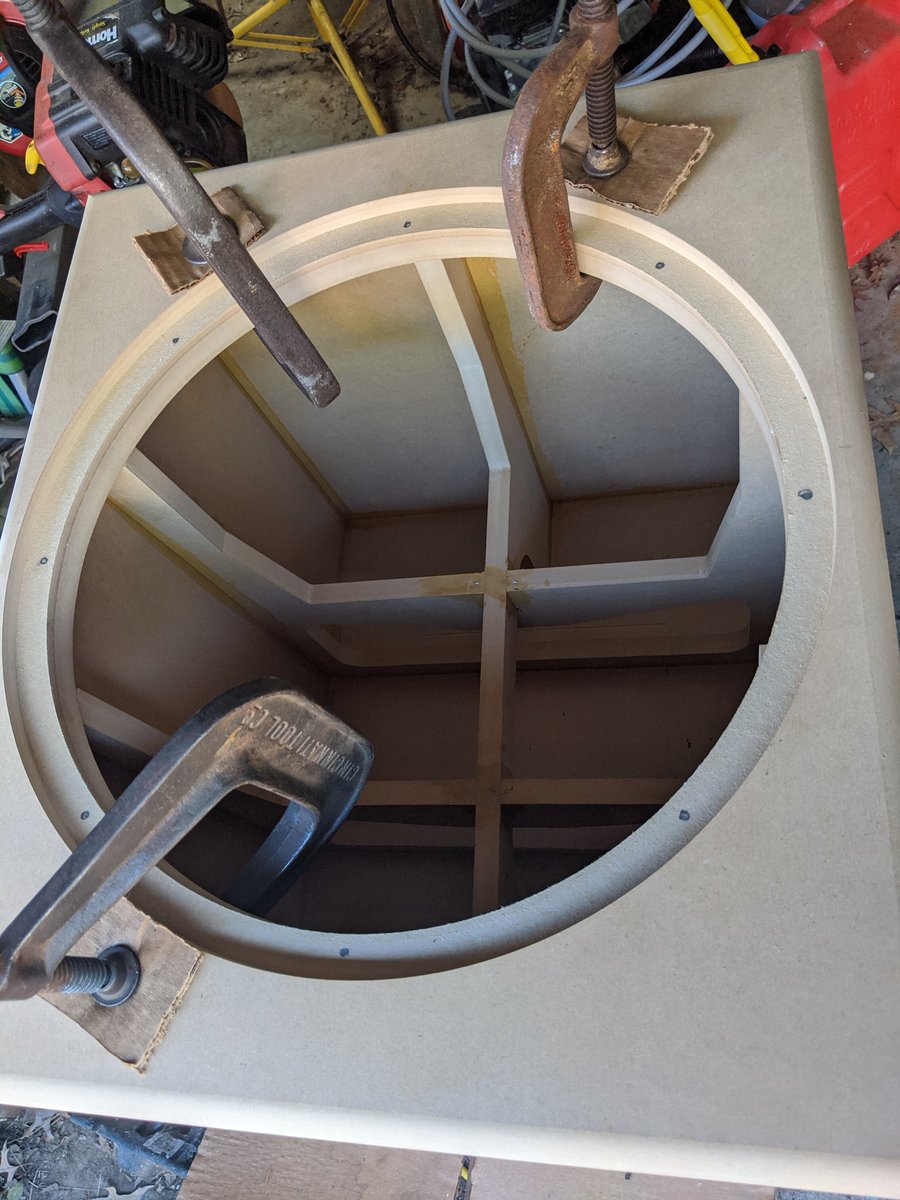
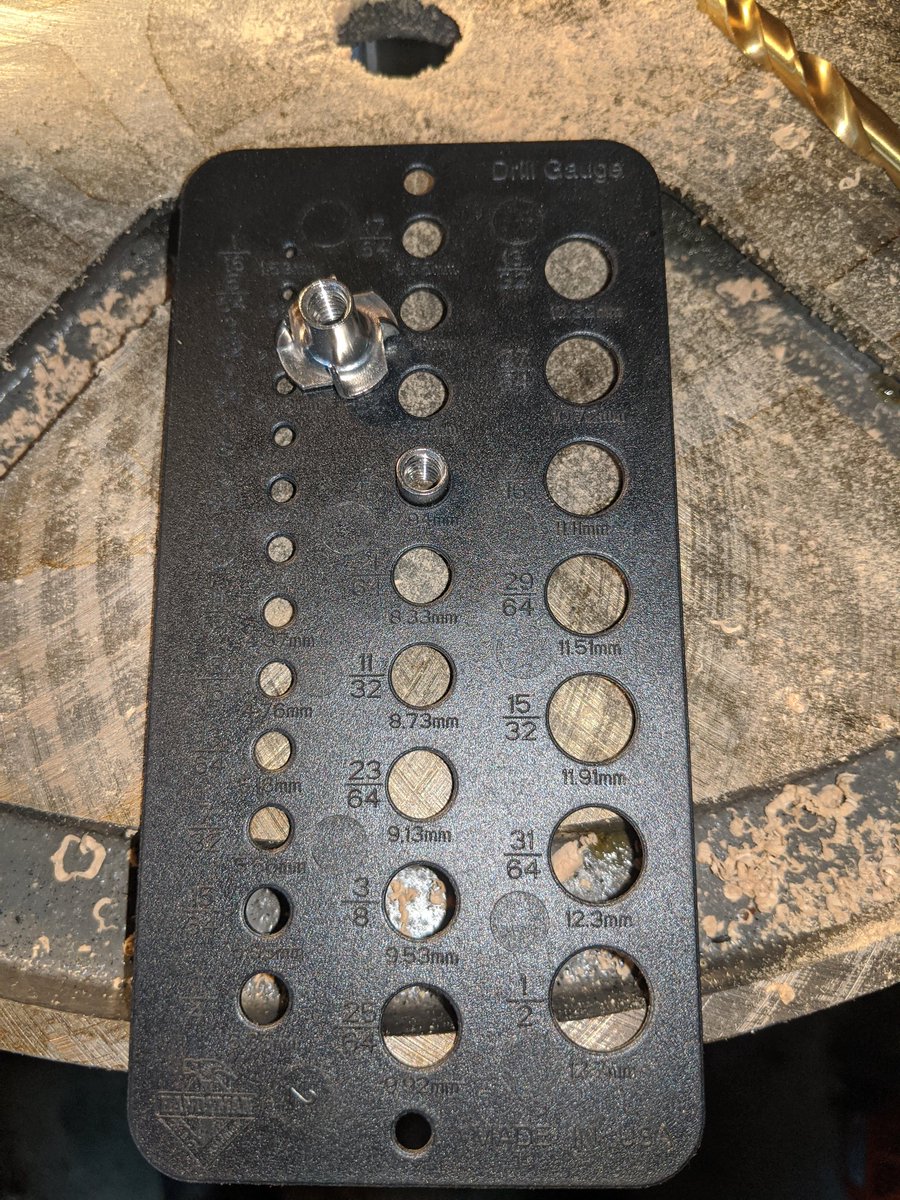
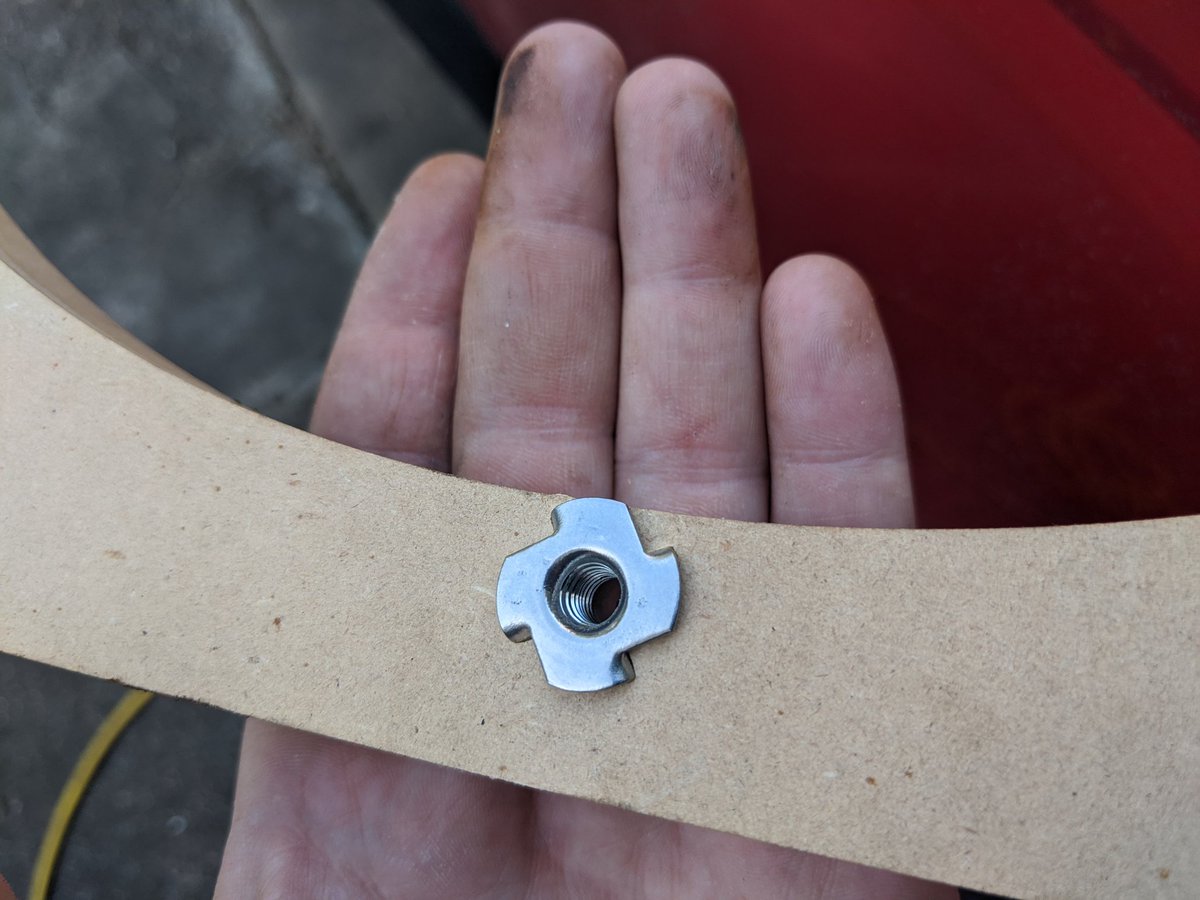
I got some beefy 1/4 inch bolts and retaining nut inserts to hold this massive beast in place; now I need to accurately place the holes in the two part faceplate assembly:
These C clamps will hold their position long enough for me to drill matching holes through both faceplate pieces:
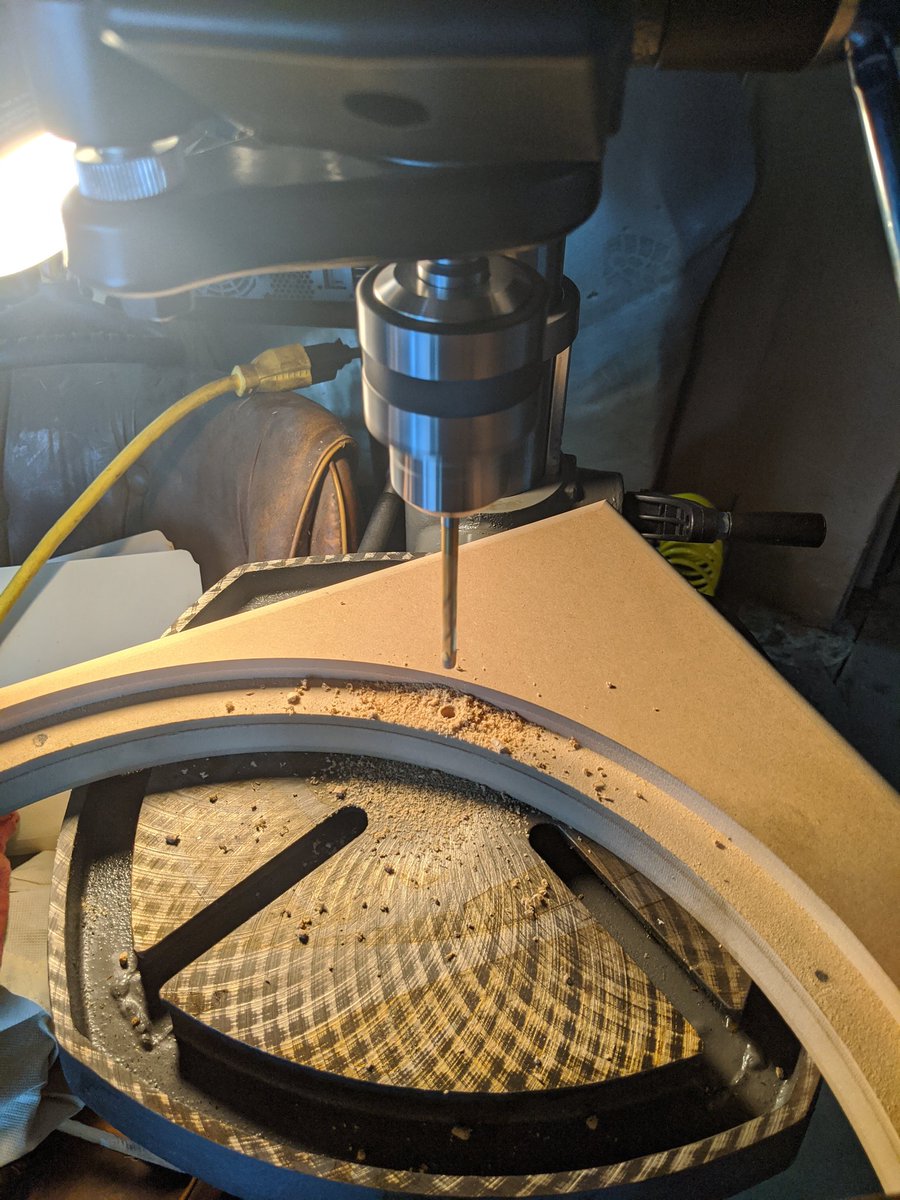
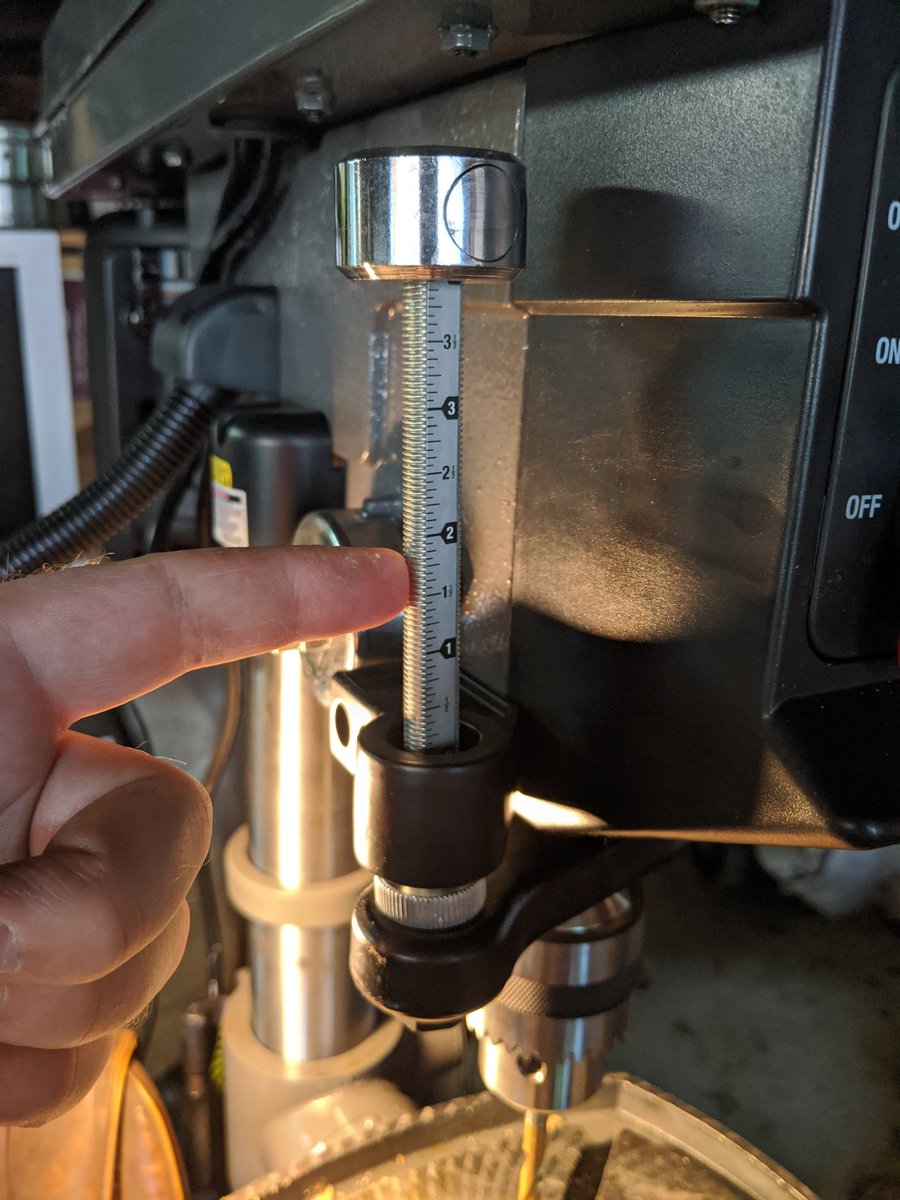
Using my new (to me) drill press I& #39;ve got three points I can bolt together now, swapping these bulky C clamps for something easier to work around:
Helpful hint: registration marks like this help you put things back in the exact orientation you registered them (e.g. drilled holes in them) together so that a slight difference doesn& #39;t come back to bite you later (e.g. upside down or backwards and doesn& #39;t line up):
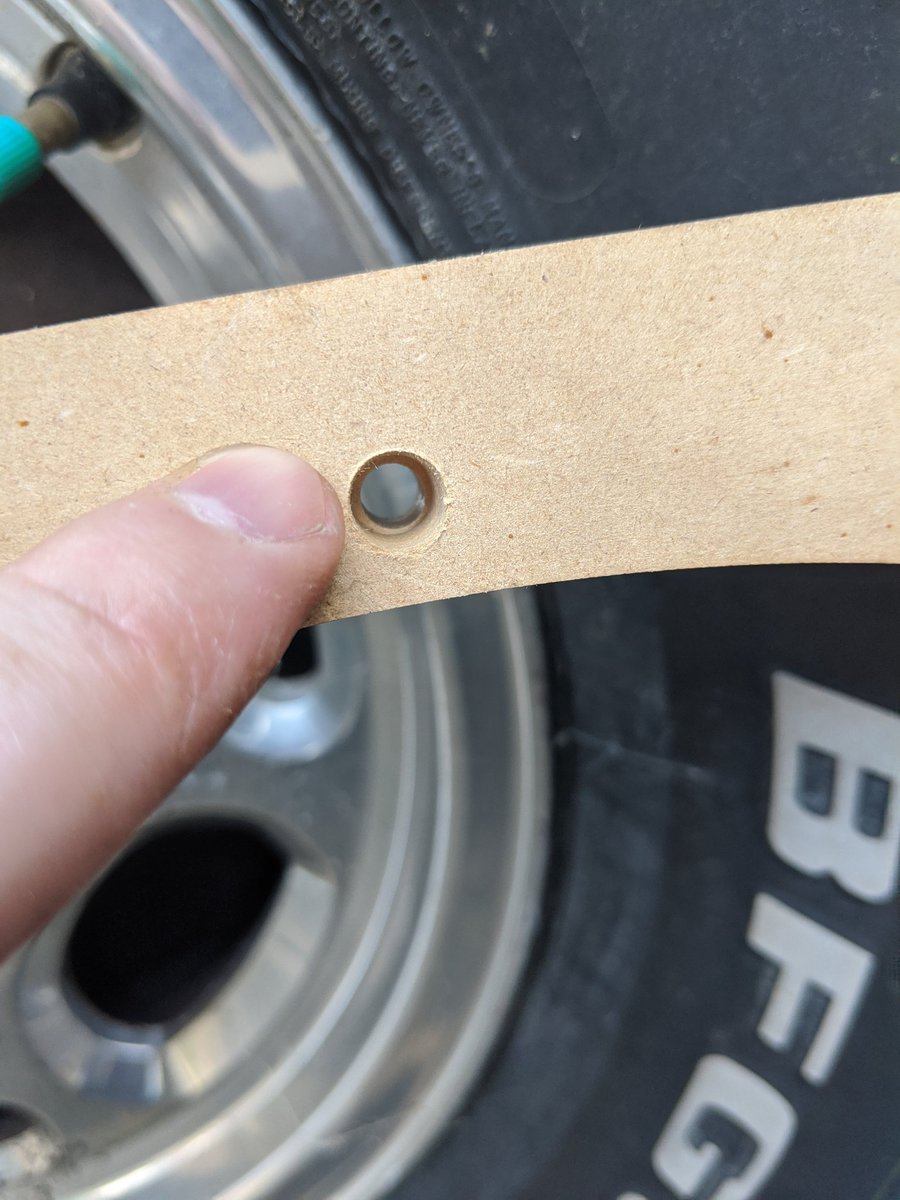
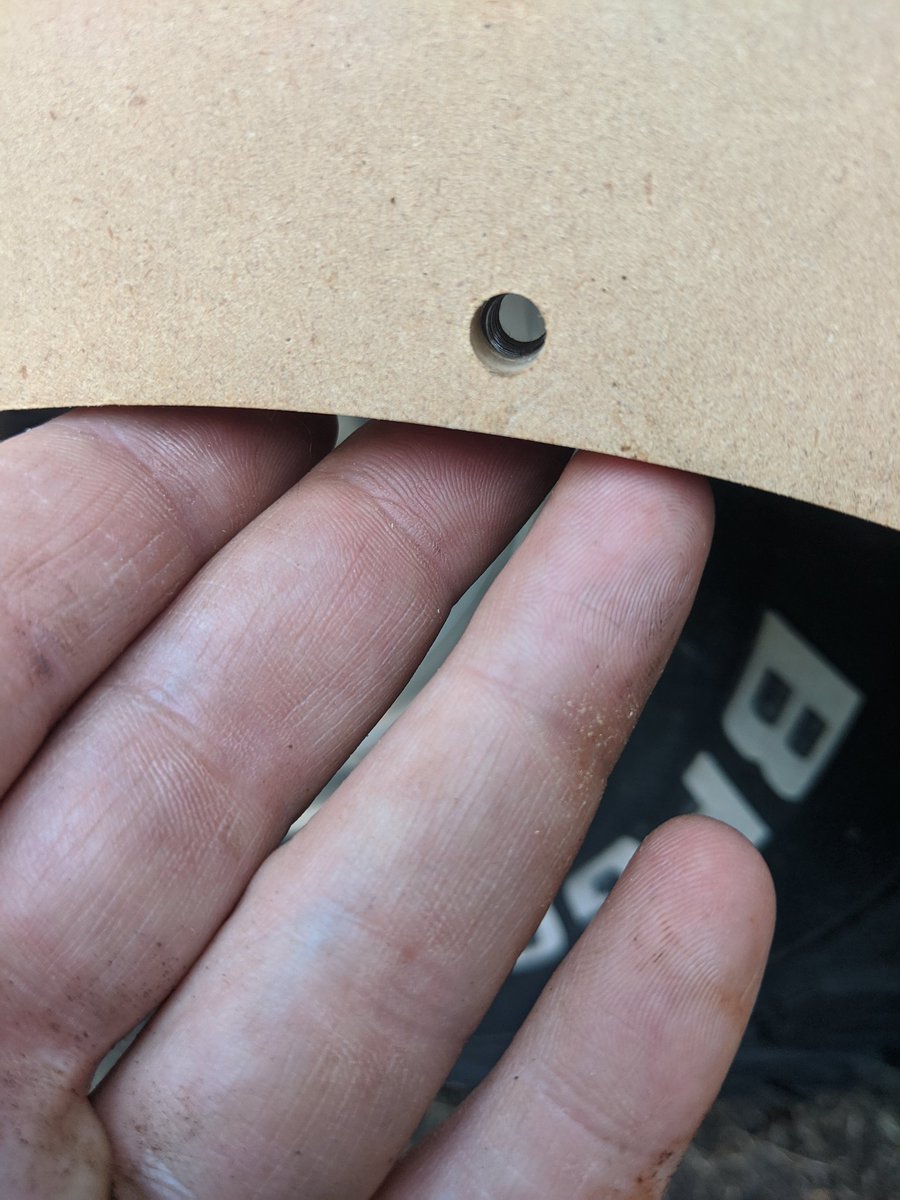
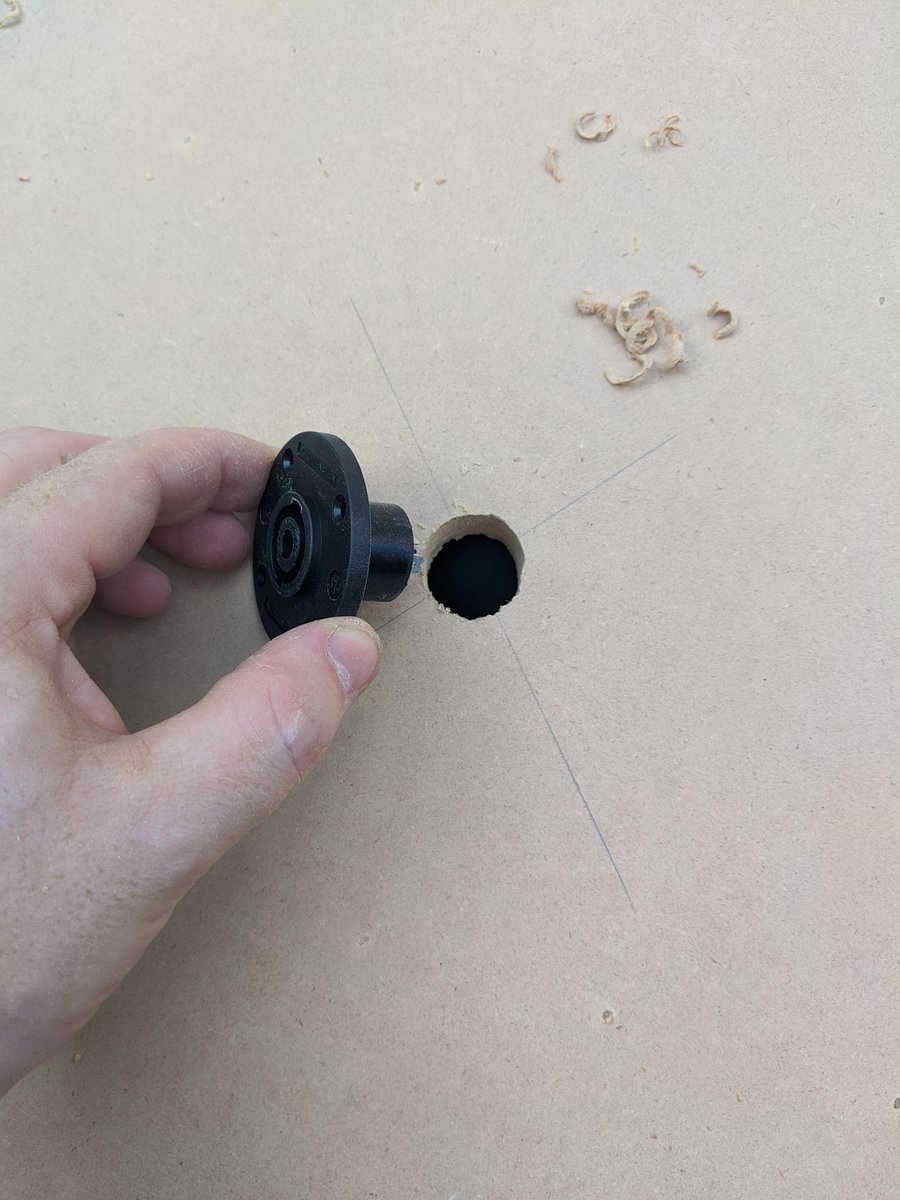
Test for complete; now let& #39;s drill some counter-sink holes for these threaded fittings:
There& #39;s what it looks like; a slightly larger hole to accommodate the body of the nut:
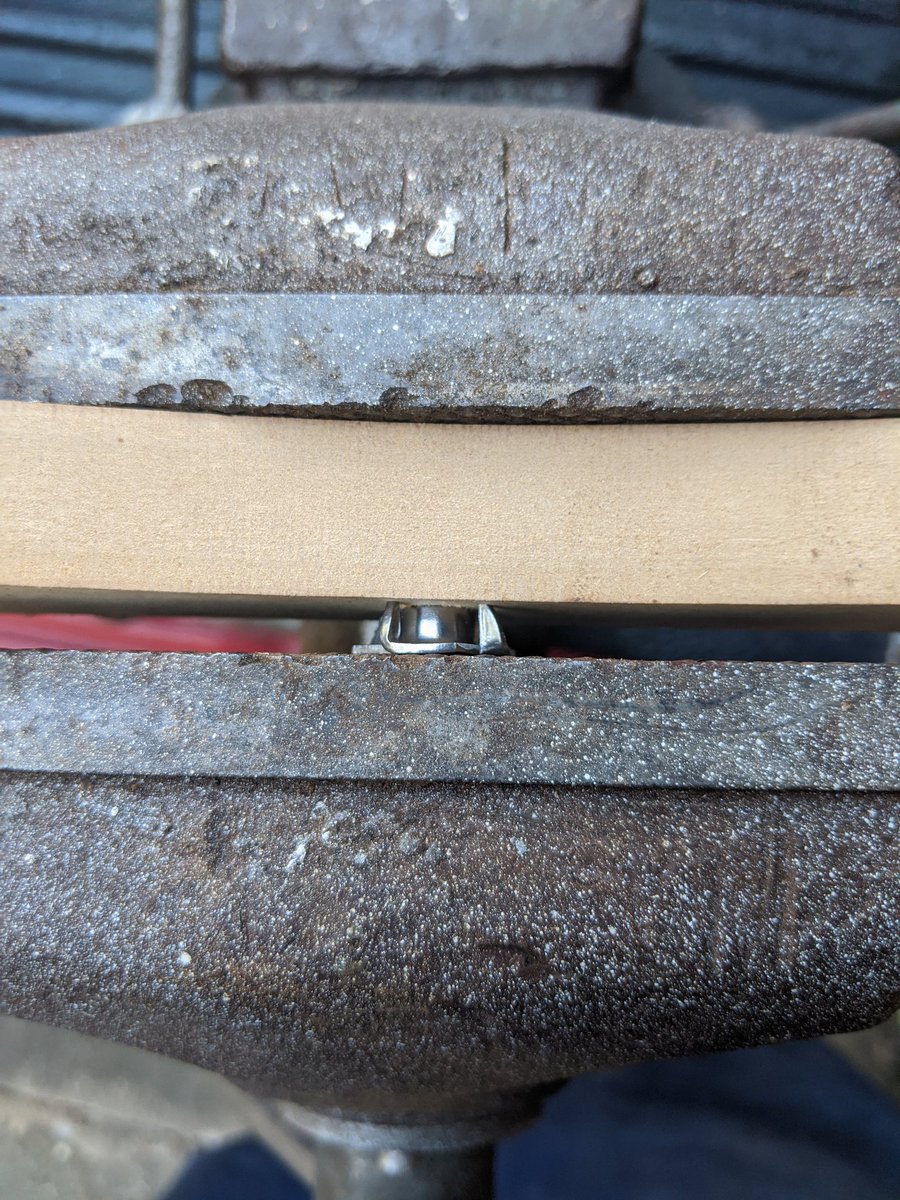
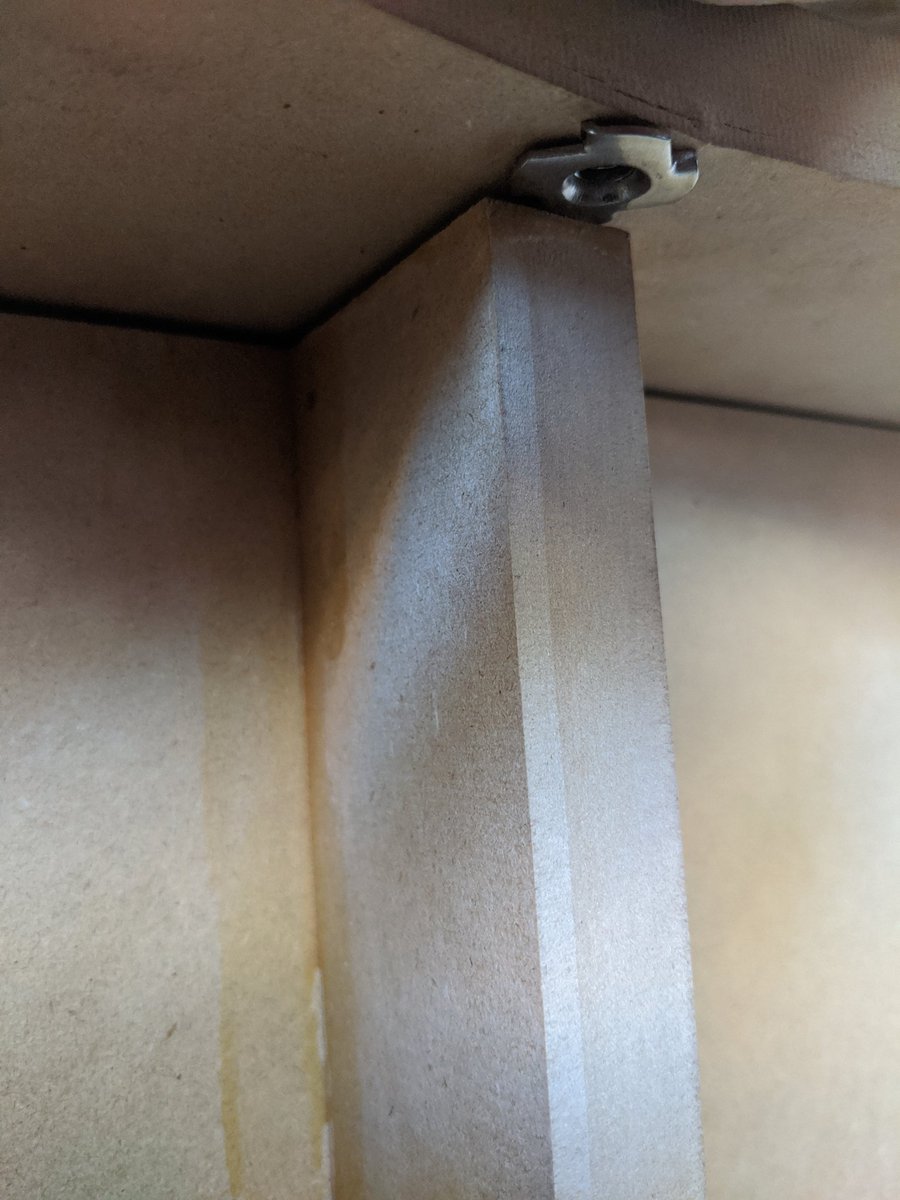
A problem has emerged; interference between my retainer and two of the braces. I shall have to create some space:
The base plate is glued into place and bradded but now I& #39;m going to have to glue the face plate on without poking new holes with the bradder. I guess I& #39;ll need a weight on it. Maybe this 46 pound weight I have handy will work?
Bolted in place for extra clamping force; while this cures I can play the "did I loan it out or lose it?" game with my caulk gun:
Good news; a friend has a used DeWalt orbital sander I can buy cheap!
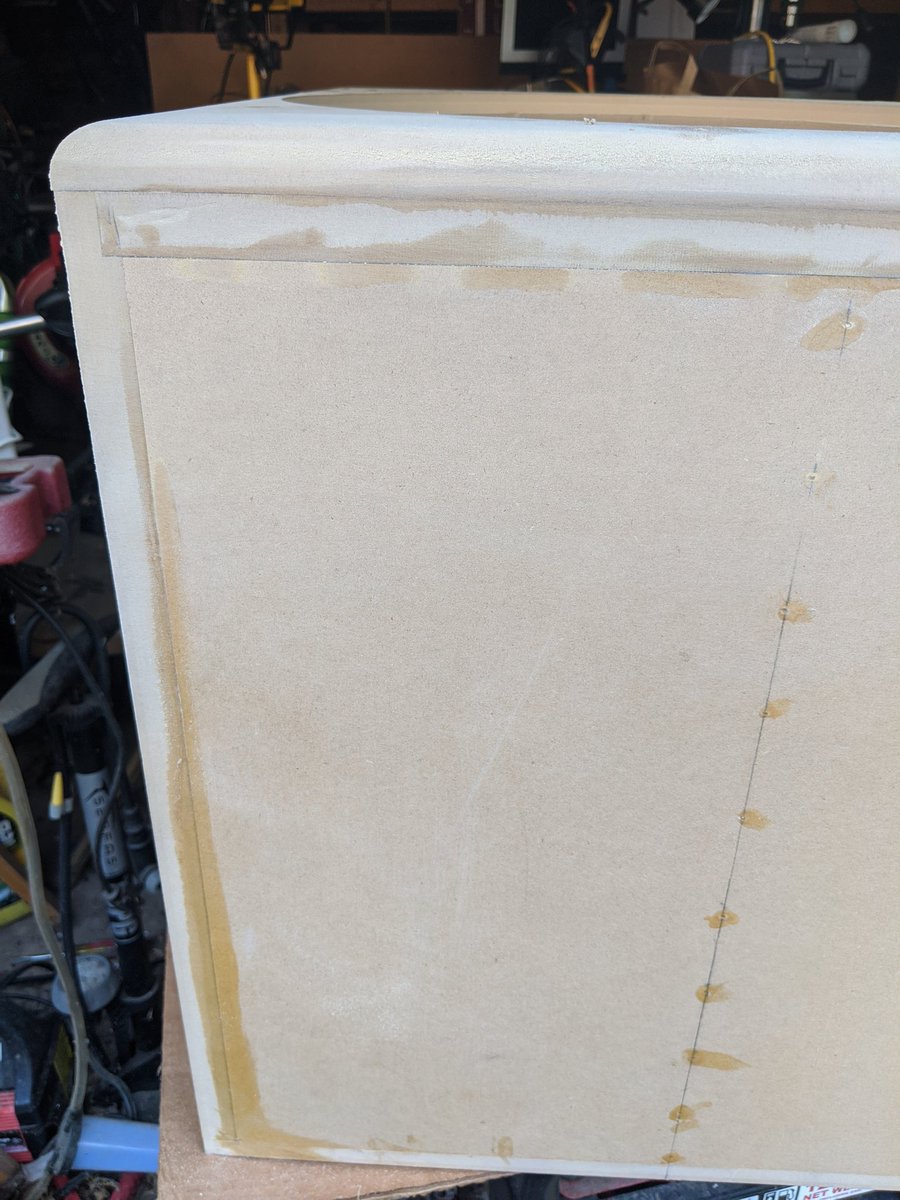
Bad news: I did not listen to my own advice about always, always using a test board to verify my router was set correctly. It was not! This I& #39;m filling it in with glue and will sand to match later:
Bad news: I did not listen to my own advice about always, always using a test board to verify my router was set correctly. It was not! This I& #39;m filling it in with glue and will sand to match later:
I chose this corner to test because it was going to be on the bottom in the back anyway so it probably won& #39;t be seen. :-)
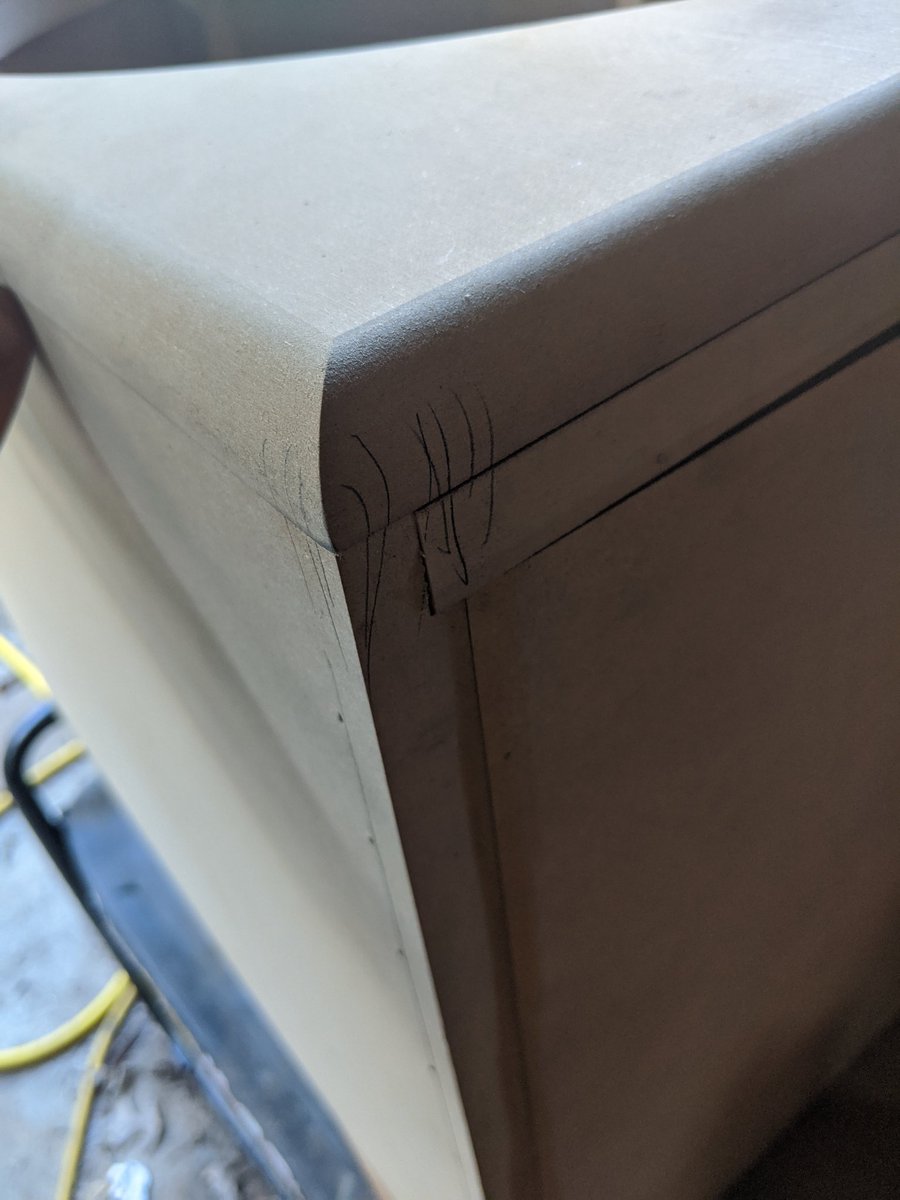
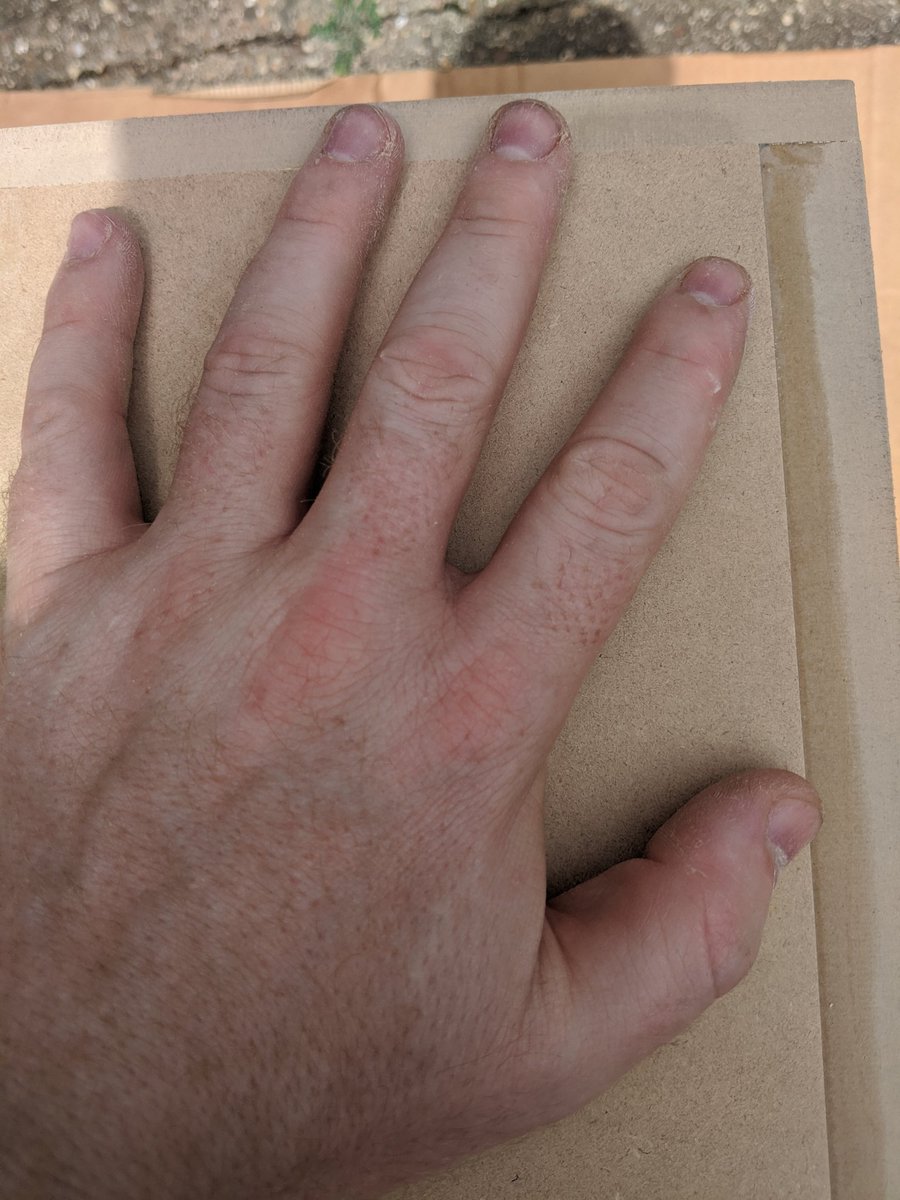
When sanding the glue seams down you have to be thorough and get them all; this may seem fine and would likely be okay for a matte finish but a gloss will scream this mistake at your eyes:
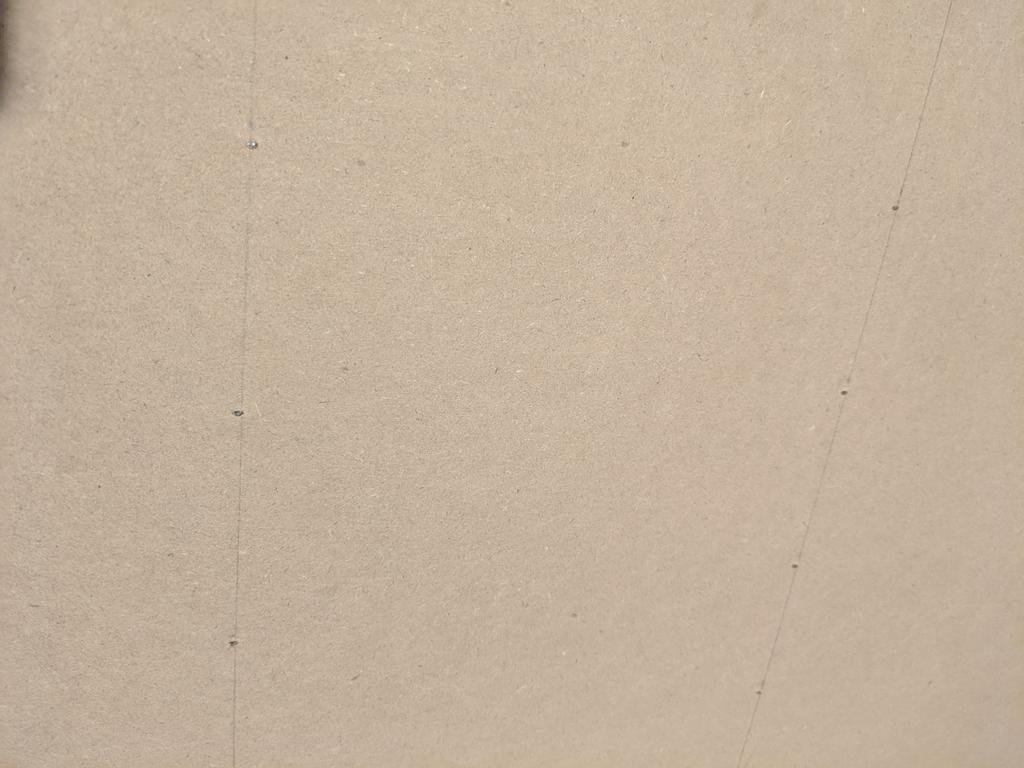
The pencil lines under the glue make wonderful measures of whether or not you& #39;re done:

 Read on Twitter