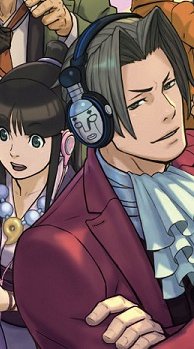
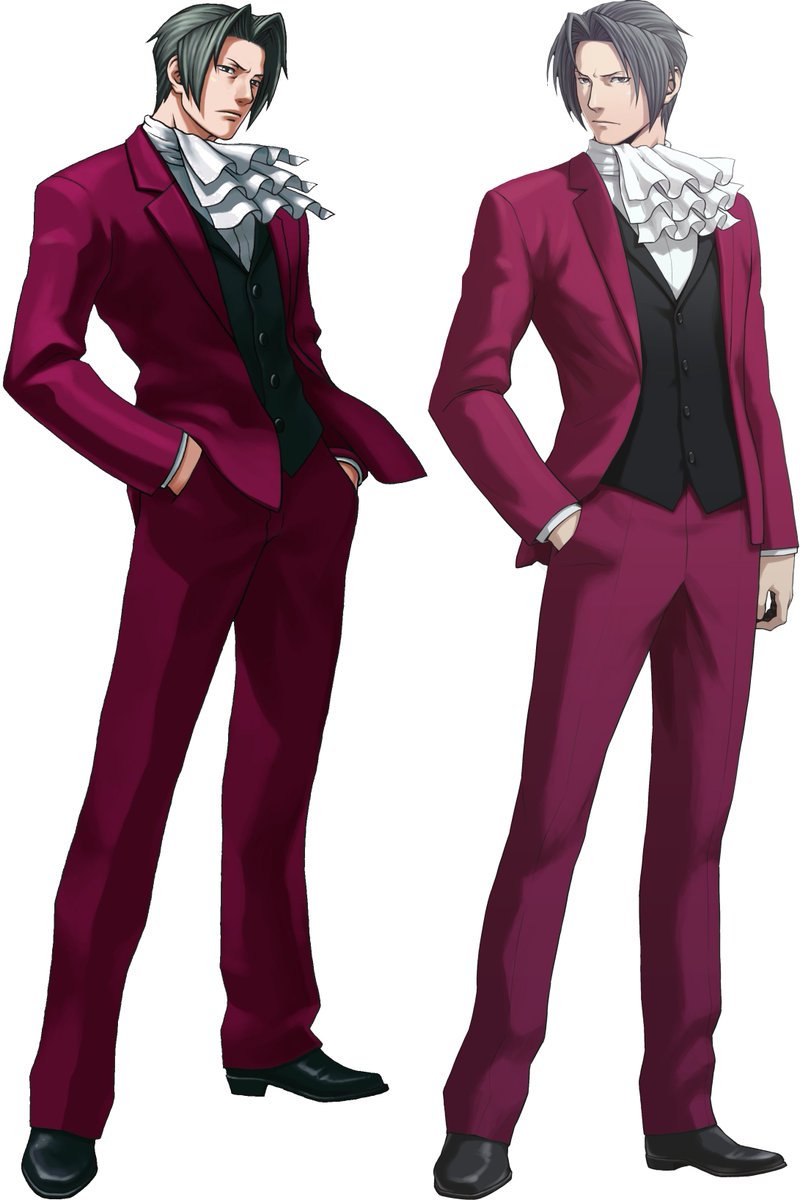
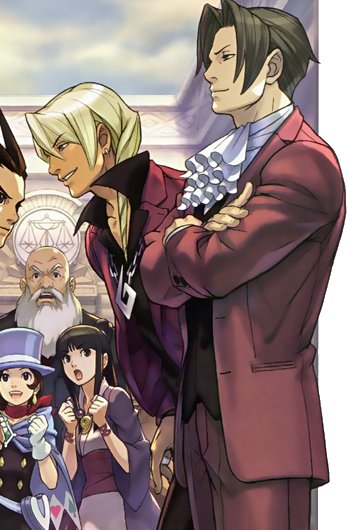
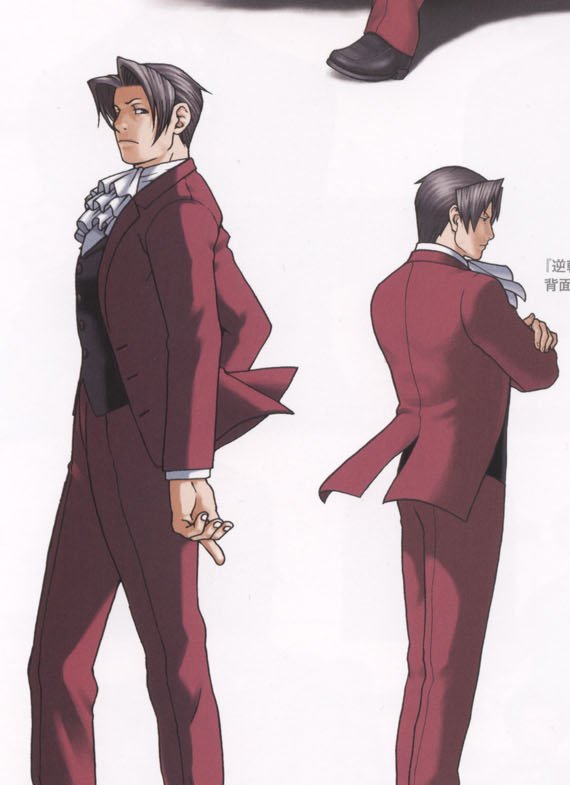
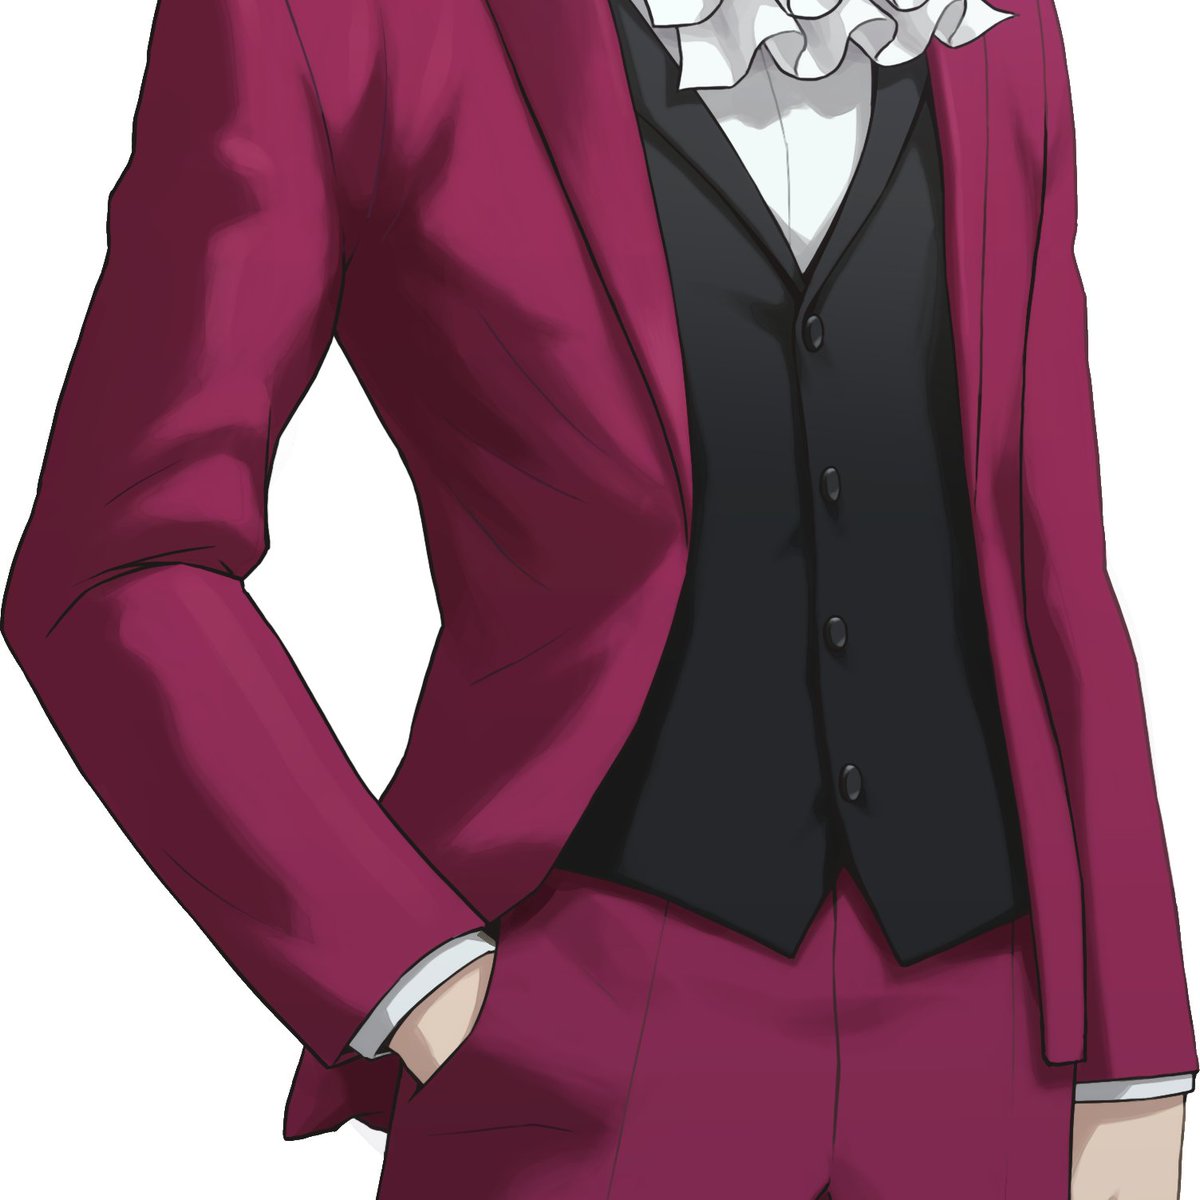
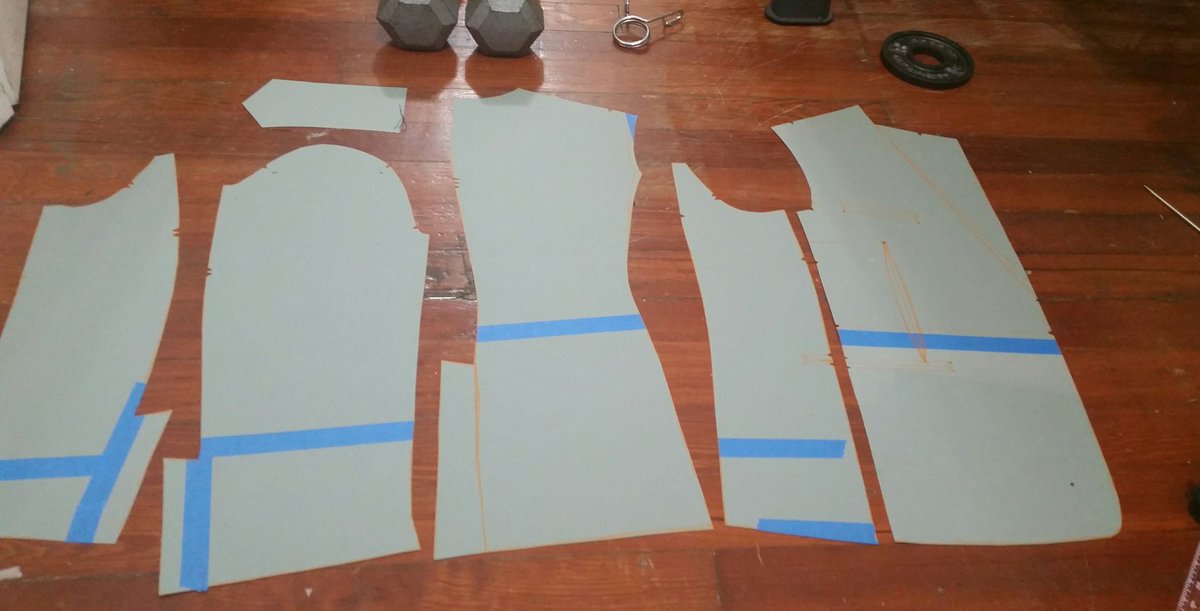
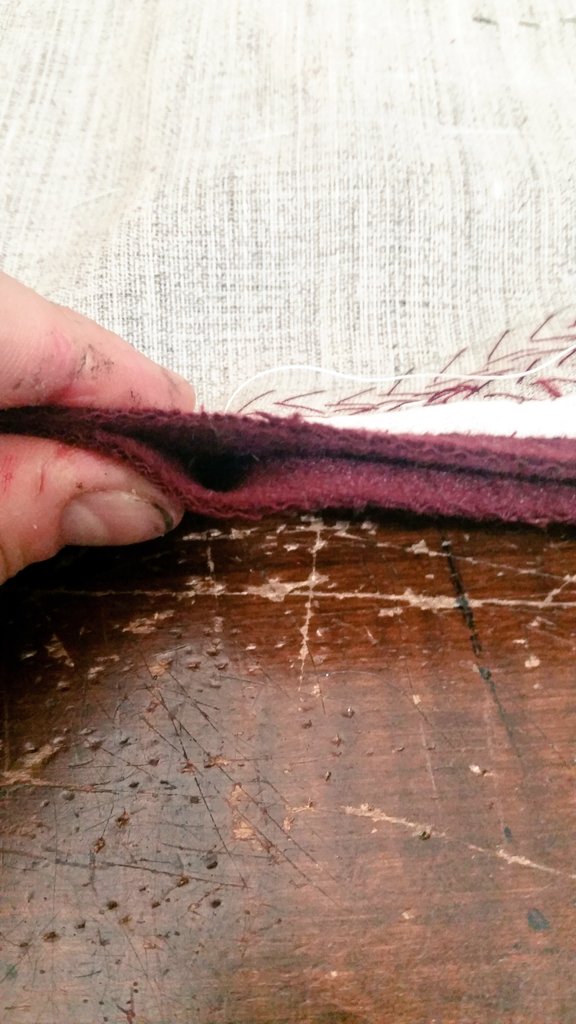
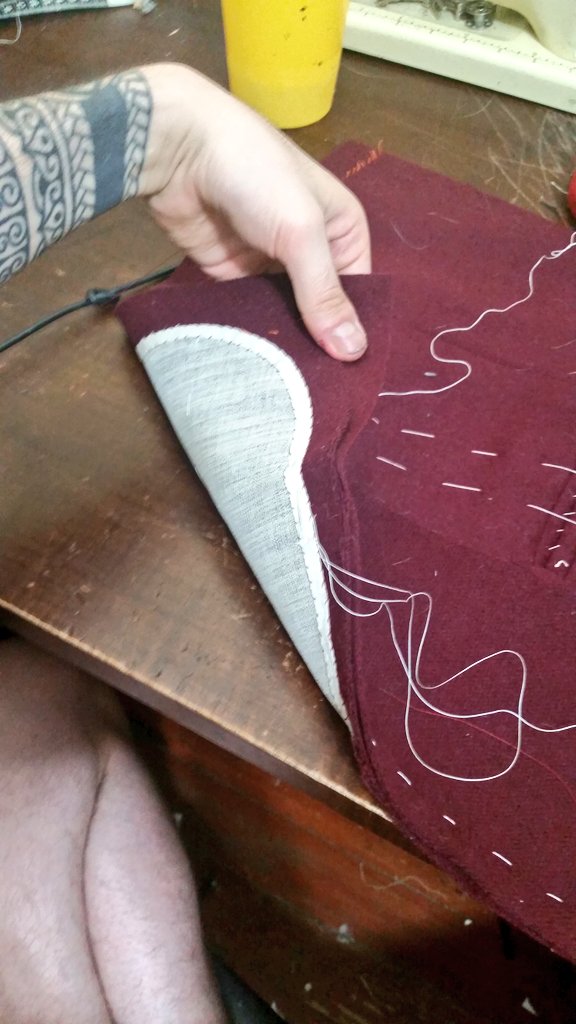
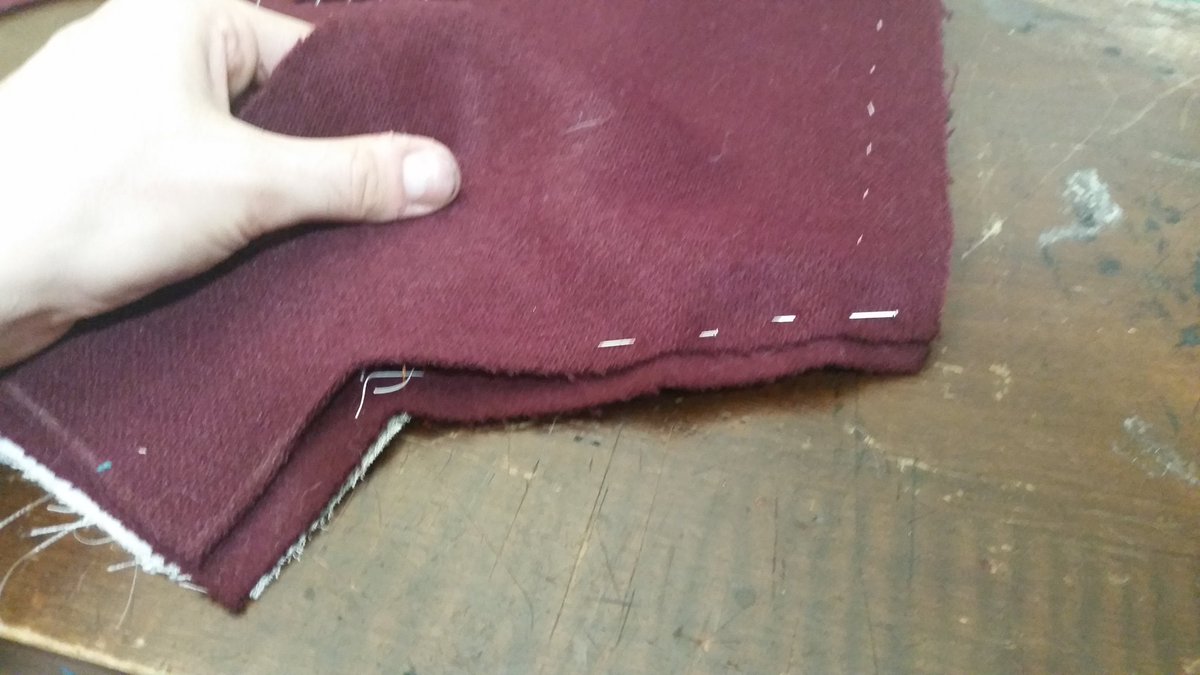
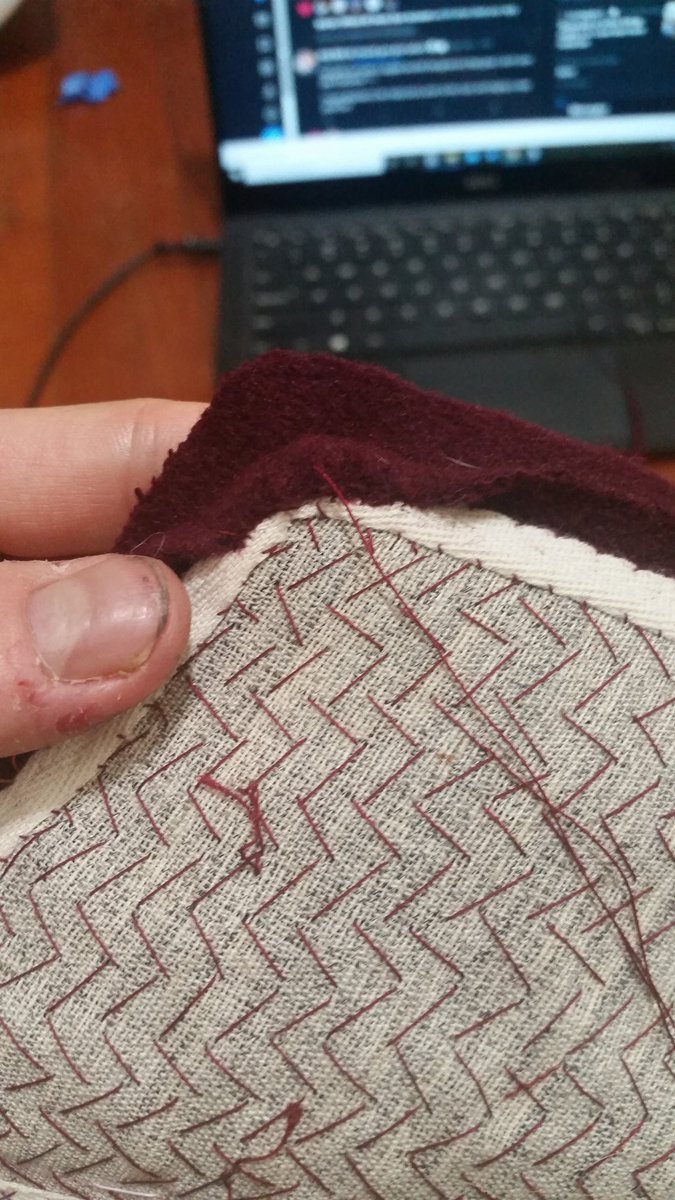
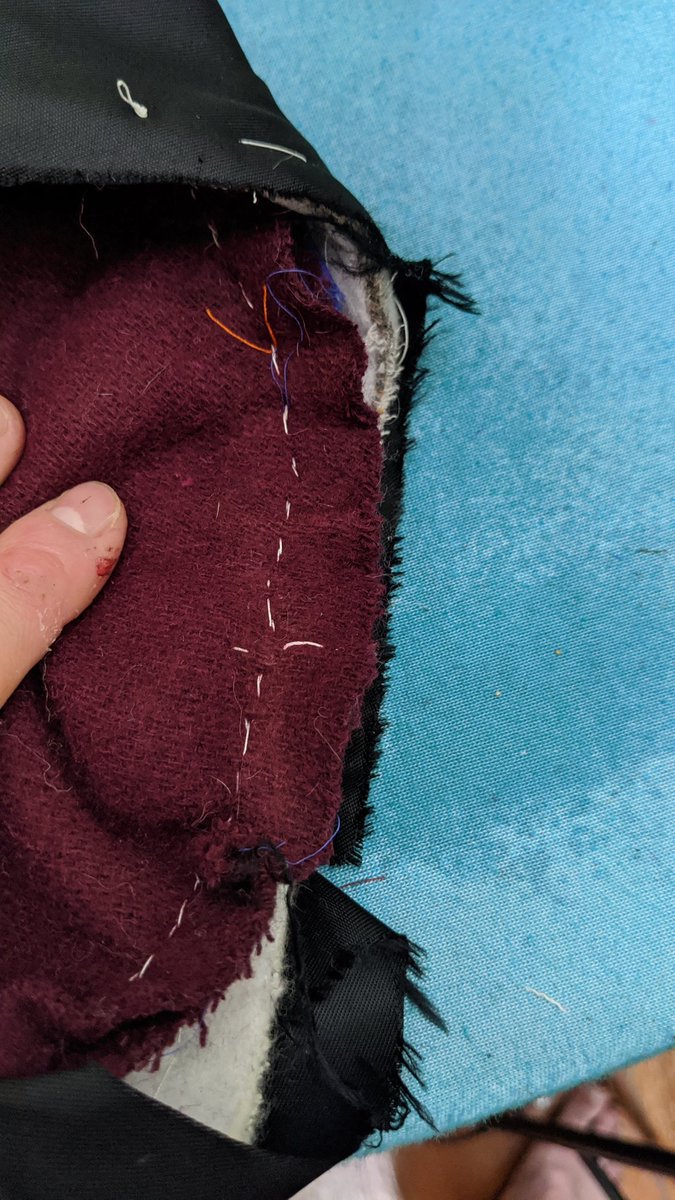
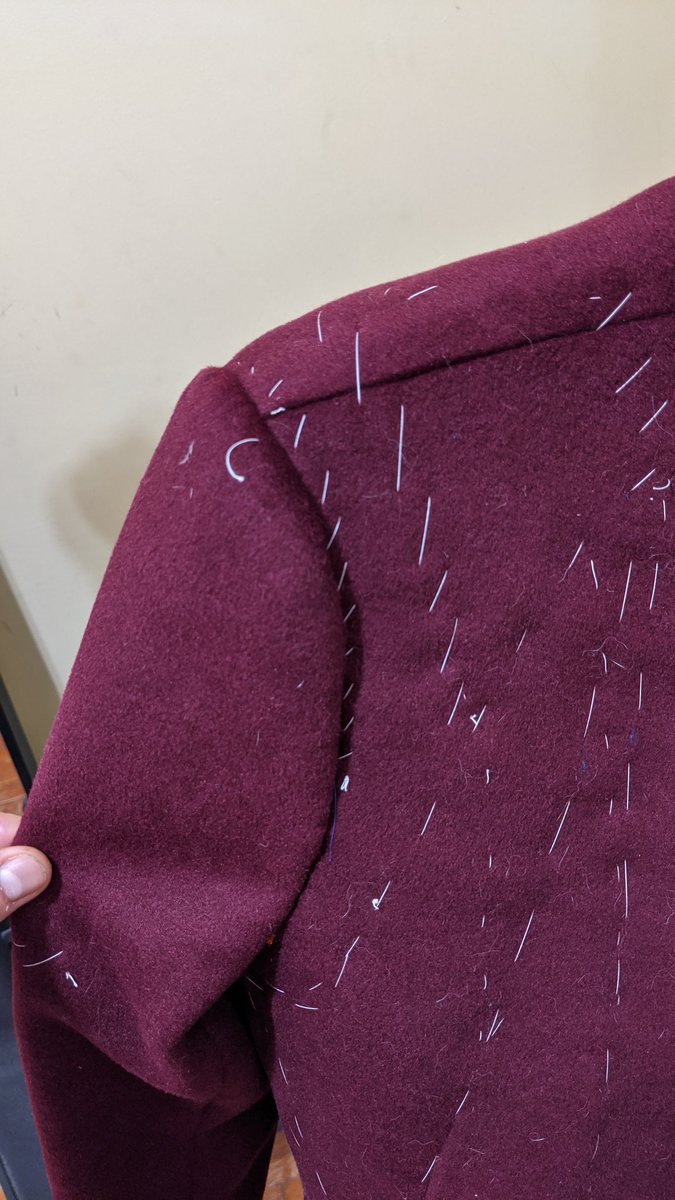
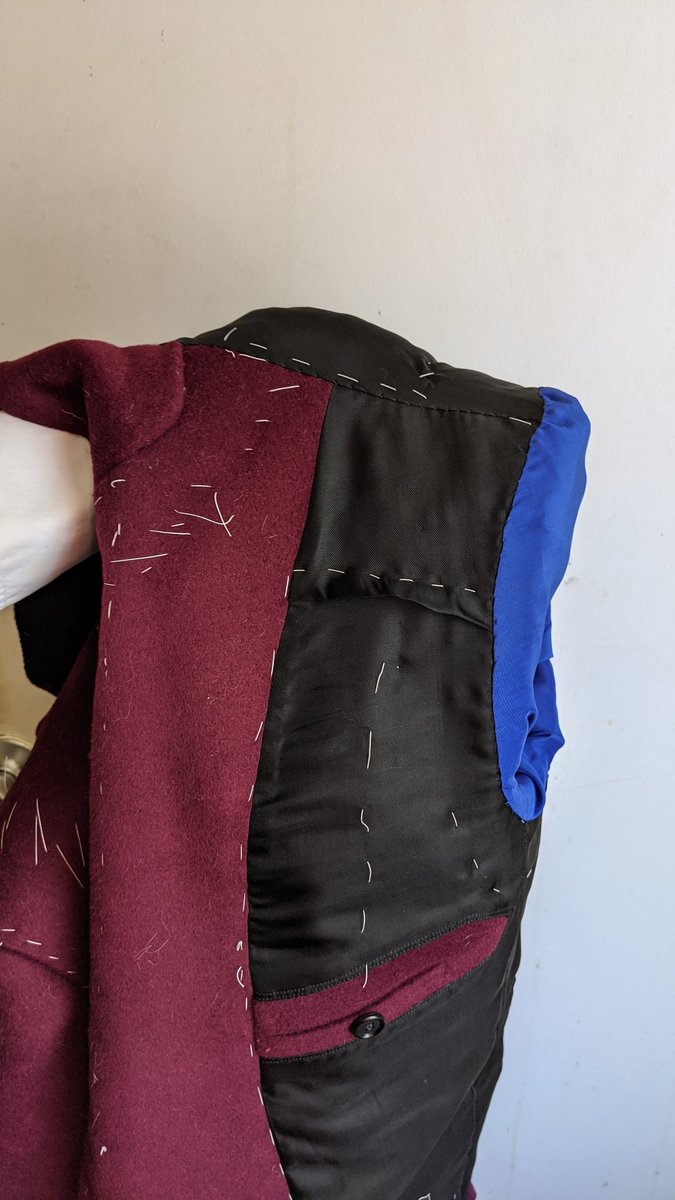
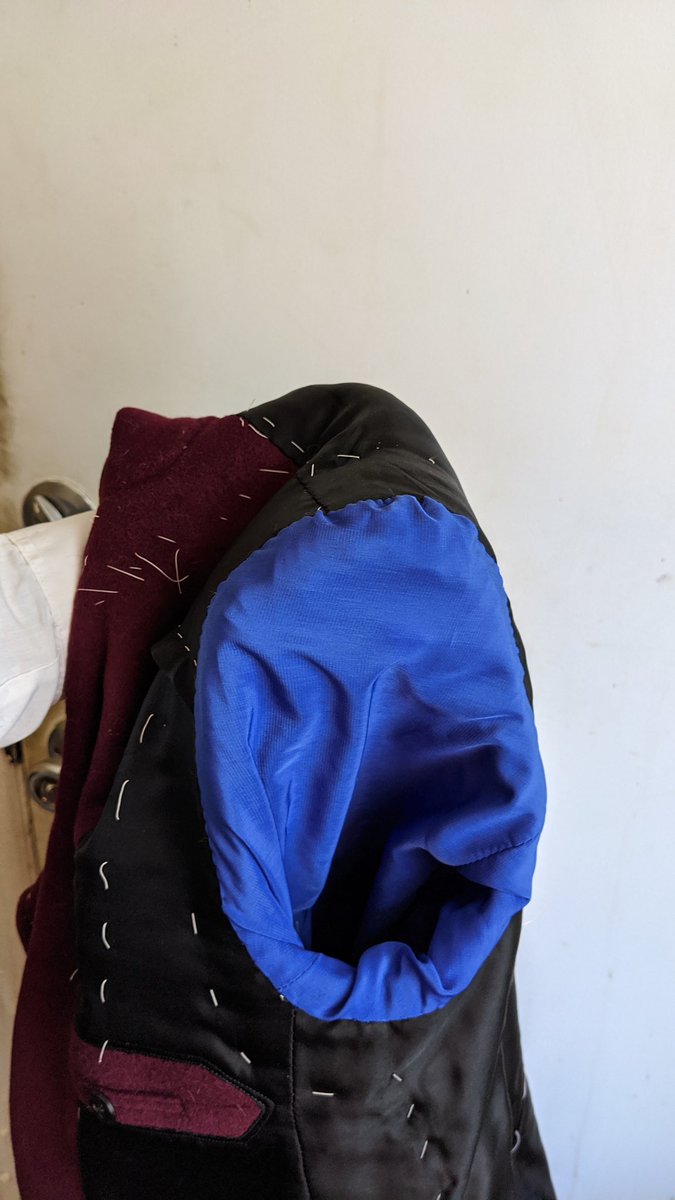
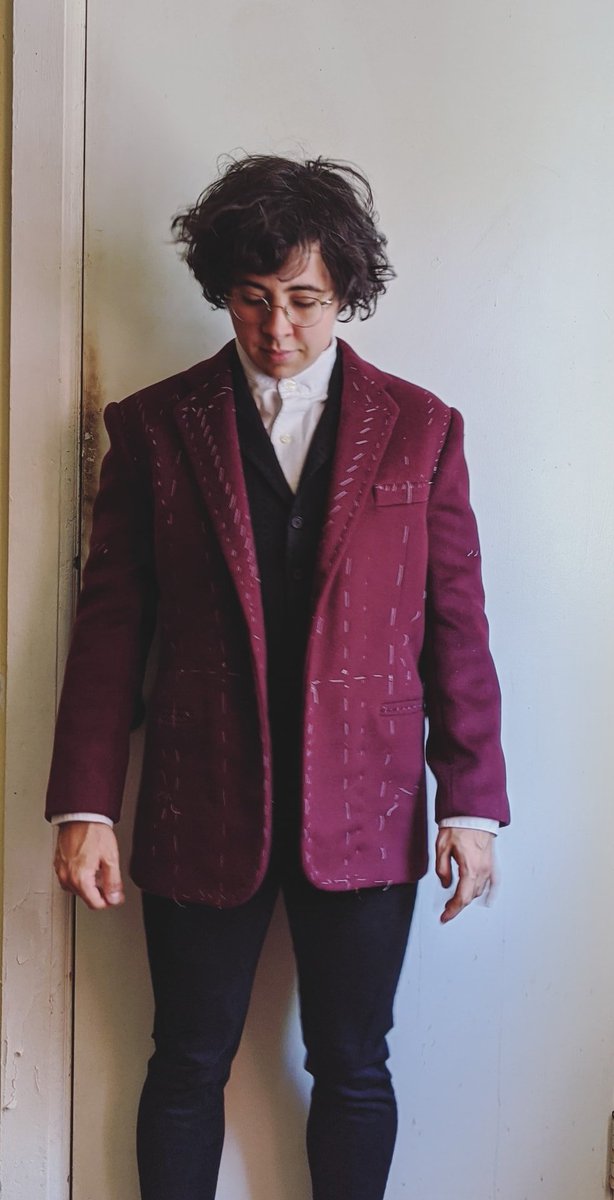
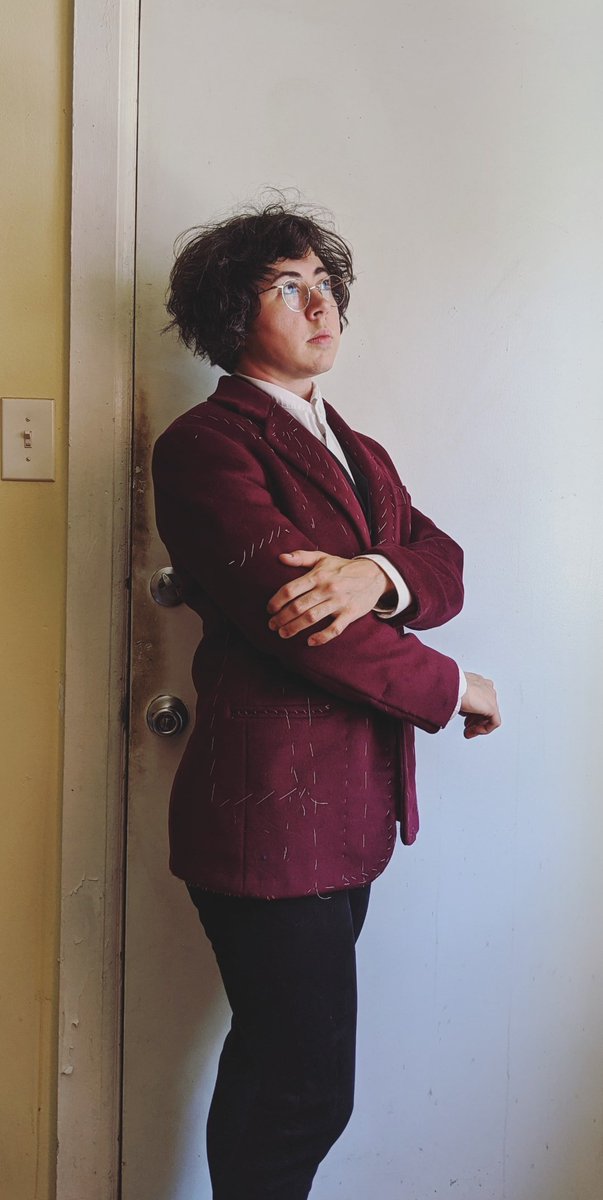
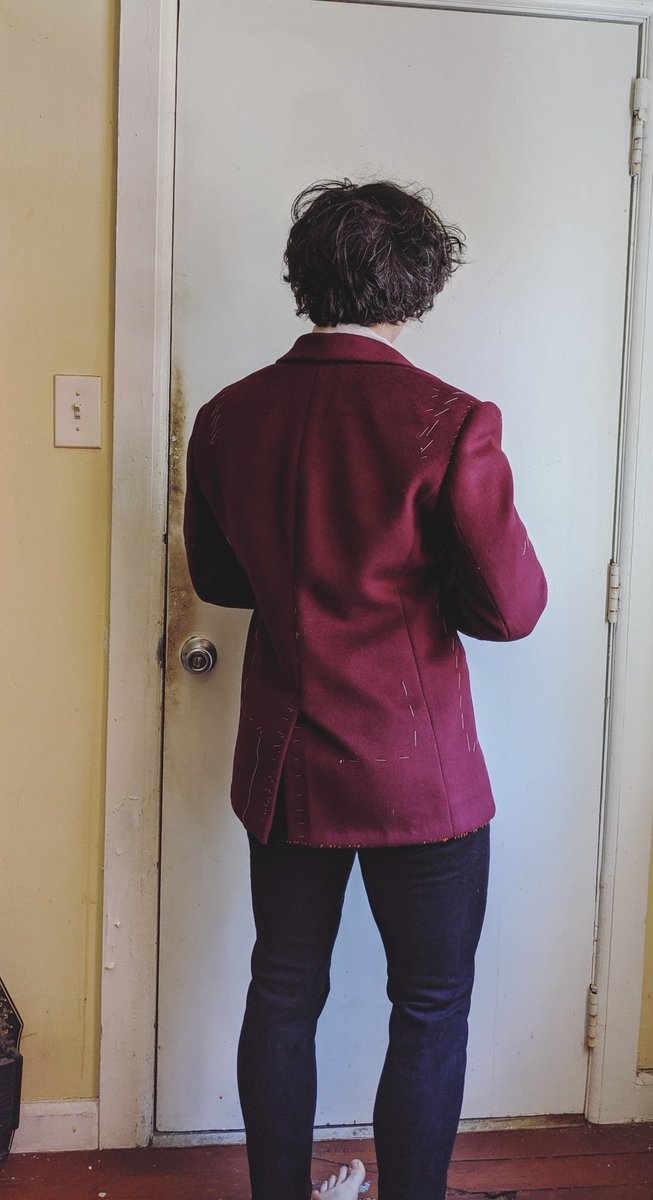
Ok, here& #39;s my build thread for Miles Edgeworth: Learn Tailoring or Die Trying.
Time isn& #39;t real so who knows when I& #39;ll finish this but I& #39;ve finally got my ass in gear and got started so, eventually I will become (1) emotionally constipated prosecutor
Time isn& #39;t real so who knows when I& #39;ll finish this but I& #39;ve finally got my ass in gear and got started so, eventually I will become (1) emotionally constipated prosecutor
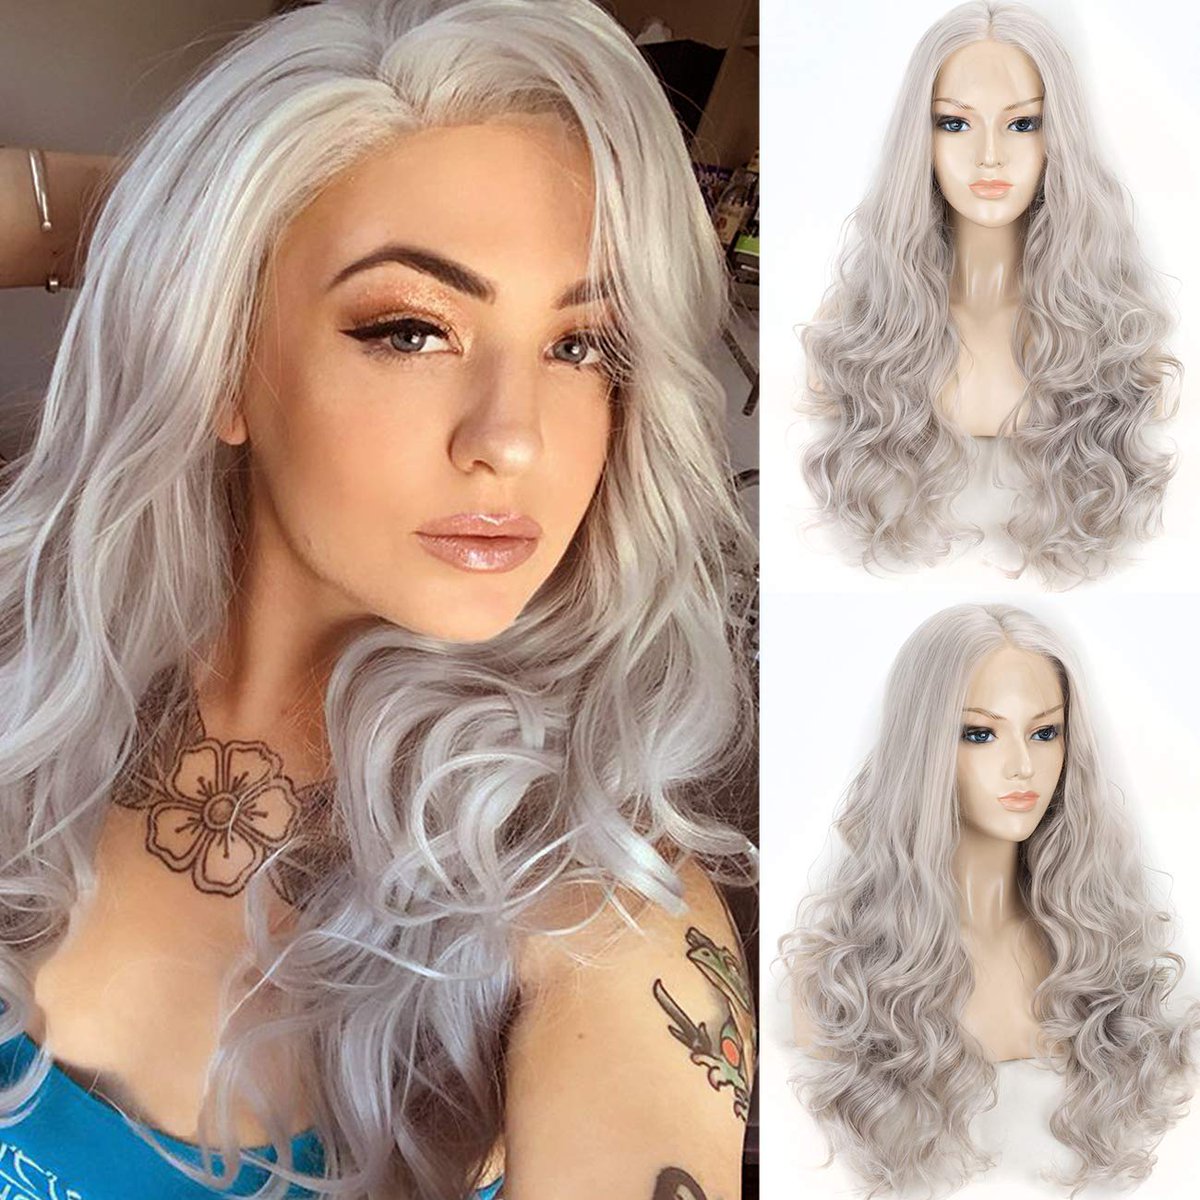
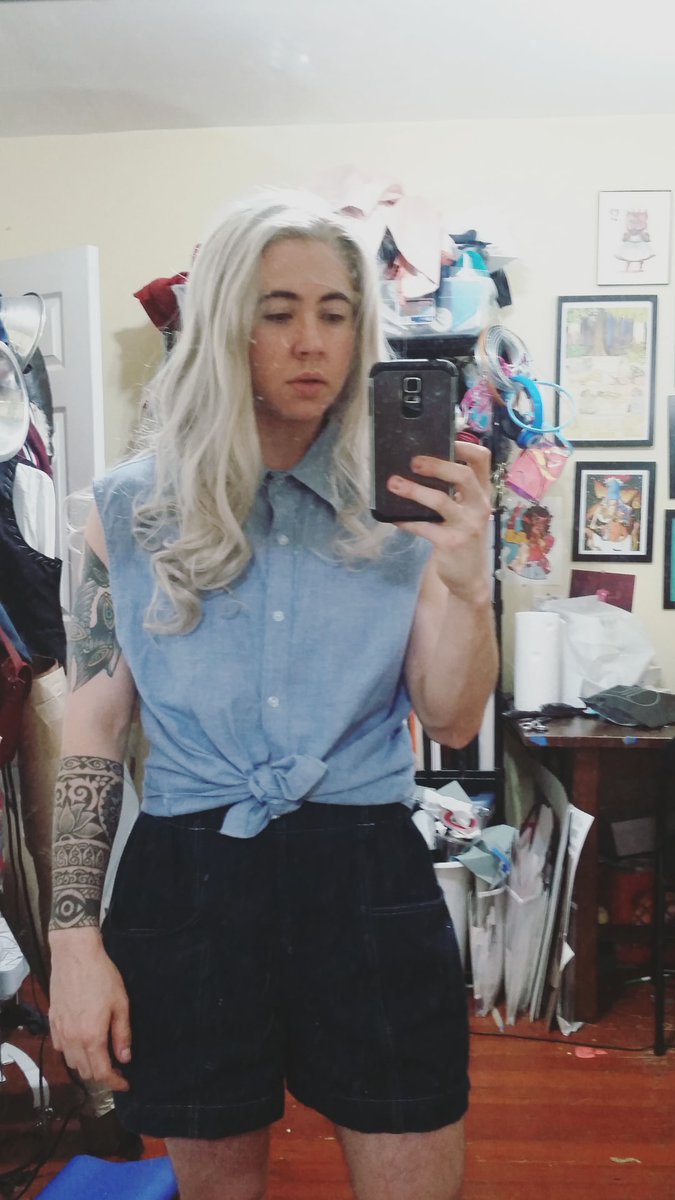
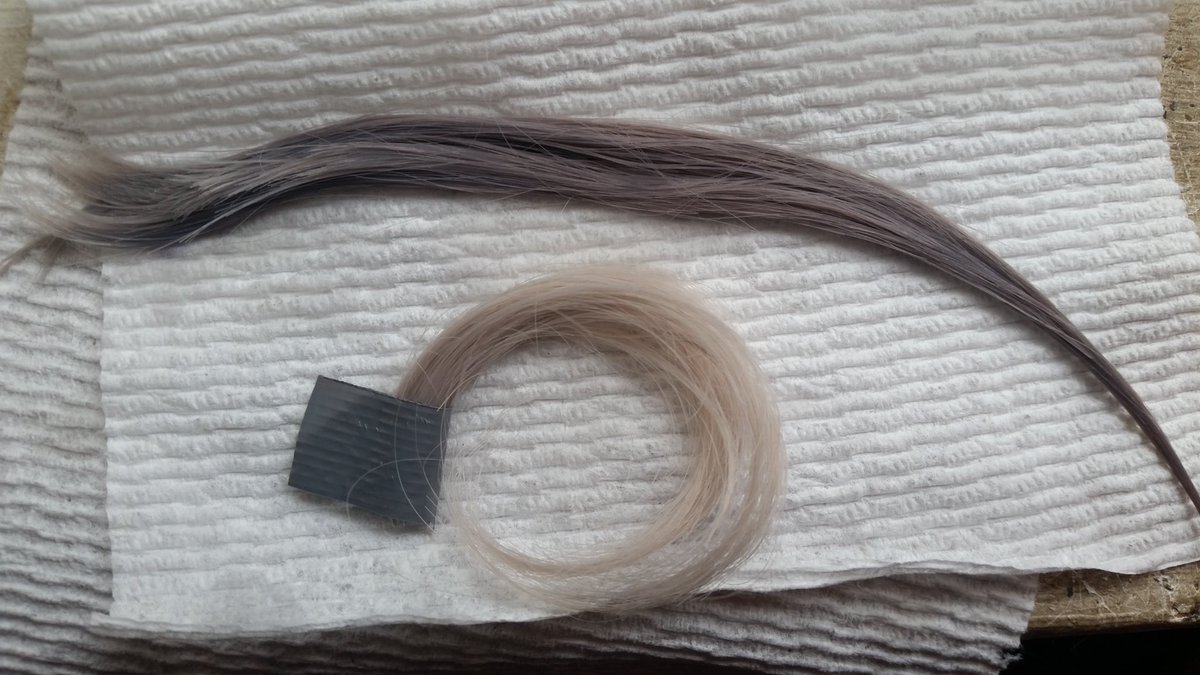
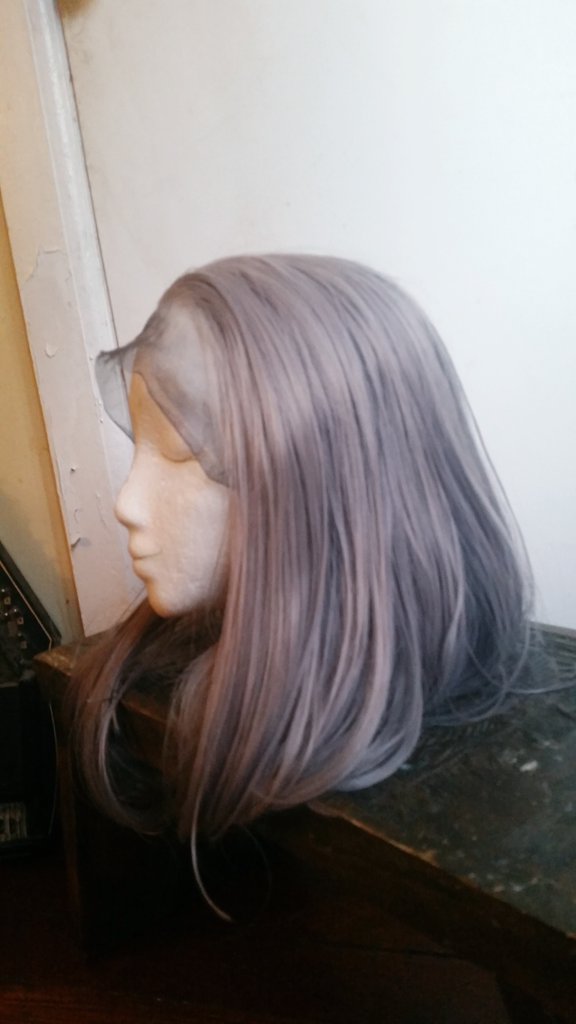
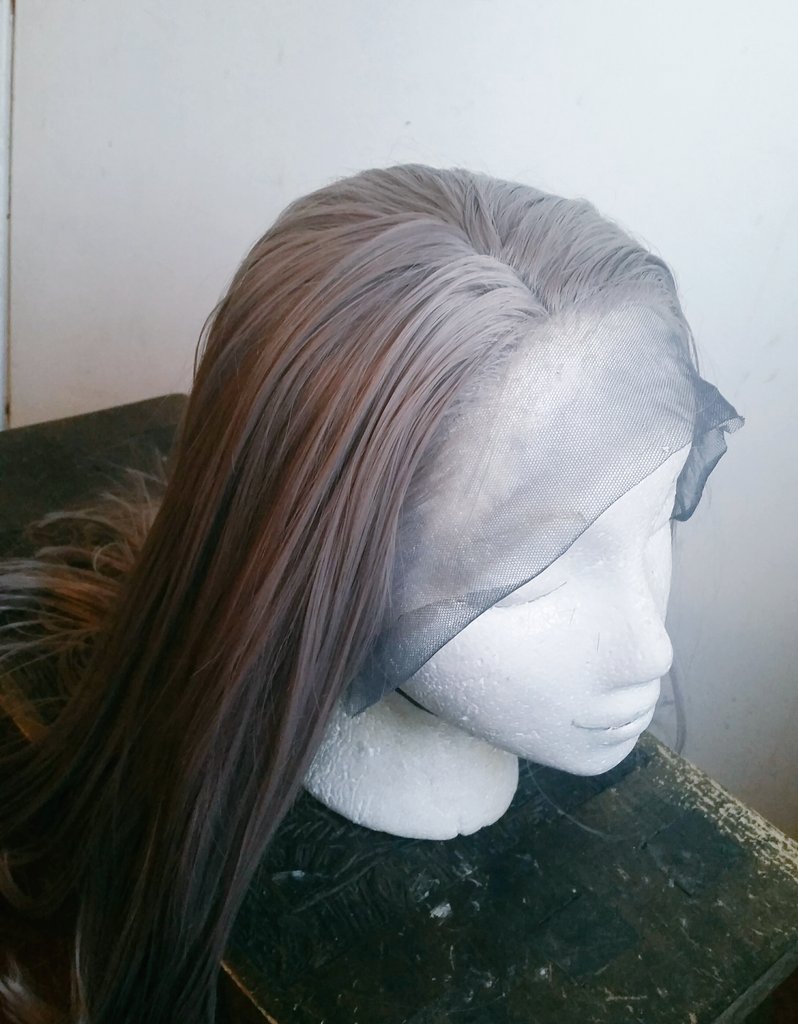
Ordering this wig, which looks light here, but darker in the customer& #39;s pics. Worst case scenario I can dye it darker. I& #39;ve had good luck with this brand before for Zidane so I& #39;m willing to fuss with color. And cut a crapload off, obviously.
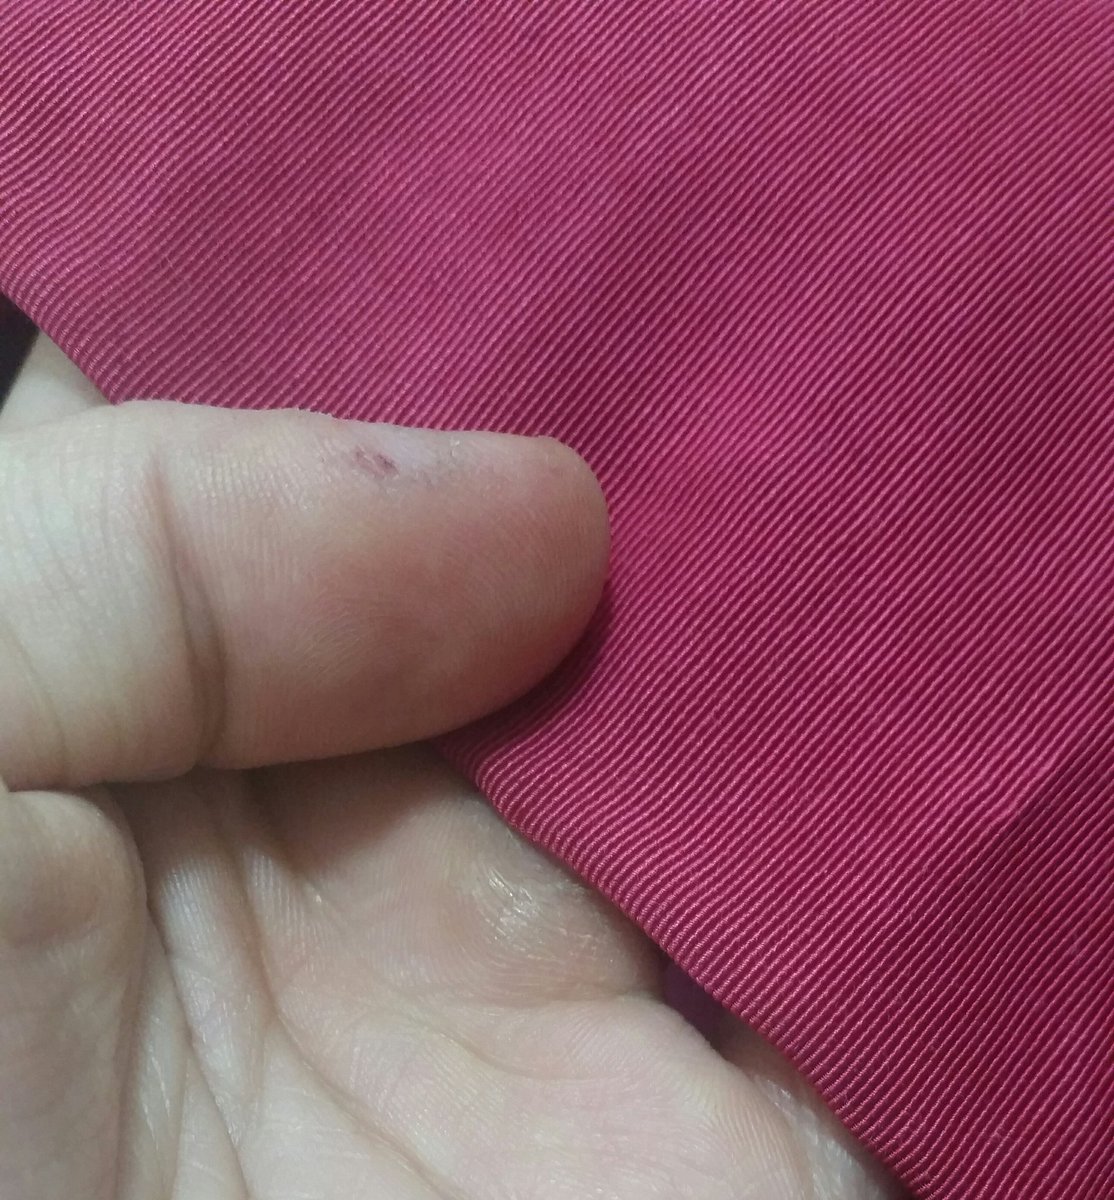
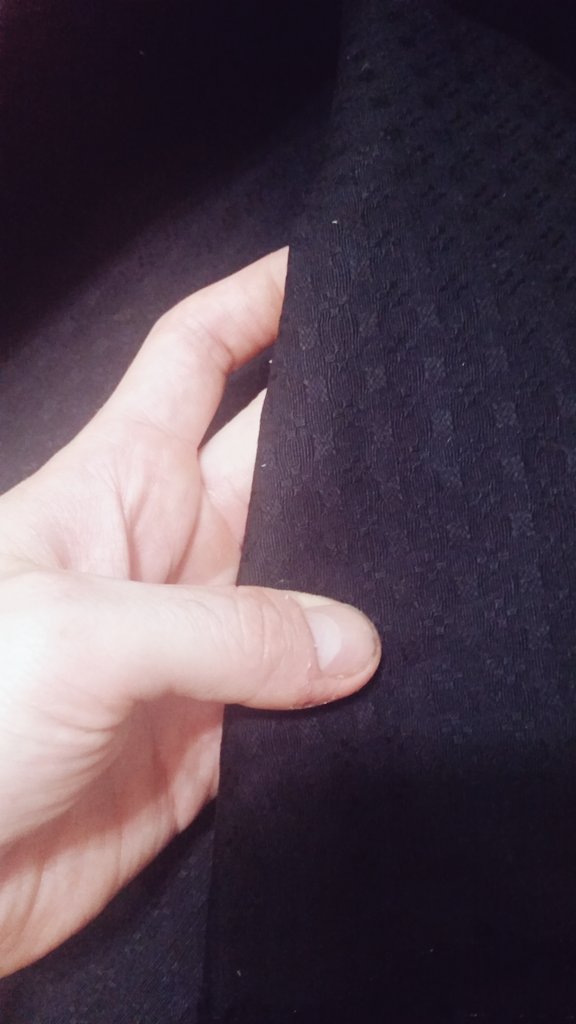
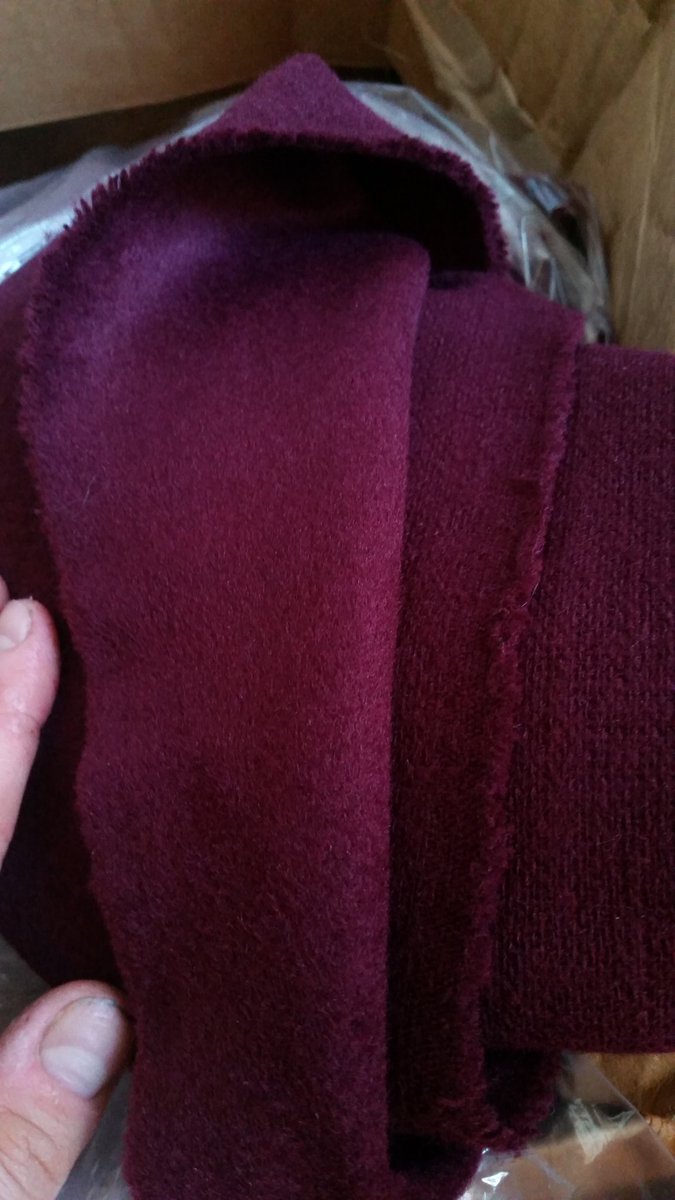
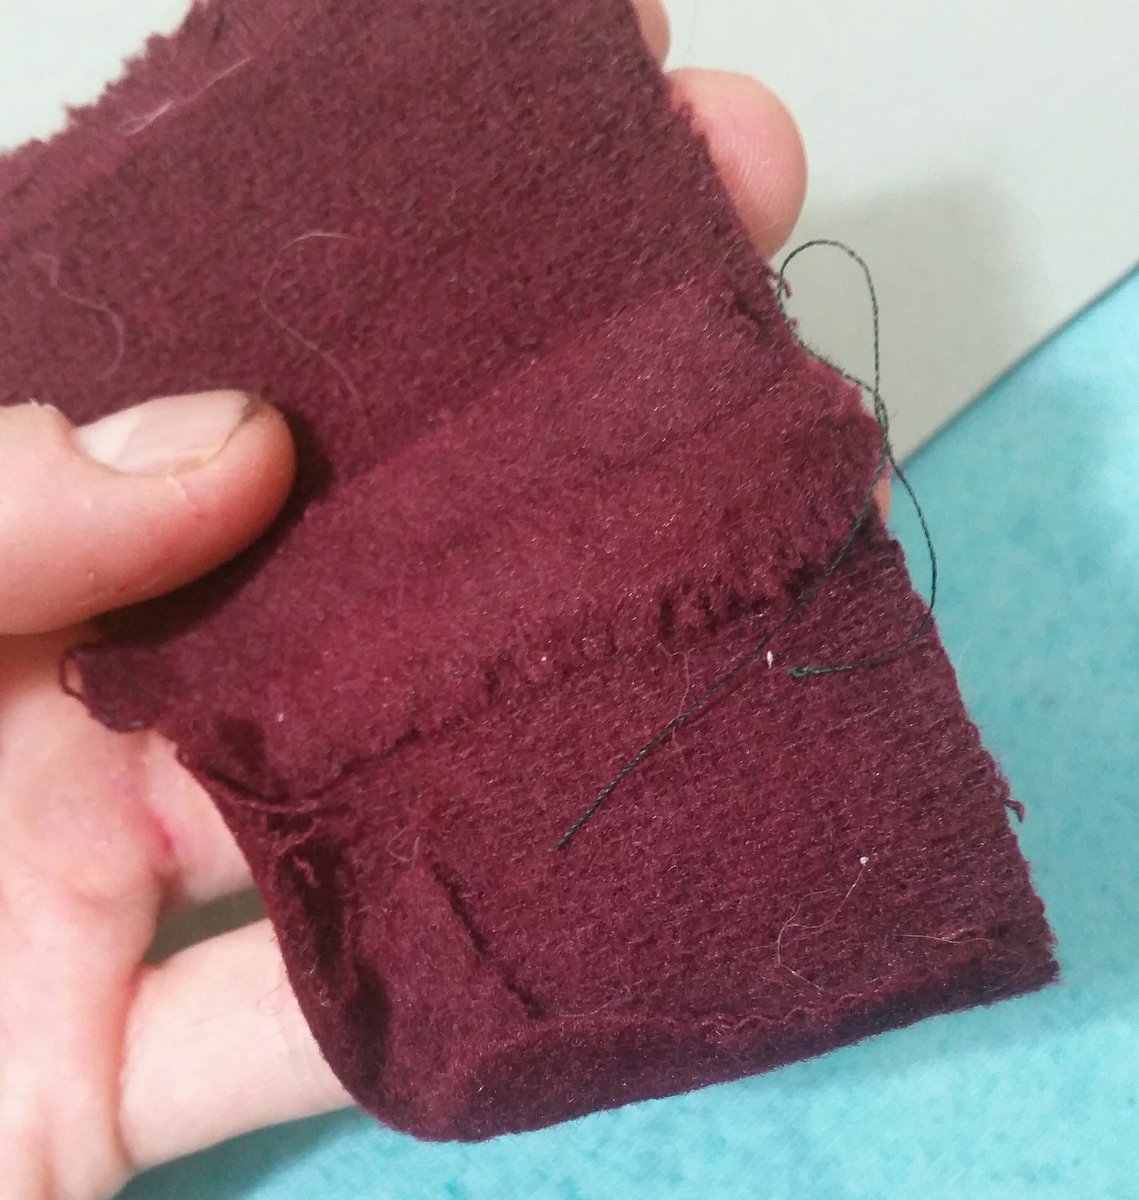
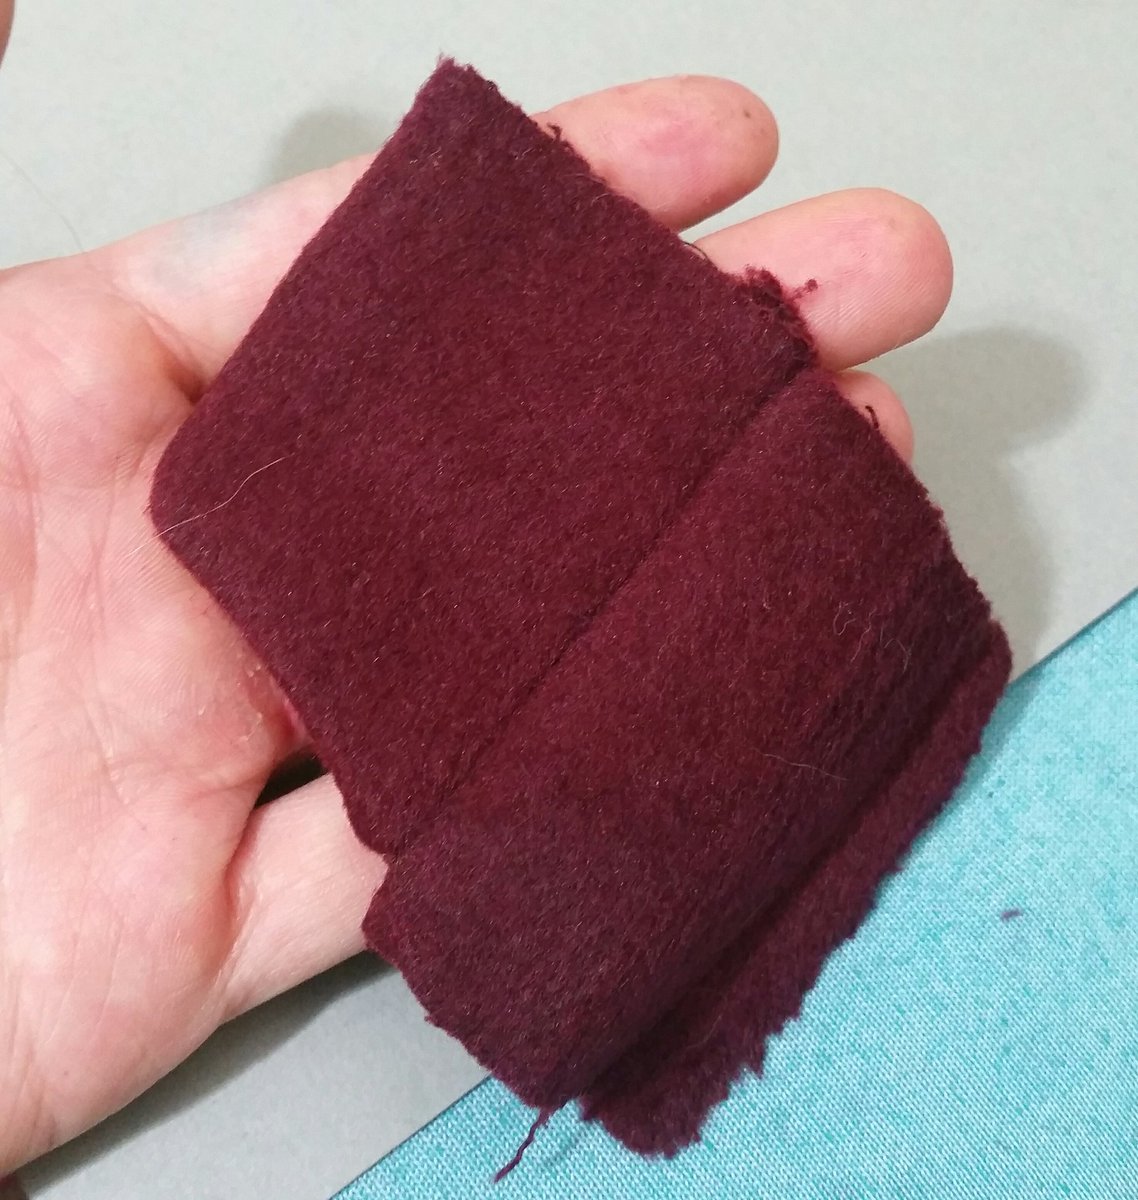
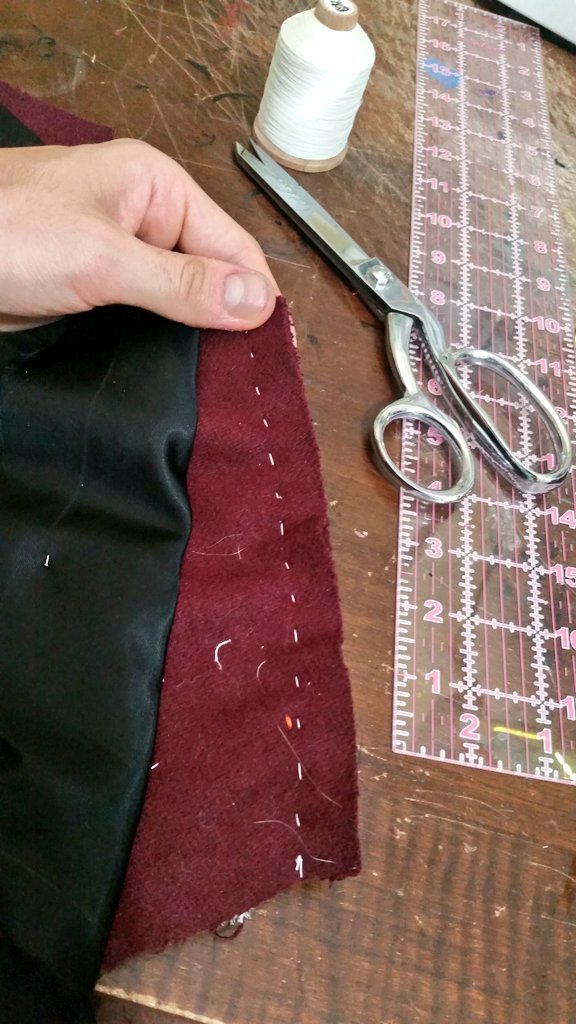
I& #39;m adding some texture with his fabric since it& #39;s a *lot* of plain yardage, so his suit fabric is almost a grosgrain type of thing? And a small jacquard weave for his vest
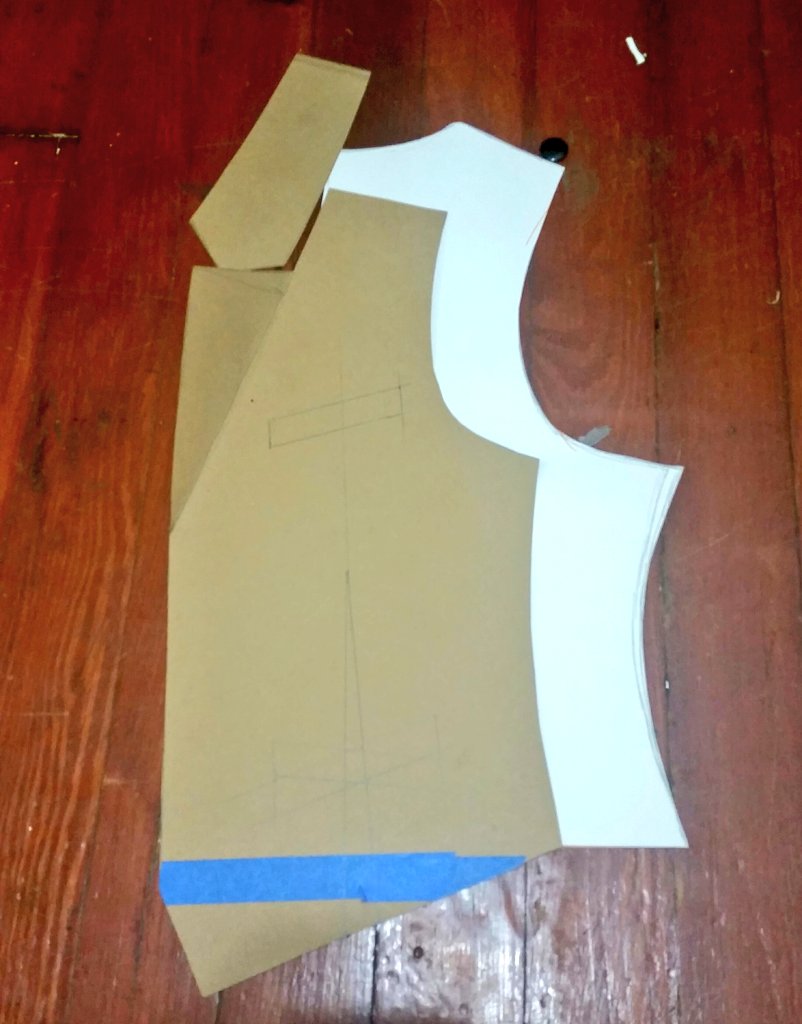
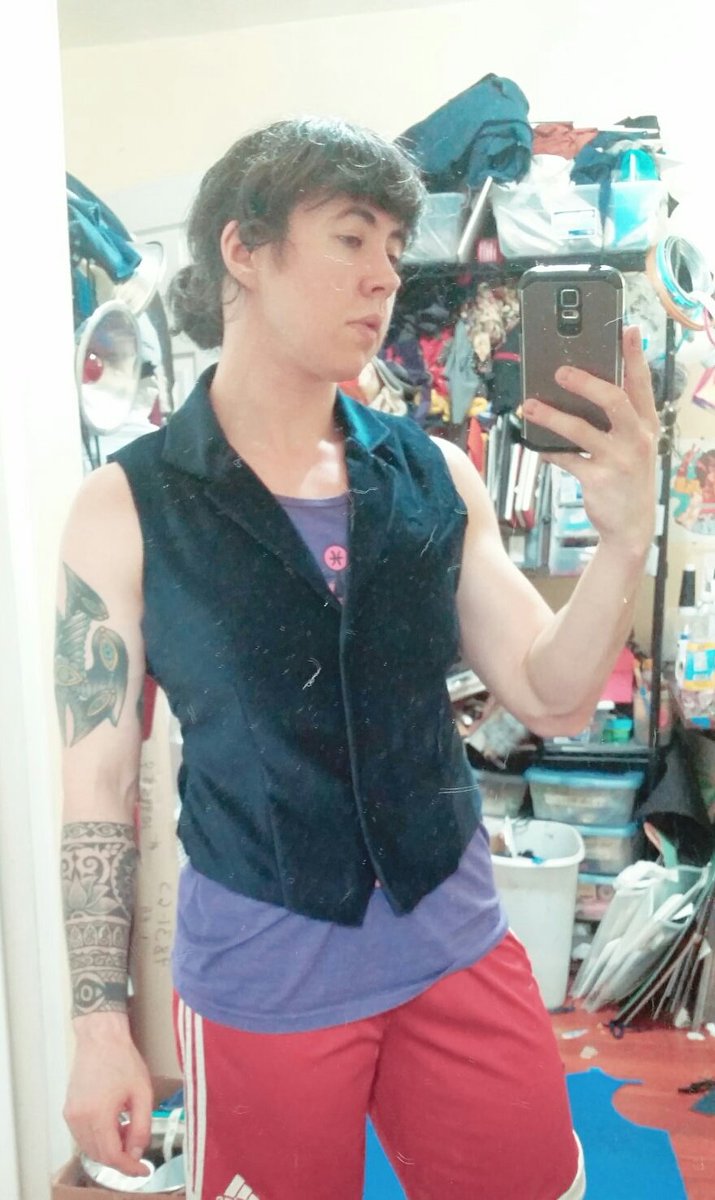
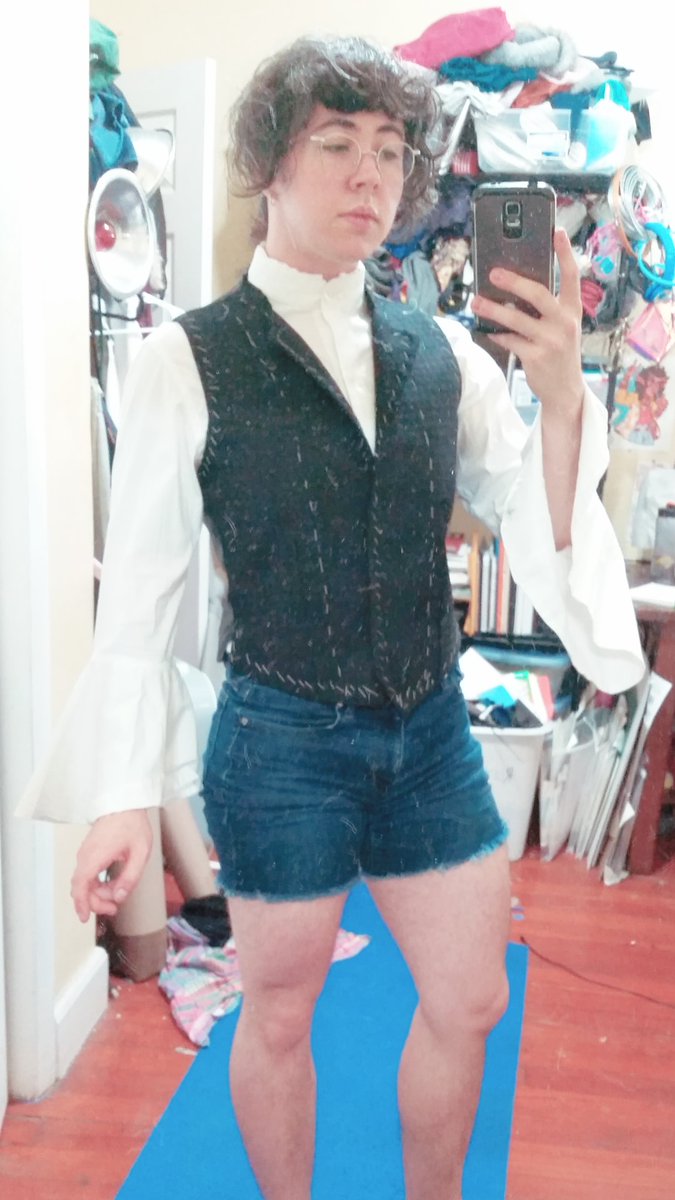
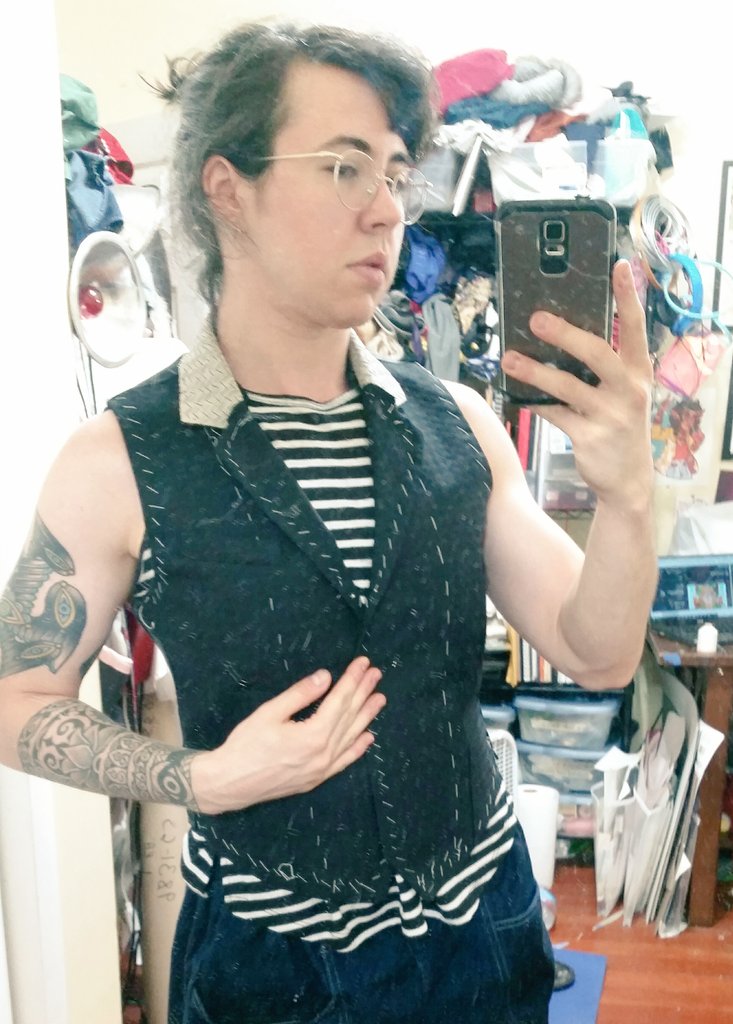
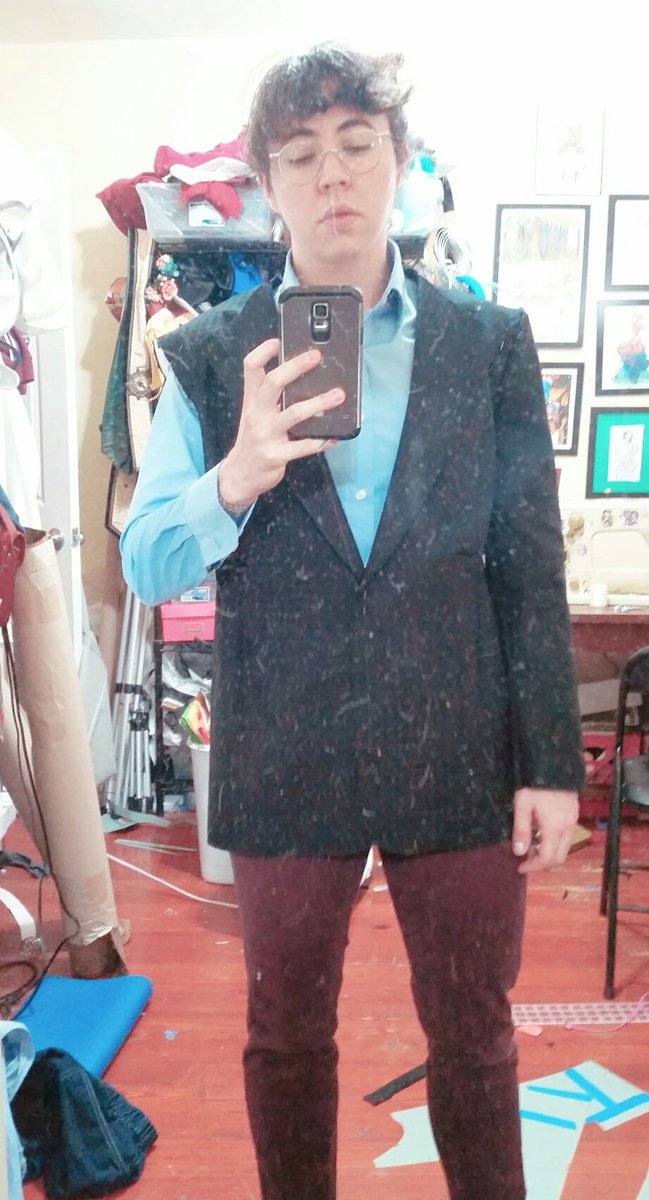
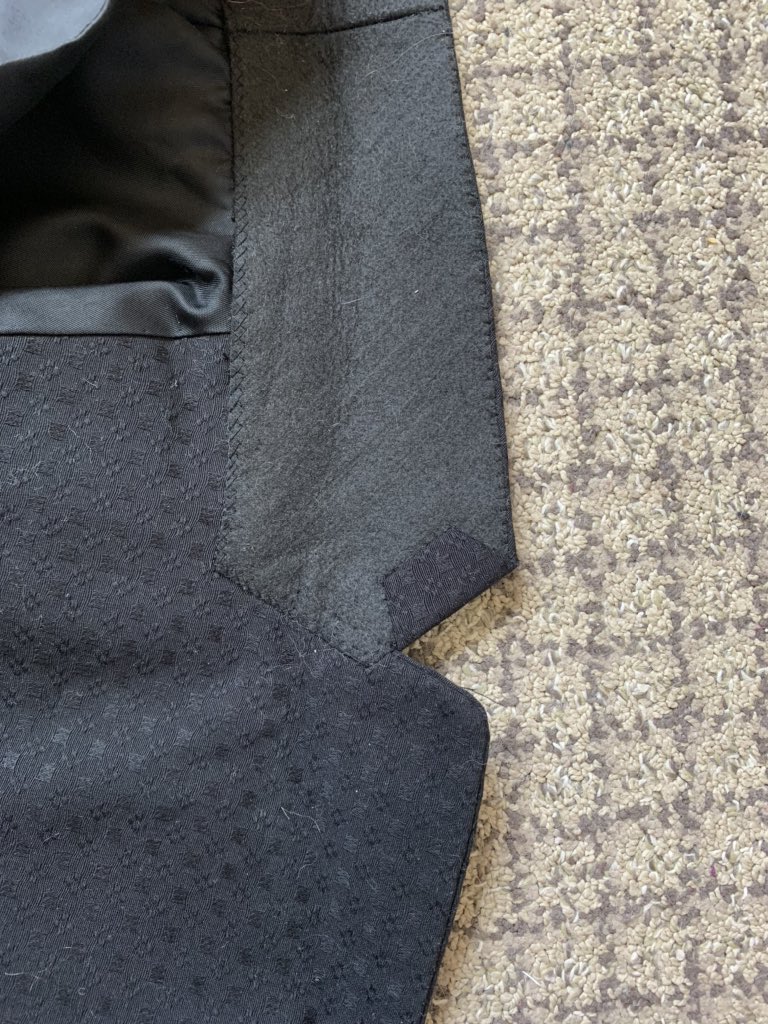
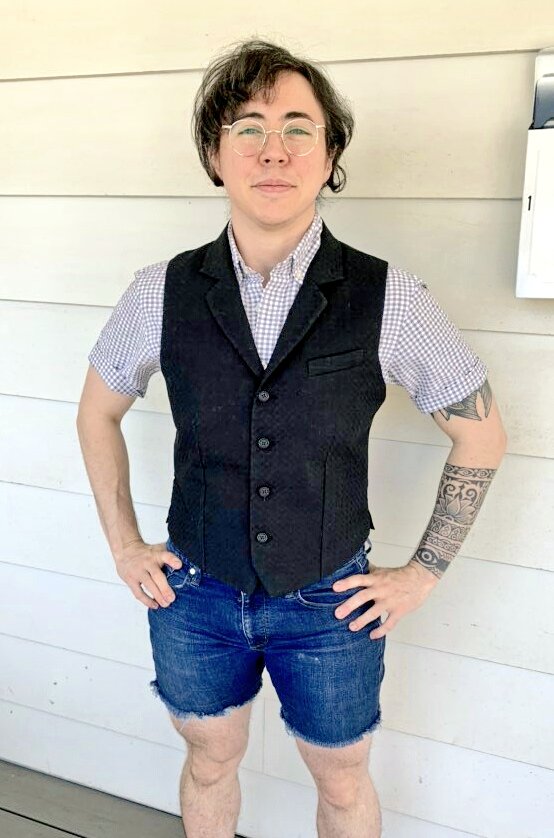
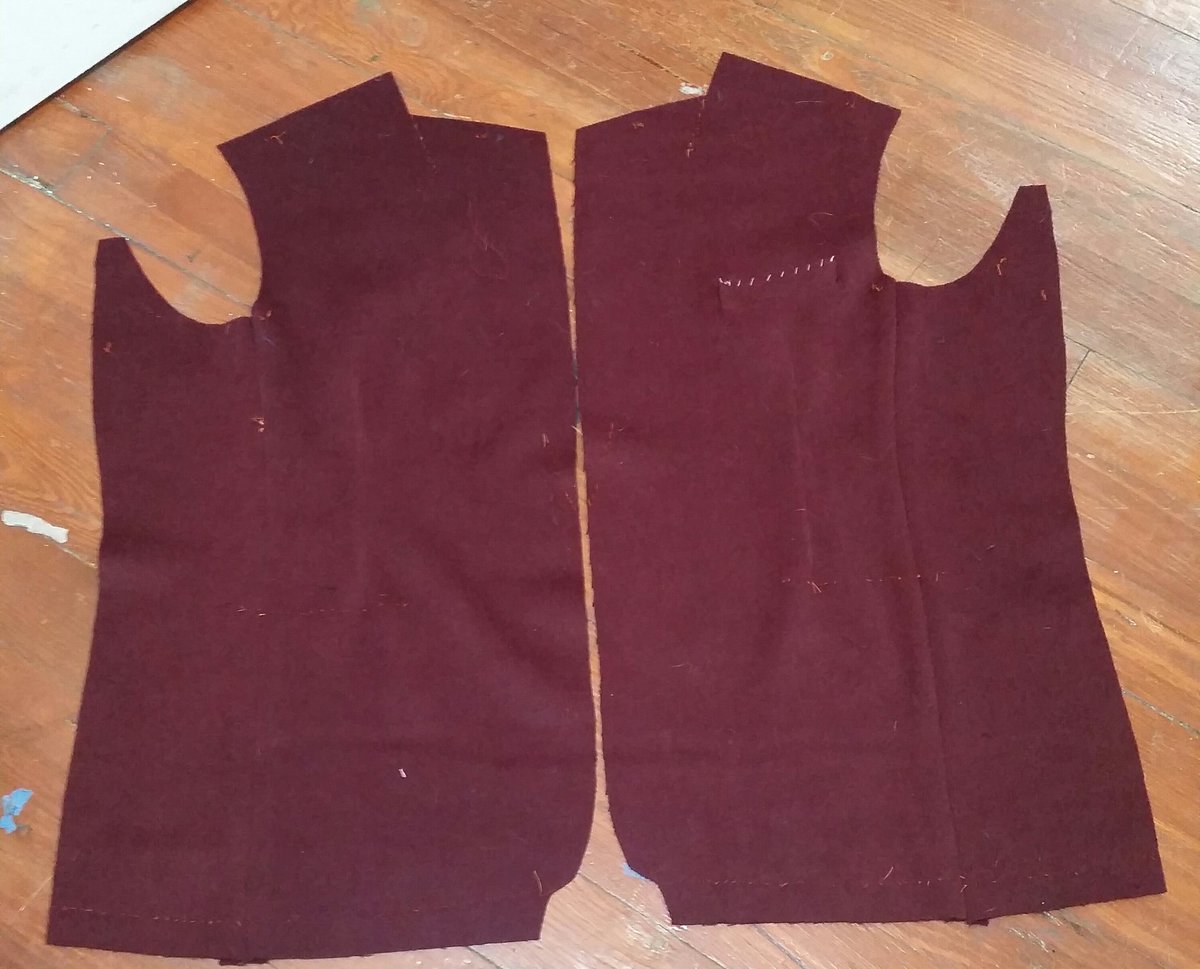
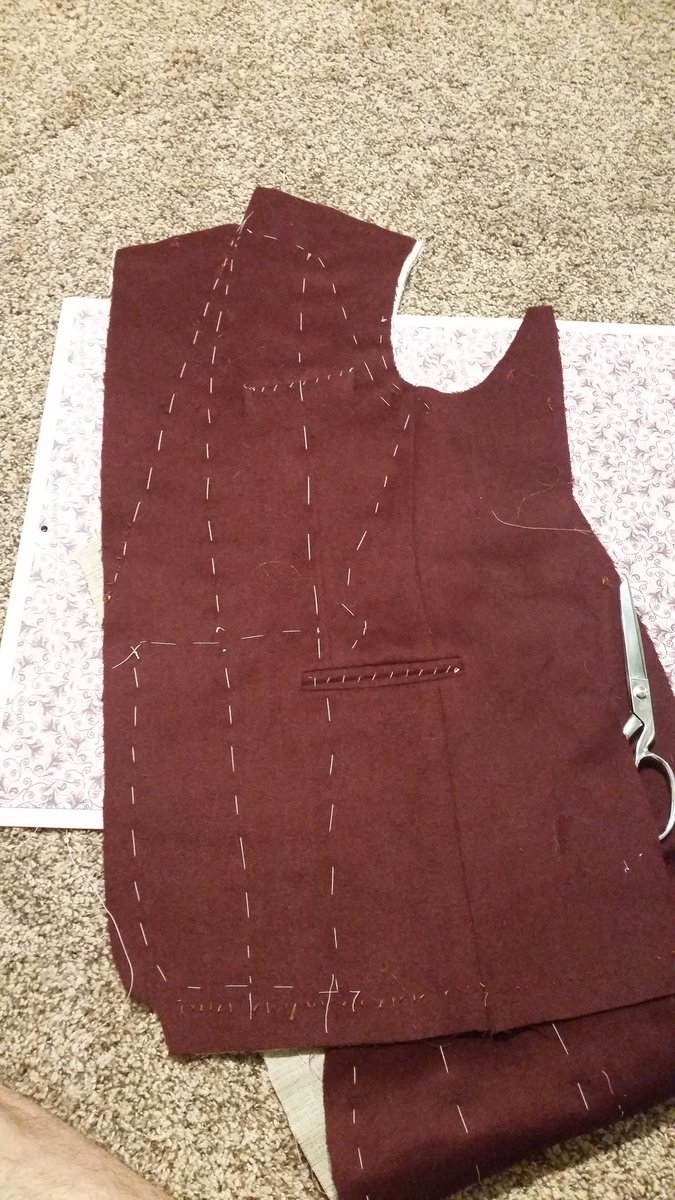
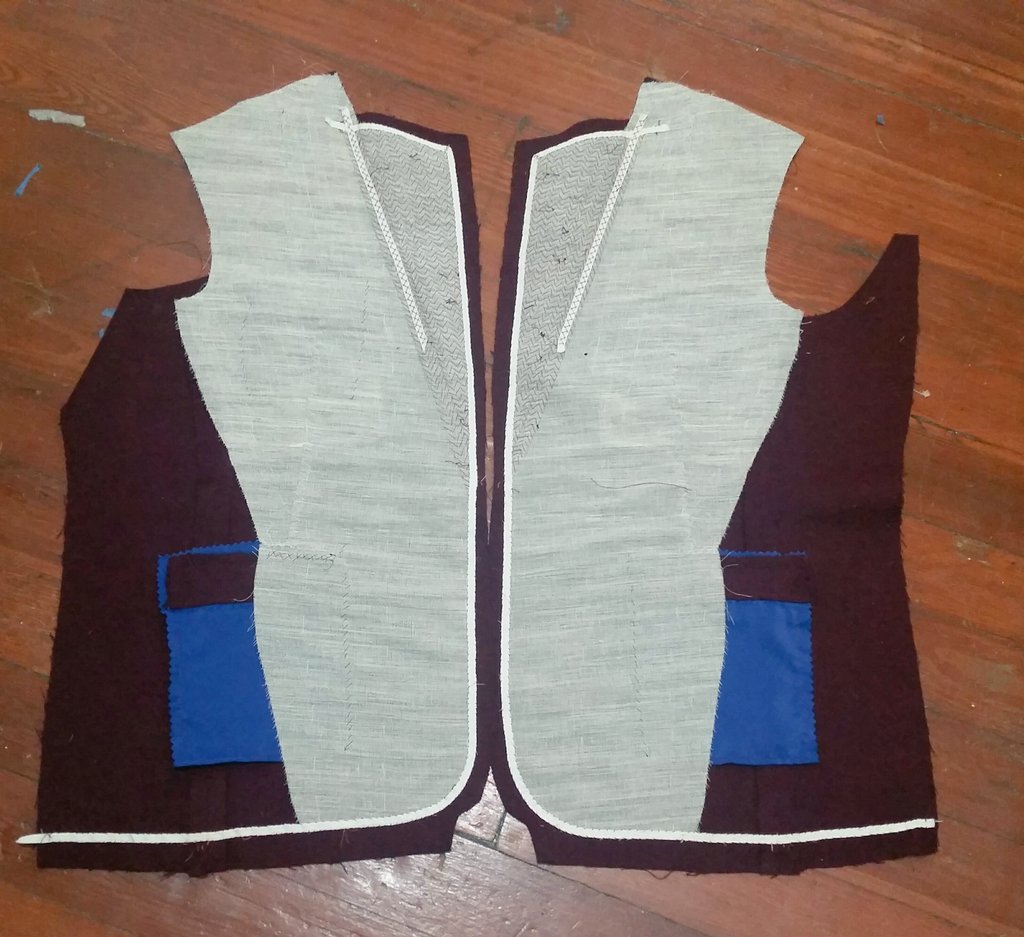
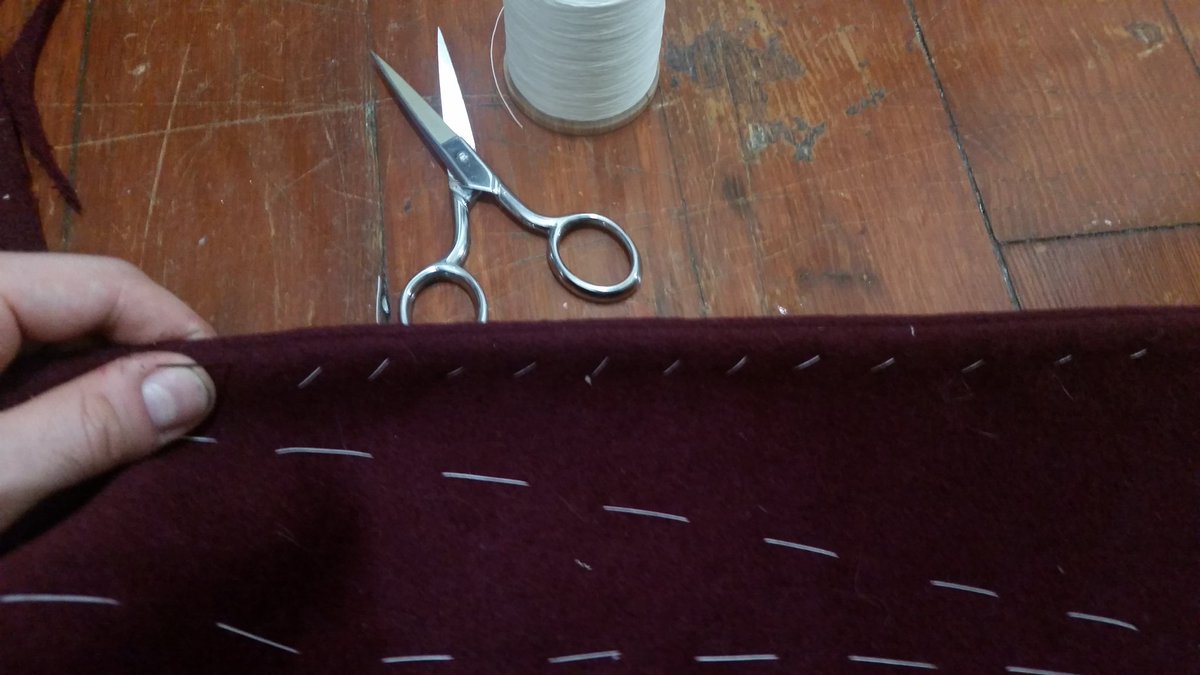
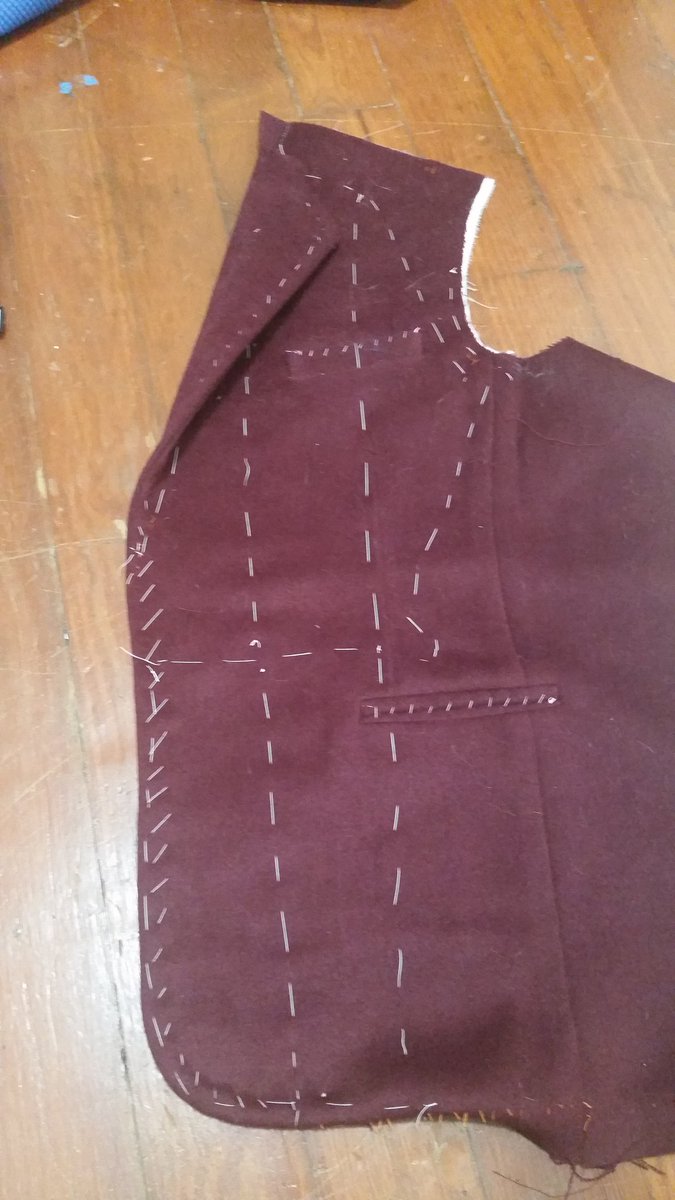
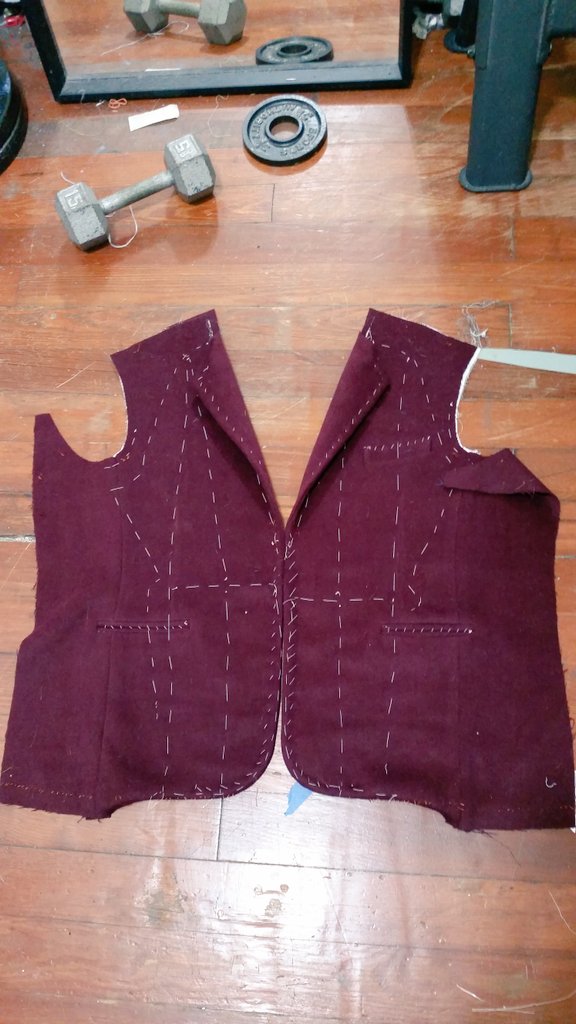
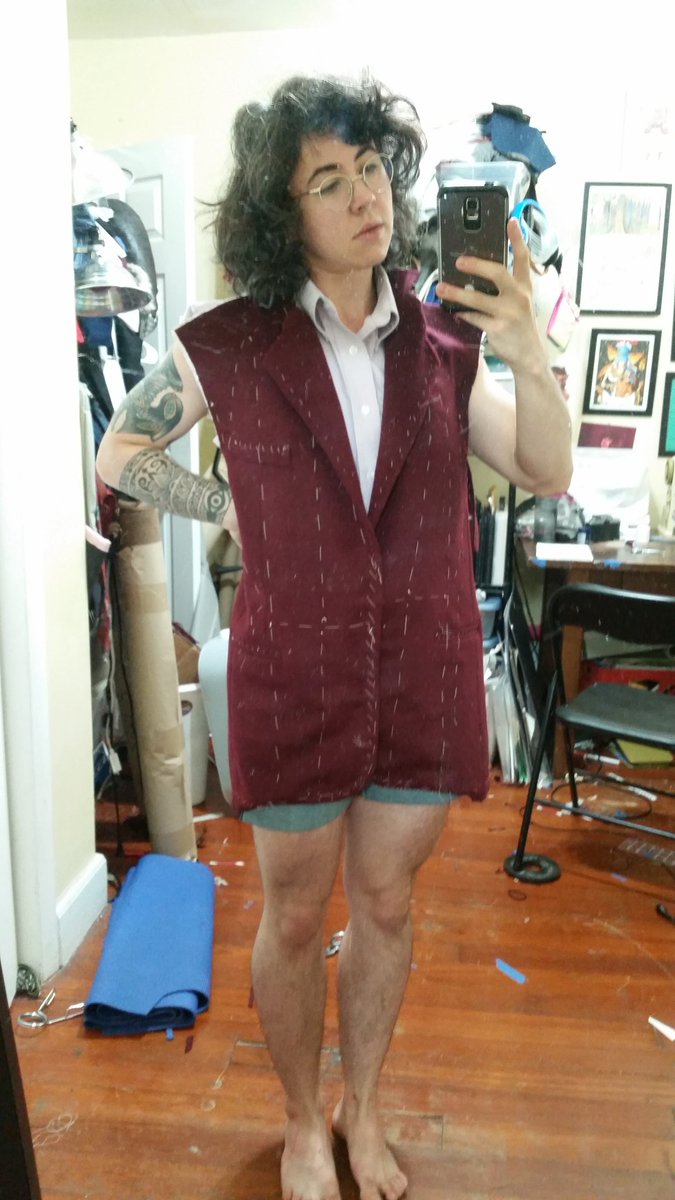
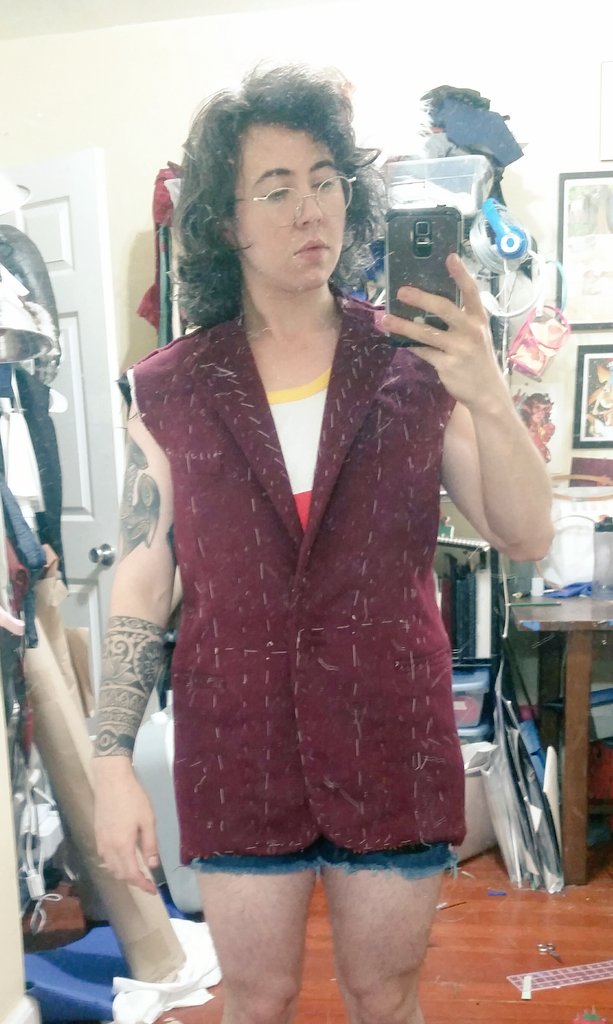
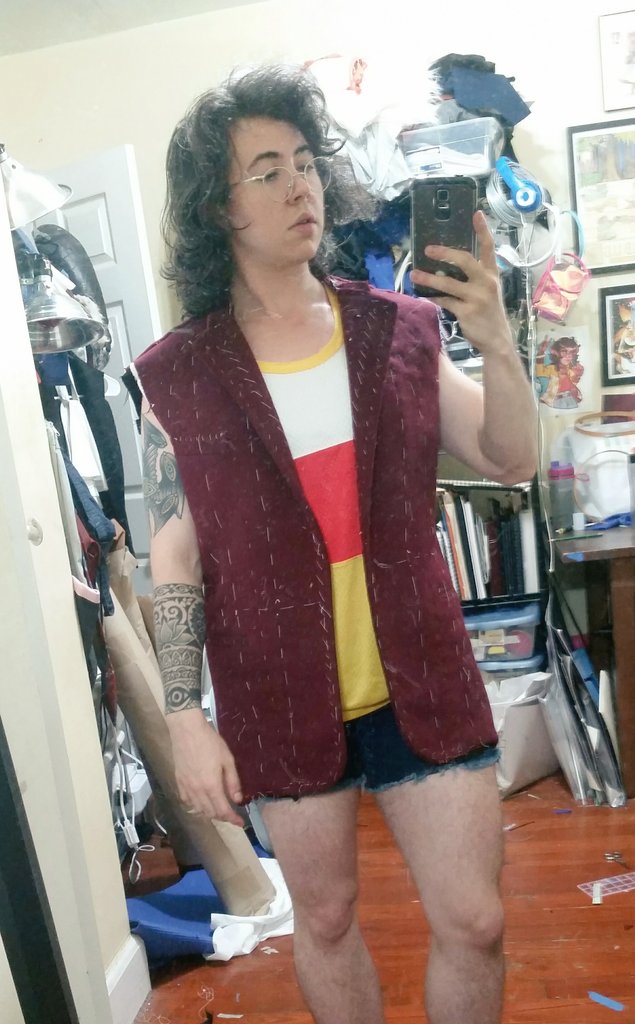
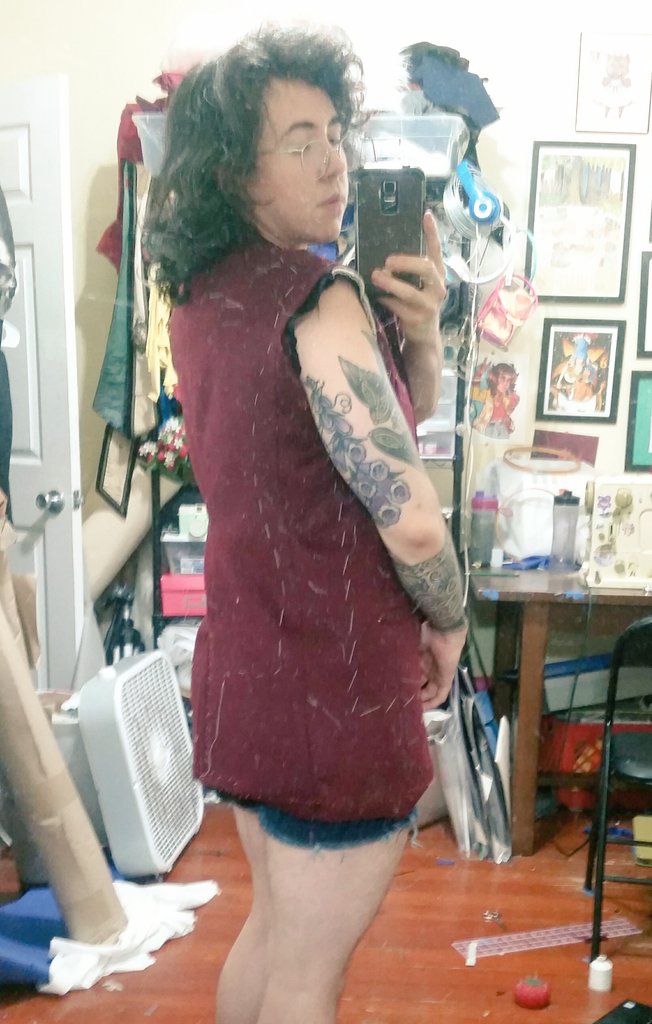
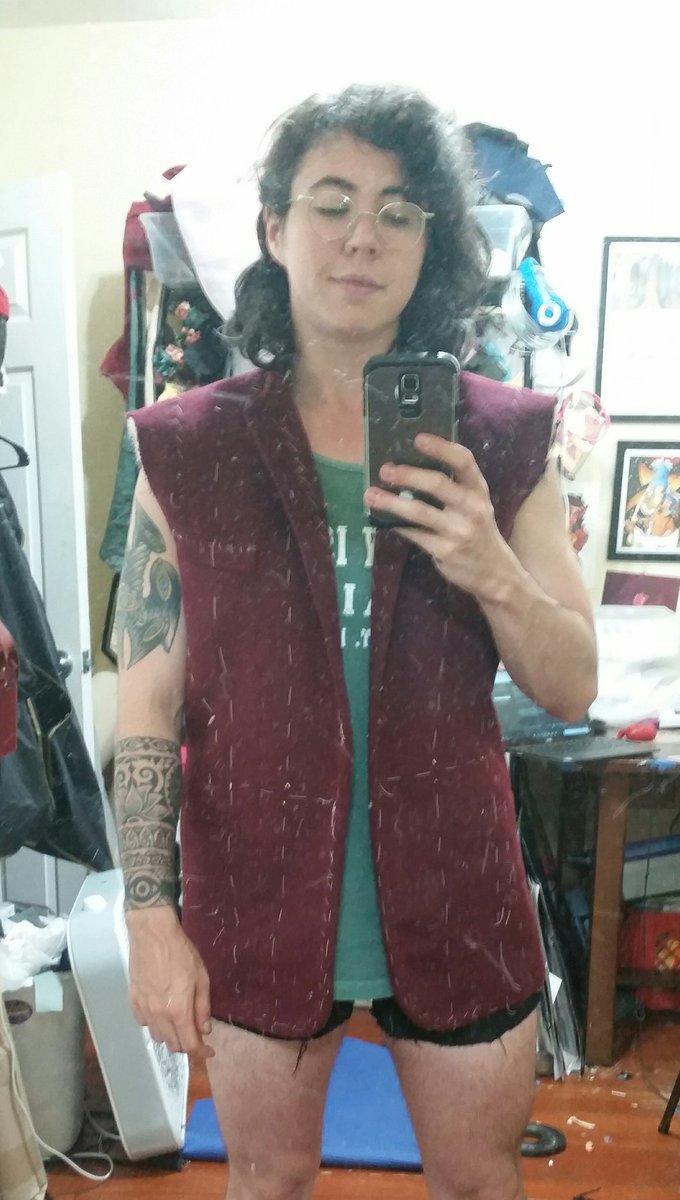
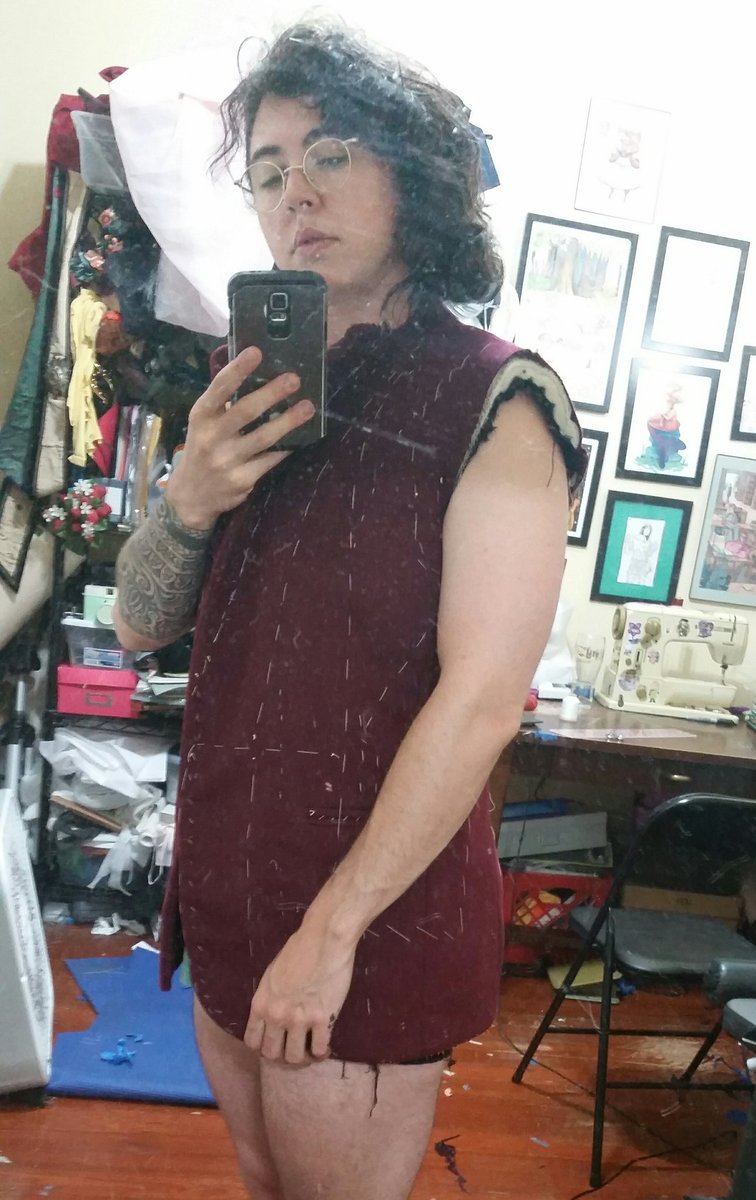
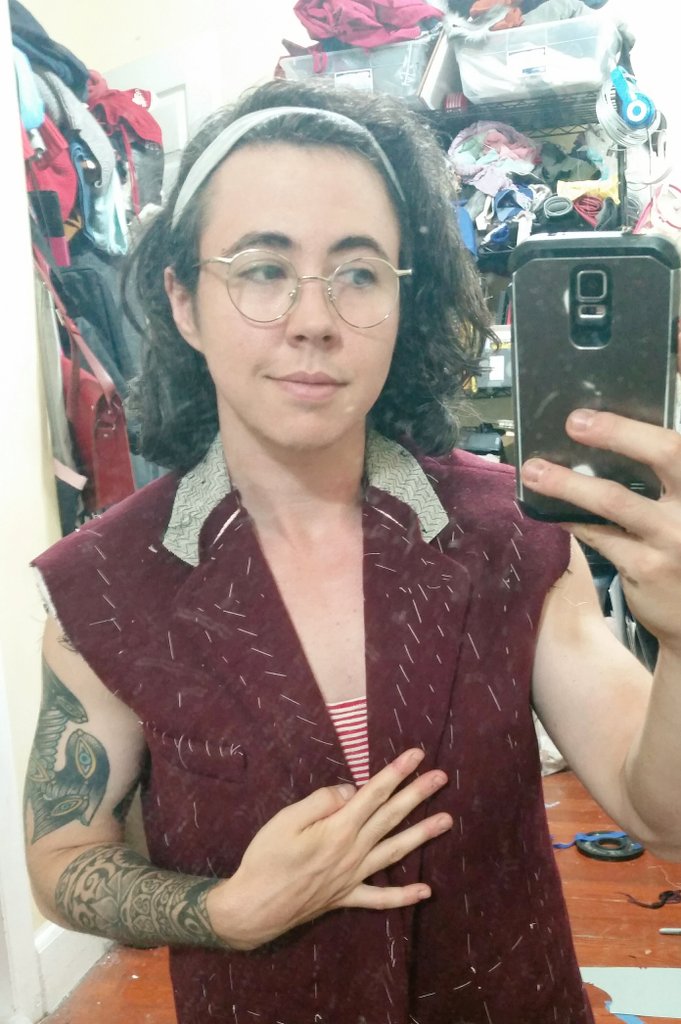
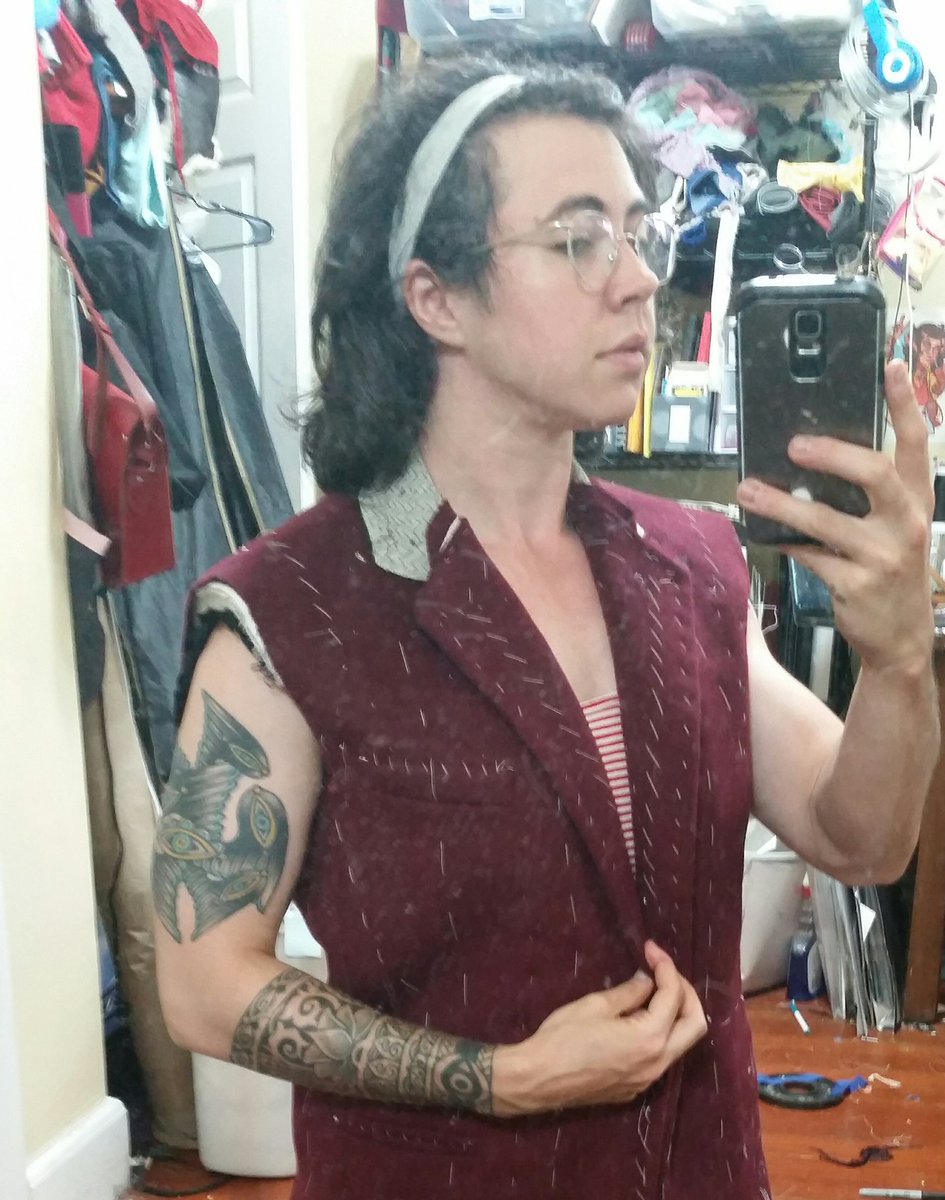
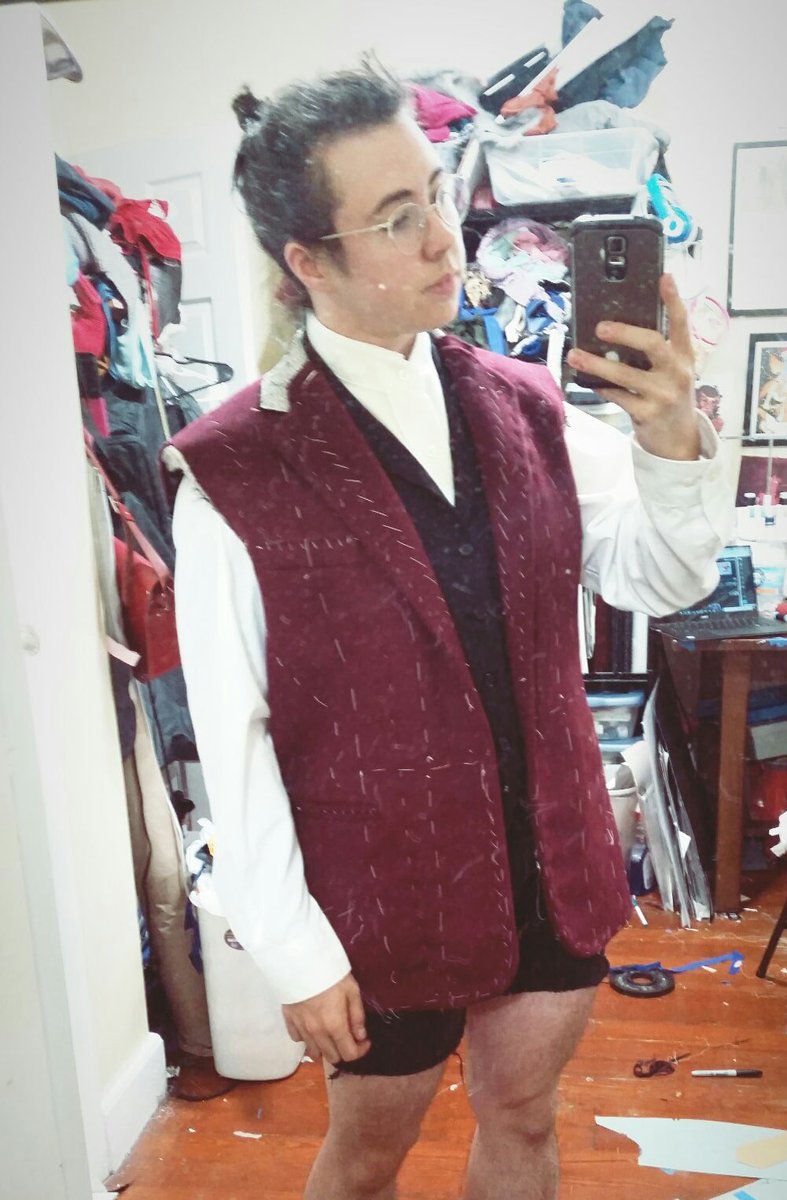
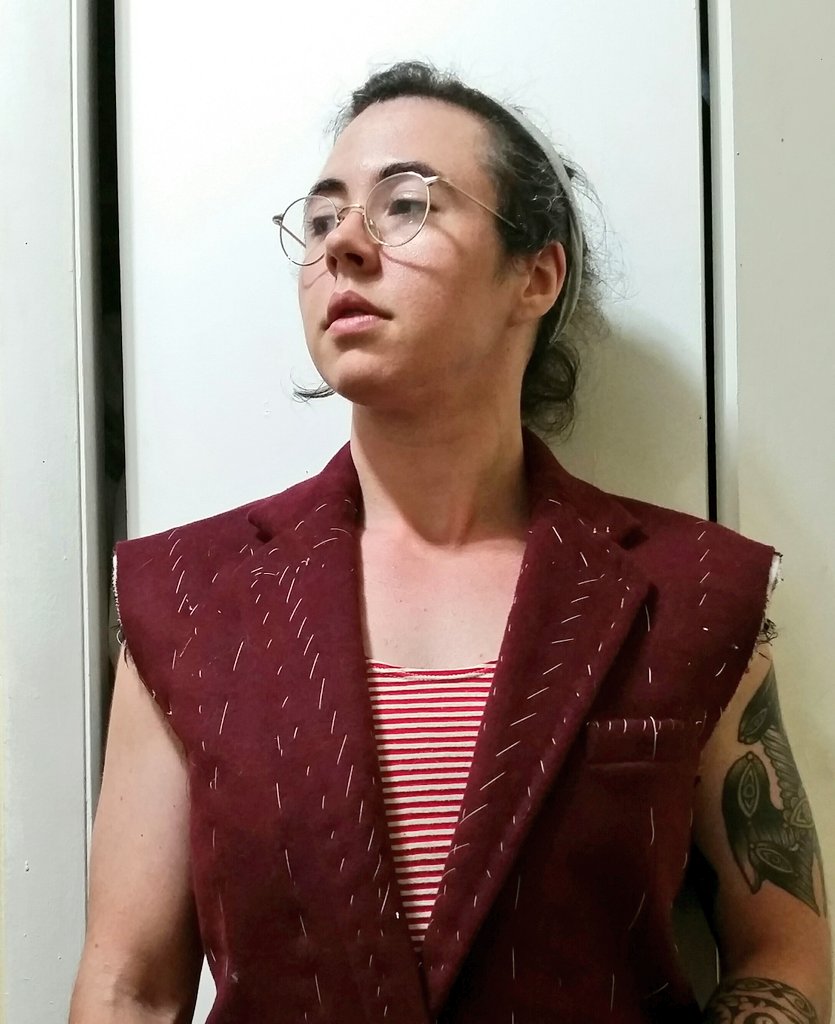
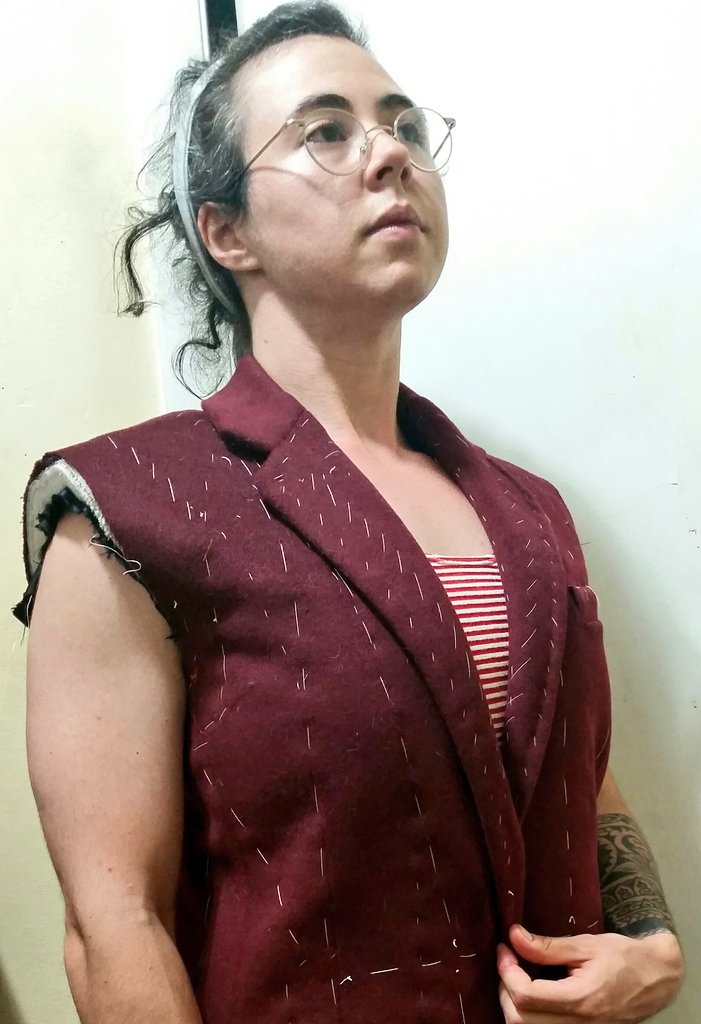
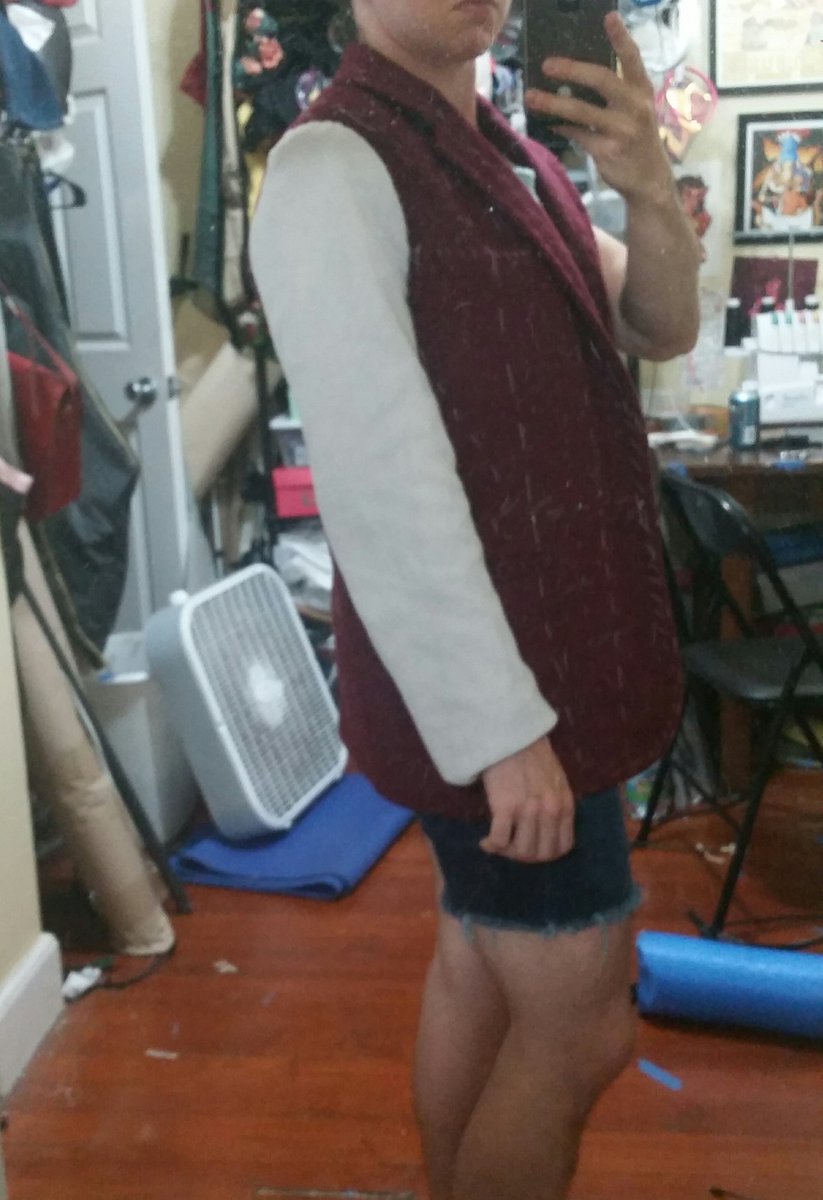
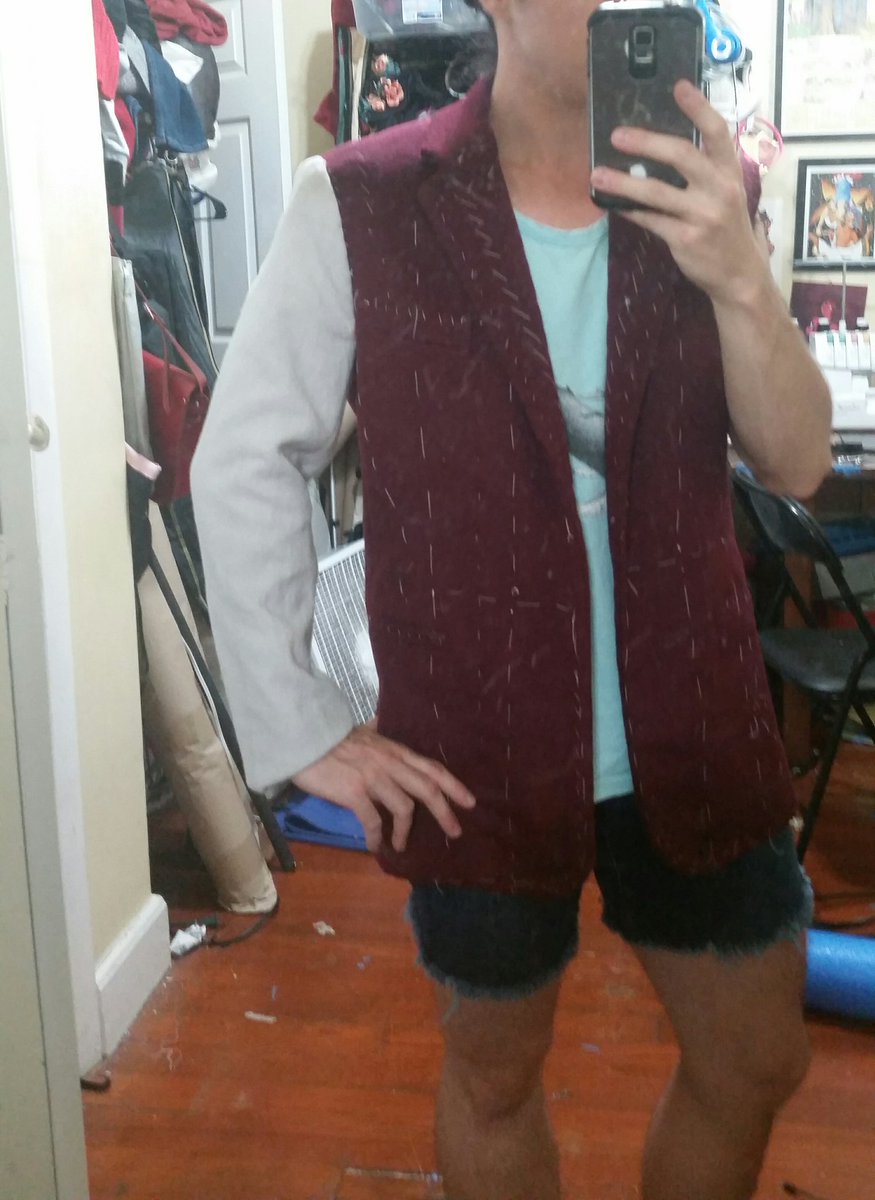
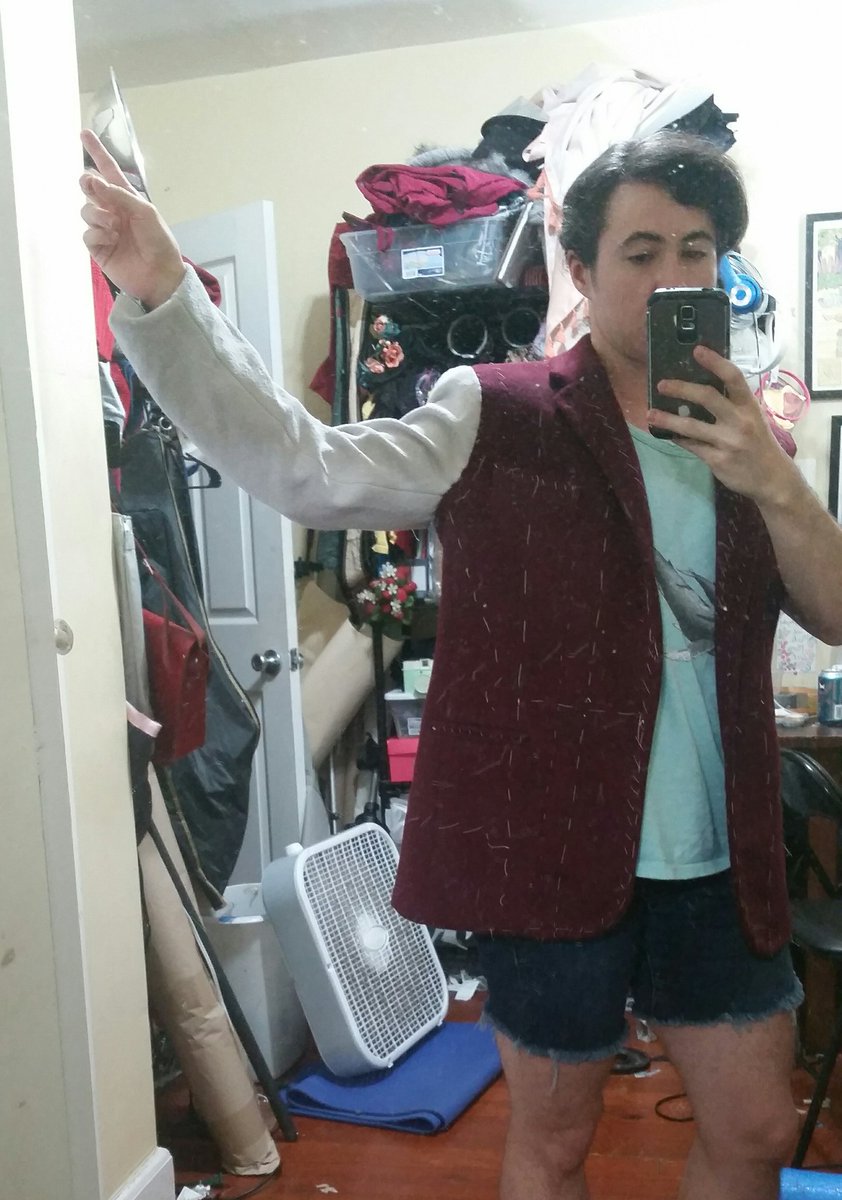
Altered my vest pattern to include a lapel and did a quick mockup to test size/shape--please ignore that I did not put an inch of interfacing in this lol
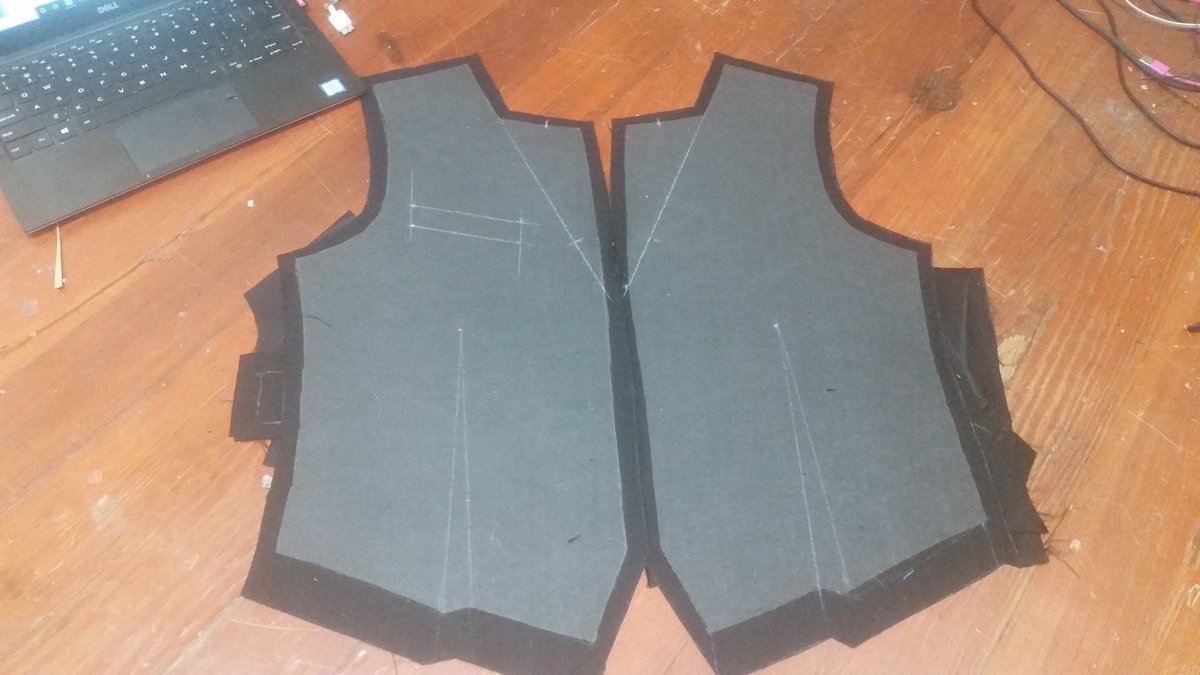
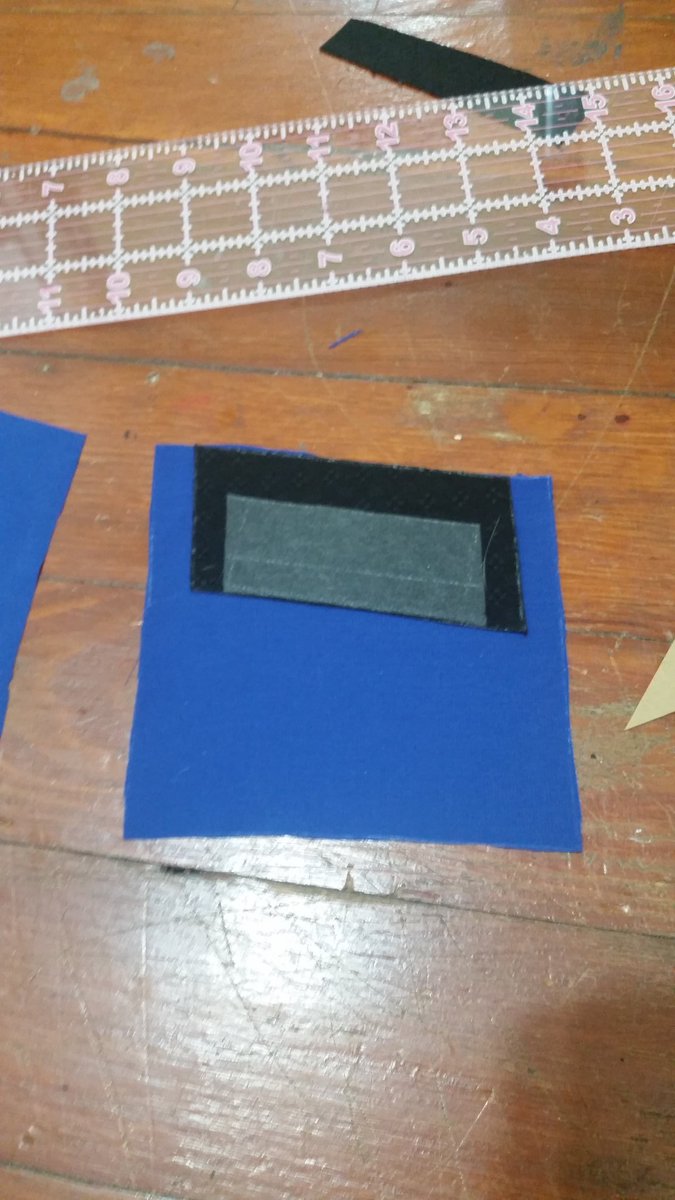
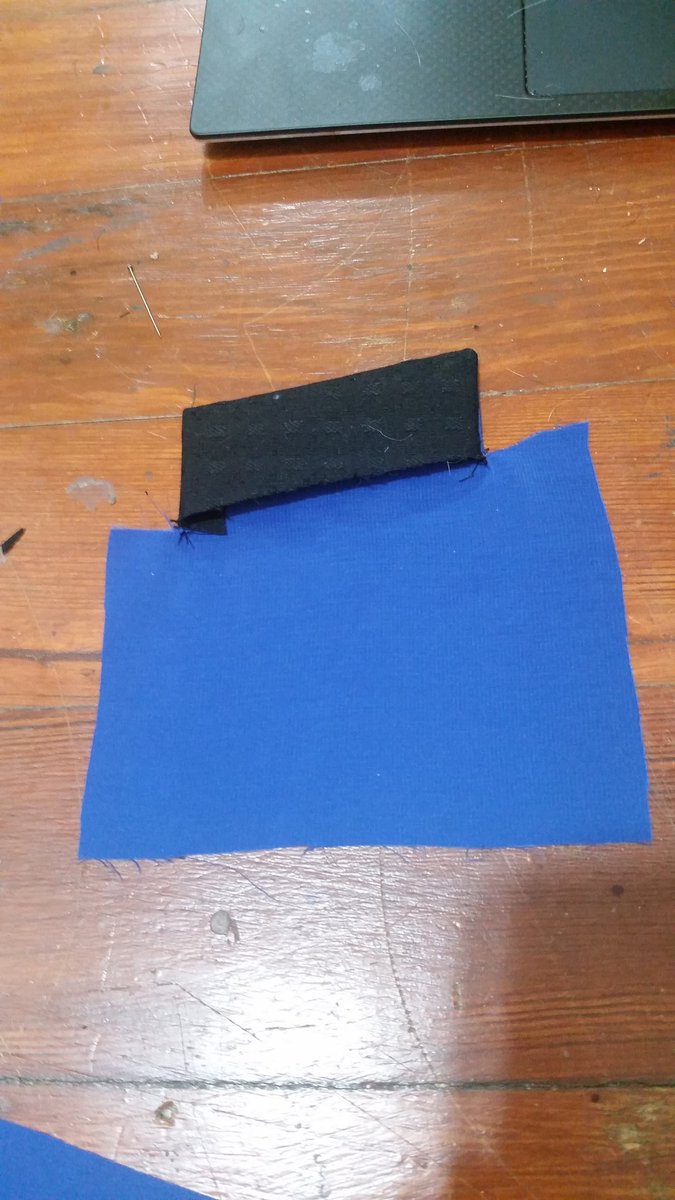
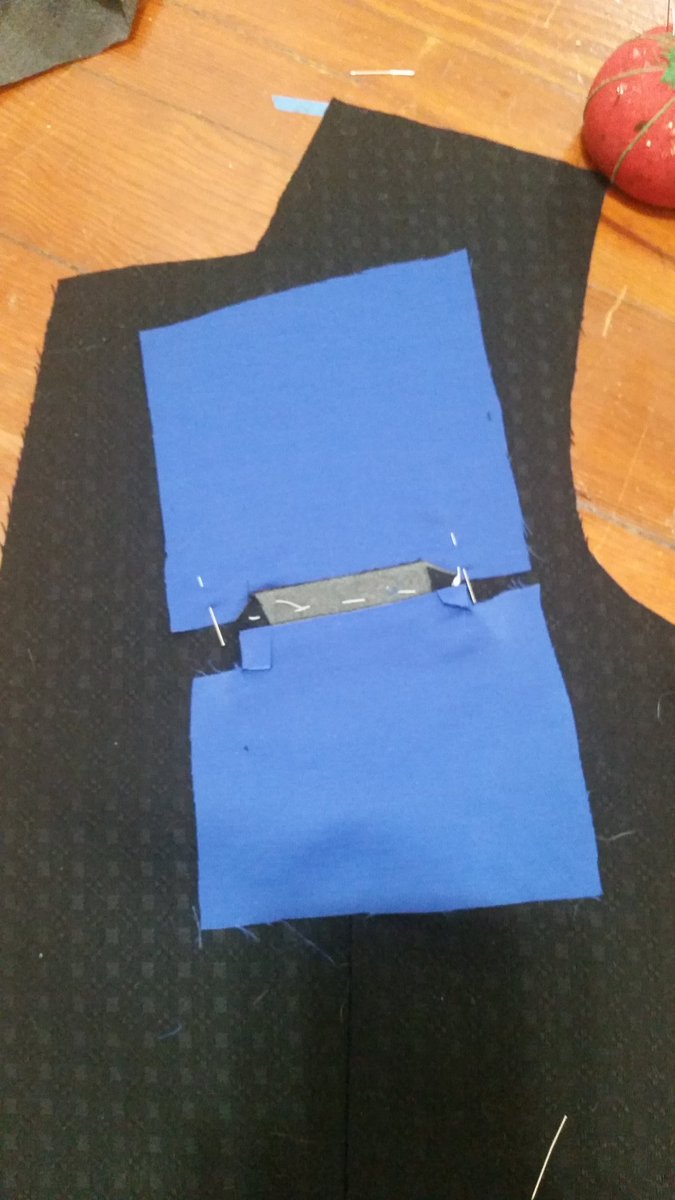
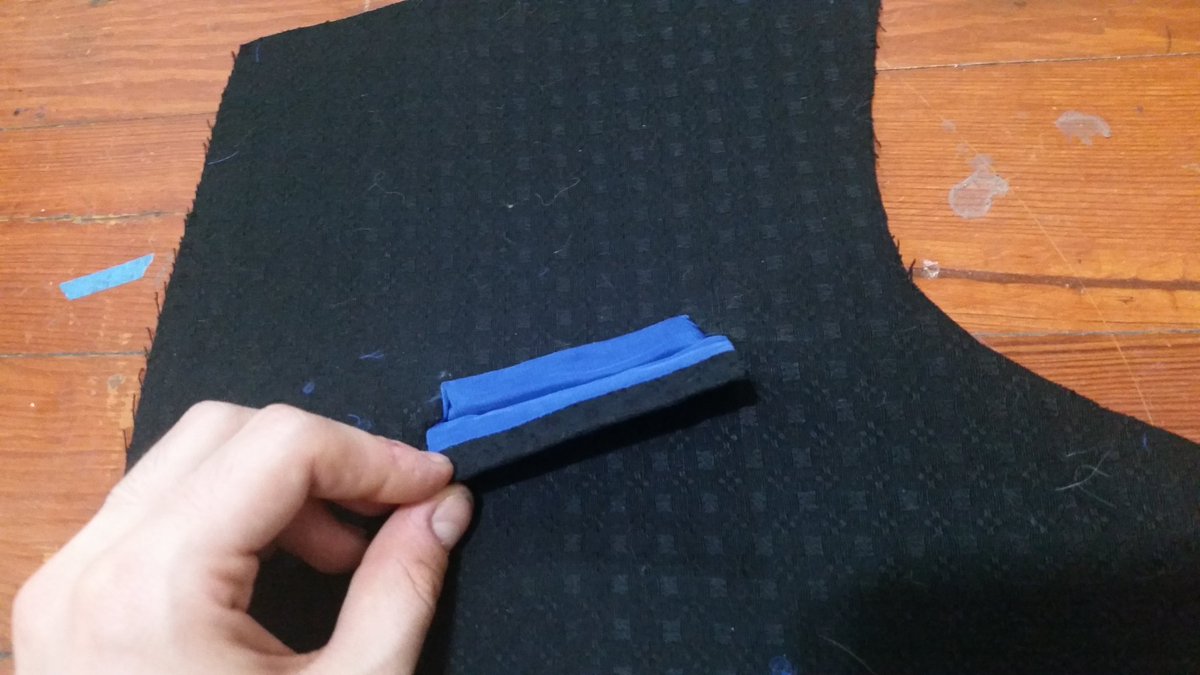
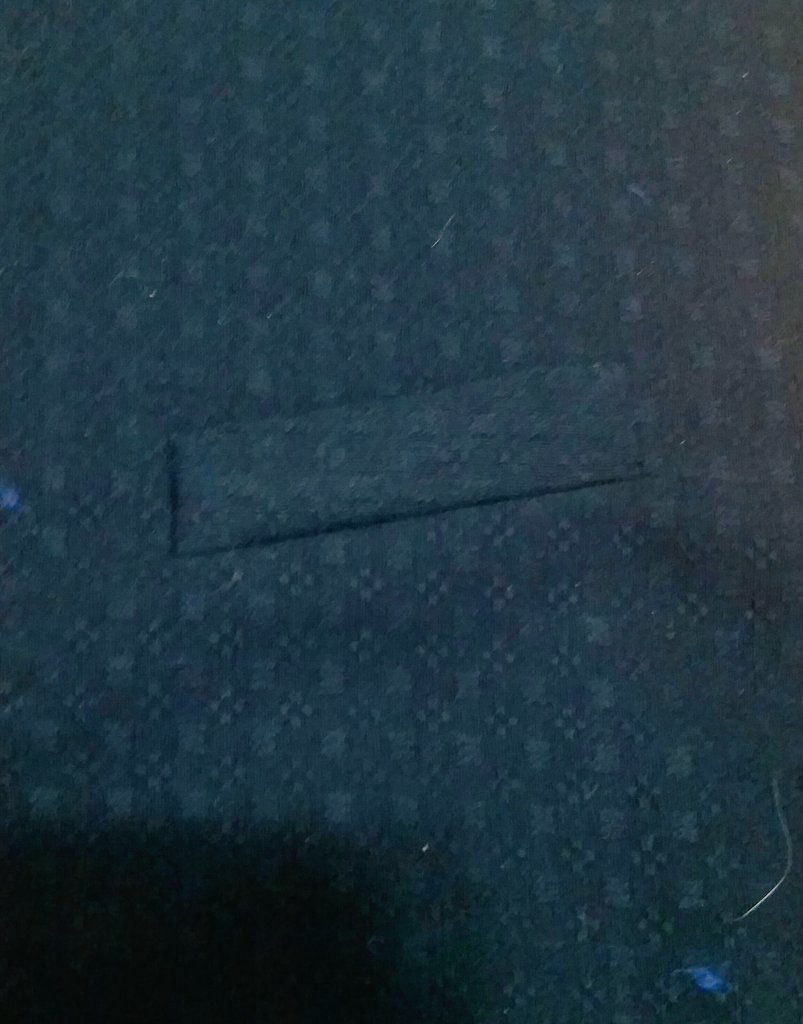
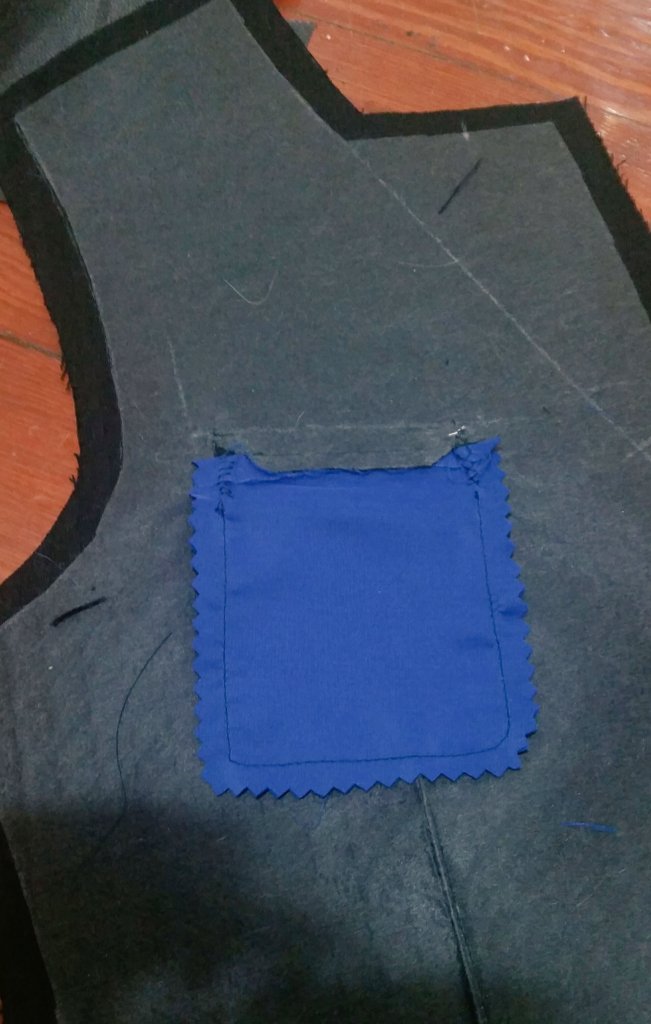
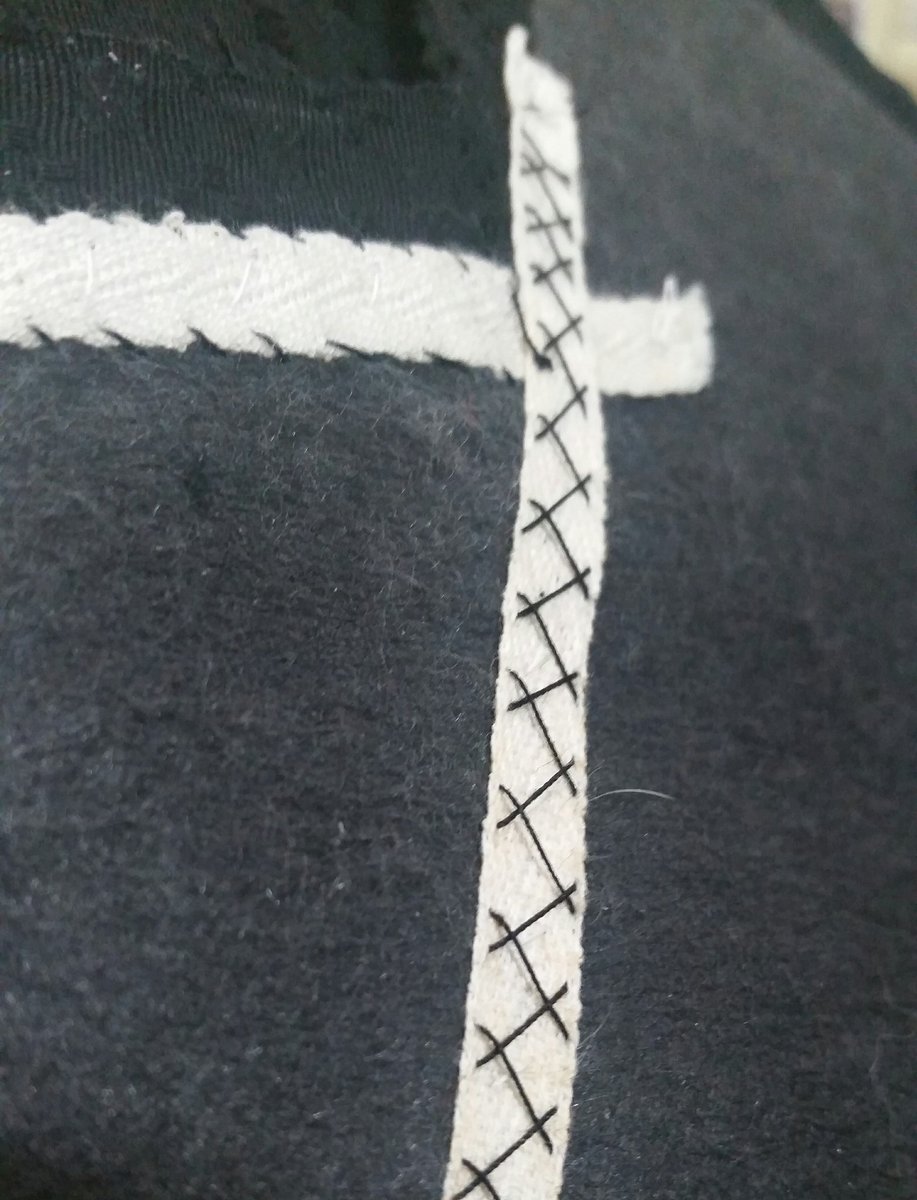
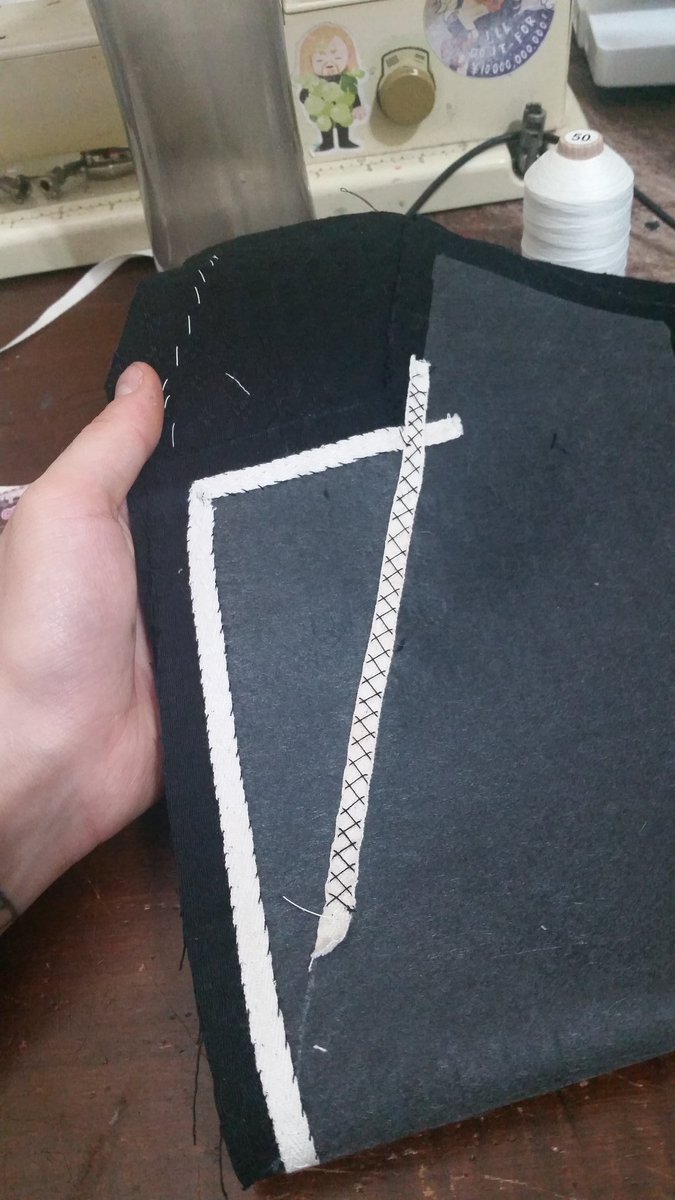
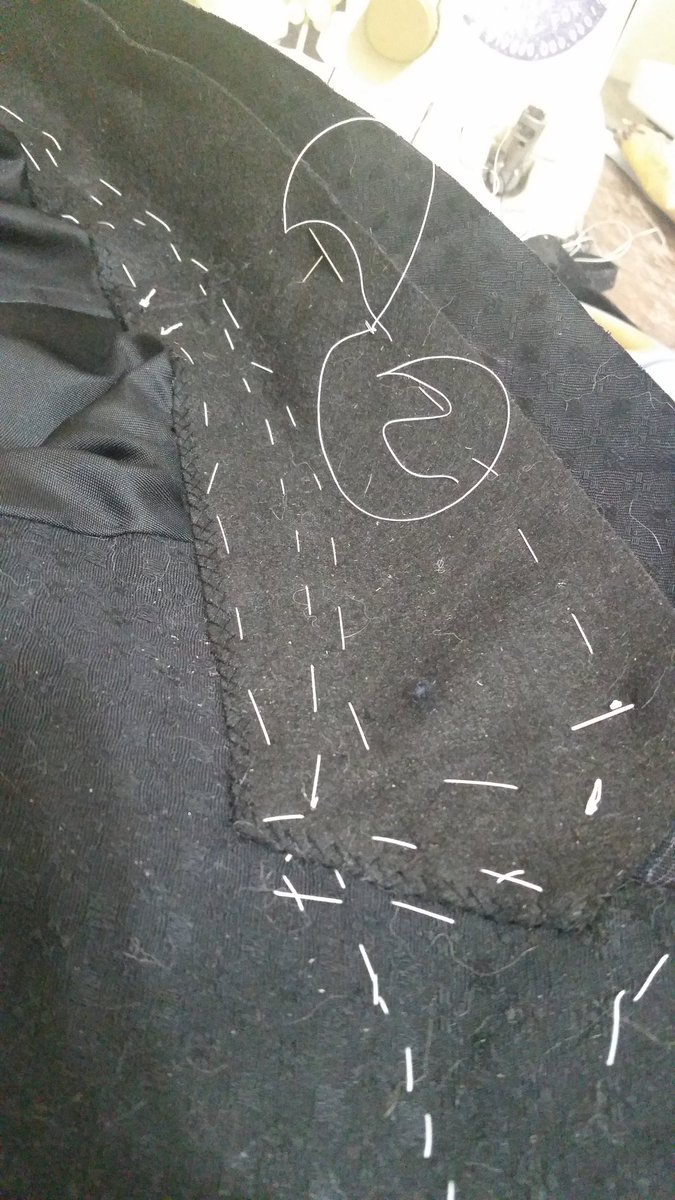
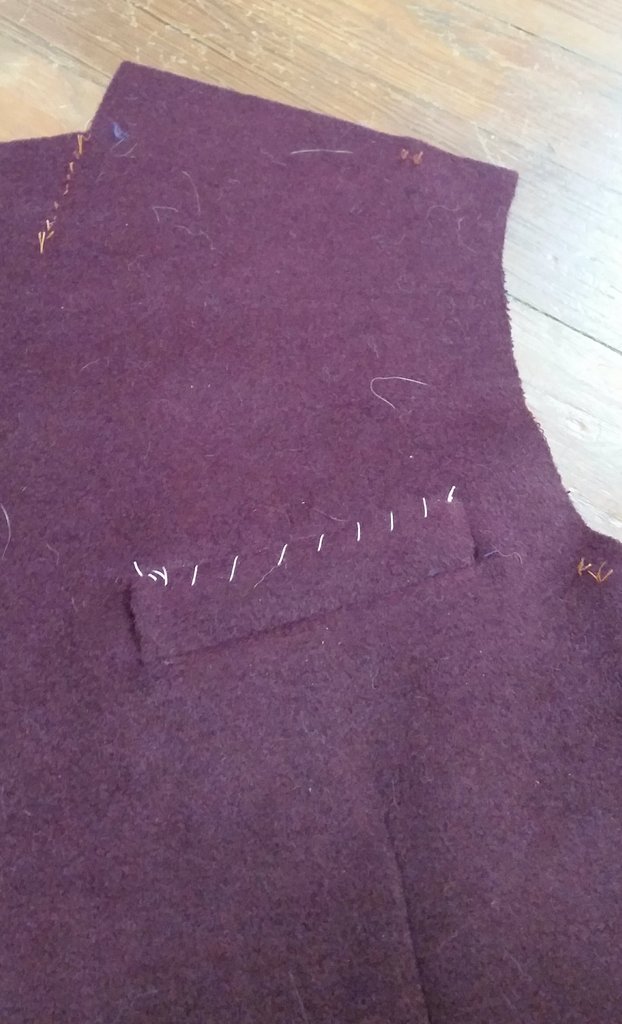
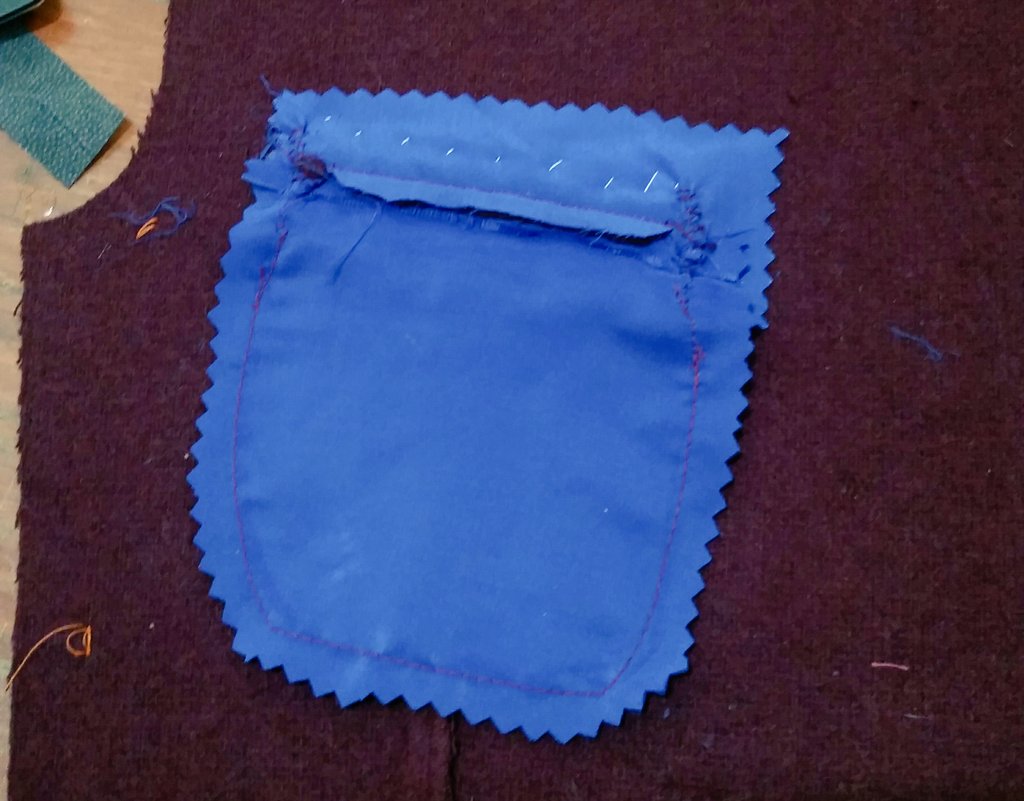
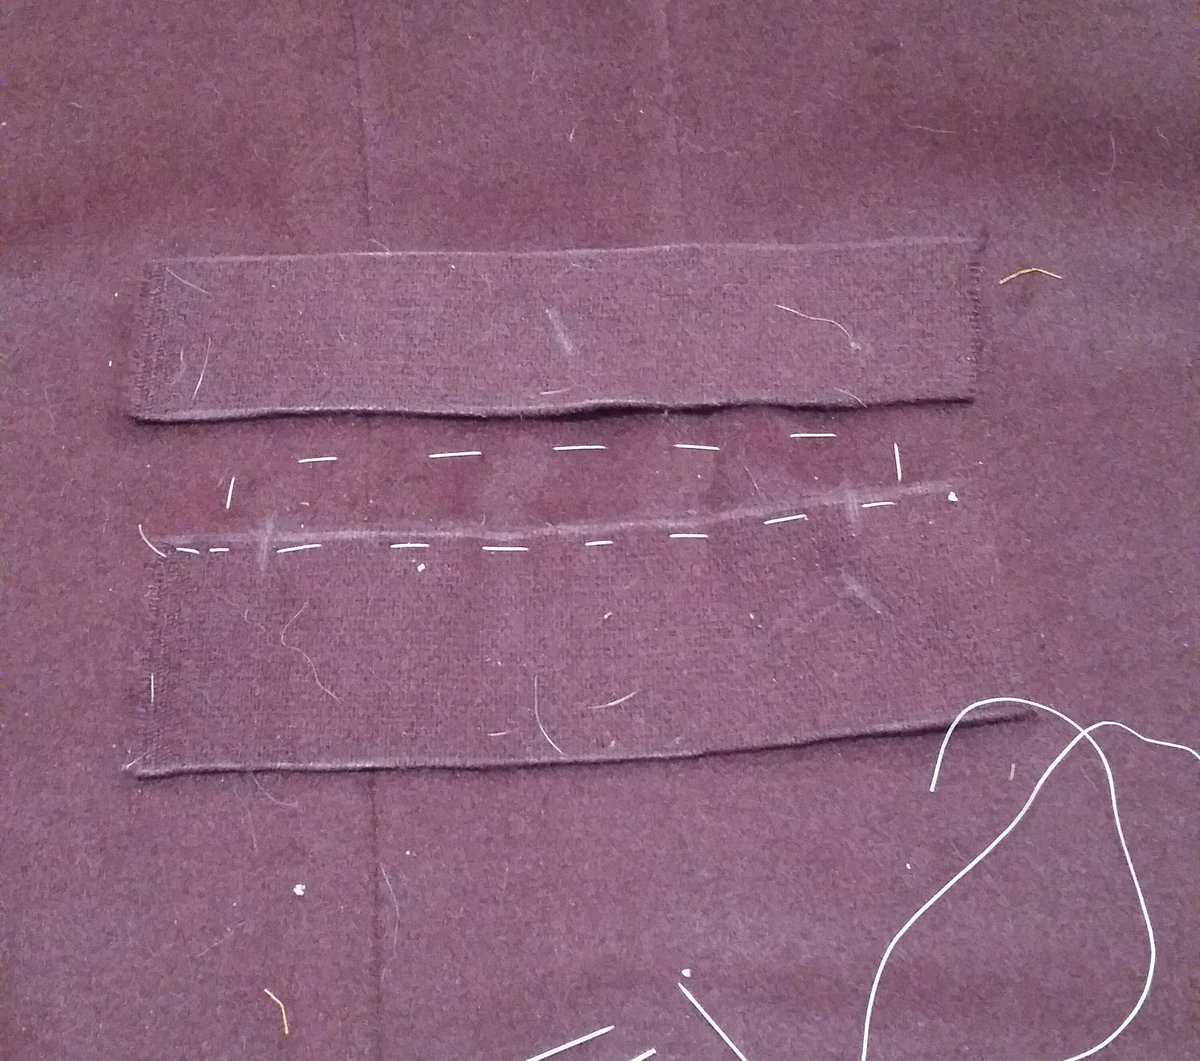
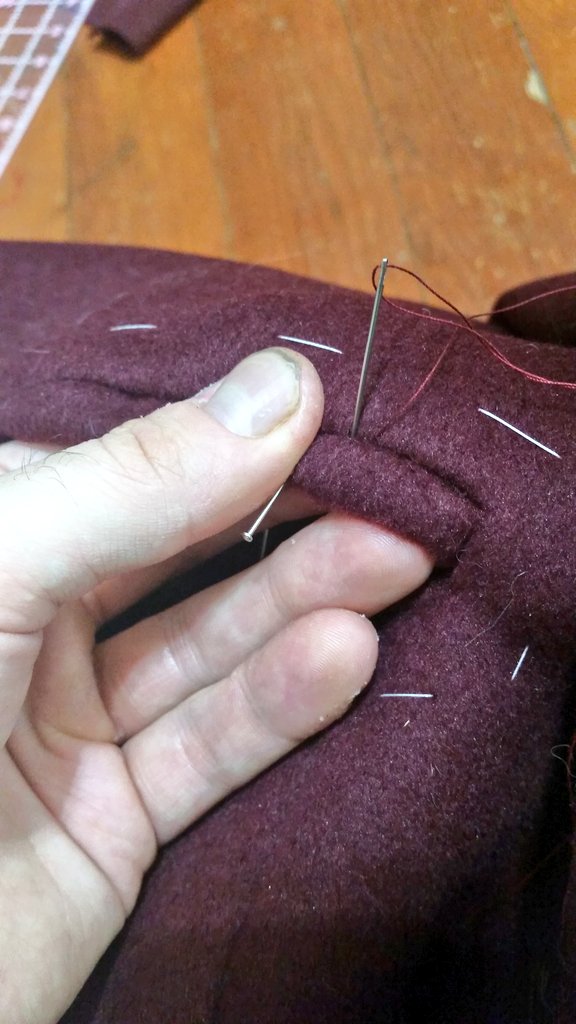
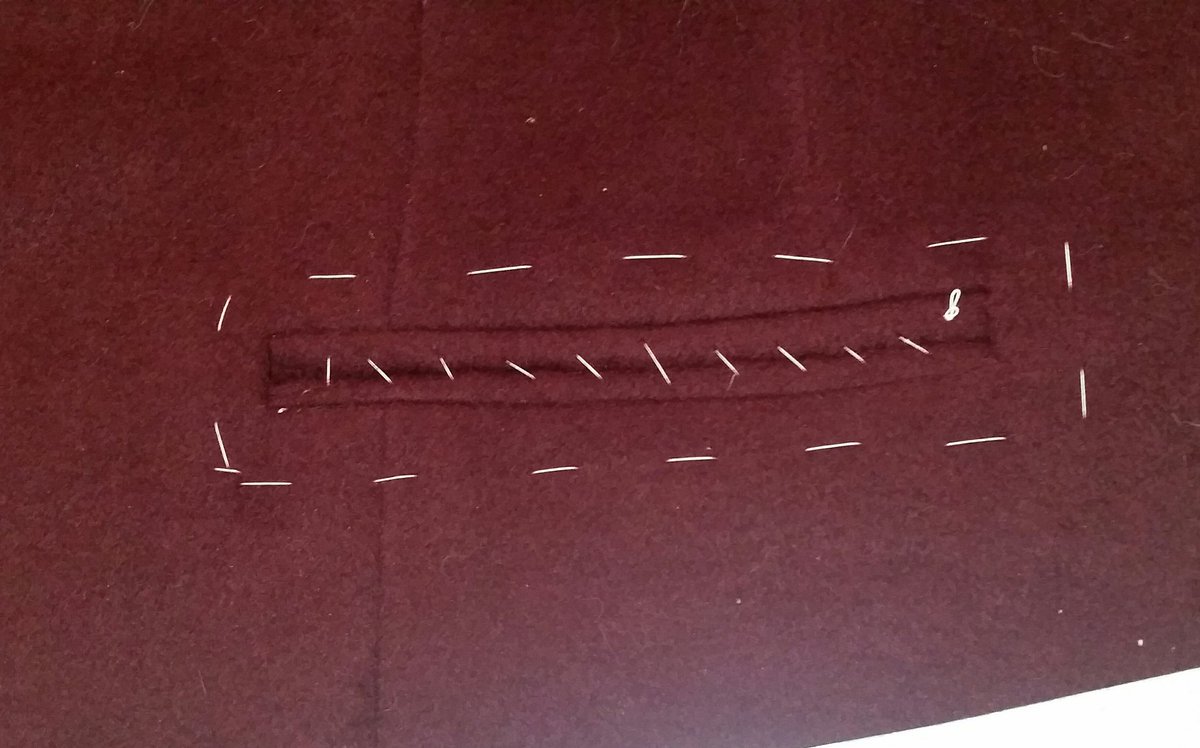
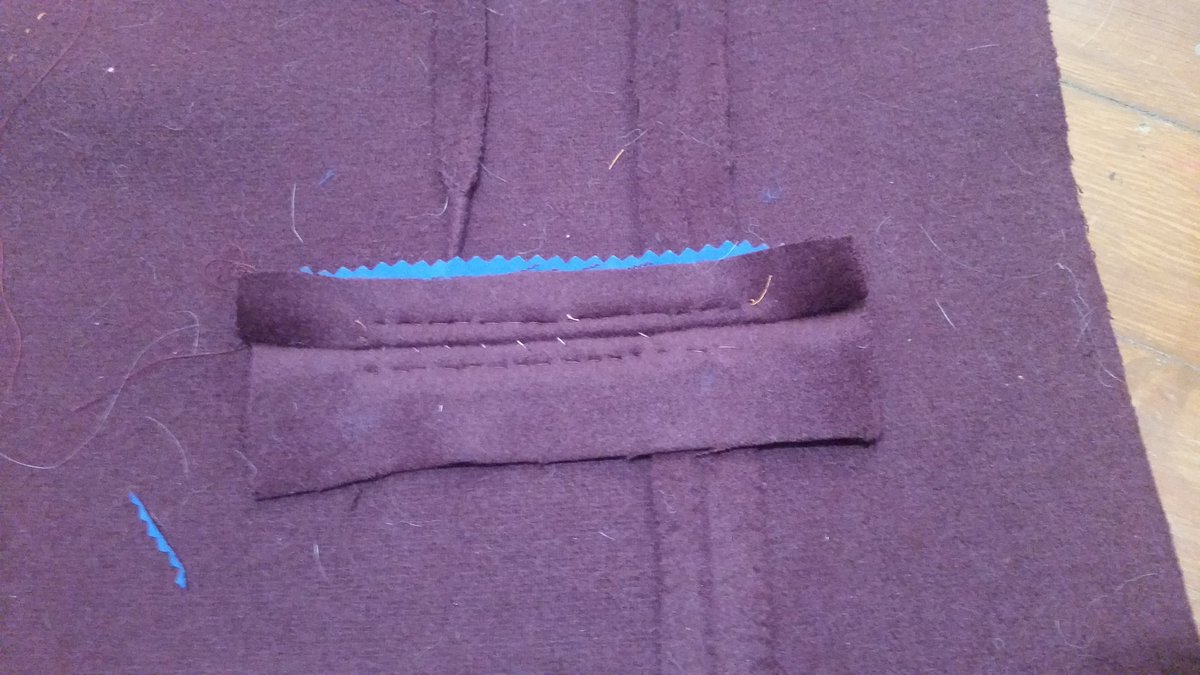
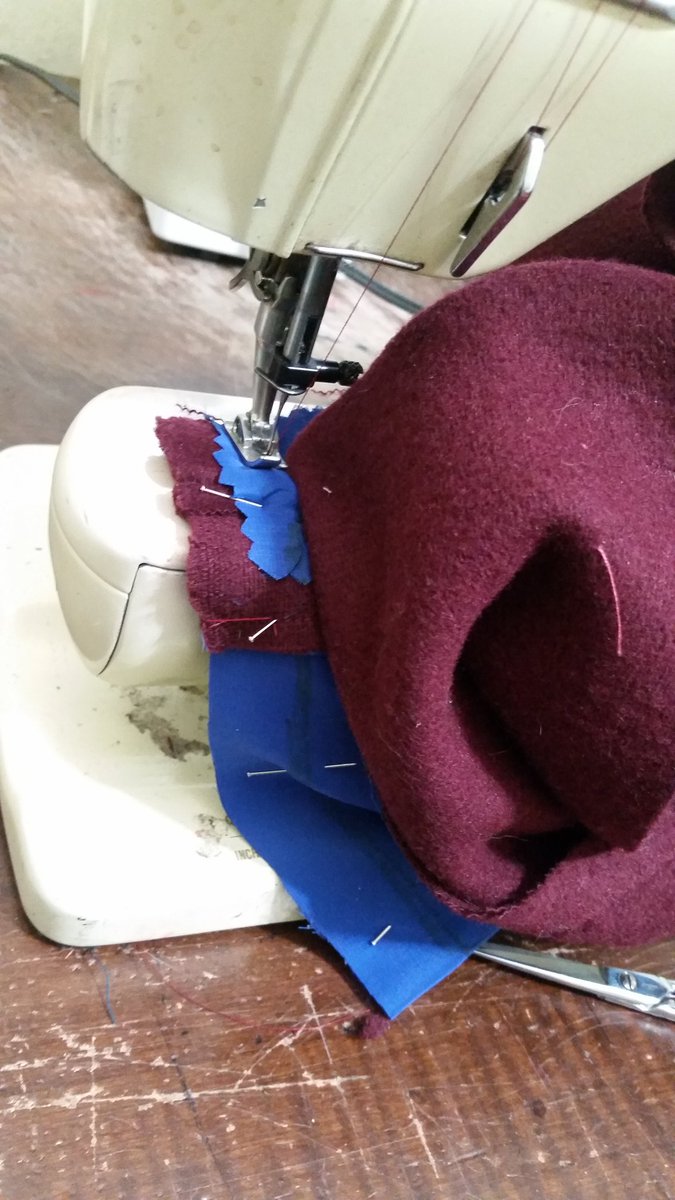
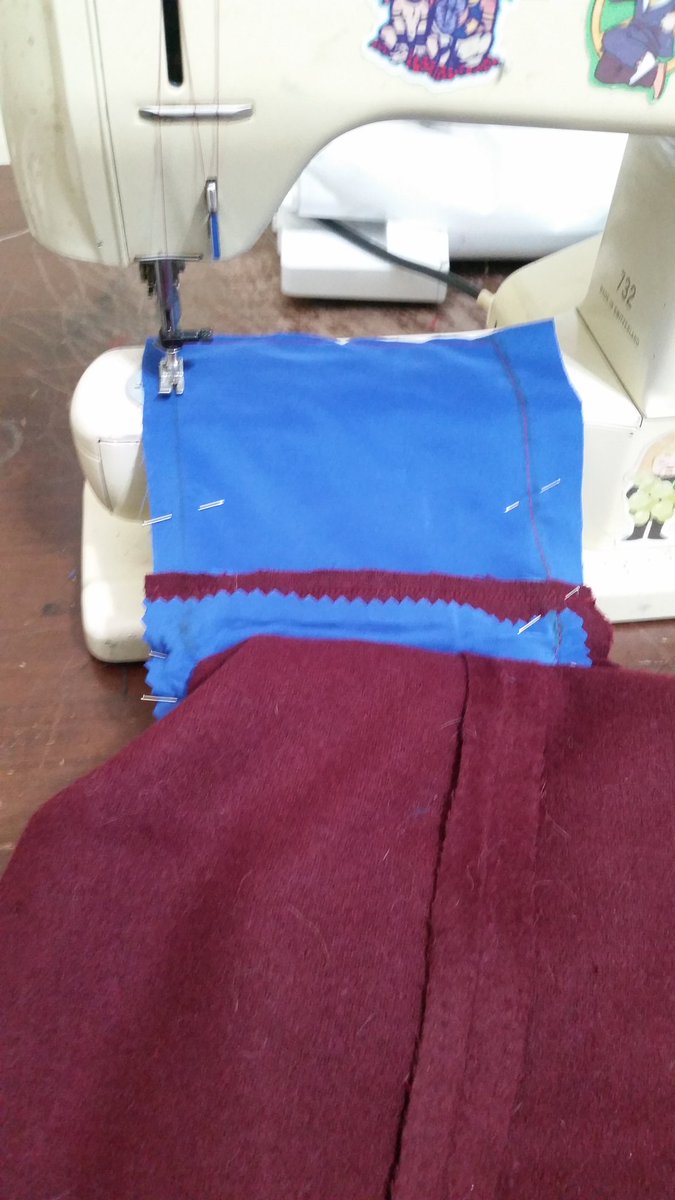
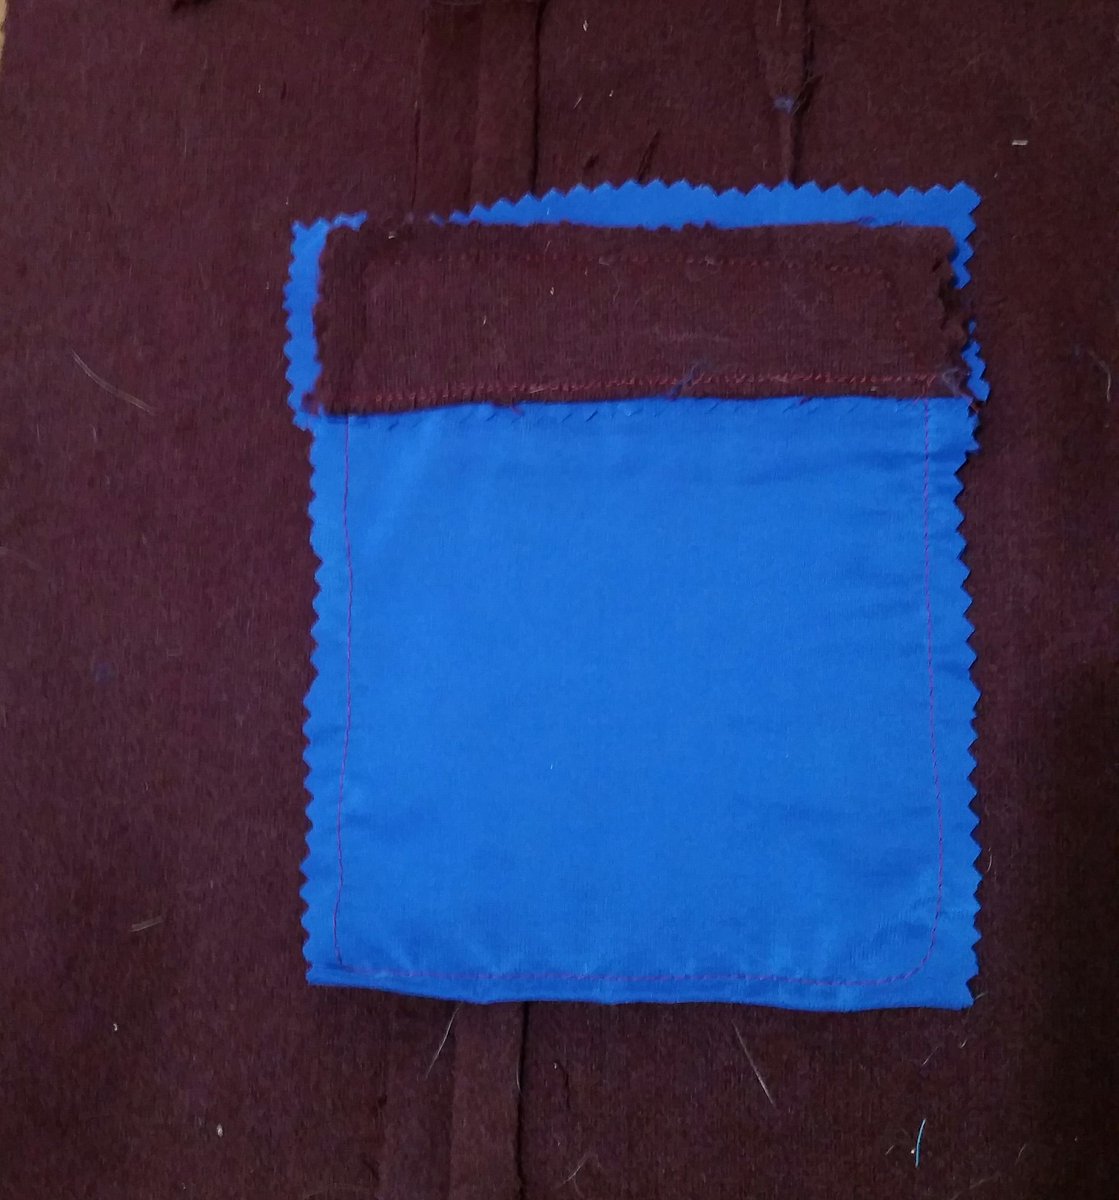
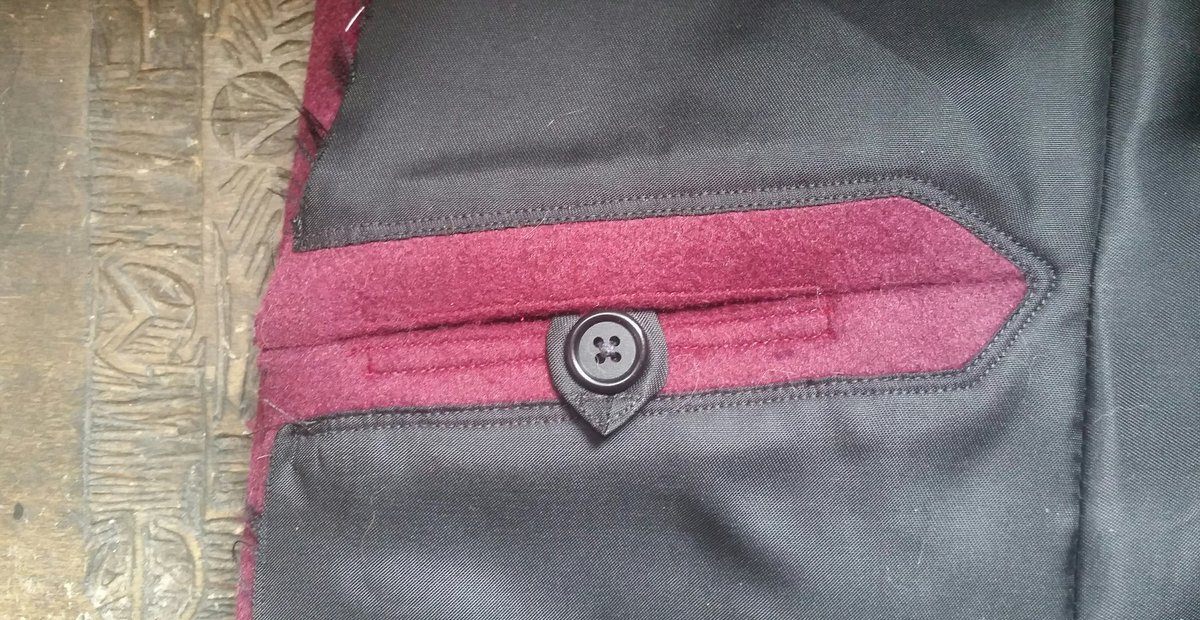
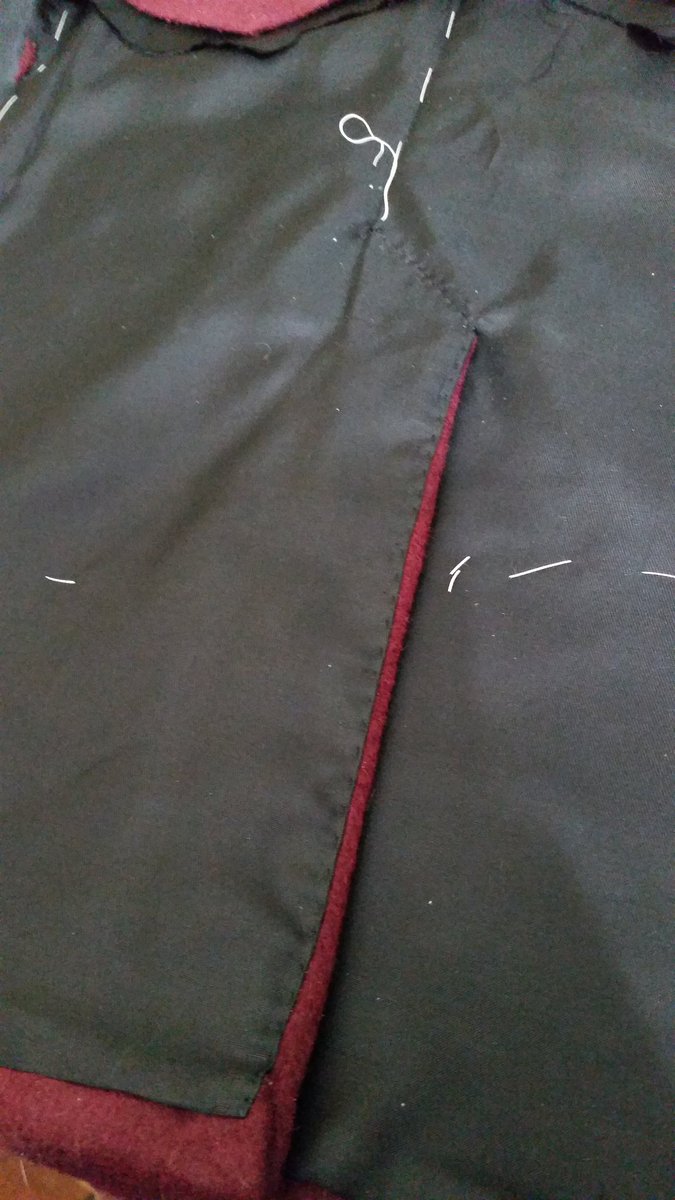
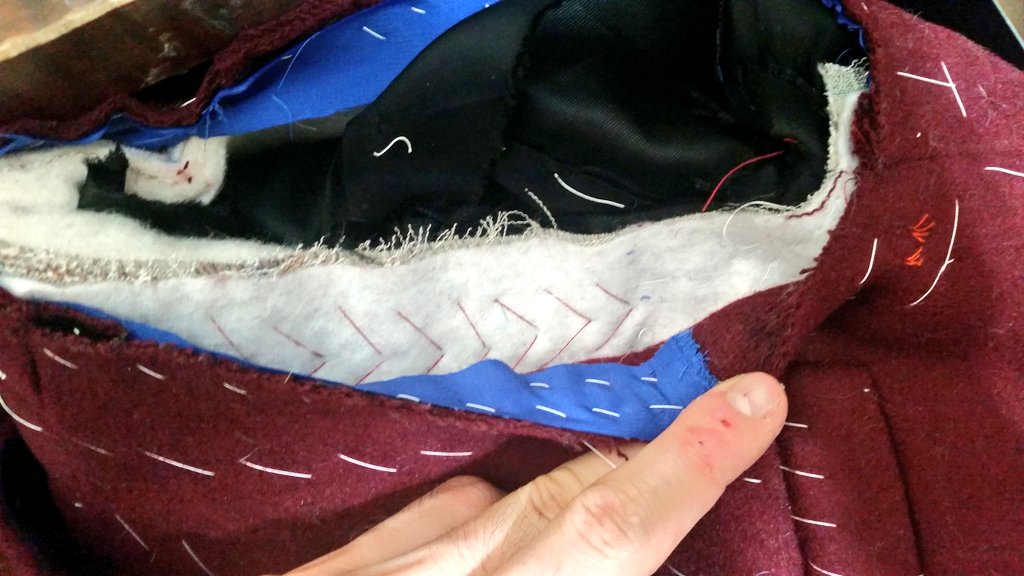
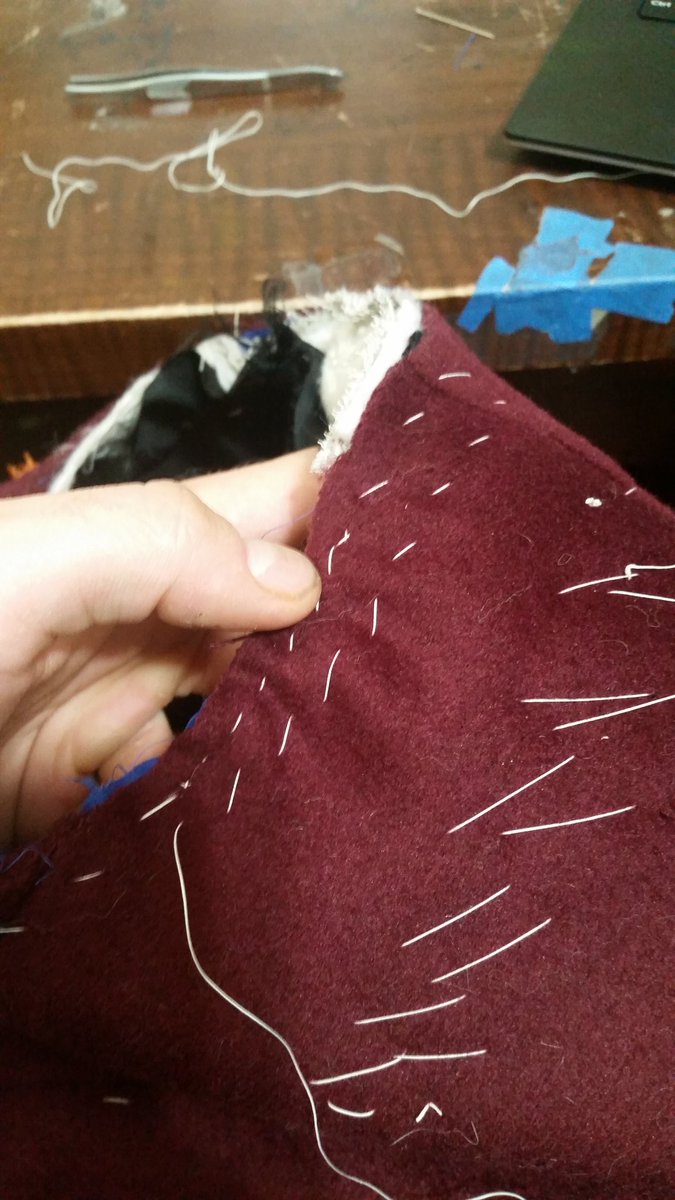
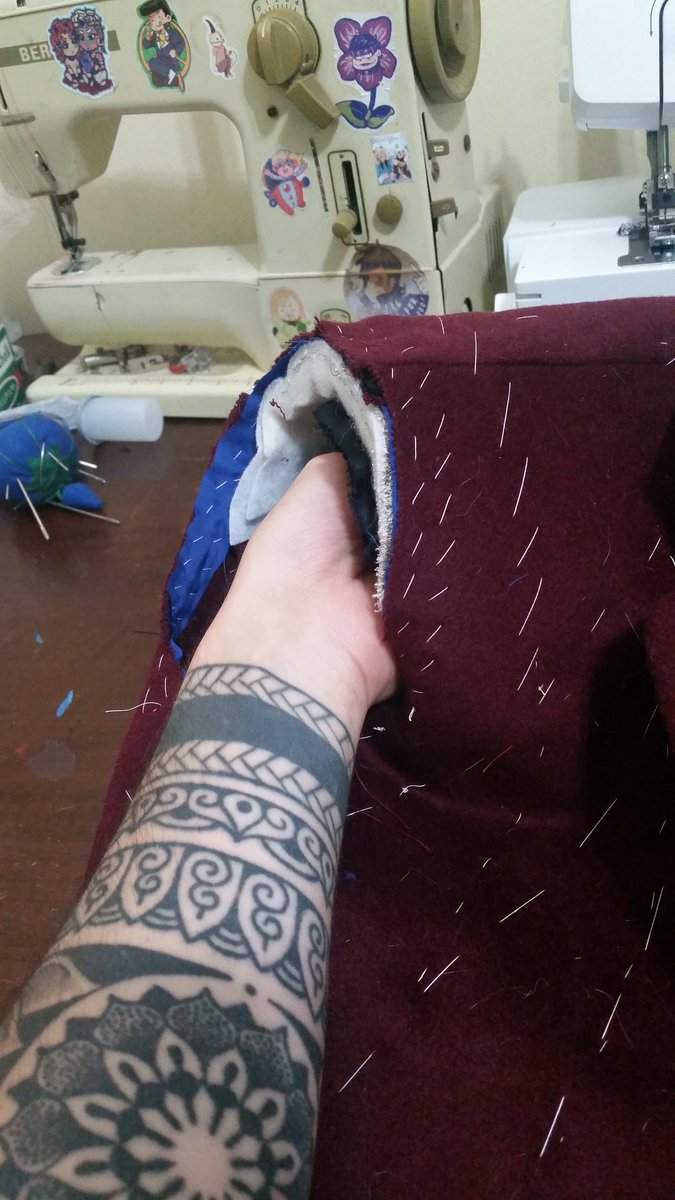
Doing a proper chest pocket this time (previously I just fudged it with a regular welt pocket. It& #39;s not *hard* really but it feels very unintuitive
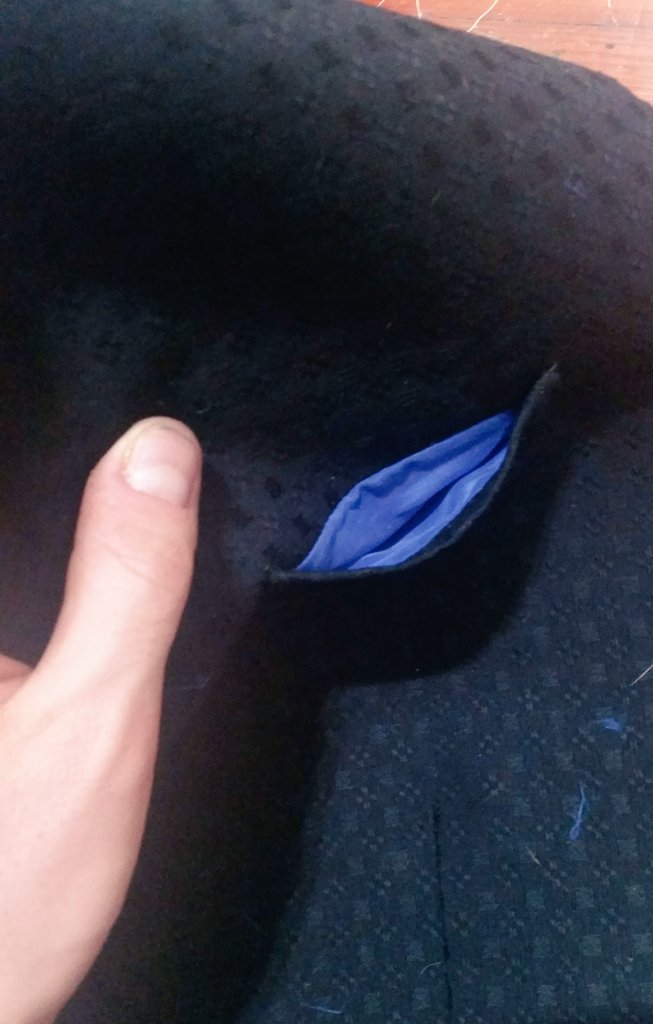
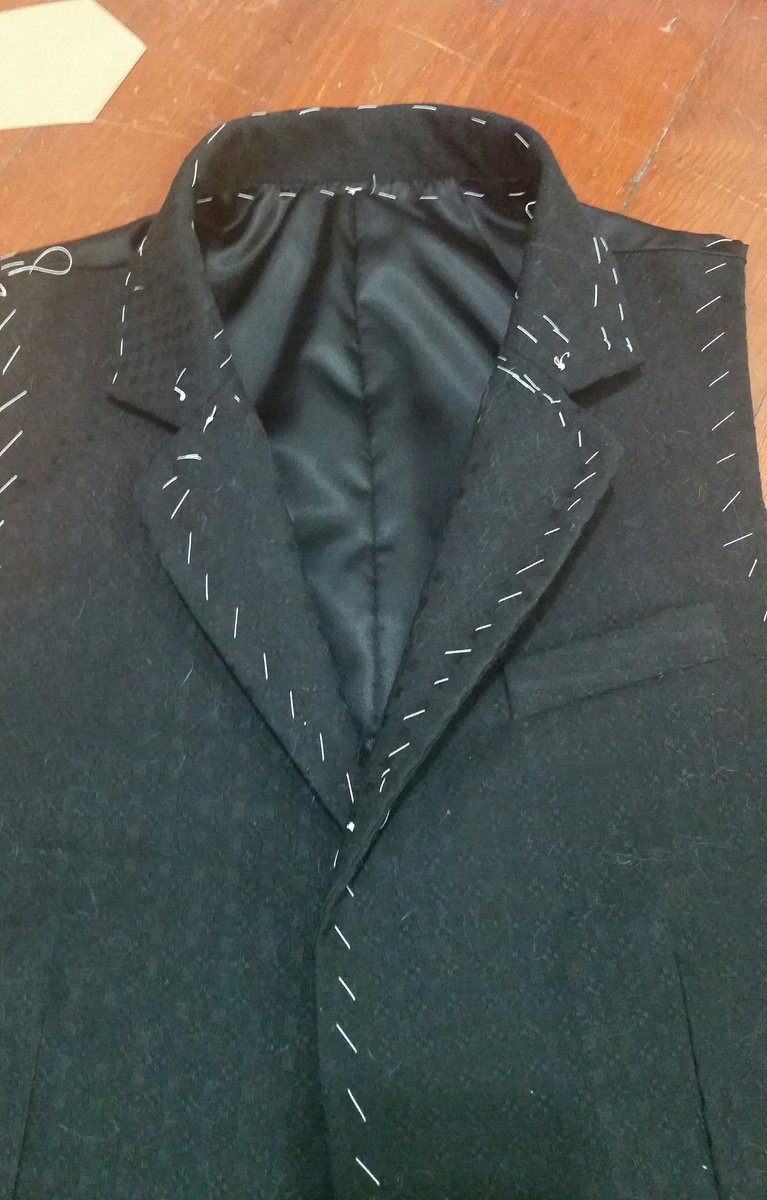
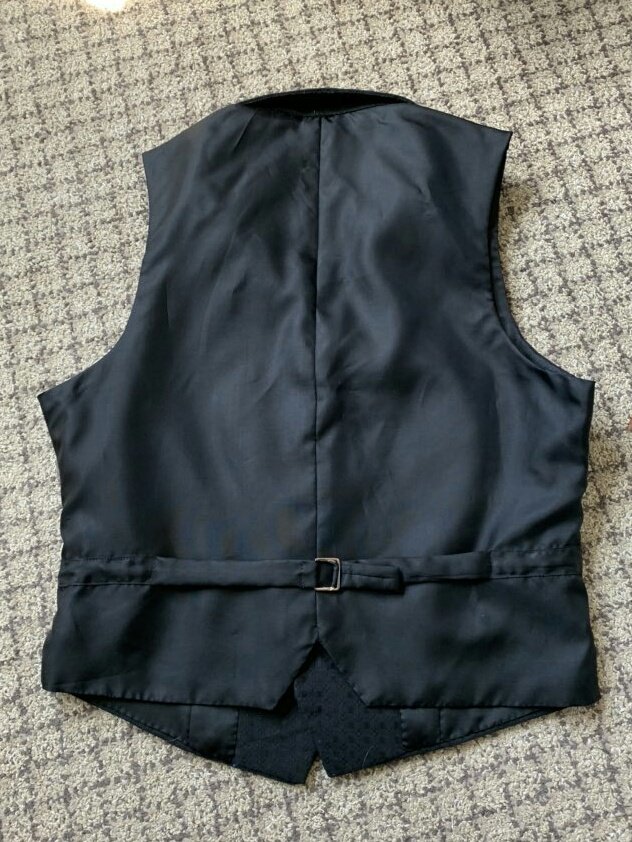
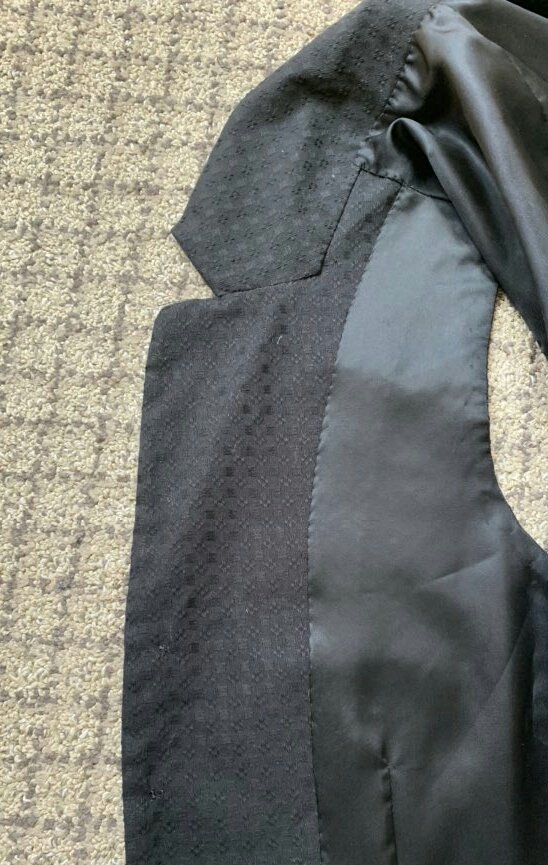
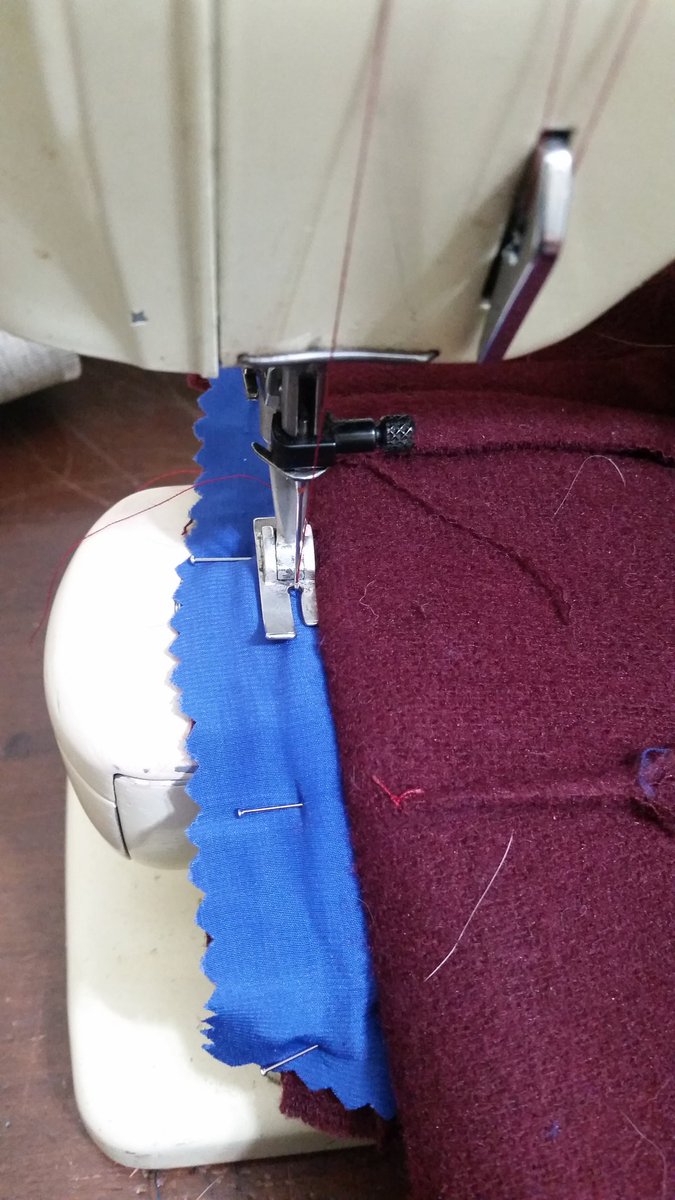
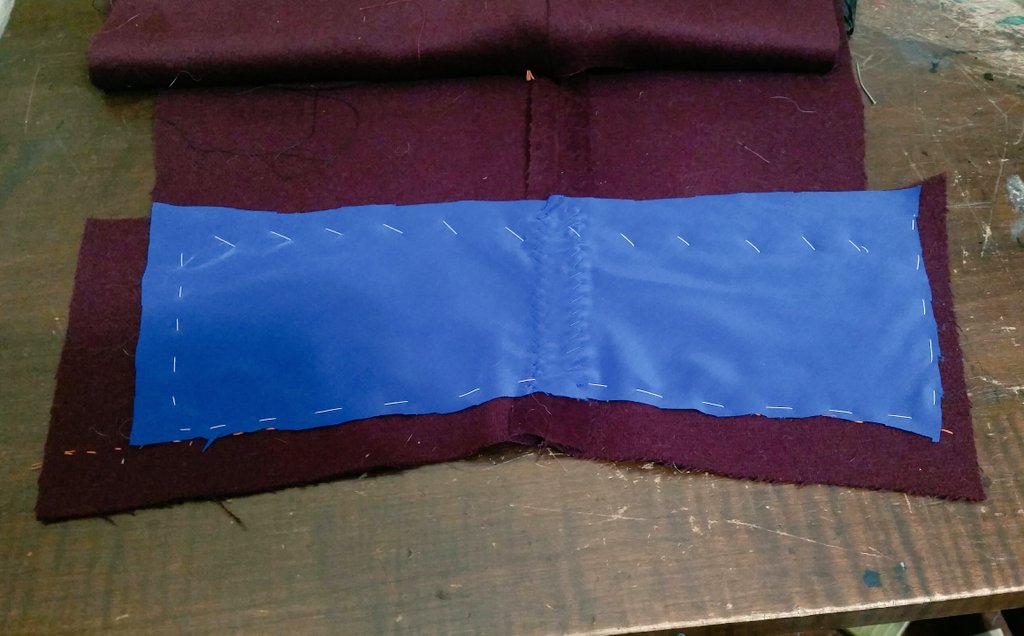
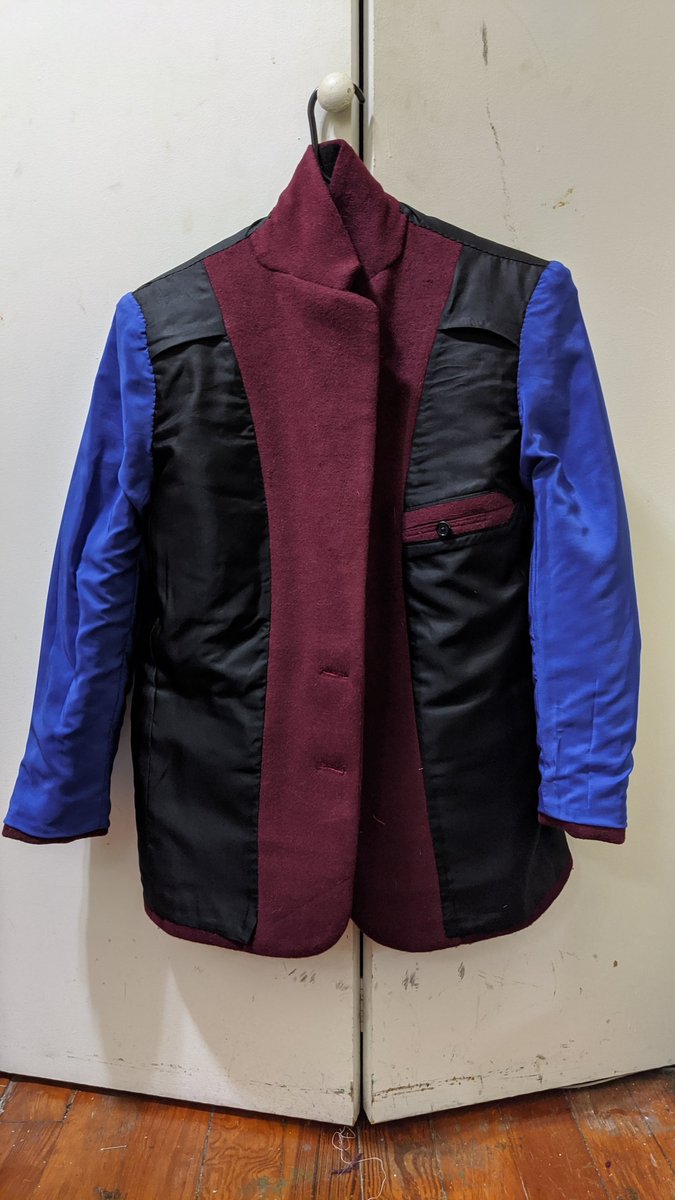
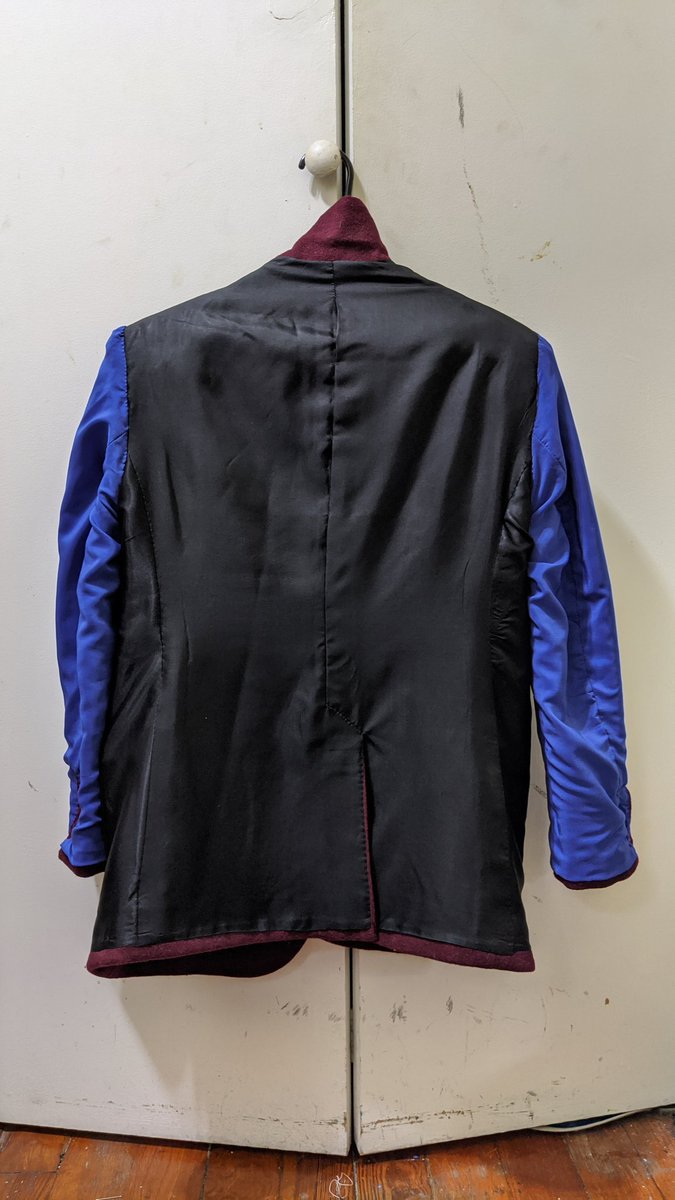
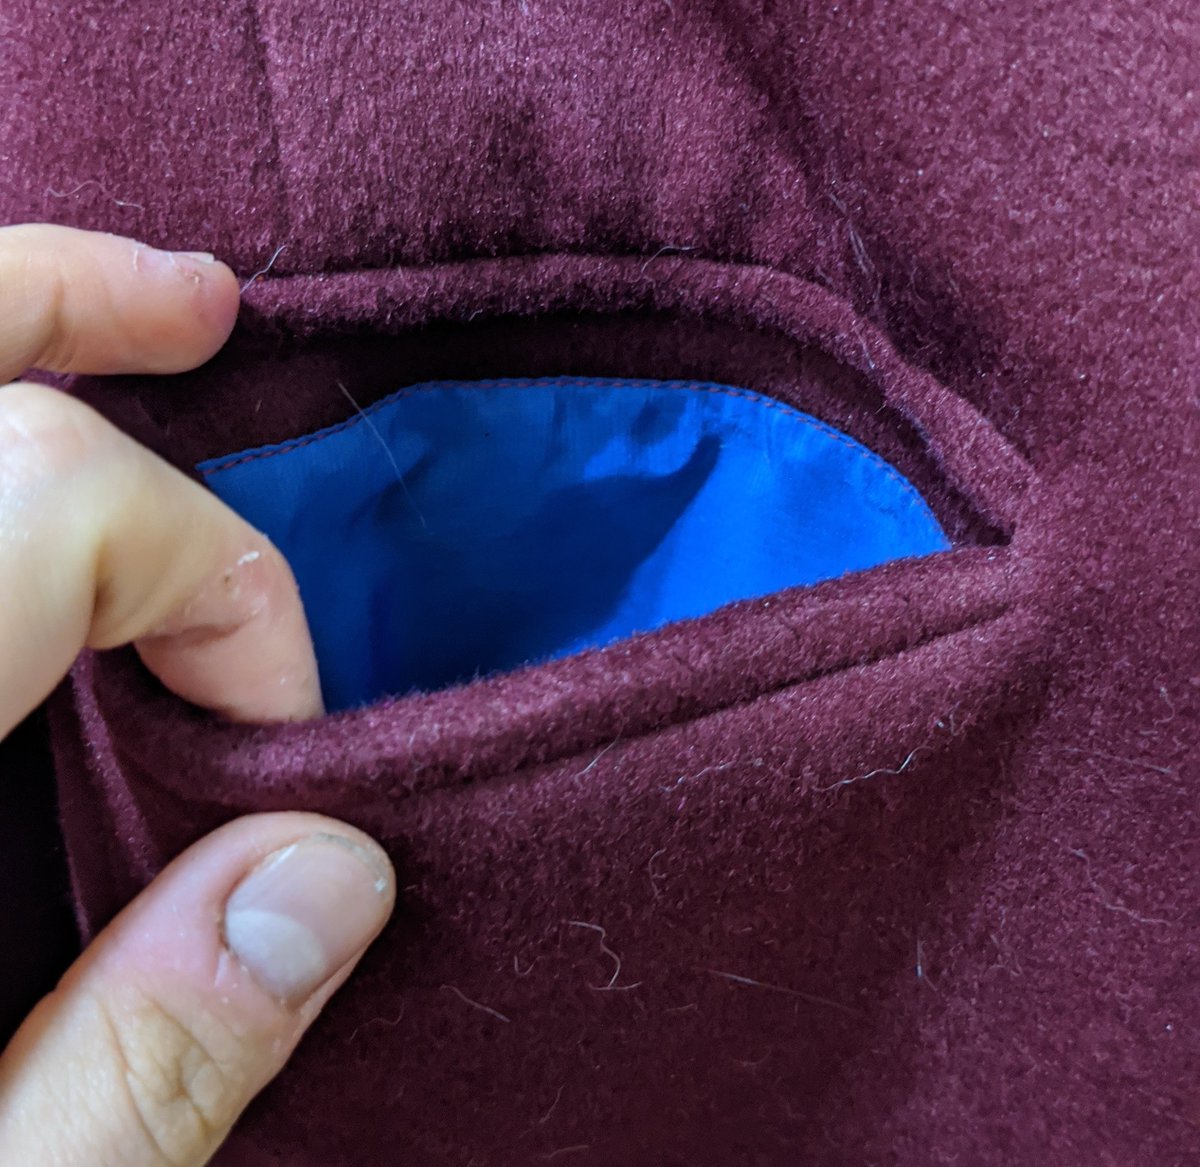
Finished! Yes, Mile& #39;s linings will be blue in some parts bc he& #39;s gay for That Man.
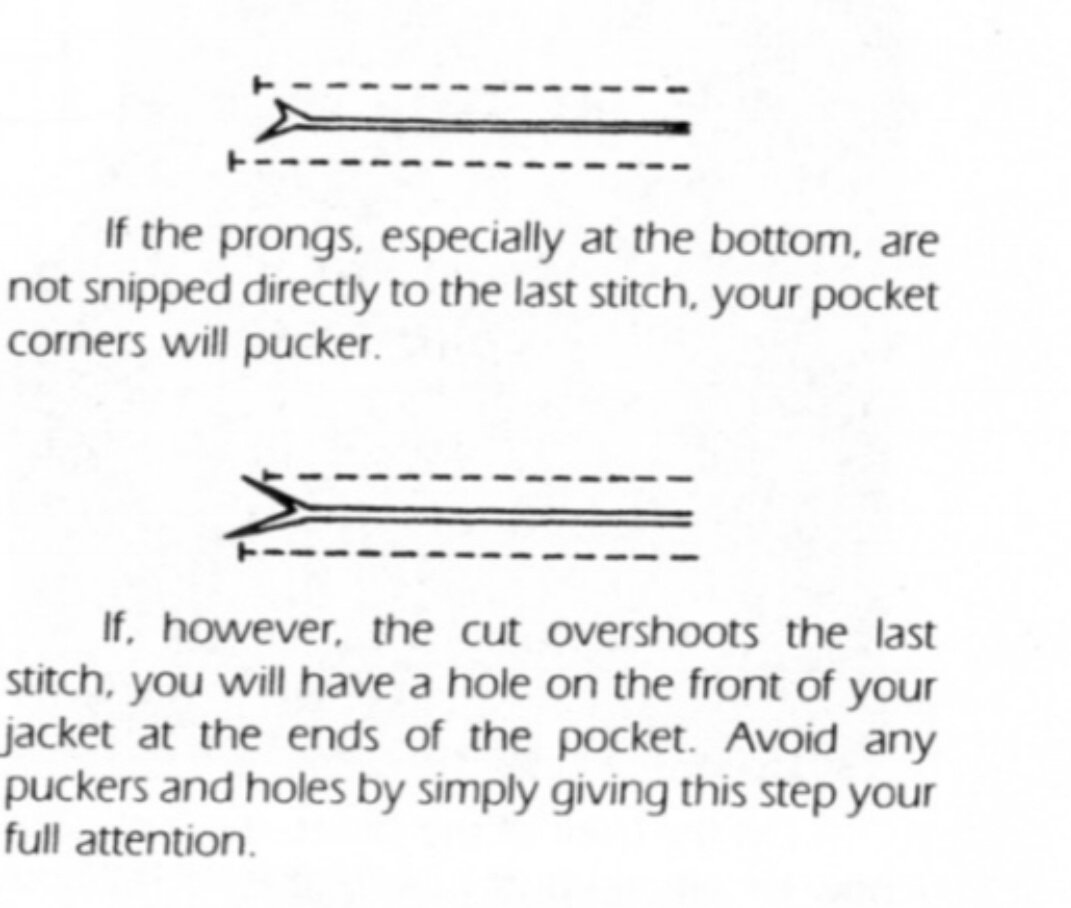
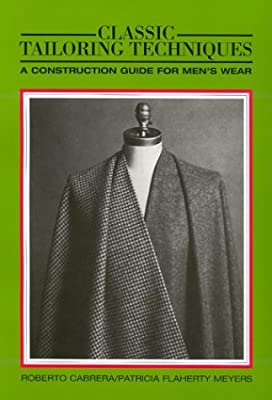
Also this piece of advice in my tailoring book included bc it makes me laugh. "Just be careful, idiot"
Also this piece of advice in my tailoring book included bc it makes me laugh. "Just be careful, idiot"
I broke my thread somehow!! Agh! https://twitter.com/disastertowncos/status/1279166940079104004?s=19">https://twitter.com/disastert...
https://twitter.com/disastertowncos/status/1279238279255207939?s=19">https://twitter.com/disastert...
https://twitter.com/disastertowncos/status/1279528276256530432?s=19">https://twitter.com/disastert...
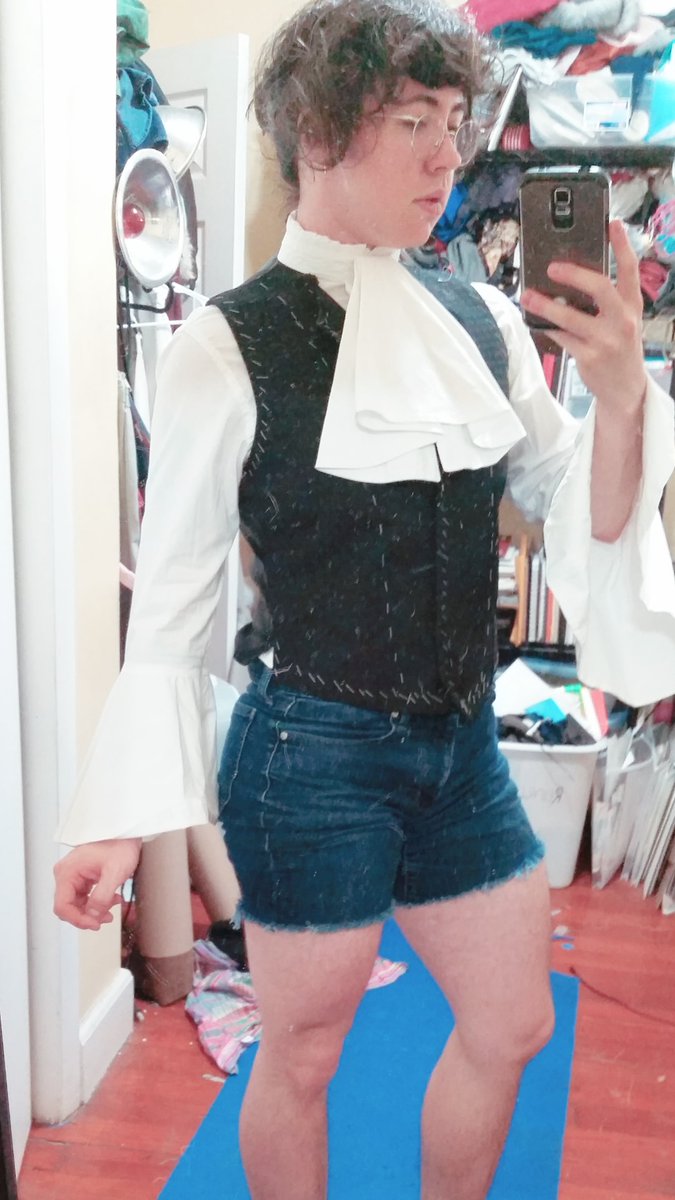
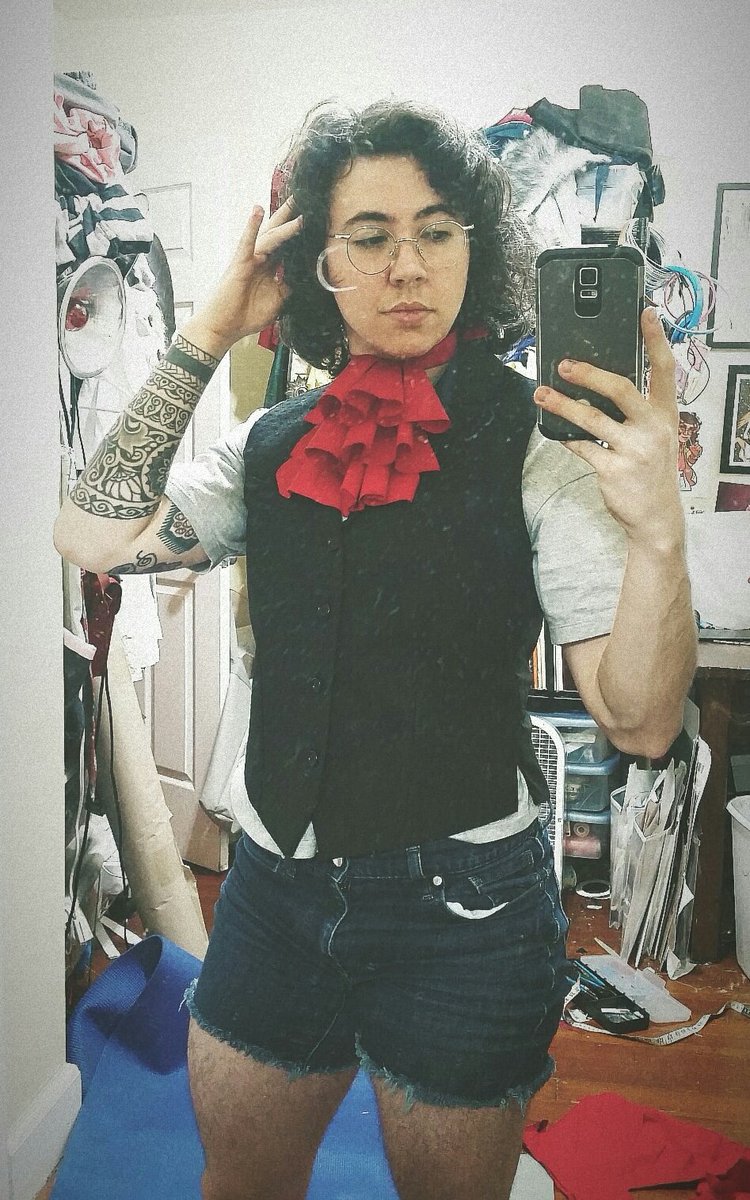
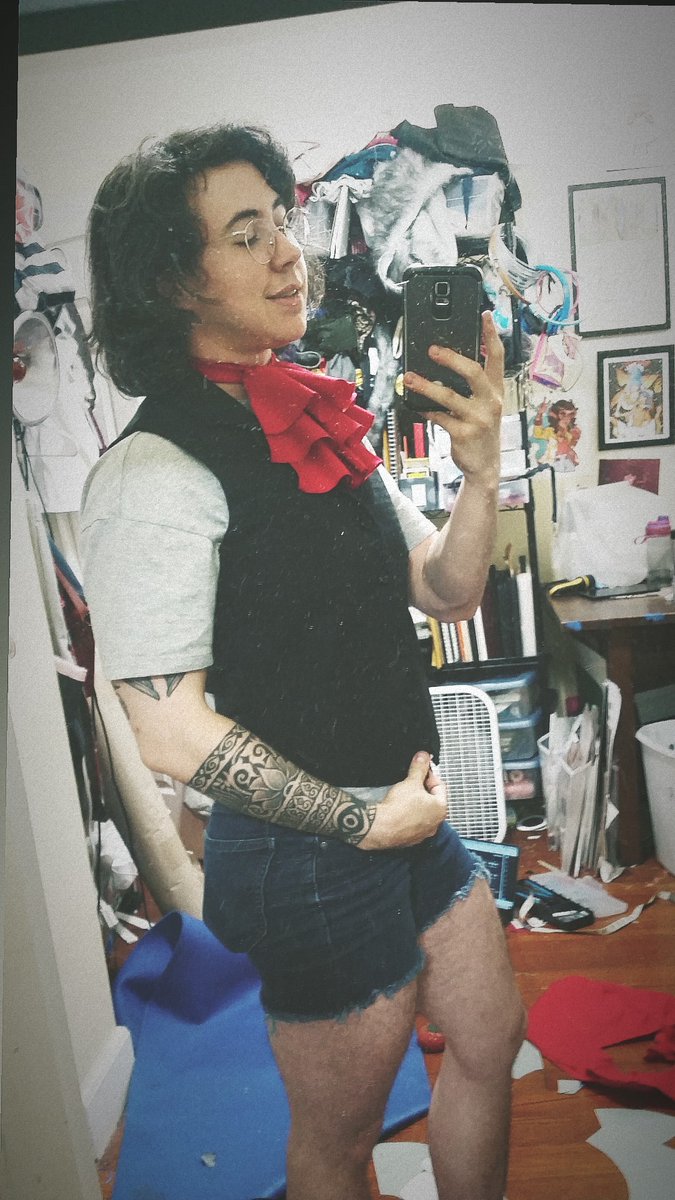
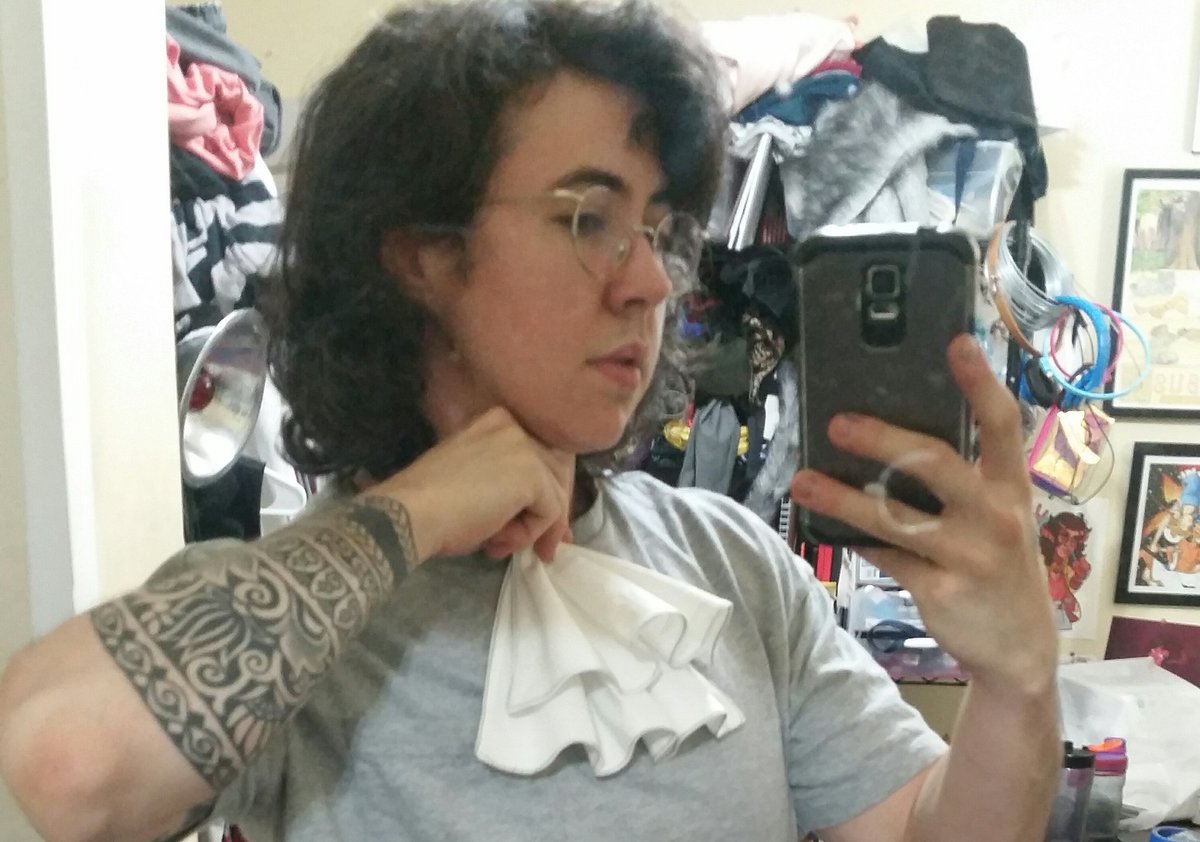
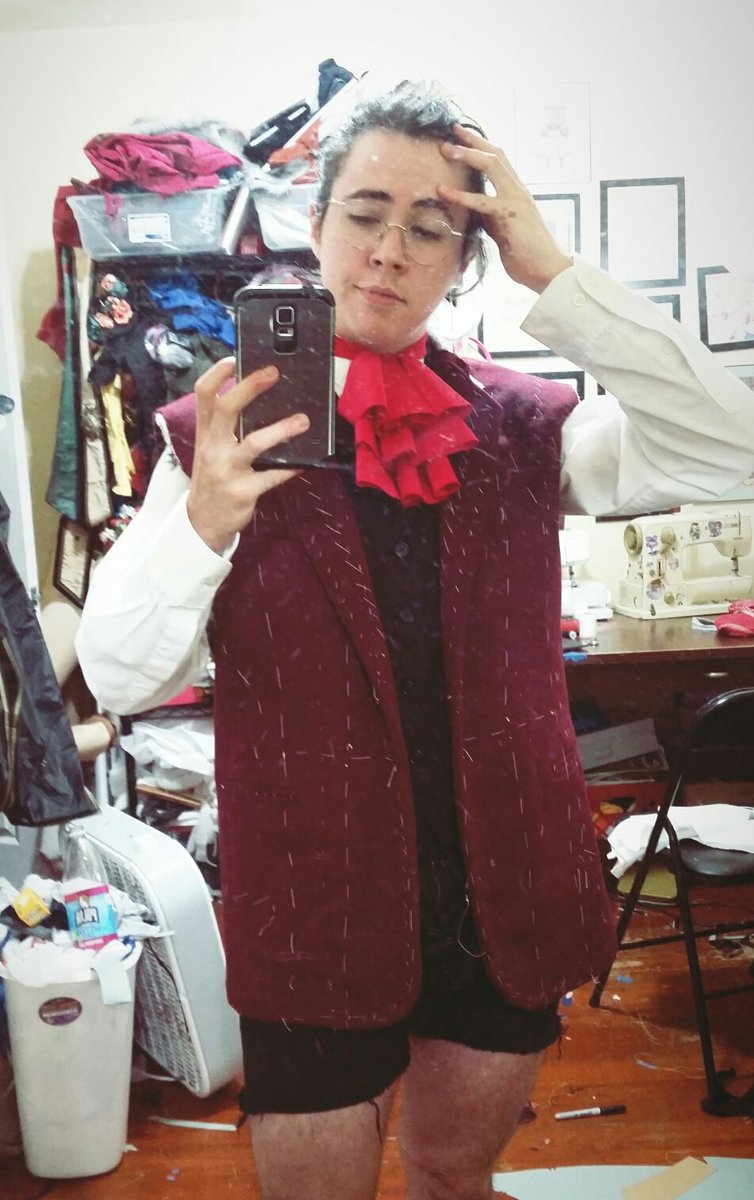
I got the lining stitched in, and gave it a quick try on over Lio& #39;s shirt and cravat just to see how it looked. Glad I did, it gives me a better idea of how big his cravat should be. Waiting on canvas to come in to do the collar!
Gathering some info on the details of his coat. That& #39;s literally the only image I could find where anyone bothered to draw his pockets, but I guess he has double welt pockets, and a center-back vent.
The length also varies from image to image, it& #39;s quite short here compared to the longer more conservative look above. I will probably cut closer to this because I& #39;m short-waisted and it& #39;ll be more flattering
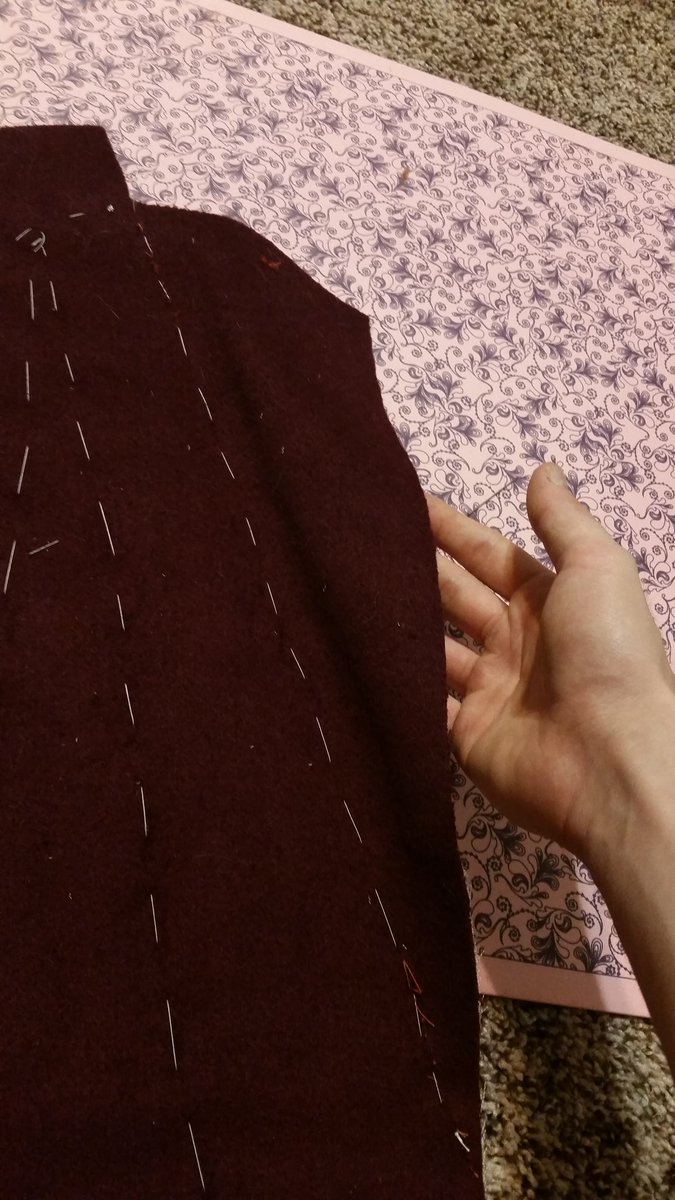
Ughhh I should cut my mockup but drafting this made me tired and I don& #39;t wanna
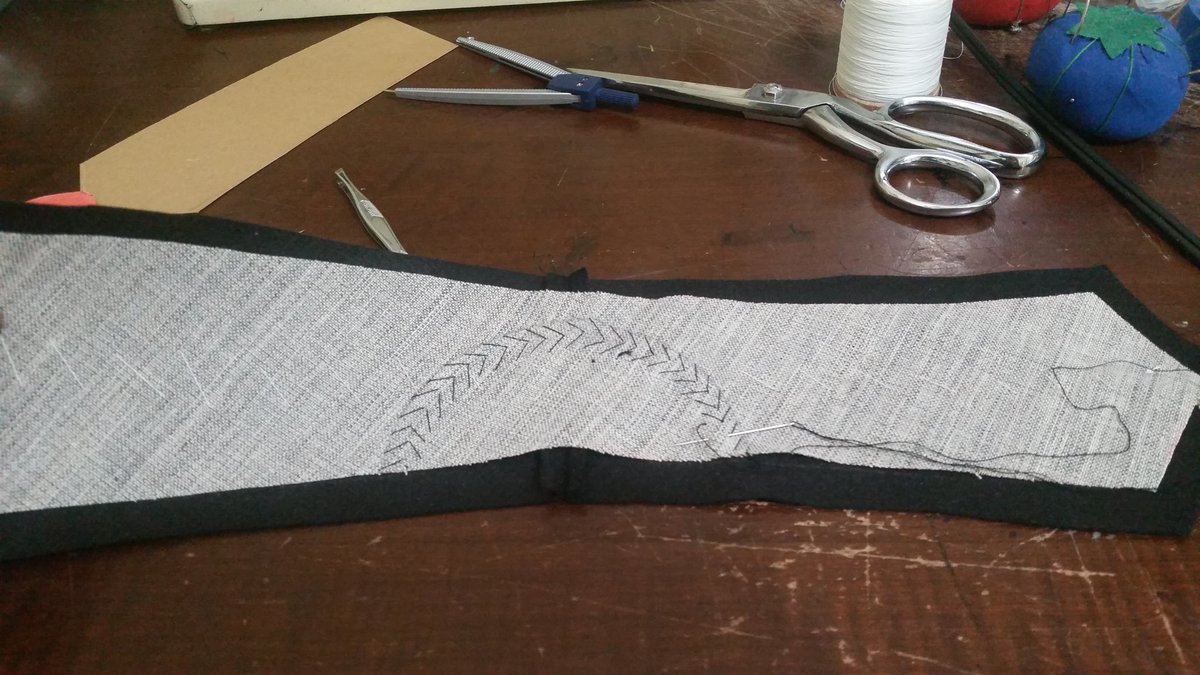
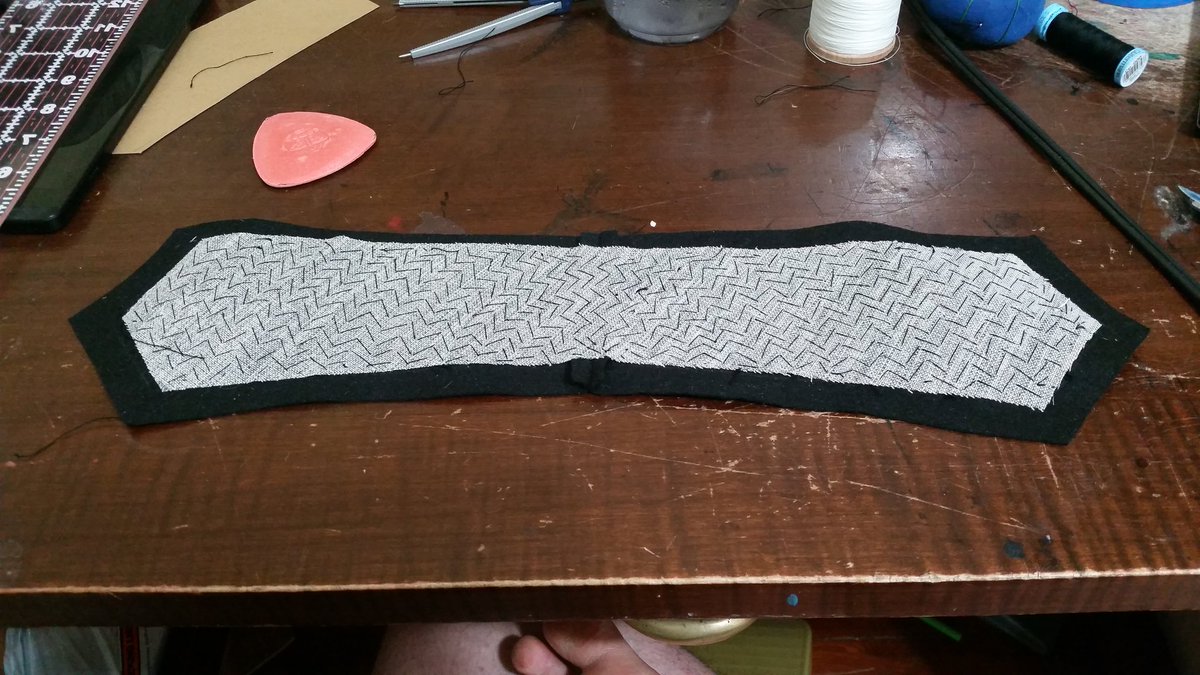
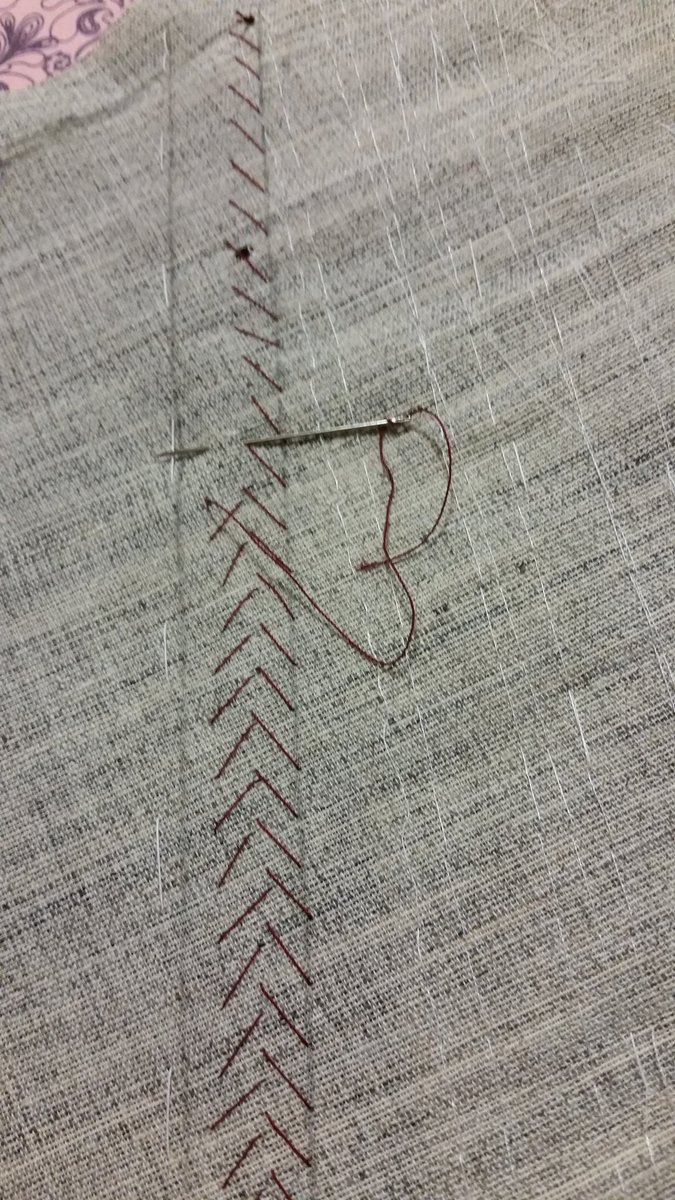
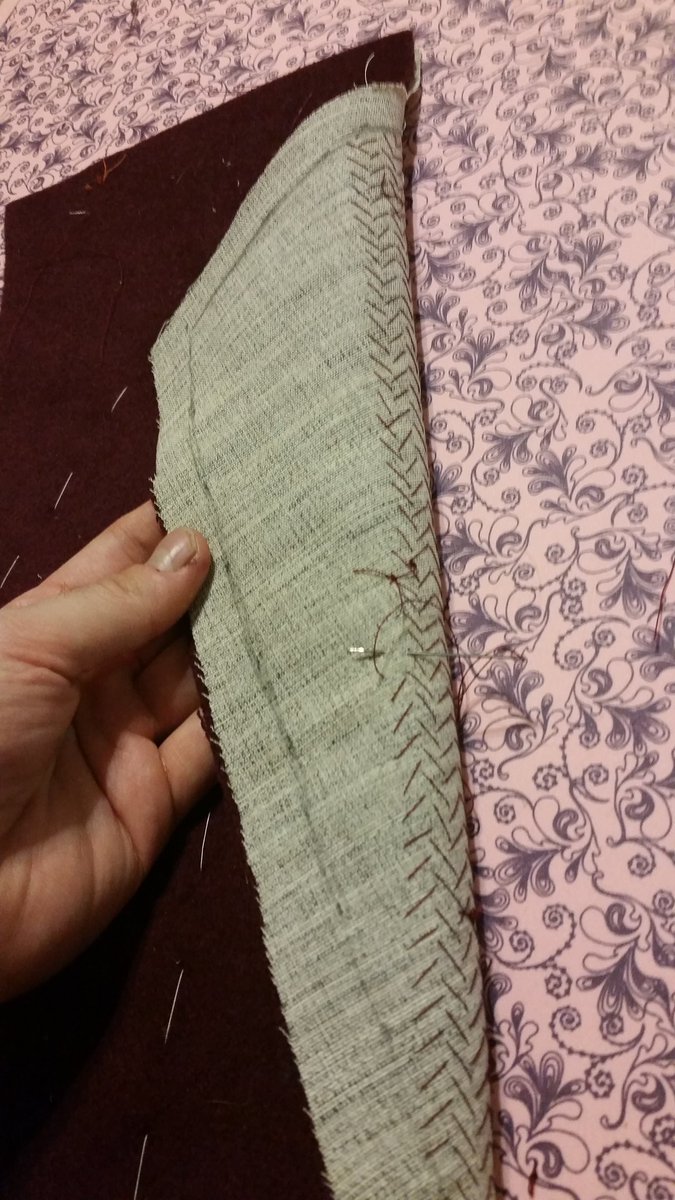
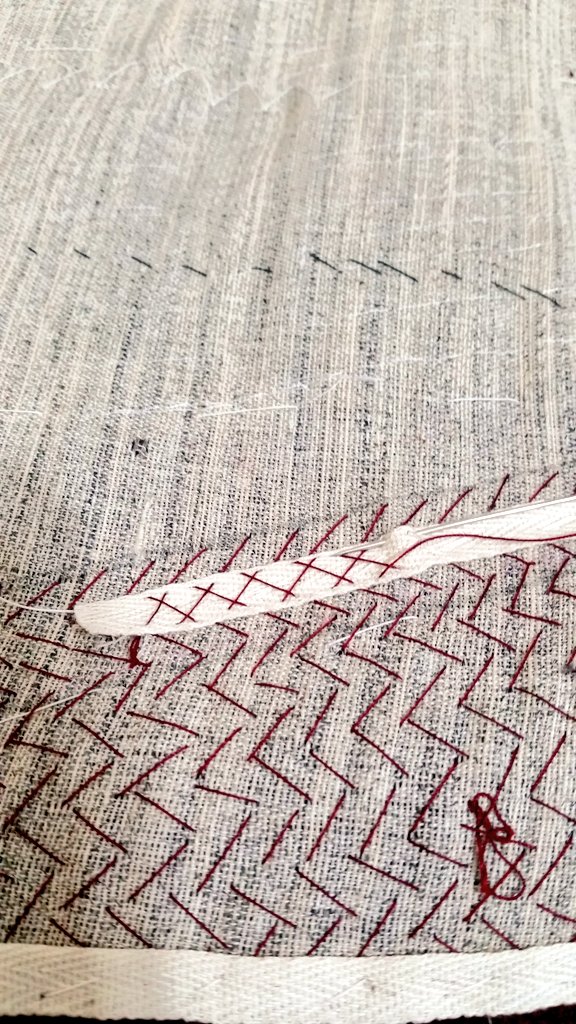
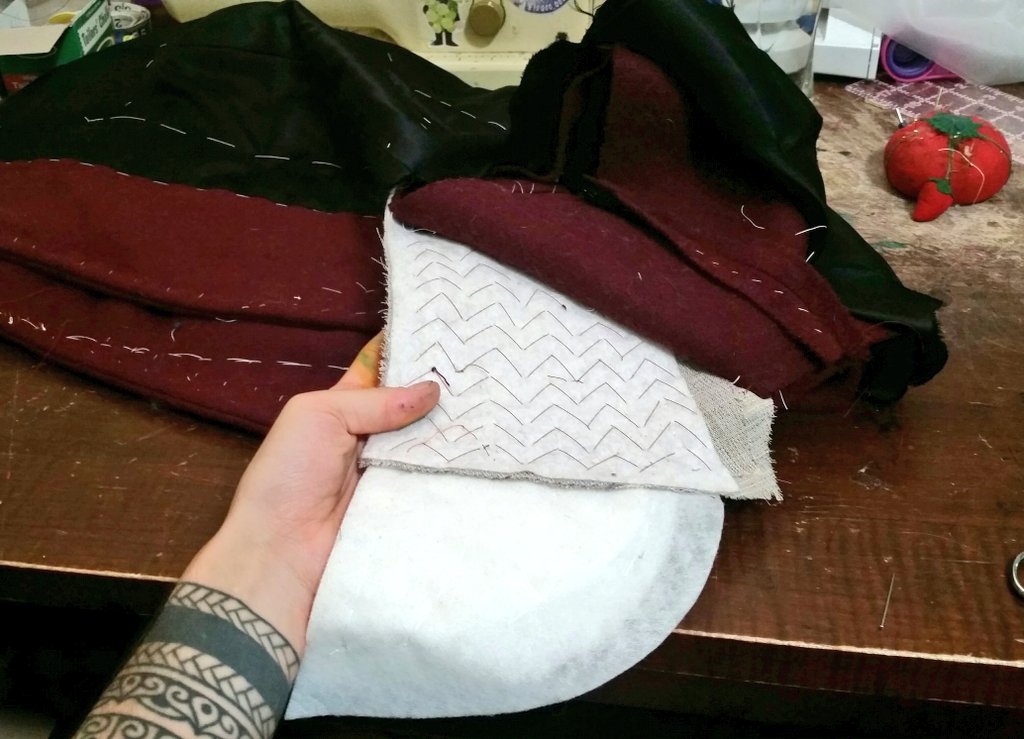
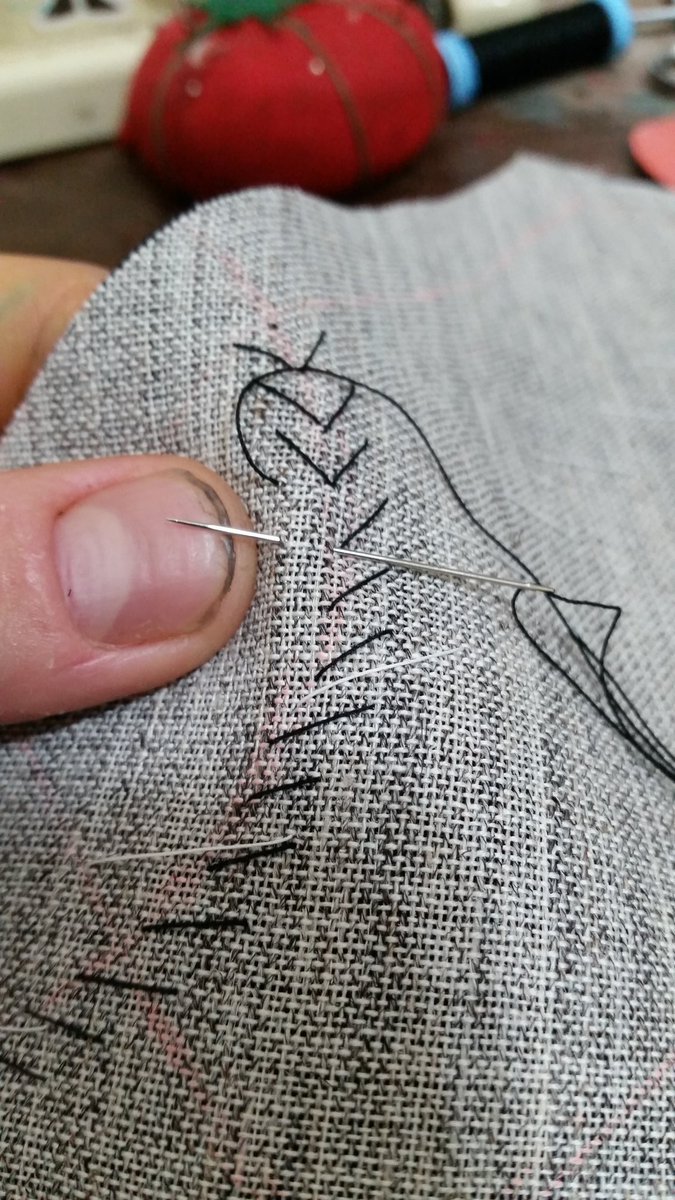
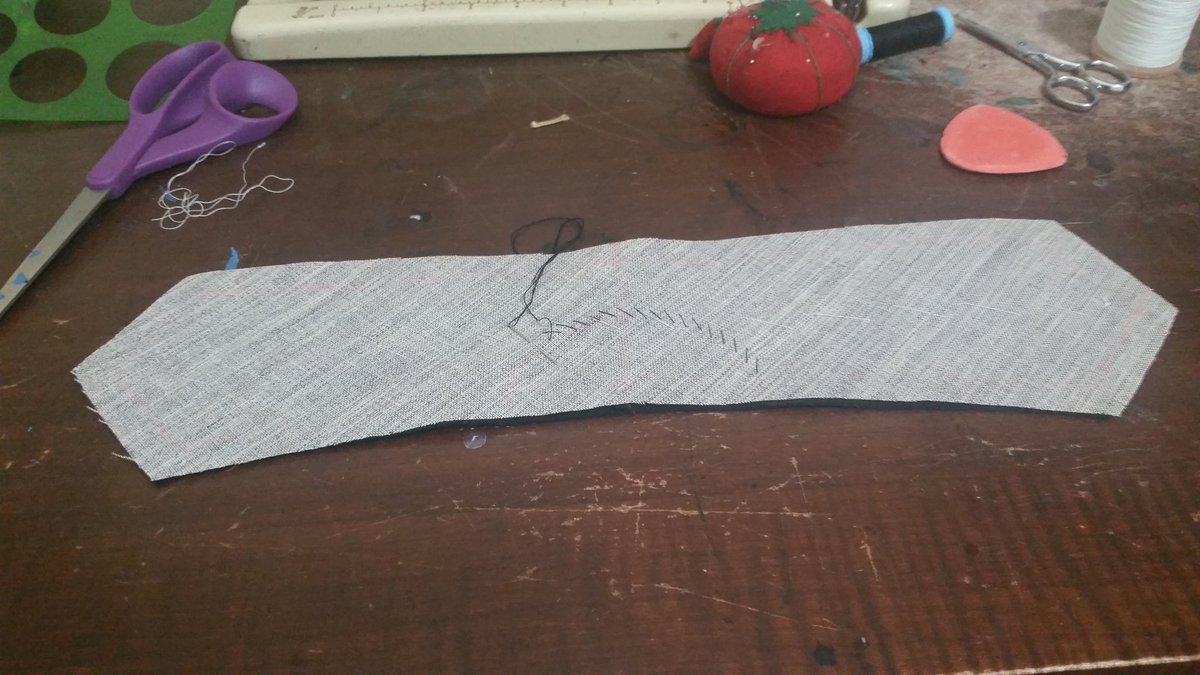
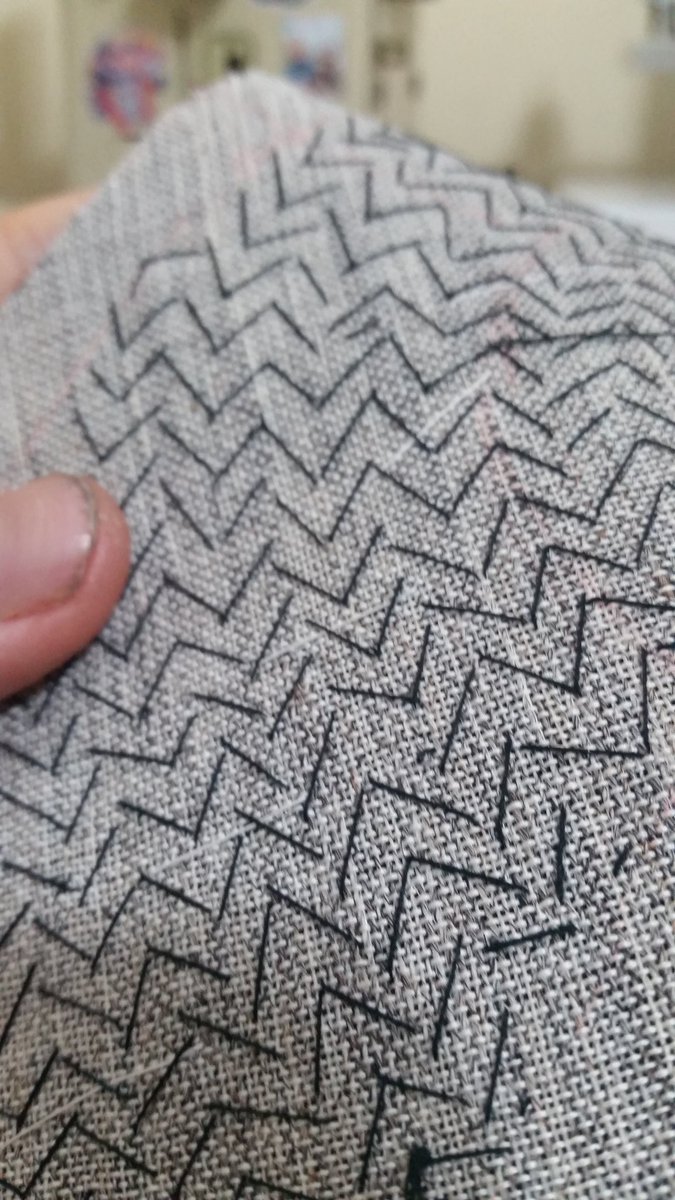
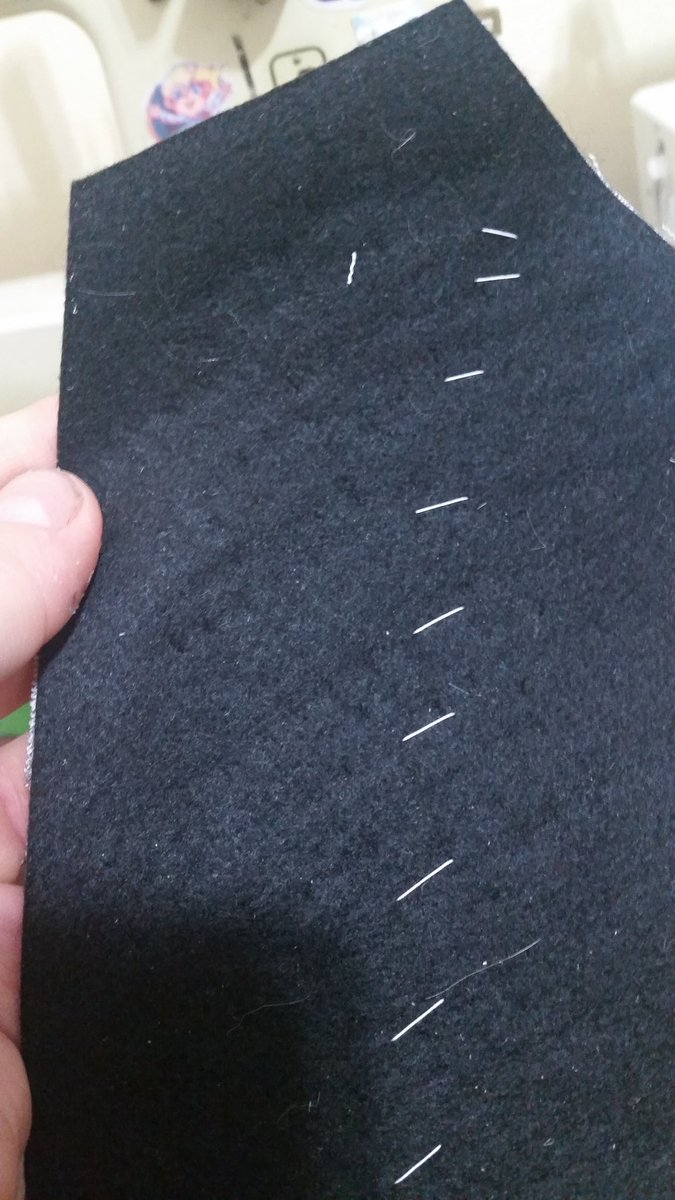
I did cut my mock up last night but more interesting is that the padstitching has begun. It& #39;s less hard than I thought but I do a *lot* of hand stitching anyway
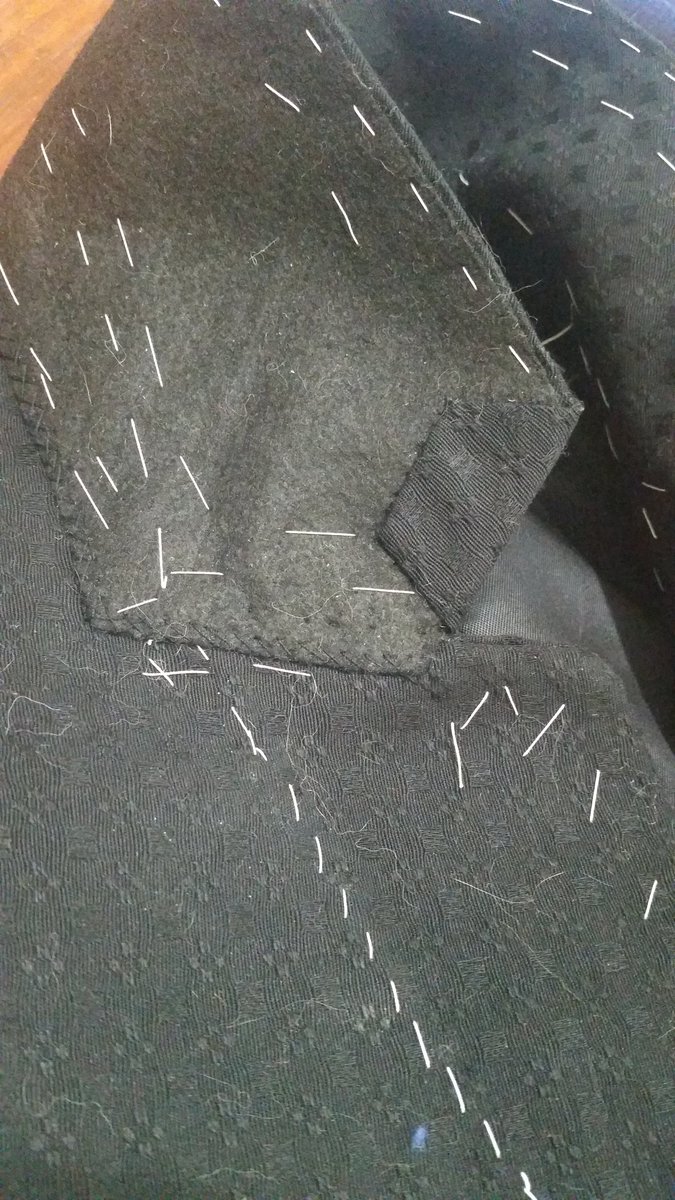
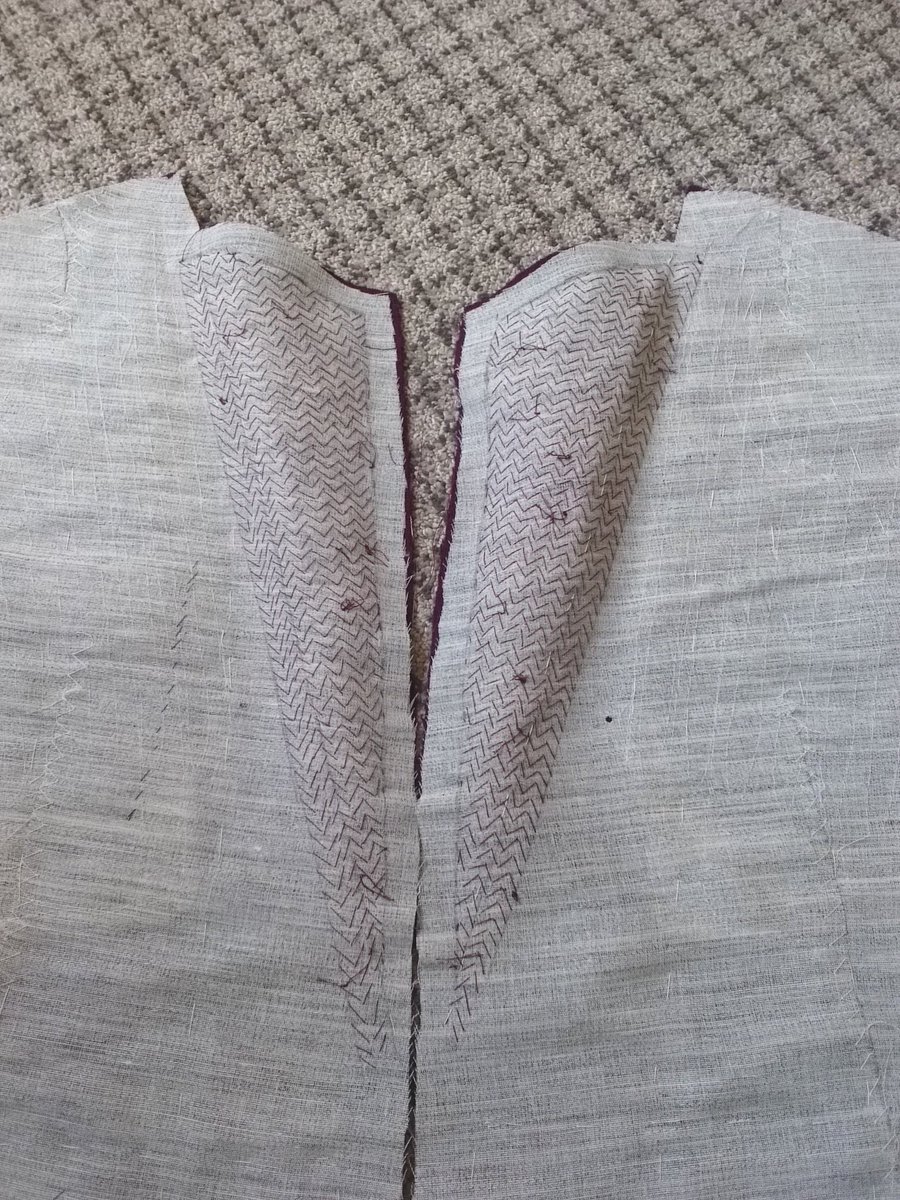
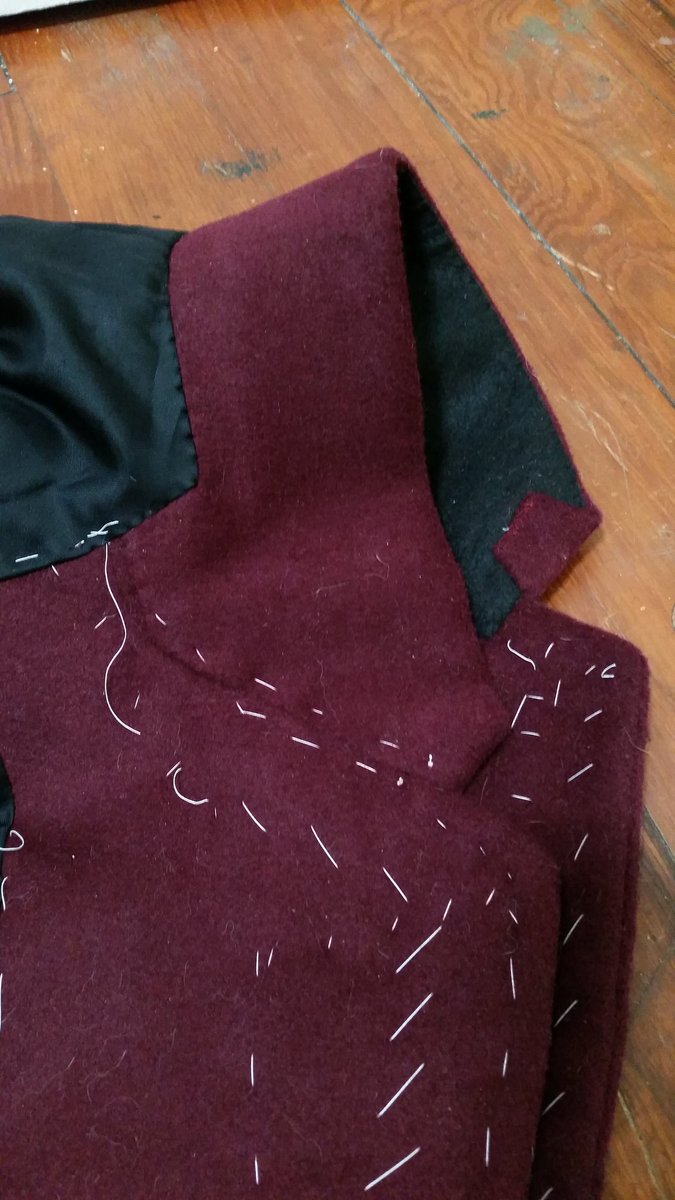
Padstitching is done! You can see on the second picture how it& #39;s gently shaped the ends of the collar
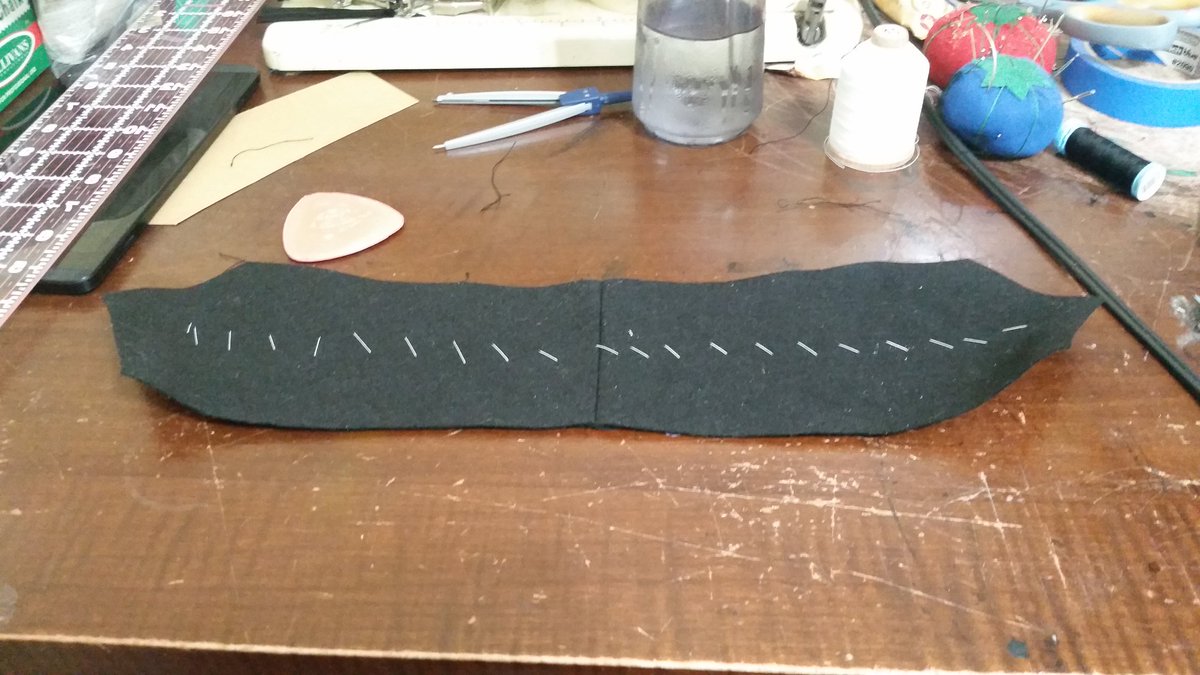
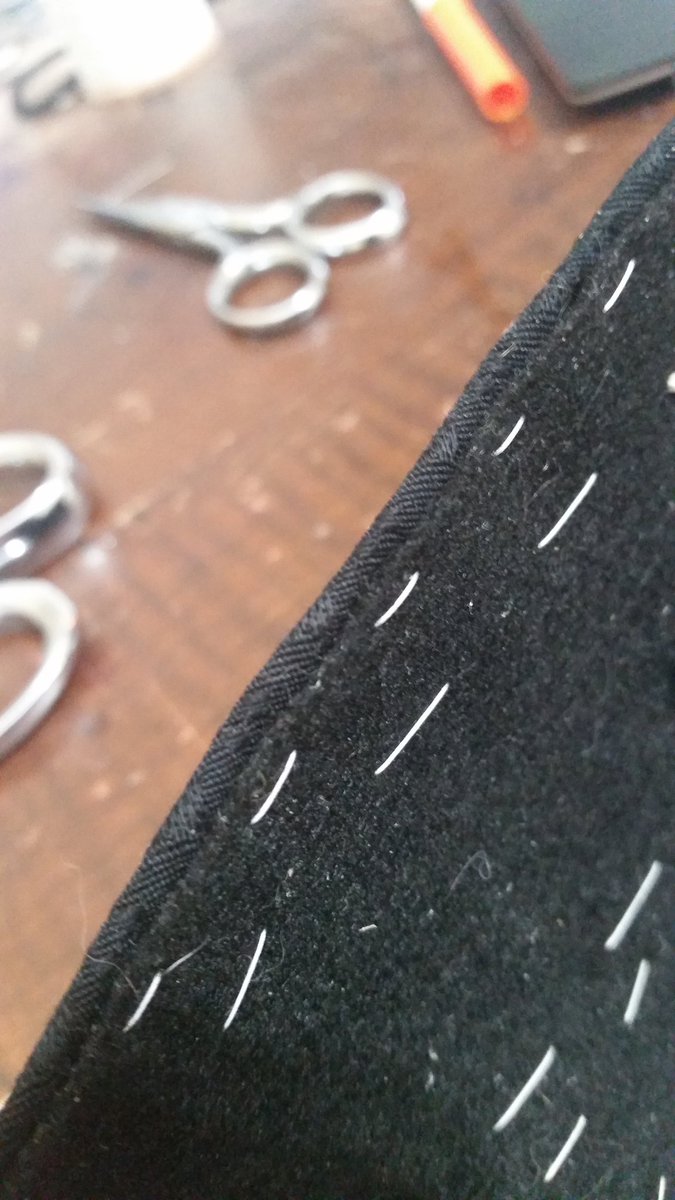
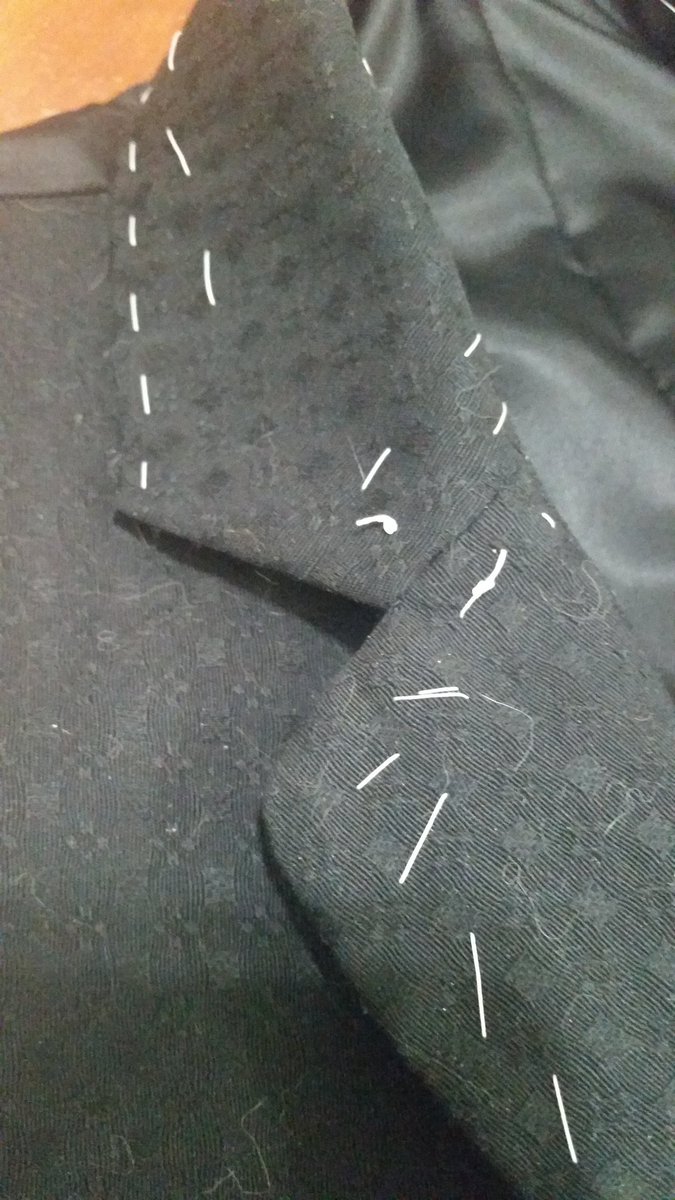
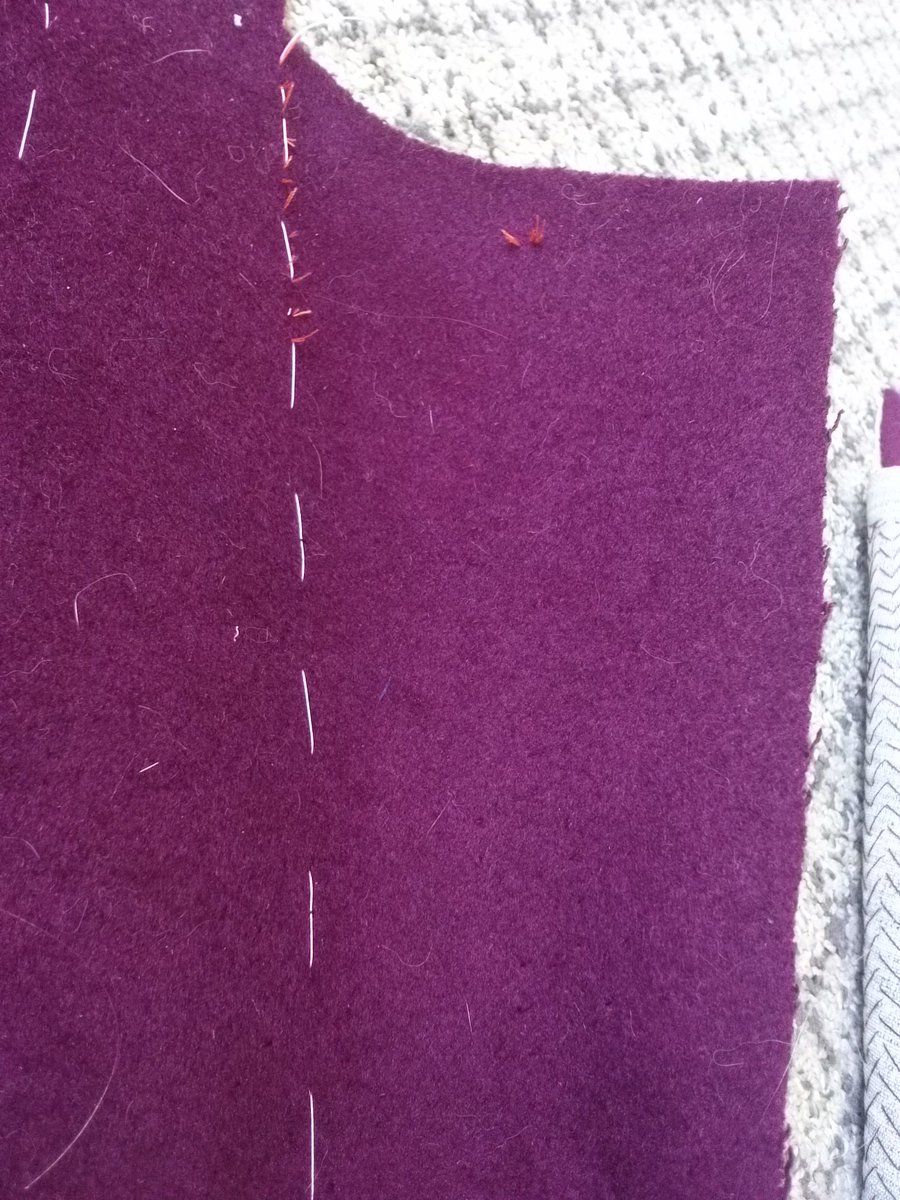
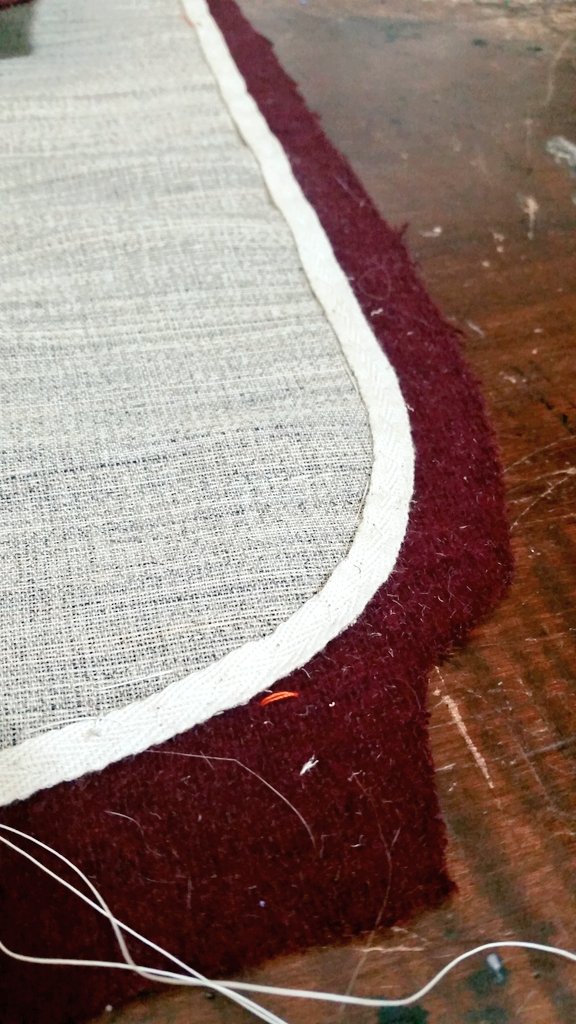
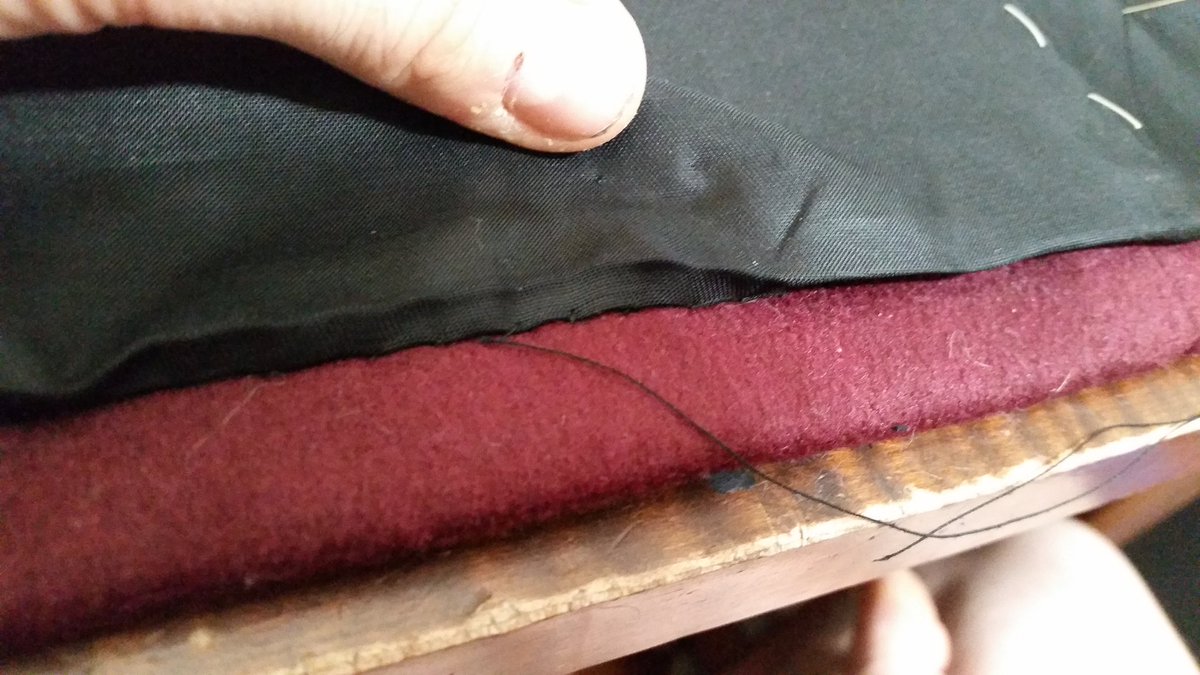
It feels really weird to just sew the Melton down right on top with a raw edge but, it& #39;s basted, and the neck roll is certainly nicer than any I& #39;ve made before...
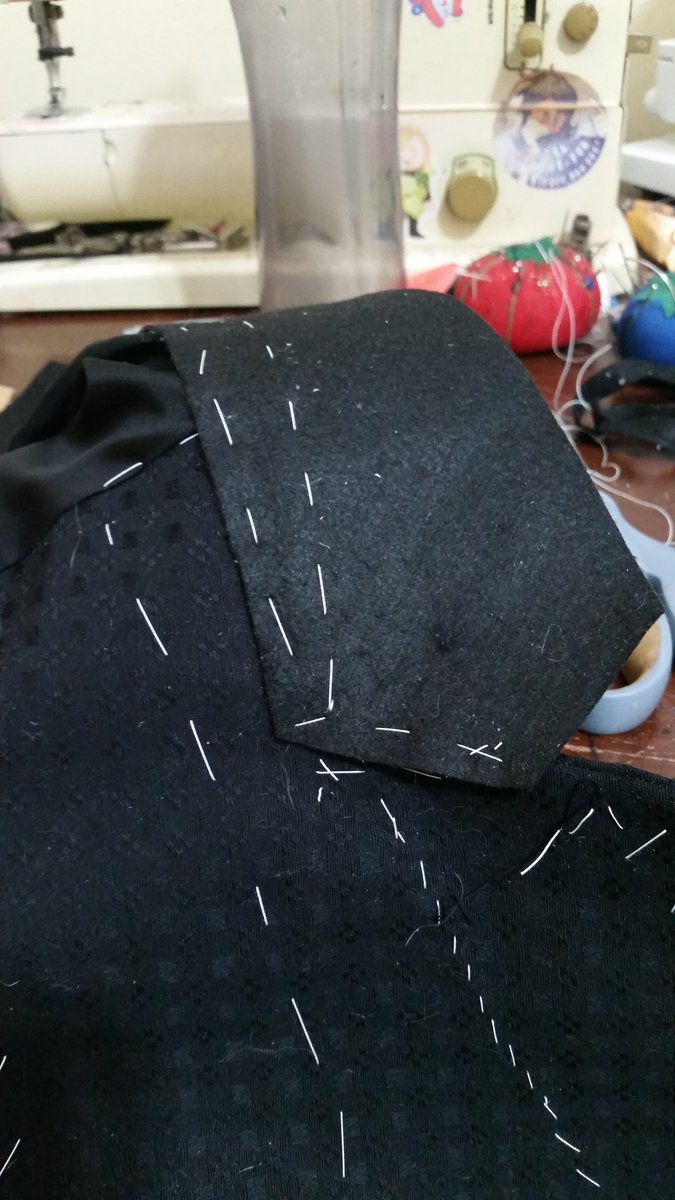
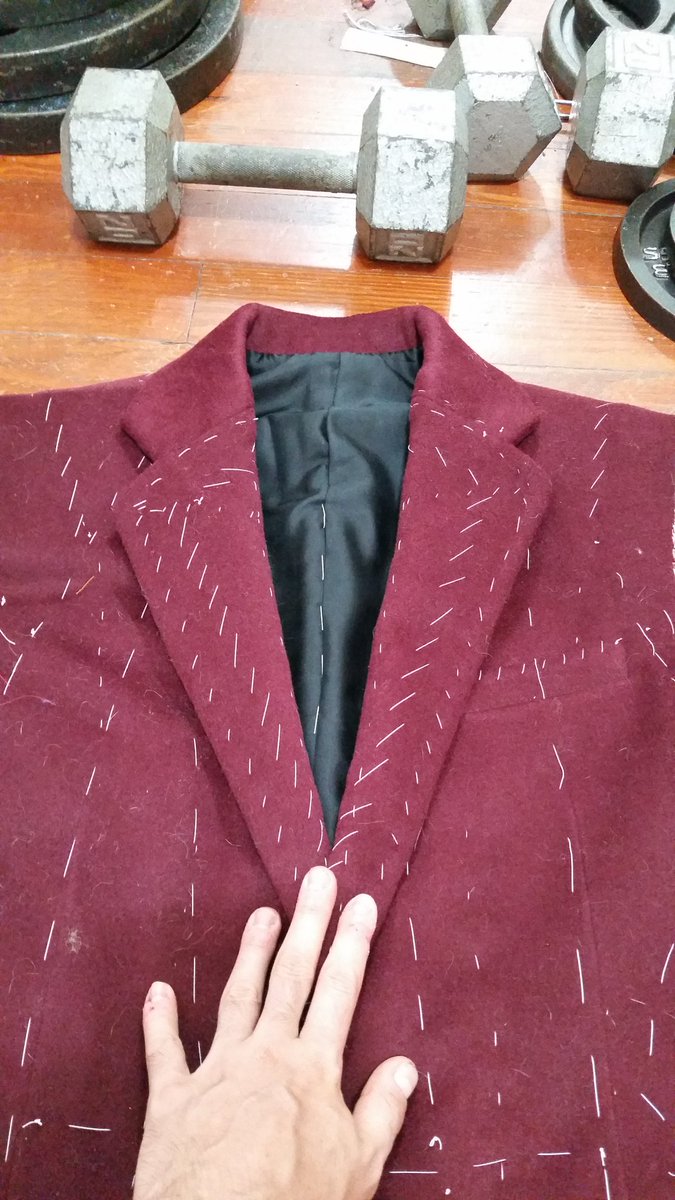
Hard to see because it& #39;s all black, but I& #39;ve cross-stitched the undercollar down, and now I& #39;m basting the upper collar on. You "overhang" the undercollar edge a tiny bit so it doesn& #39;t show when the collar is in place
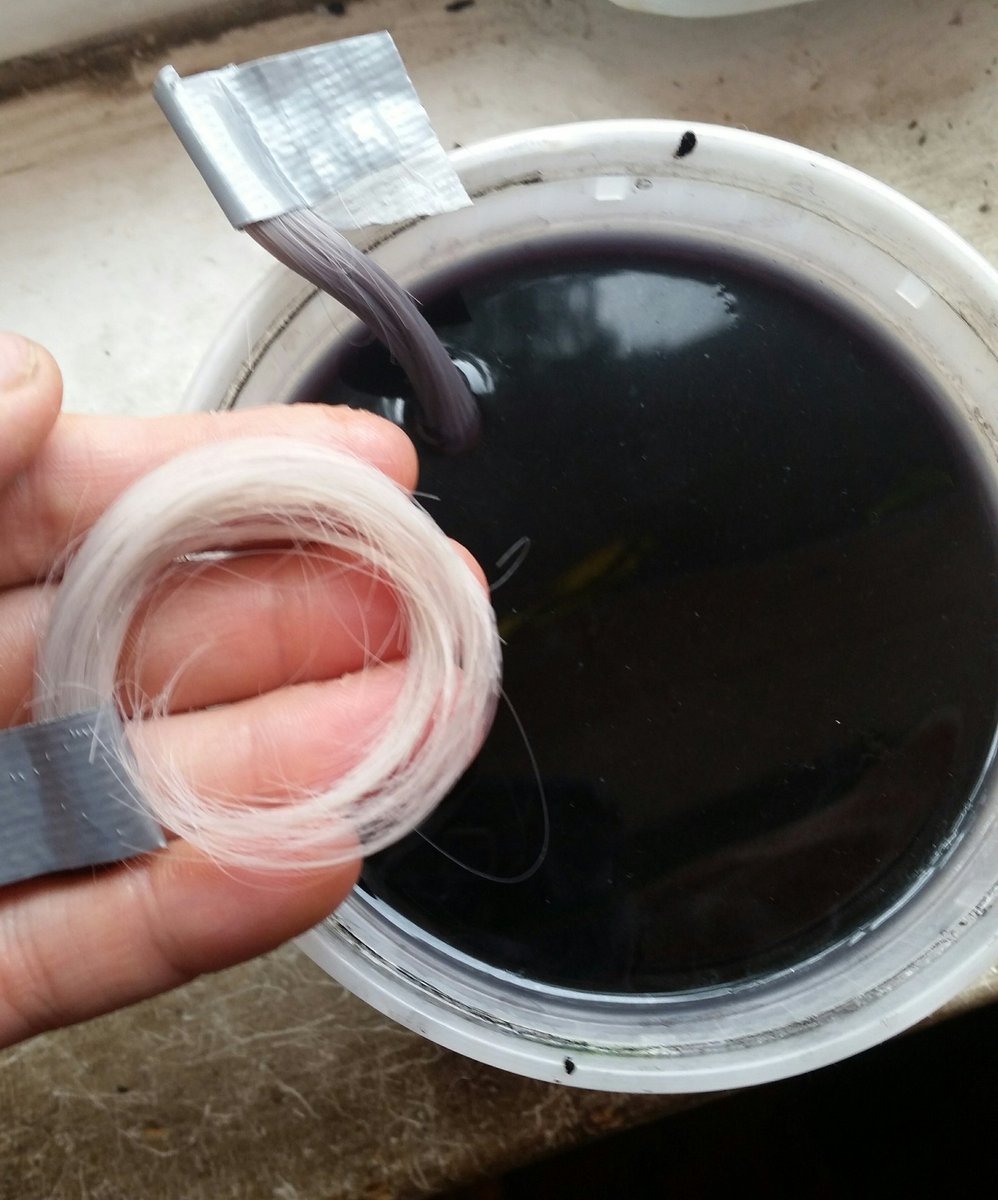
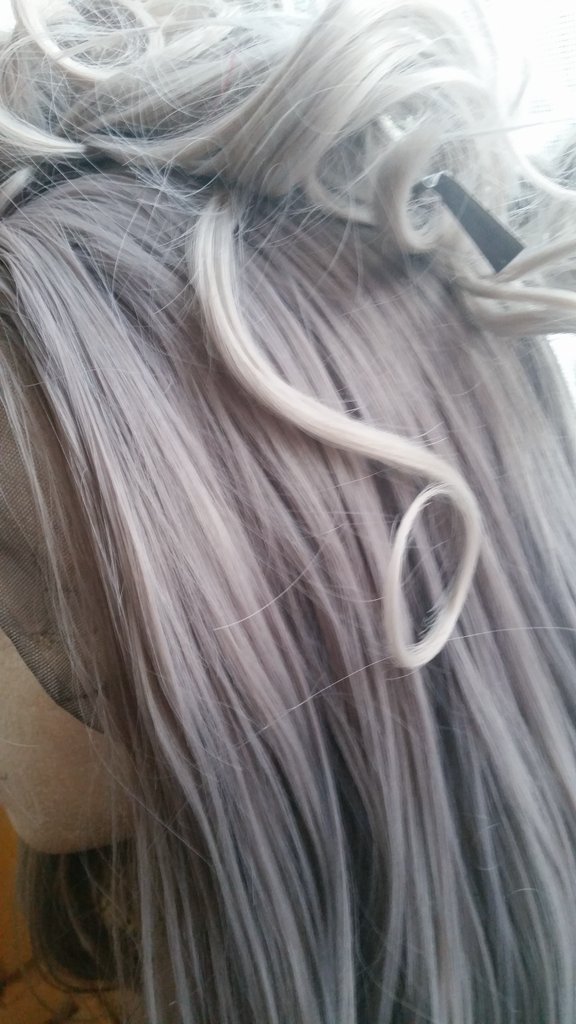
The wig came and it& #39;s nice but it is too light as I suspected. But that& #39;s easy to fix. For future ref this sample was 2 cups water and 3/4 cap& #39;s worth of dye
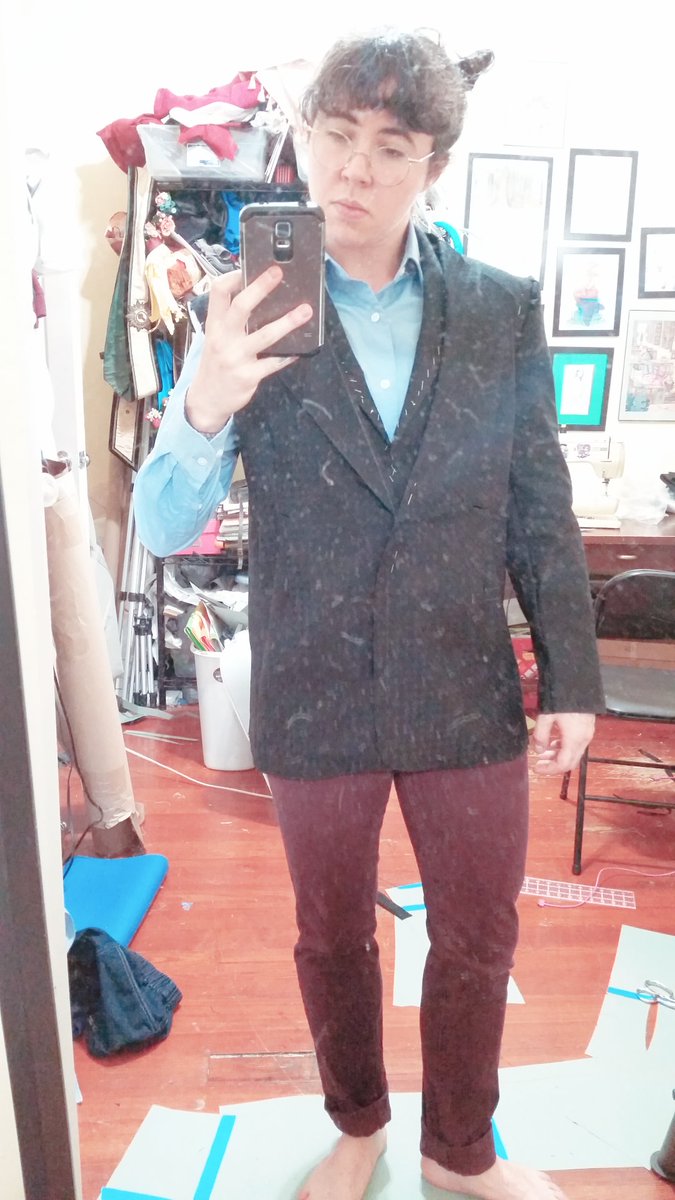
Jacket mock up. I have to adjust the back slightly and the roll line needed to be lower (second pic with the vest was to check that.) Maybe a little more room at the armsyce??
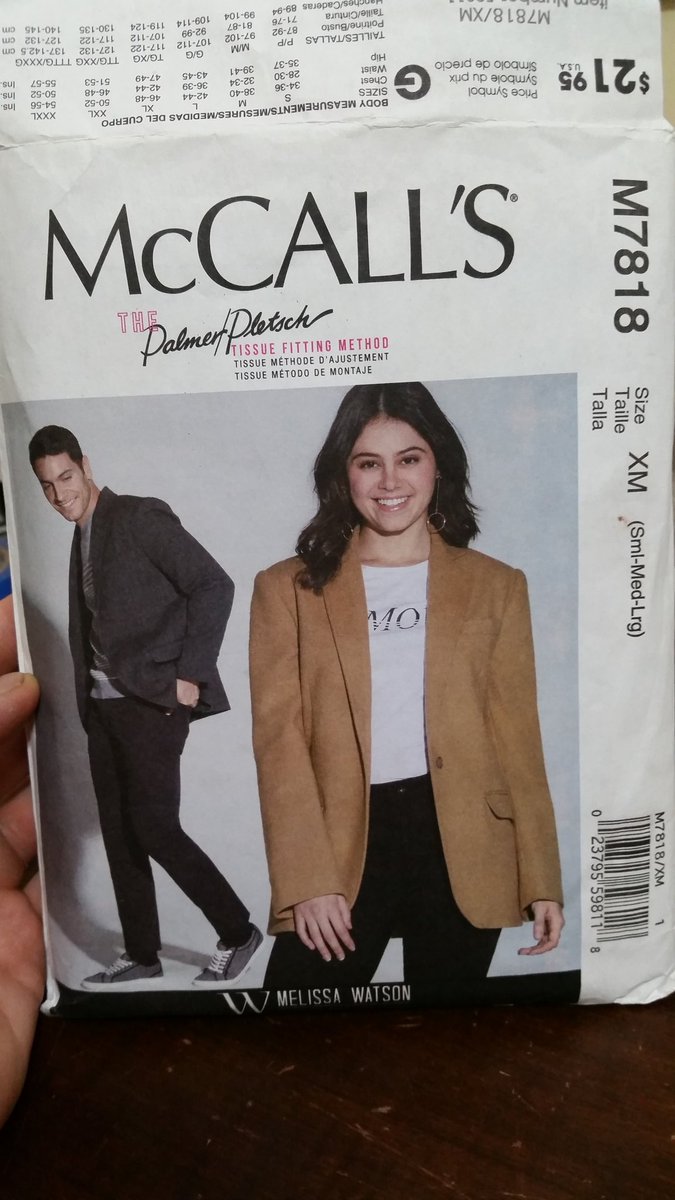
BTW I am using this pattern, which is surprisingly decent and pretty true to size. But holy fuck throw away the instructions they are nonsense. Using this book instead (as I did with the vest)
Ok, gave his wig a rough chop and tinted it a little darker/less blonde toned. It could go darker still, canon tends to have very dark gray but he& #39;s so often drawn with lighter gray which is kinda nice.
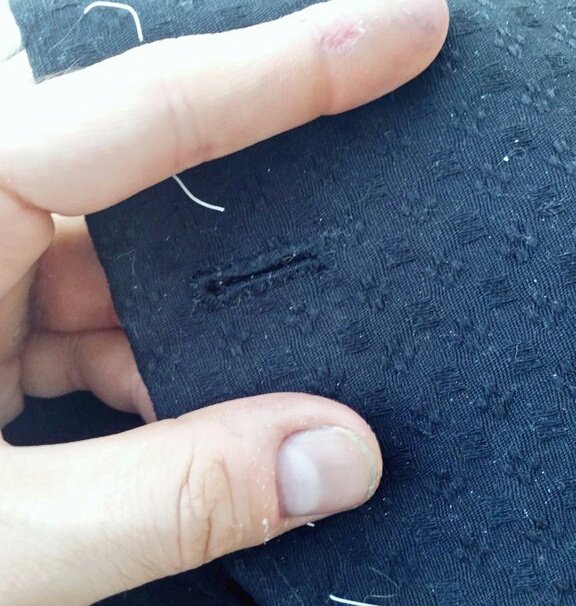
Small progress bc I& #39;m waiting now on fancy wool fabric and I& #39;m not at home, but I& #39;m doing proper gimp-and-silk-thread keyhole buttonholes on Mile& #39;s vest~
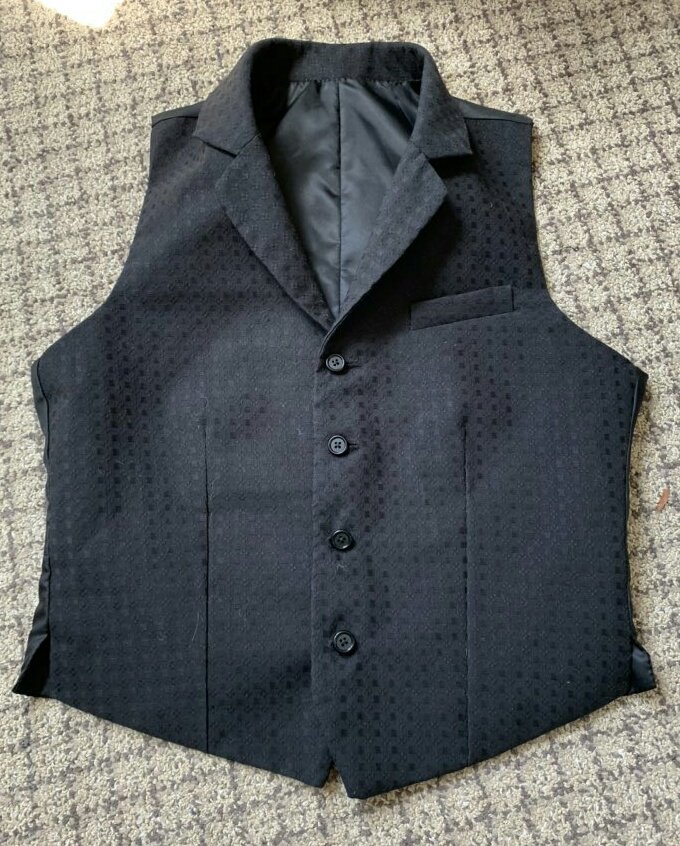
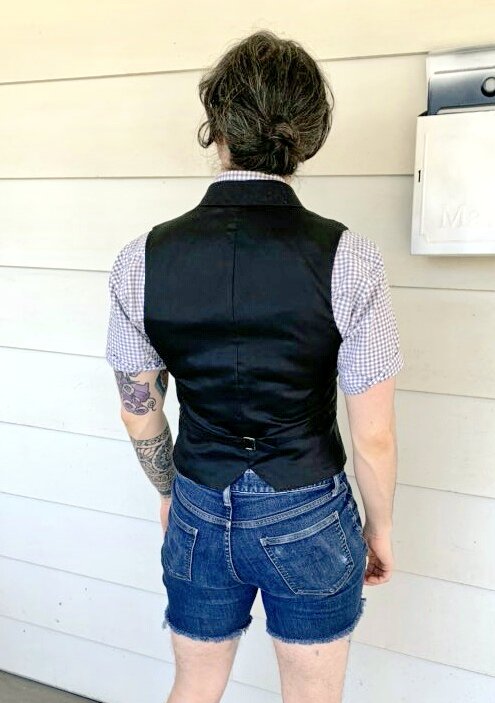
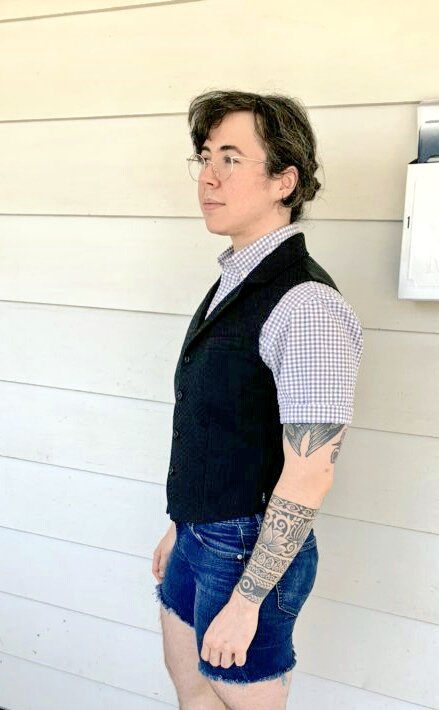
Edgeworth& #39;s vest is officially done! I& #39;m glad I did this first, now I feel much more confident tackling the jacket--at least I have the lapel/collar technique down now
Pictures of it on that look like my first day of school. If the jacket fits this well I& #39;ll be pleased as hell.
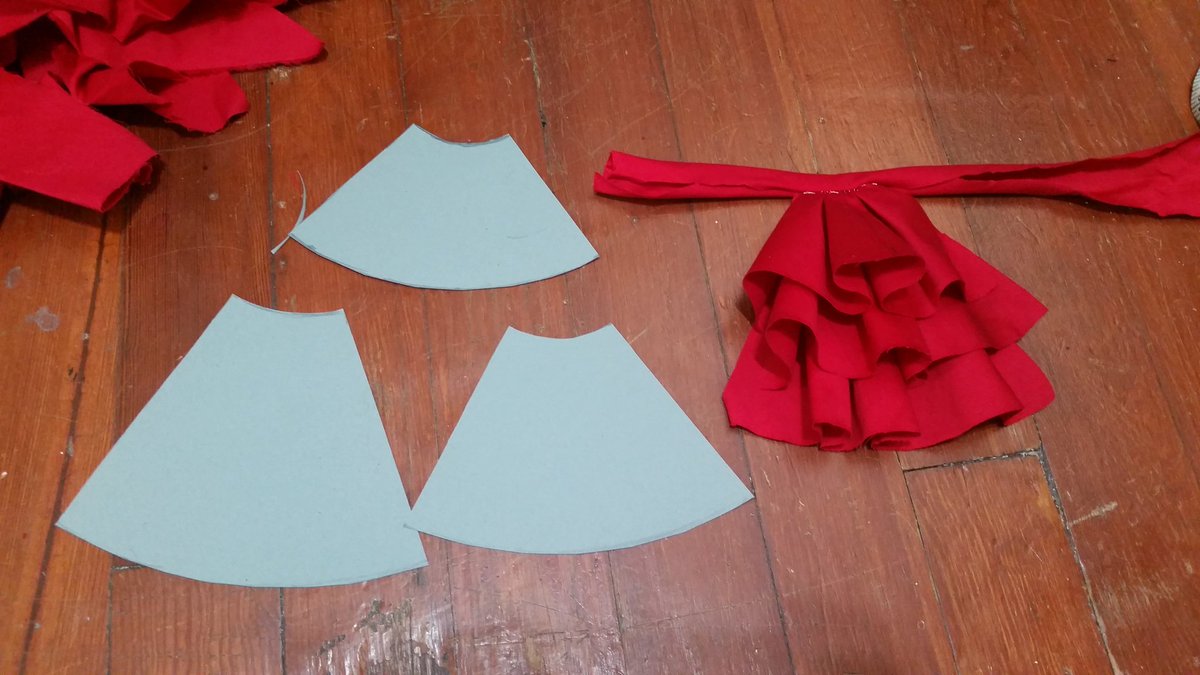
Cravat mock up #1, just to test size/shape. It& #39;s a tiny bit big but it I use this as my cut line on the real thing the seam allowance will make it perf I think. Offending "vague curves" included lol.
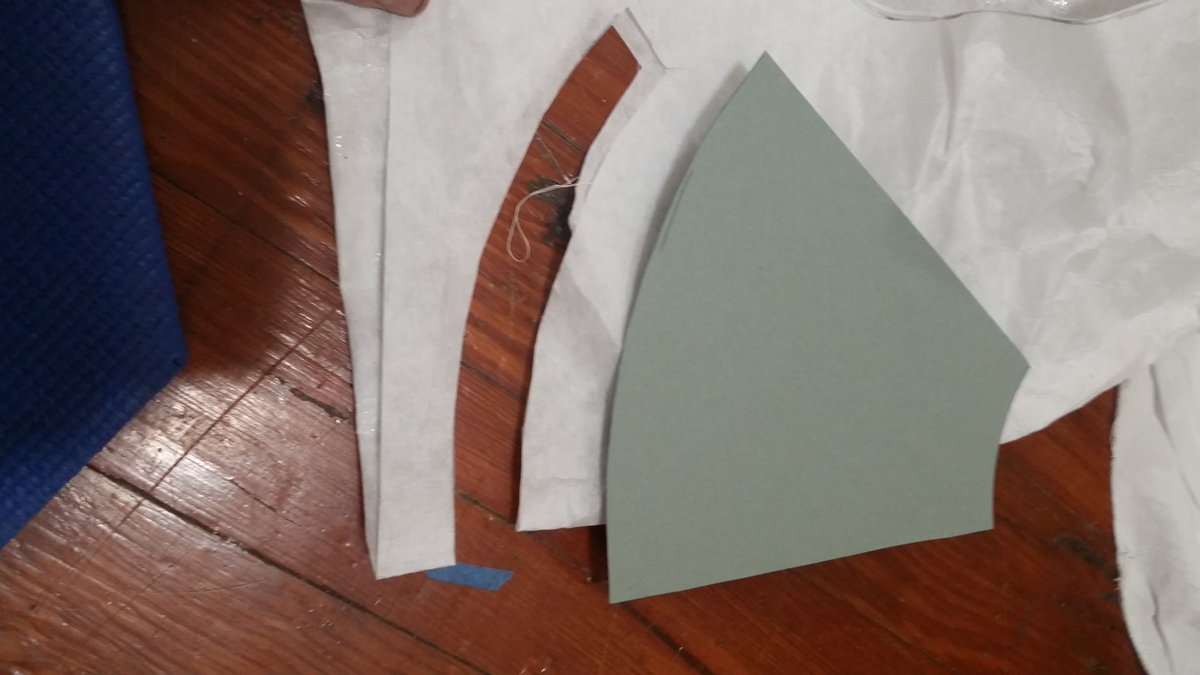
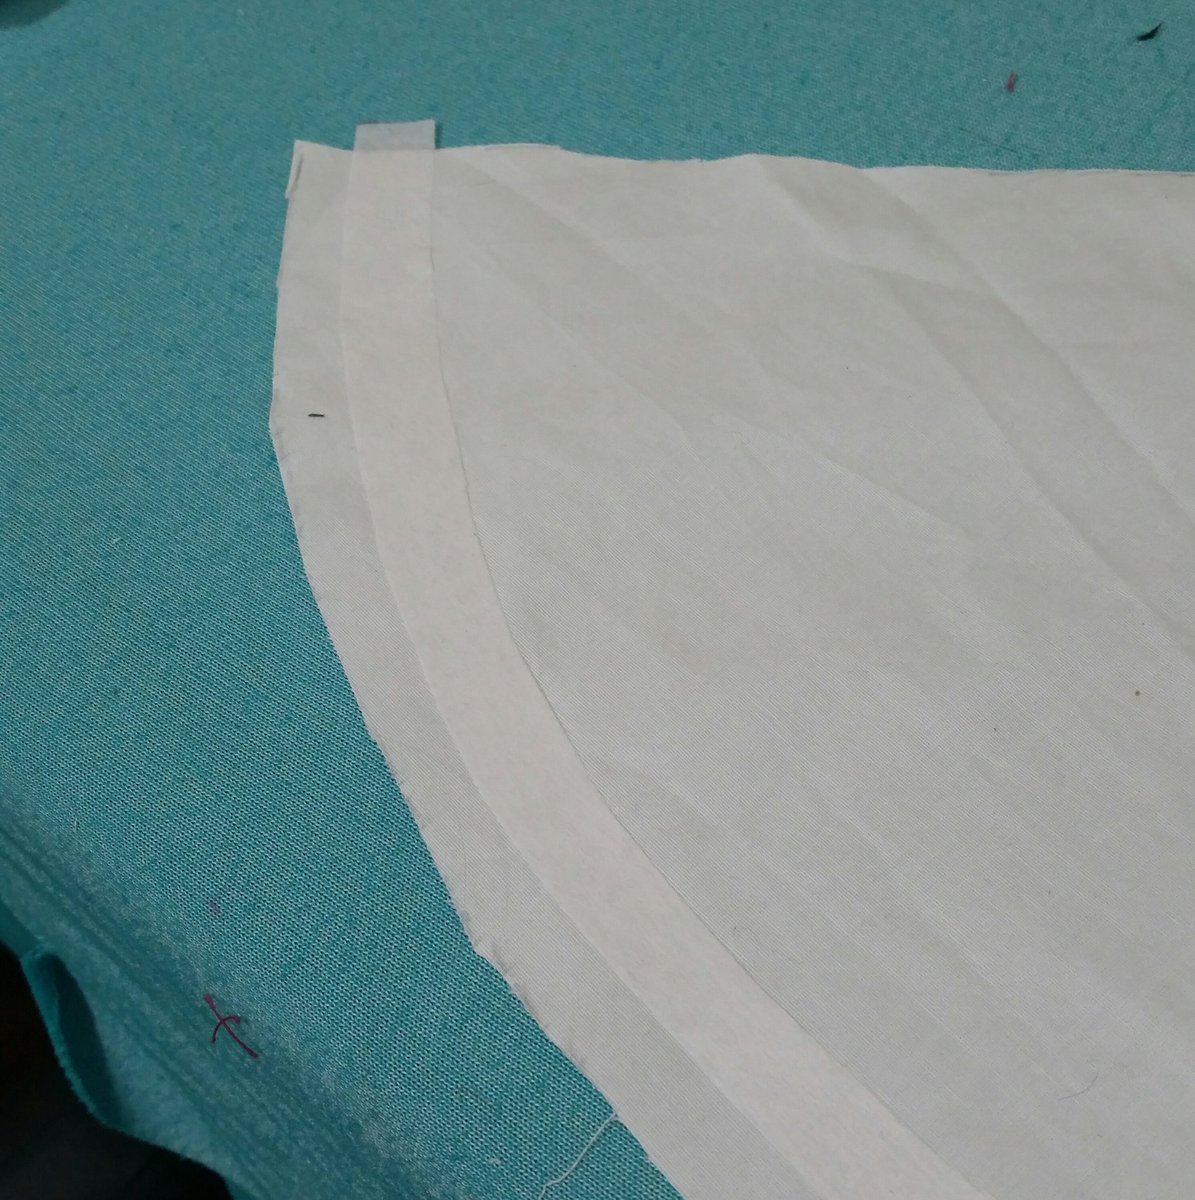
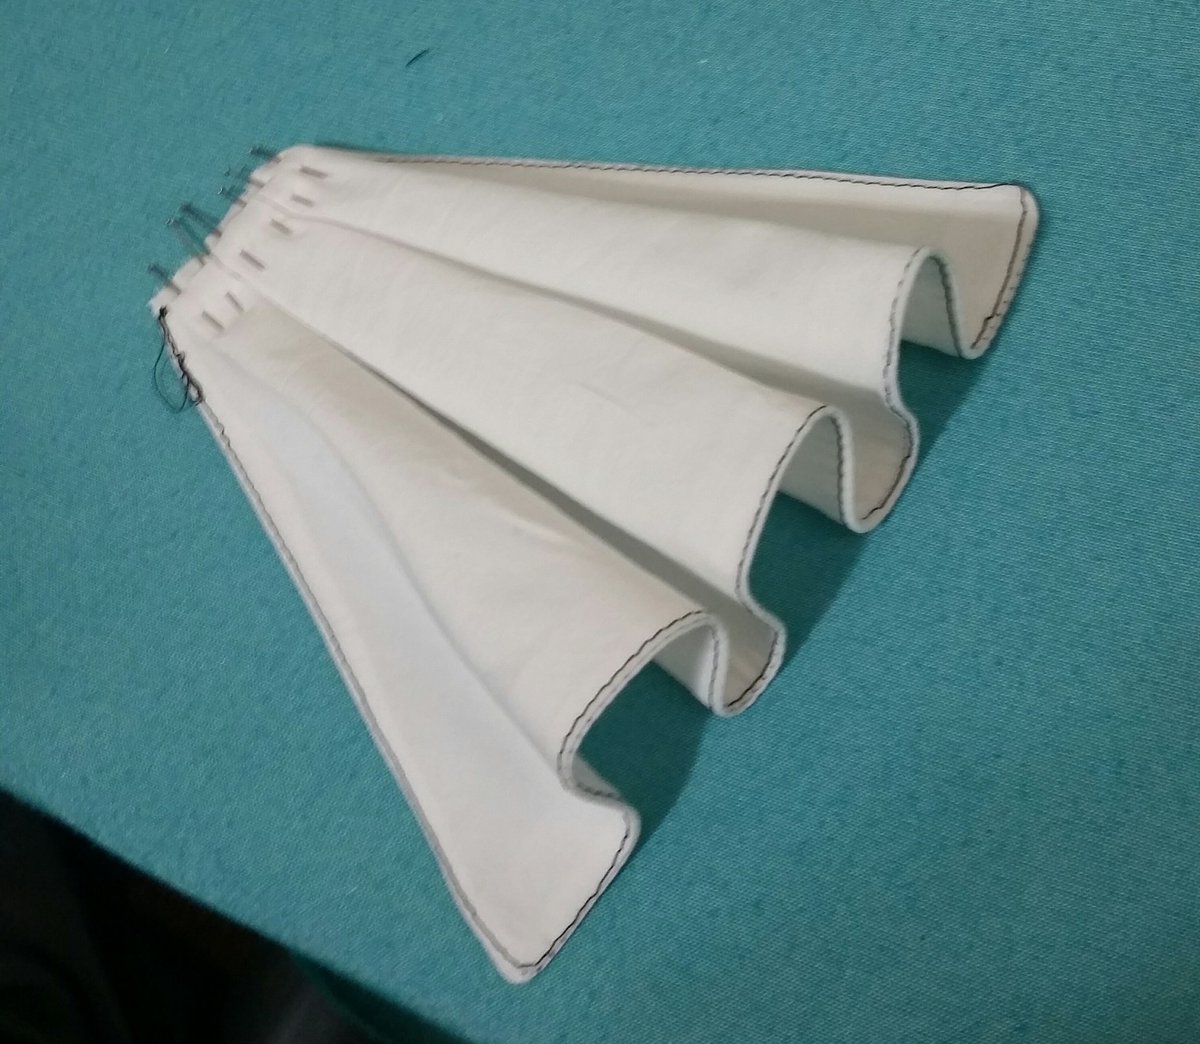
Ok so second test, with a poplin--I wanted to keep that cartoony line but not totally stiff, so I cut an arc of interfacing that got attached right along the hem then heat shaped into wavy ruffles. It needs fussing but I think the effect is good
So Mile& #39;s wool arrived, and it& #39;s thicker than I anticipated--almost a flannel. I was concerned but it sews and presses really nicely. I think it& #39;ll look beautiful but boy it& #39;s going to be WARM
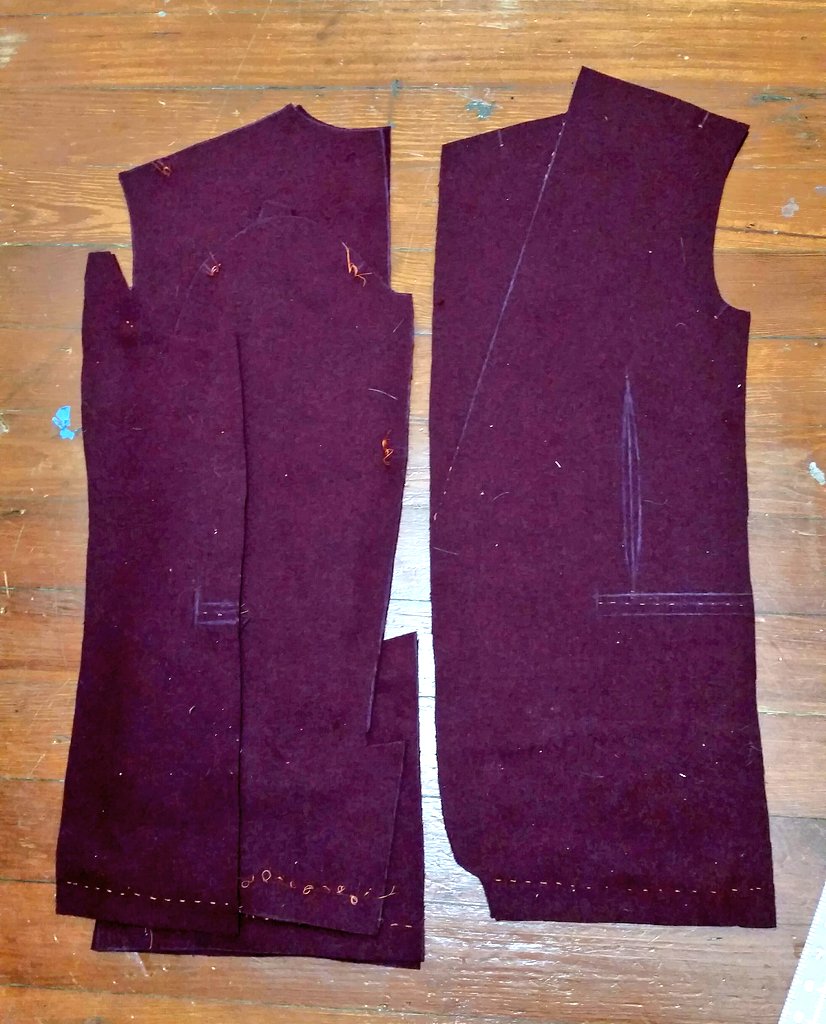
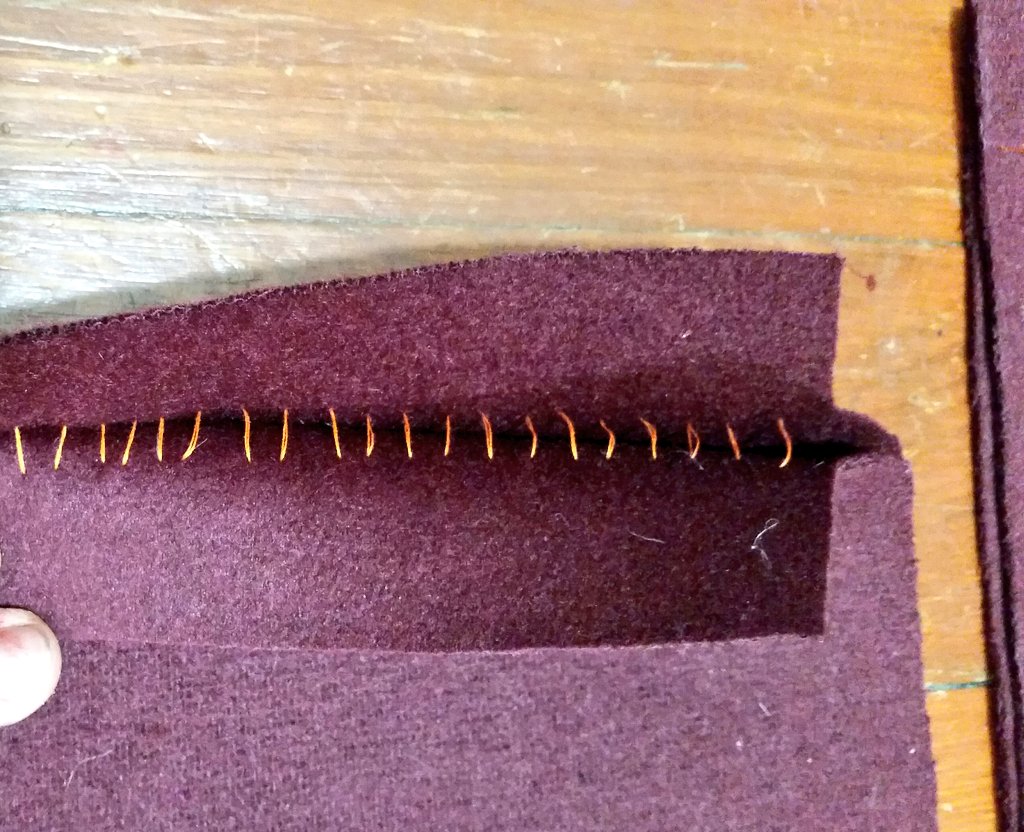
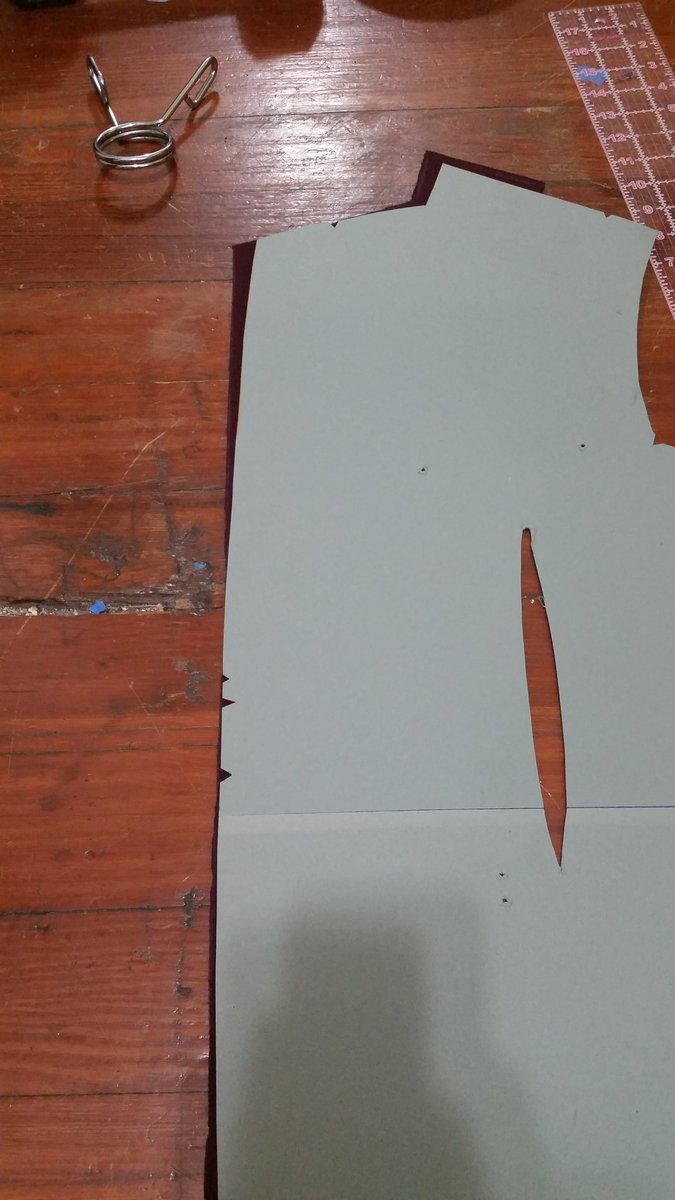
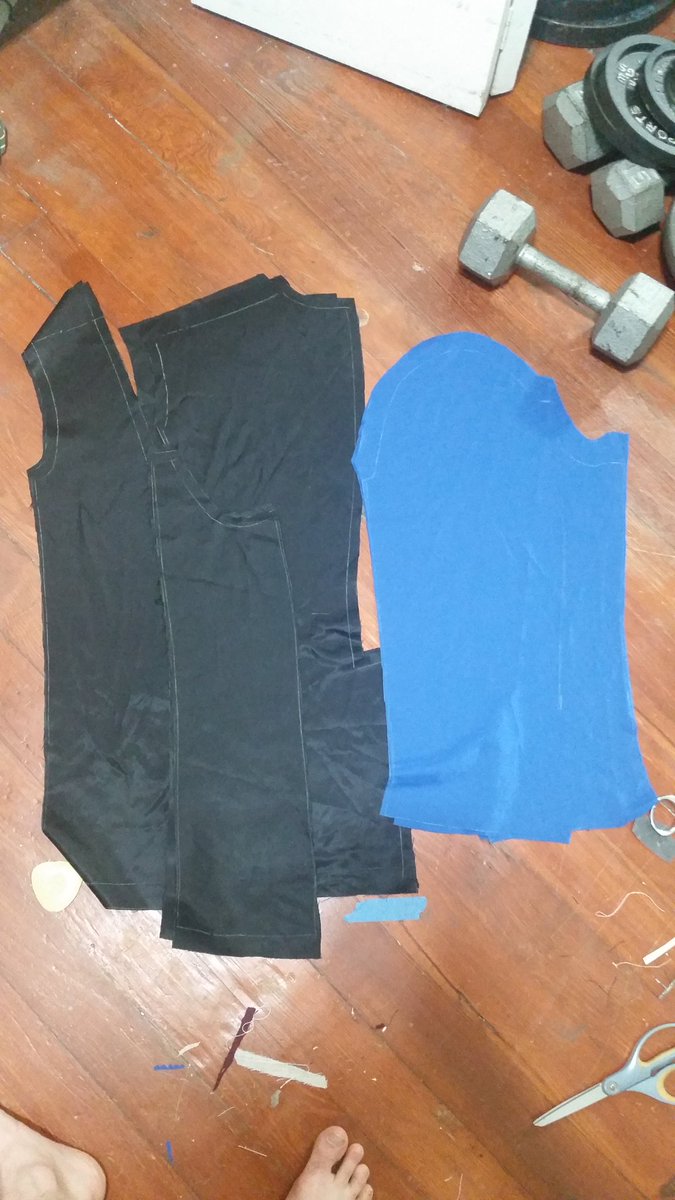
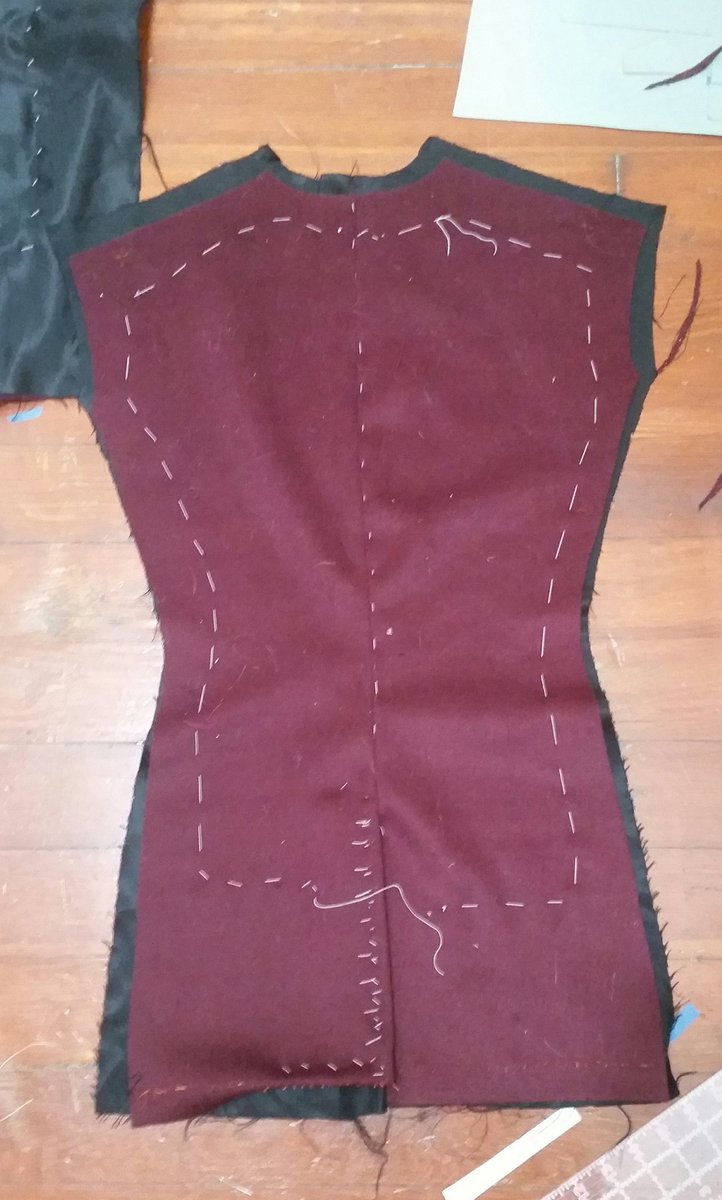
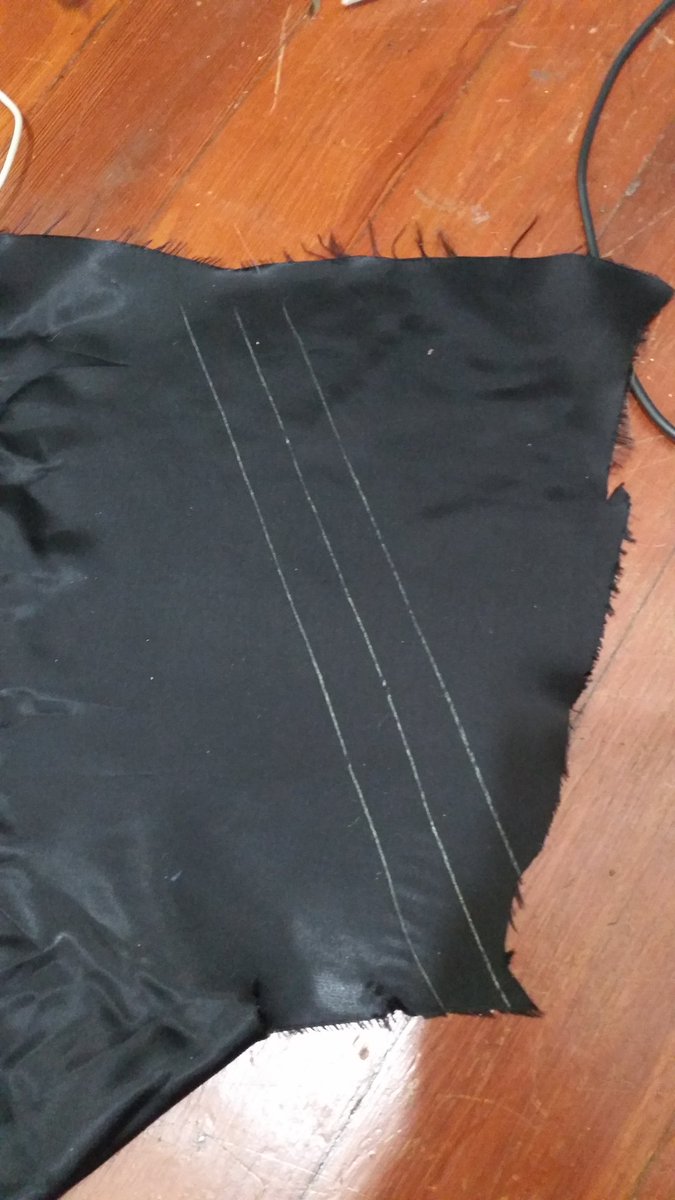
Pieces are cut and chalked an TAILOR TACKED which I did not understand until I read this book but now they are my friend
Ok, I did the darts, put in the ticket pocket and sewed the sides to the front. Gonna make dinner then maybe. Double welt pockets
This photographs a different color everytime...two double welts done--really pushing it with the weight of this fabric. Featuring a slightly curved welt line and hand back stitched flaps. Needs a pocket bag next!
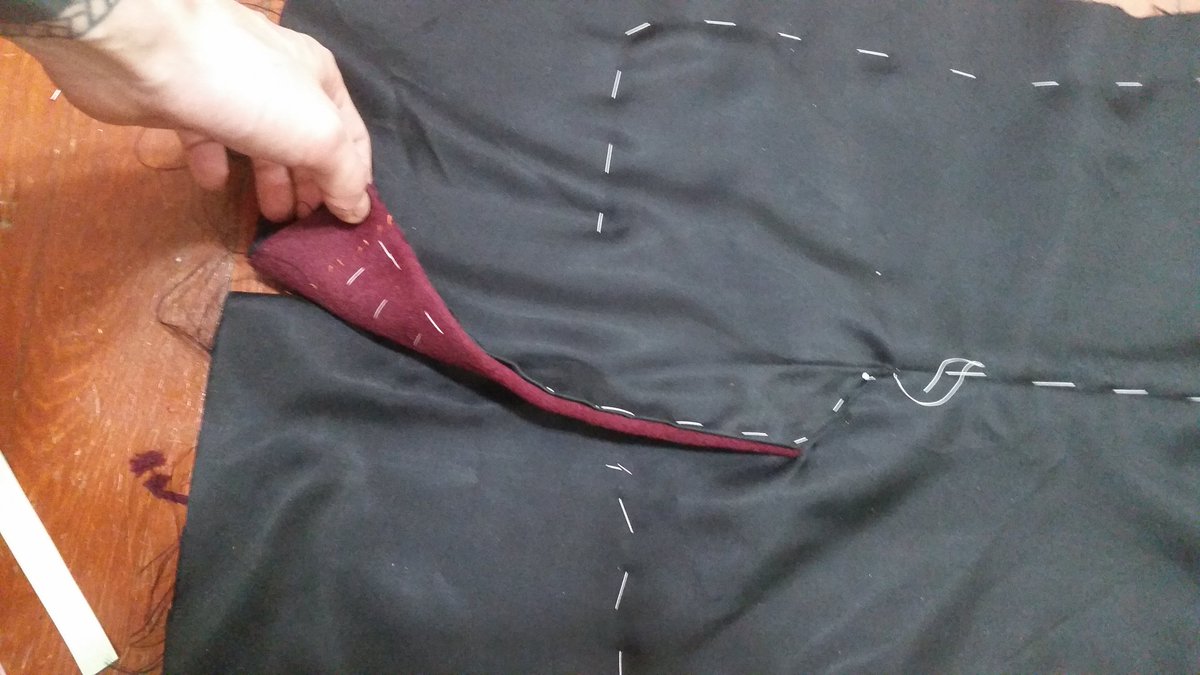
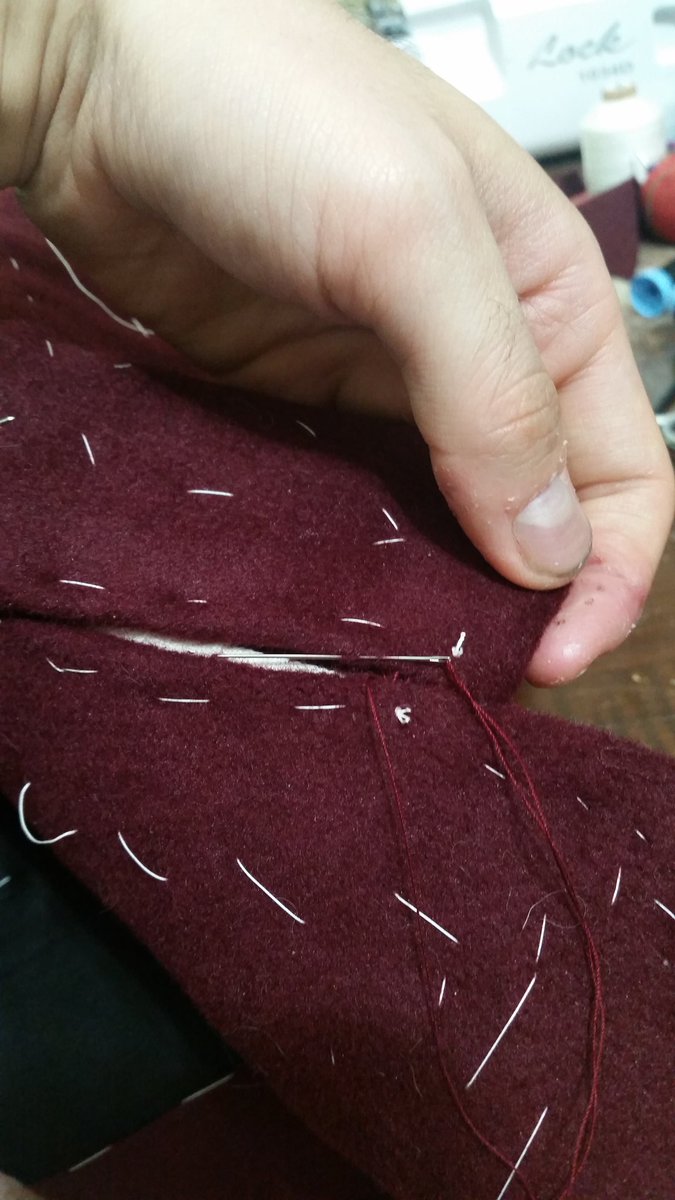
It took me a good couple minutes to puzzle out how I was attaching the pocket bag, you work from behind the reinforcement and push the body of the jacket away as you stitch, so you can get very very close
We& #39;re in it now lads
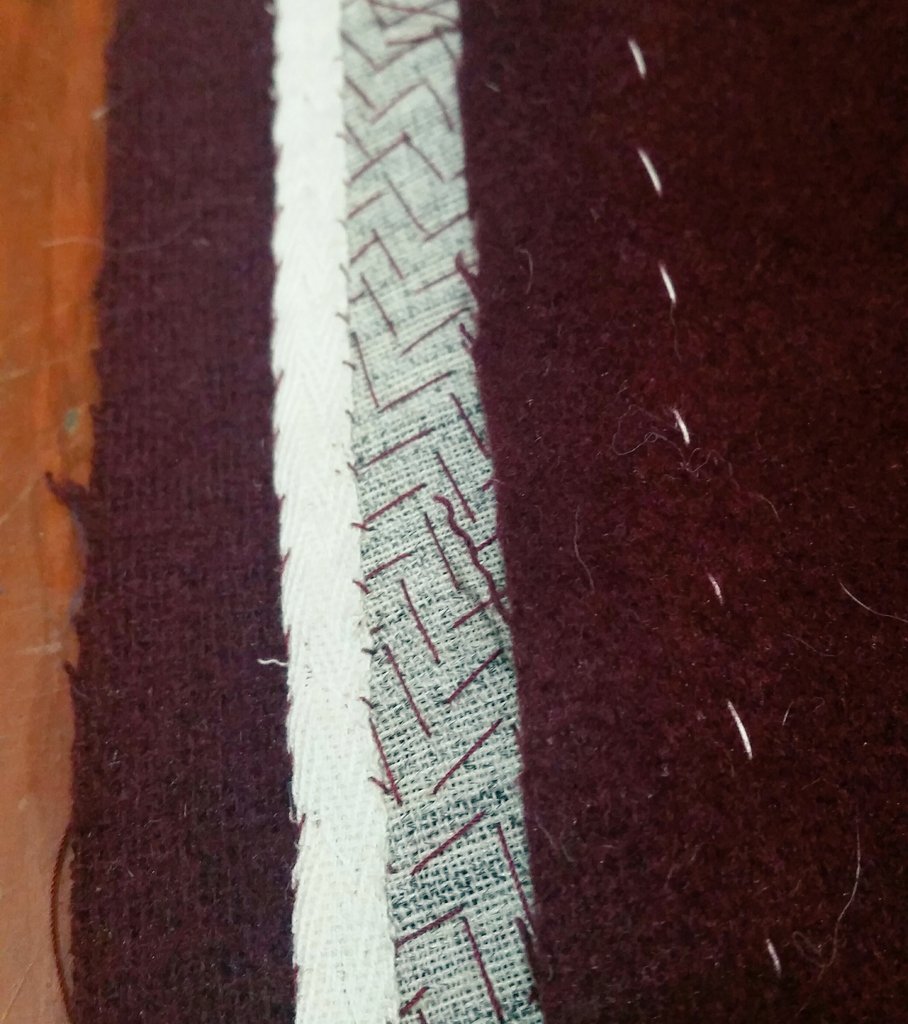
Ok, padstitching is done. It honestly was not too hard and only took a few hours. I think applying the tape (next) is more annoying. Did a good job keeping it basically invisible on the right side!
Taping time...it& #39;s not the most exciting part but I do find it very satisfying
Taping is all done! It& #39;s slip stitched carefully so it doesn& #39;t show through the front. Installing the facing is next!
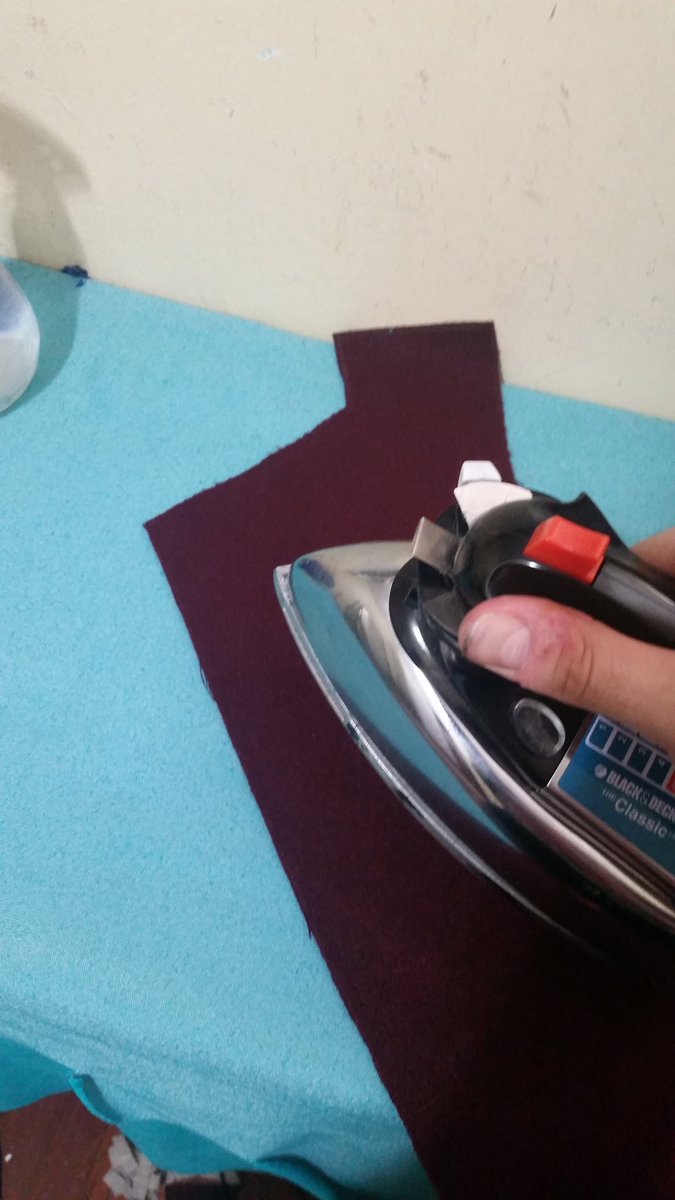
So an interesting step I didn& #39;t do with the vest because it wasn& #39;t wool-you cut the edge of the facing straight on the grain and then steam a curve into it to match the lapel. It& #39;s so the edge is stronger in the long term
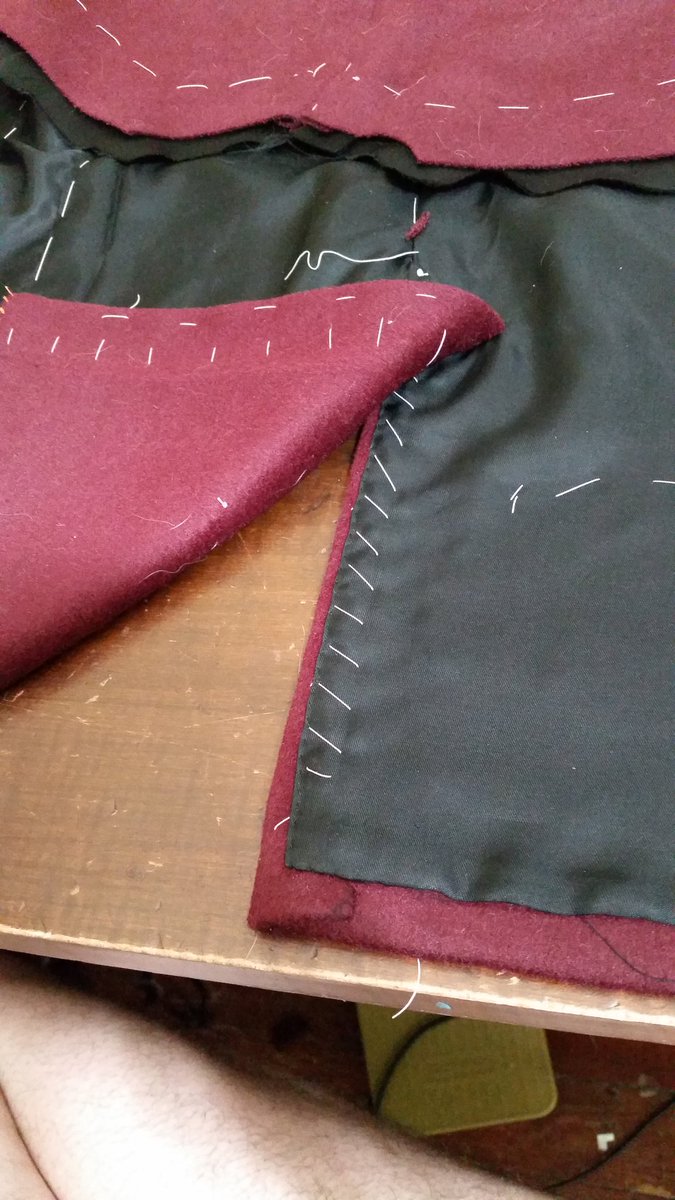
More Push and Pull basting the lining on. Some ease at the roll line, curling up the hem so it curves towards the body naturally, adding some ease to the top of the lapel so it doesn& #39;t pull forward
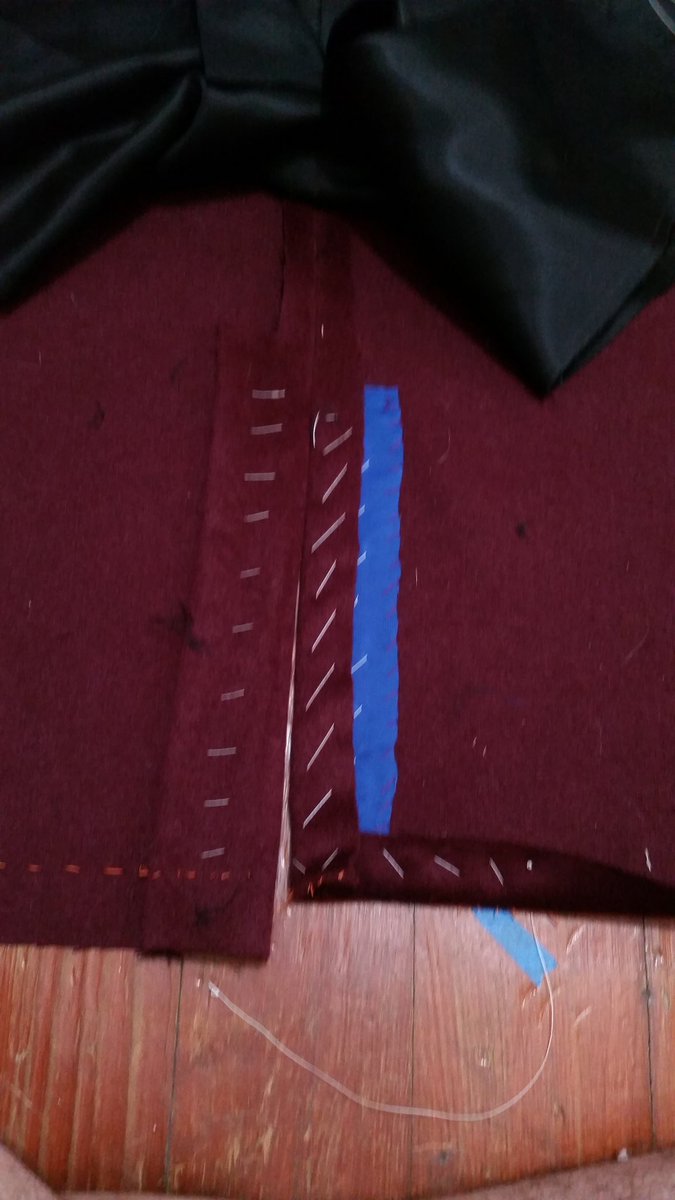
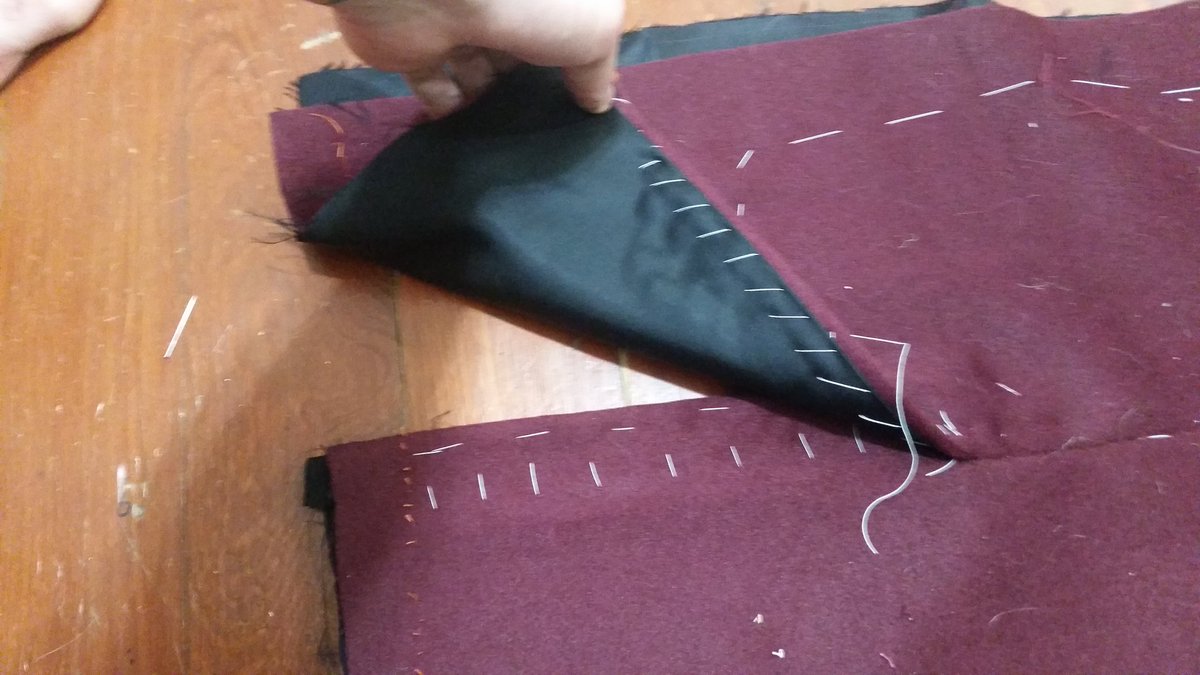
The lapel point and the curved bottom edge are both tacked to the tape, allowing me to control and keep it flat, even on this thick fabric. Then we turn and baste along the edge so the seam edge is turned one way at the lapel, and the other the rest of the way.
The lapel was where I was really worried about my fabric thickness, but it looks nice and not too chunky/lumpy
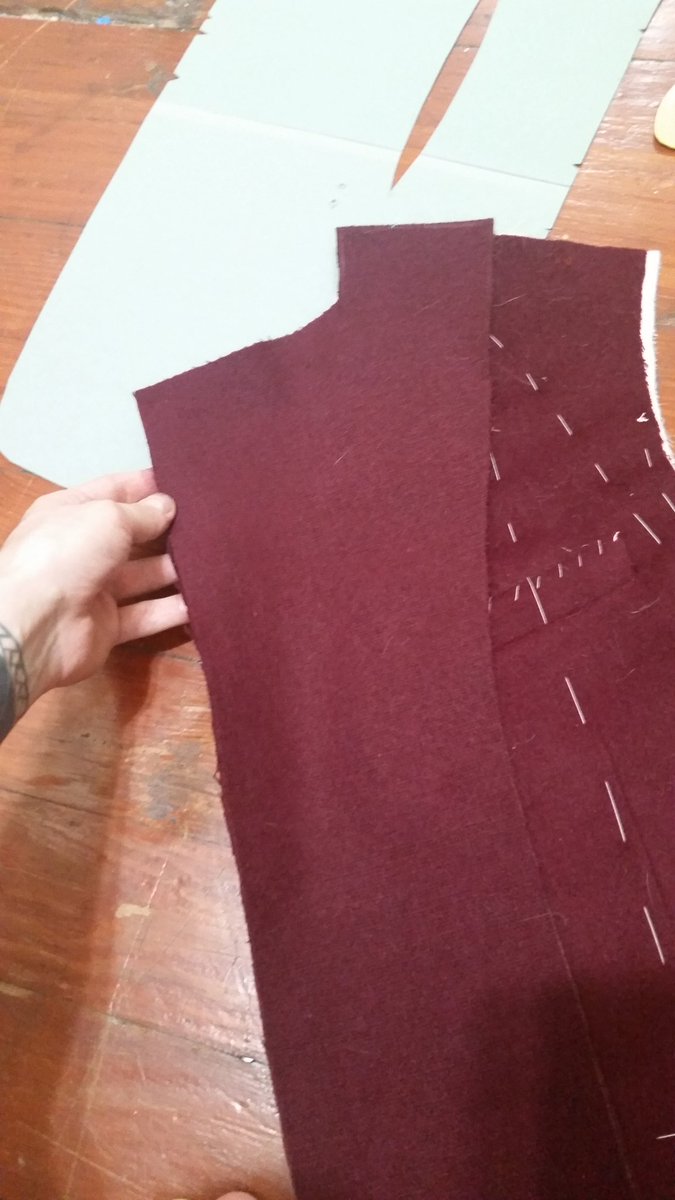
Ok! We got two finished fronts, folks, and that& #39;s really the toughest parts I think! Quickly pinned it on my bod and it& #39;s looking nice~
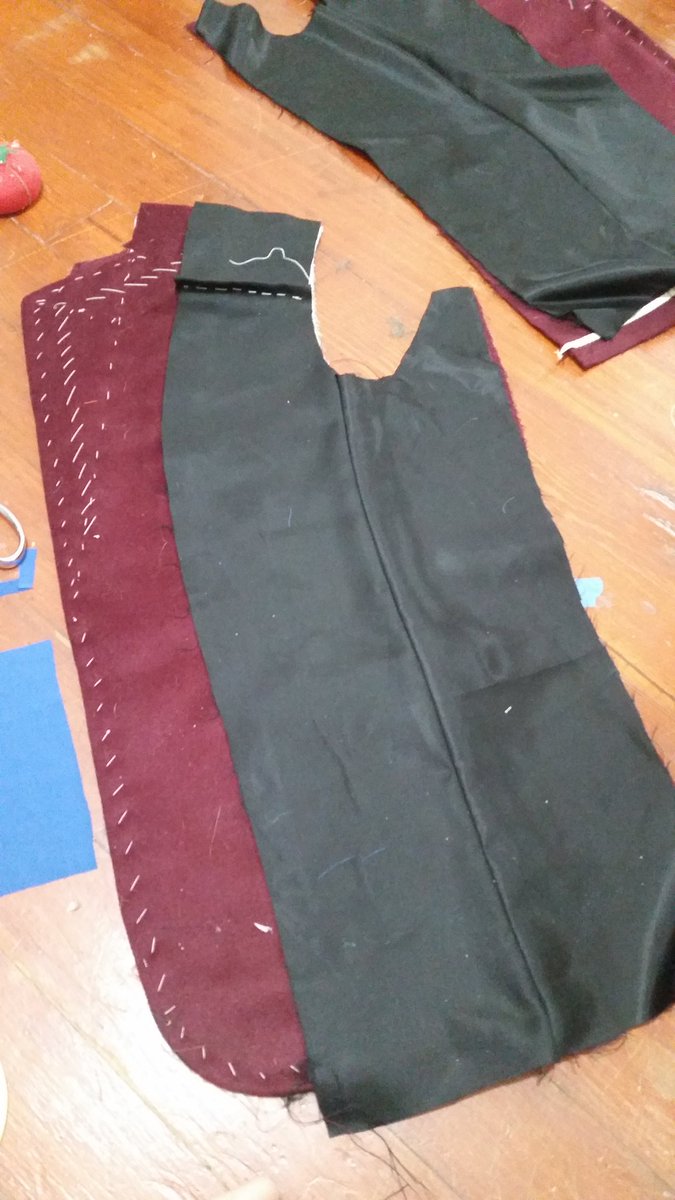
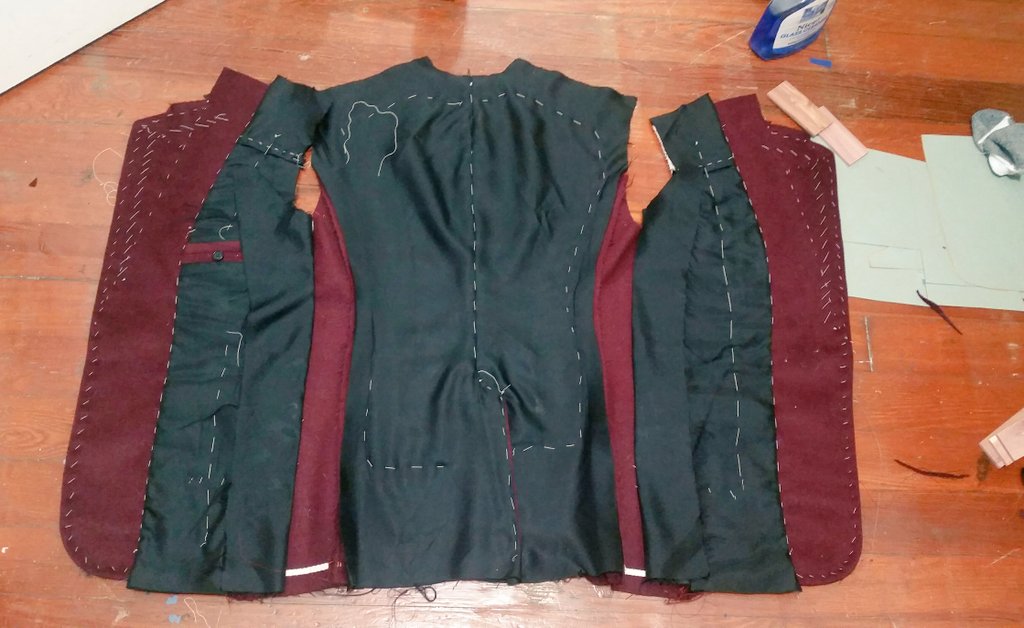
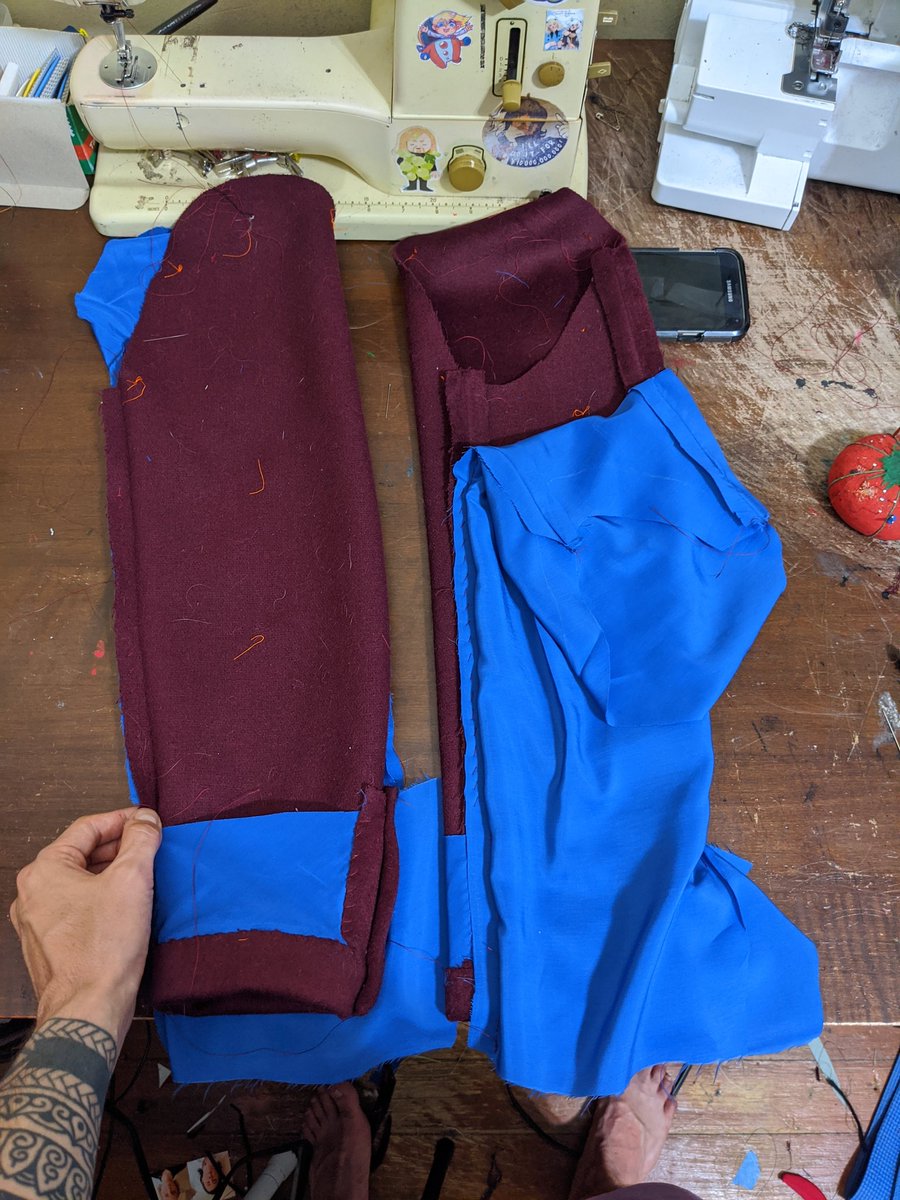
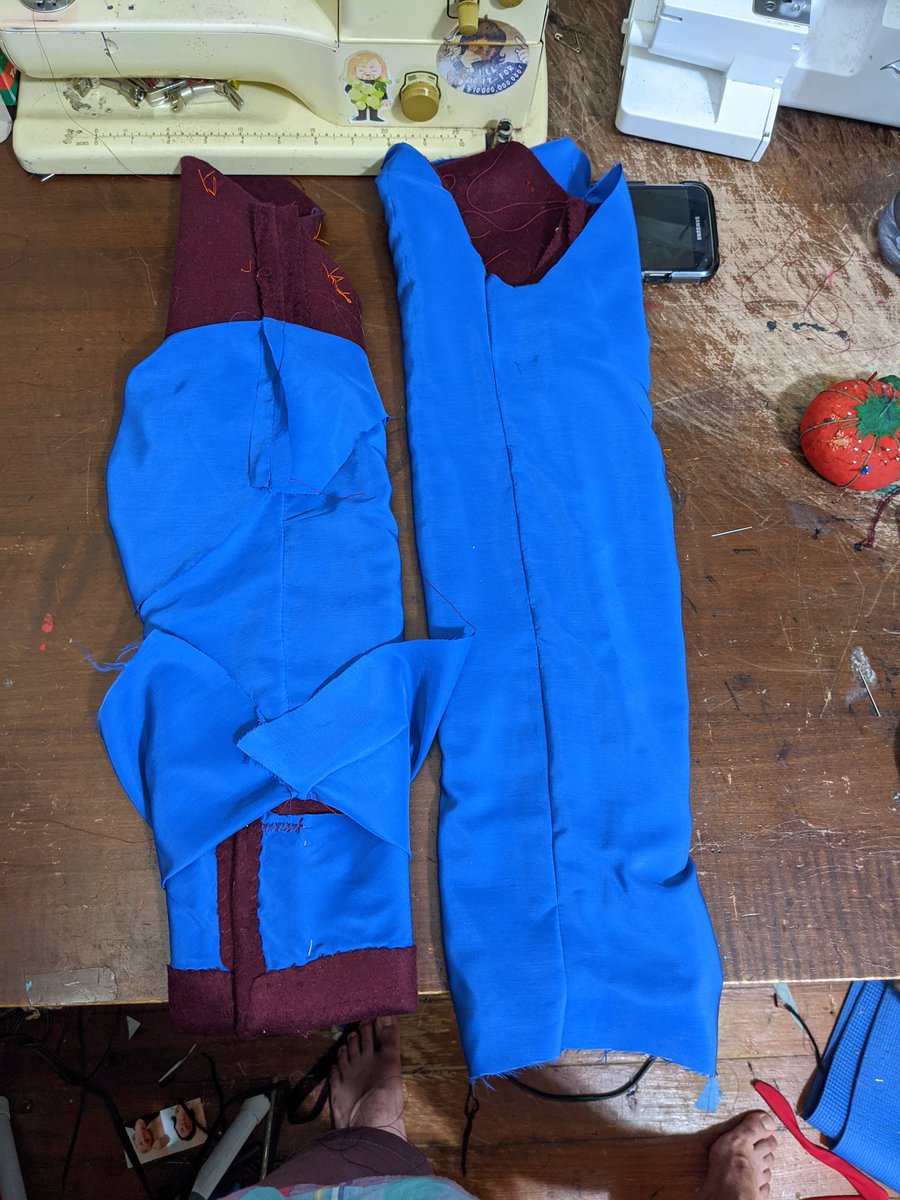
Cut my linings, sadly I think it would be distracting if they were all Phoenix Blue since he wears his jacket open, so it& #39;s just the sleeves (and maybe a little detail...) Interestingly they& #39;re cut a fair amount larger to allow for some pleats for ease.
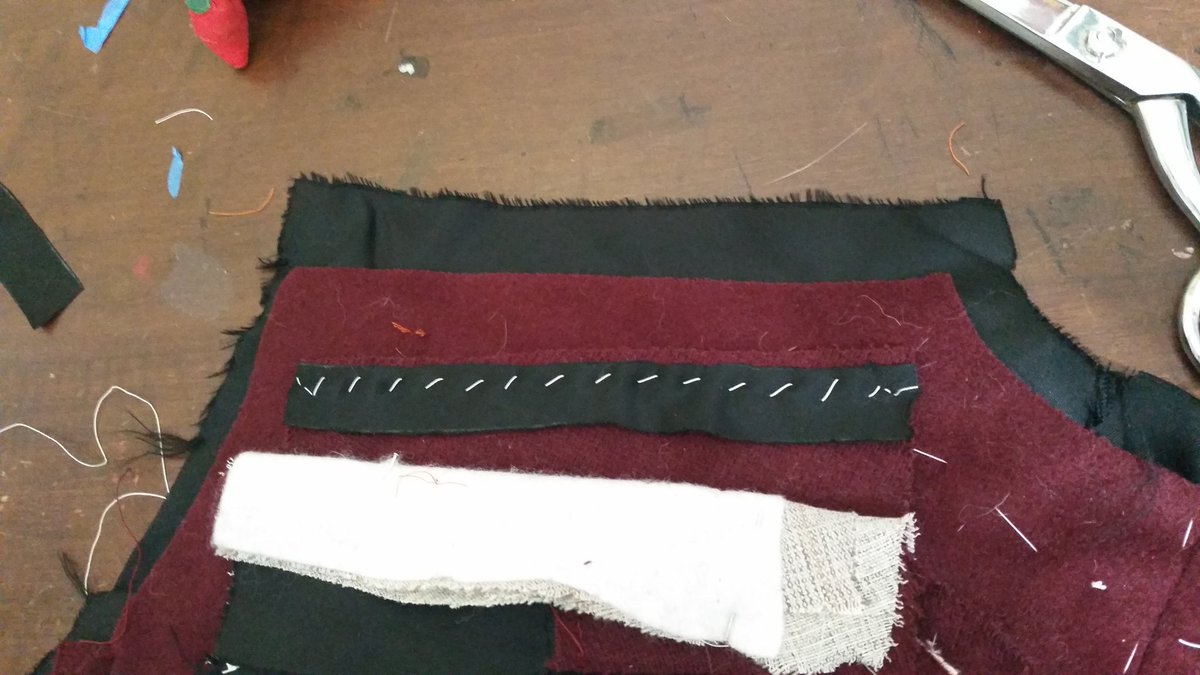
Part of that extra fabric in the lining is put into a pleat you can see basted here. Starting the lining pocket, making the decision to only do one on the side without the ticket pocket, just bc my fabric is bulky.
Ahh, ok, not too hard and I admit it& #39;s very nice looking! Even if I never use it...
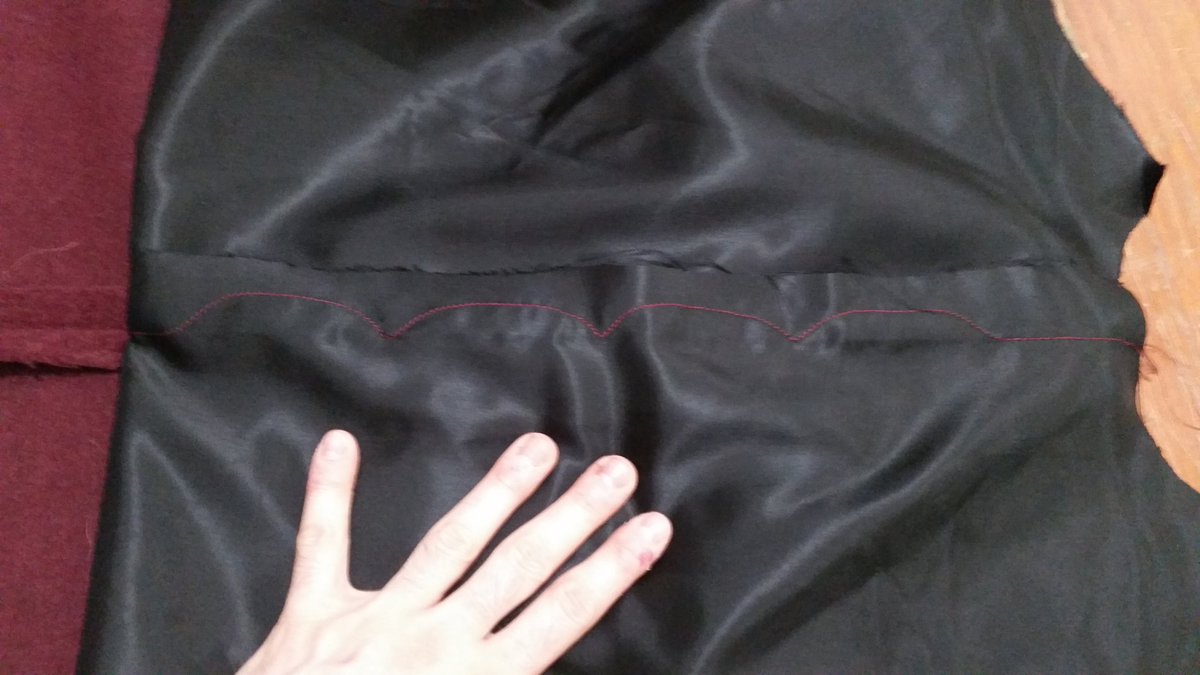
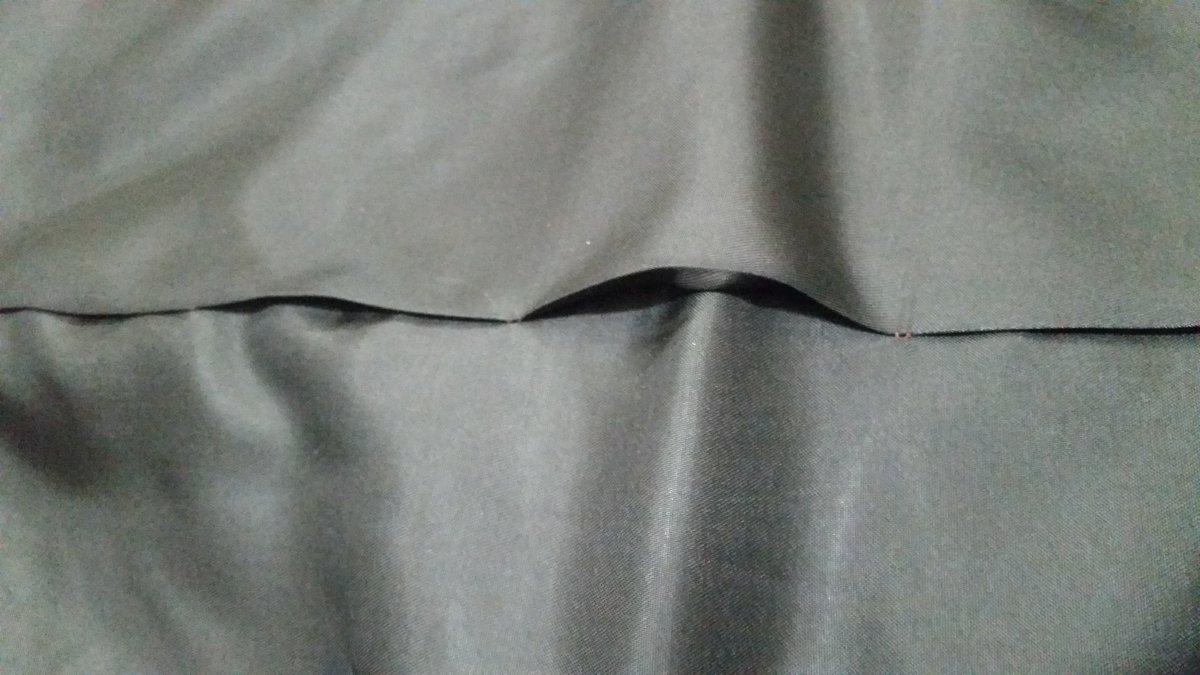
The back seam is done with this weird scalloped "pleat" that expands as needed across your back--also starting to set up the back vent
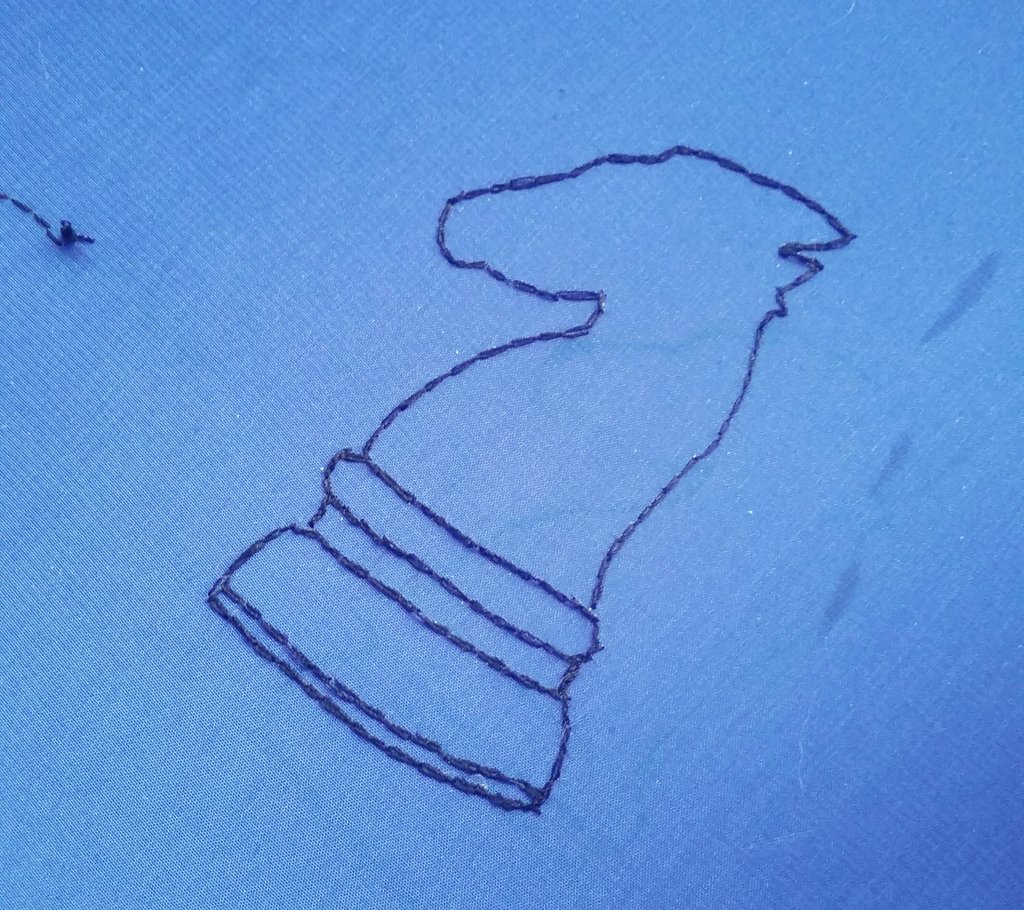
Lol I actually fudged the applique so I& #39;ll have to do that another way. In the meantime: more basting, back lining and vent edition
This feels so fucked up but, that& #39;s how you do it....!
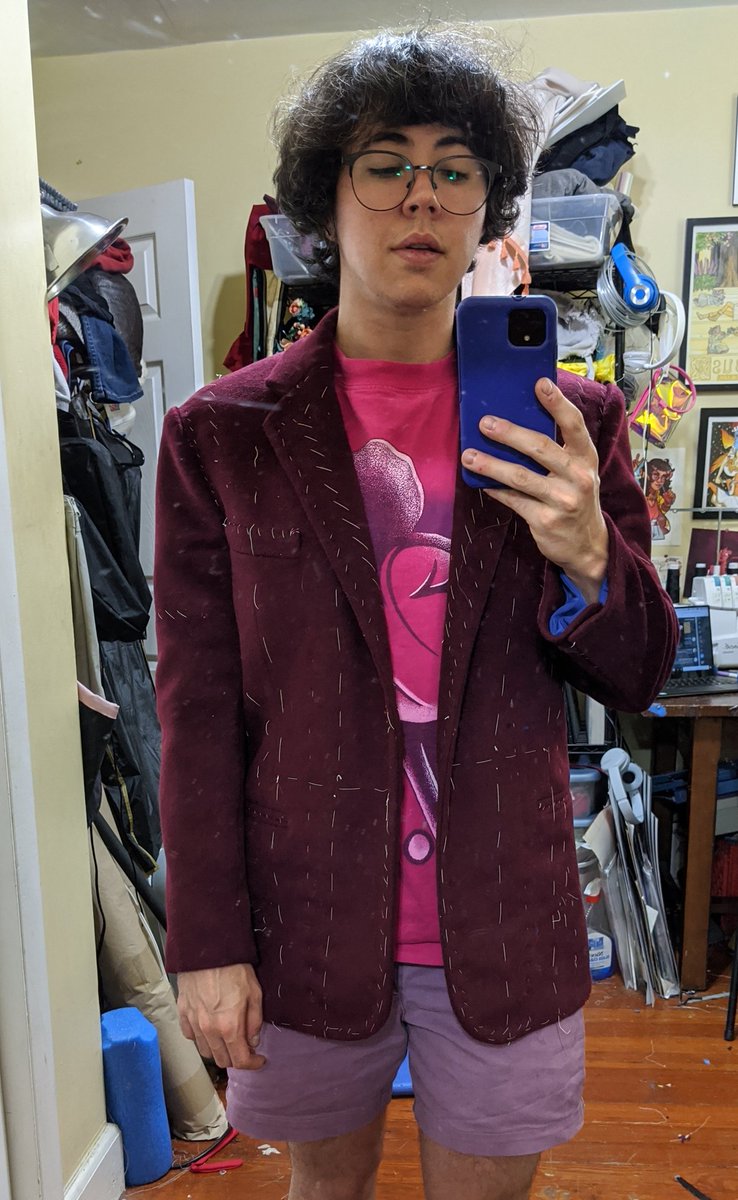
Very quickly basted the shoulders just to be able to put it on, it& #39;s looking good so far :& #39;3
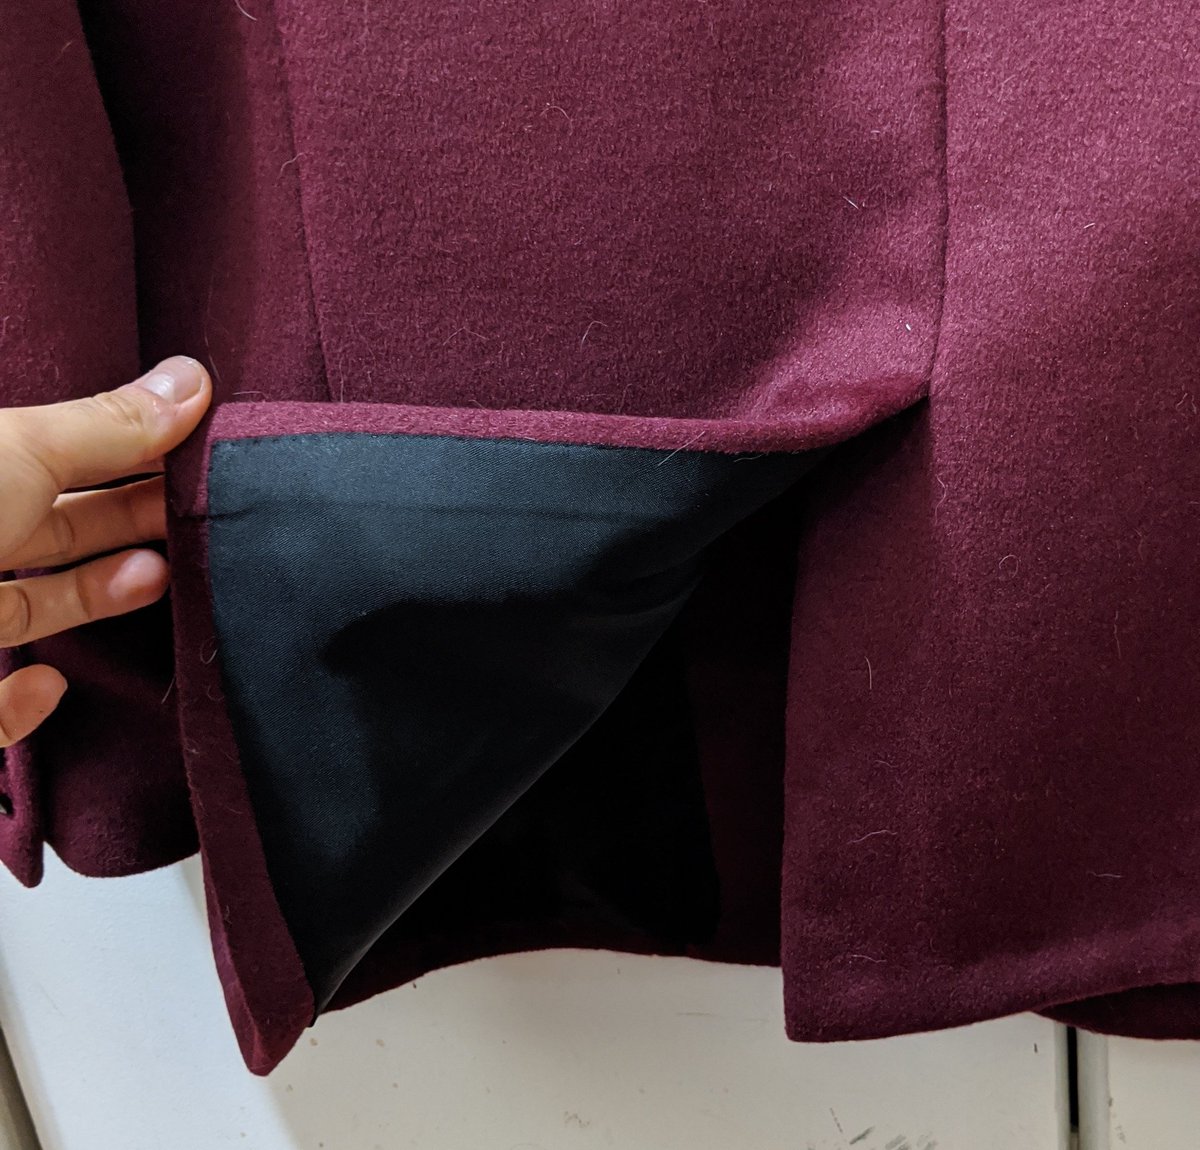
Not that exciting, but I finished the bottom hem (with pleat for ease) and back vent. Feels weird to do before the shoulders/sleeves are done!
Back at it with the shoulder seams. First the front edge gets a reinforcement strip of "slight bias" (wtf) lining basted on. Notice the back is a bit bigger than the front? This gets eased in with basting stitches, then steamed until it shrinks down and those ripples dissappear
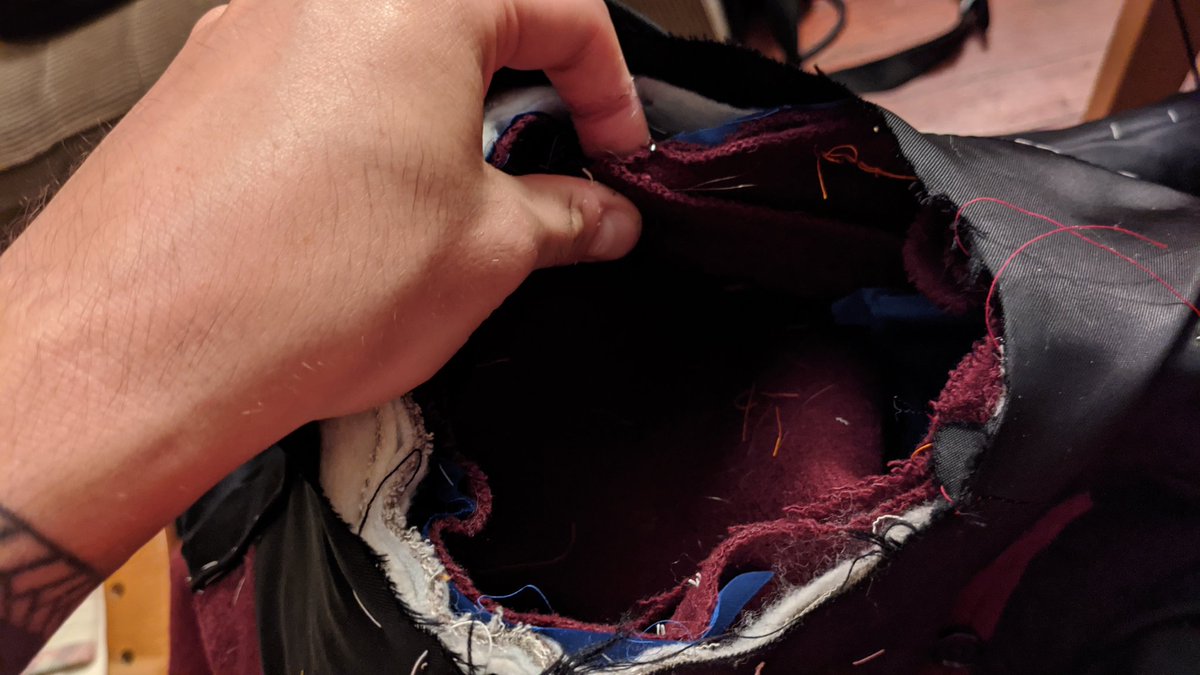
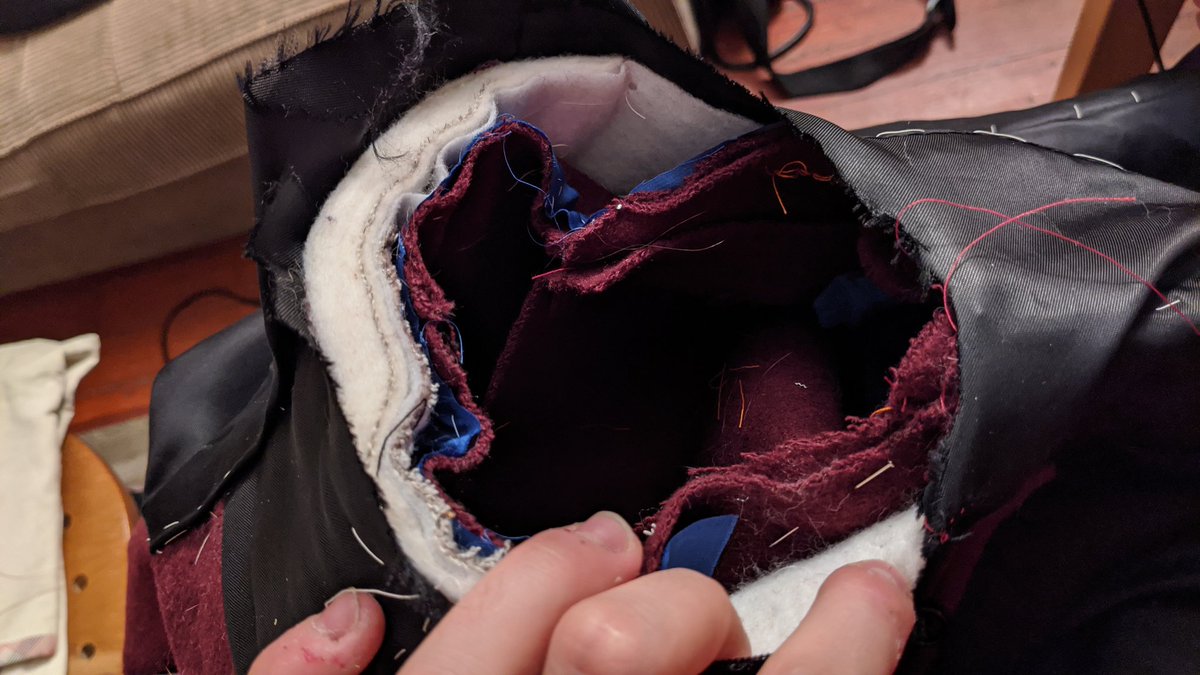
I& #39;m putting the shoulder pads in but it& #39;s such a mess of lining/canvas/fabric/pads that I don& #39;t even know how to get a picture lol. Imagine me padstitching the pads to the canvas only.
Ok, I padstitched the pads to the canvas, then *more* basting to set them in. I went pretty hefty with the shoulderpads, Miles is a real fridge of a dude at least in his sprite...
Y& #39;all saw me do it for the vest so I won& #39;t get too into it, but padstitching the melton and canvas for the undercollar now
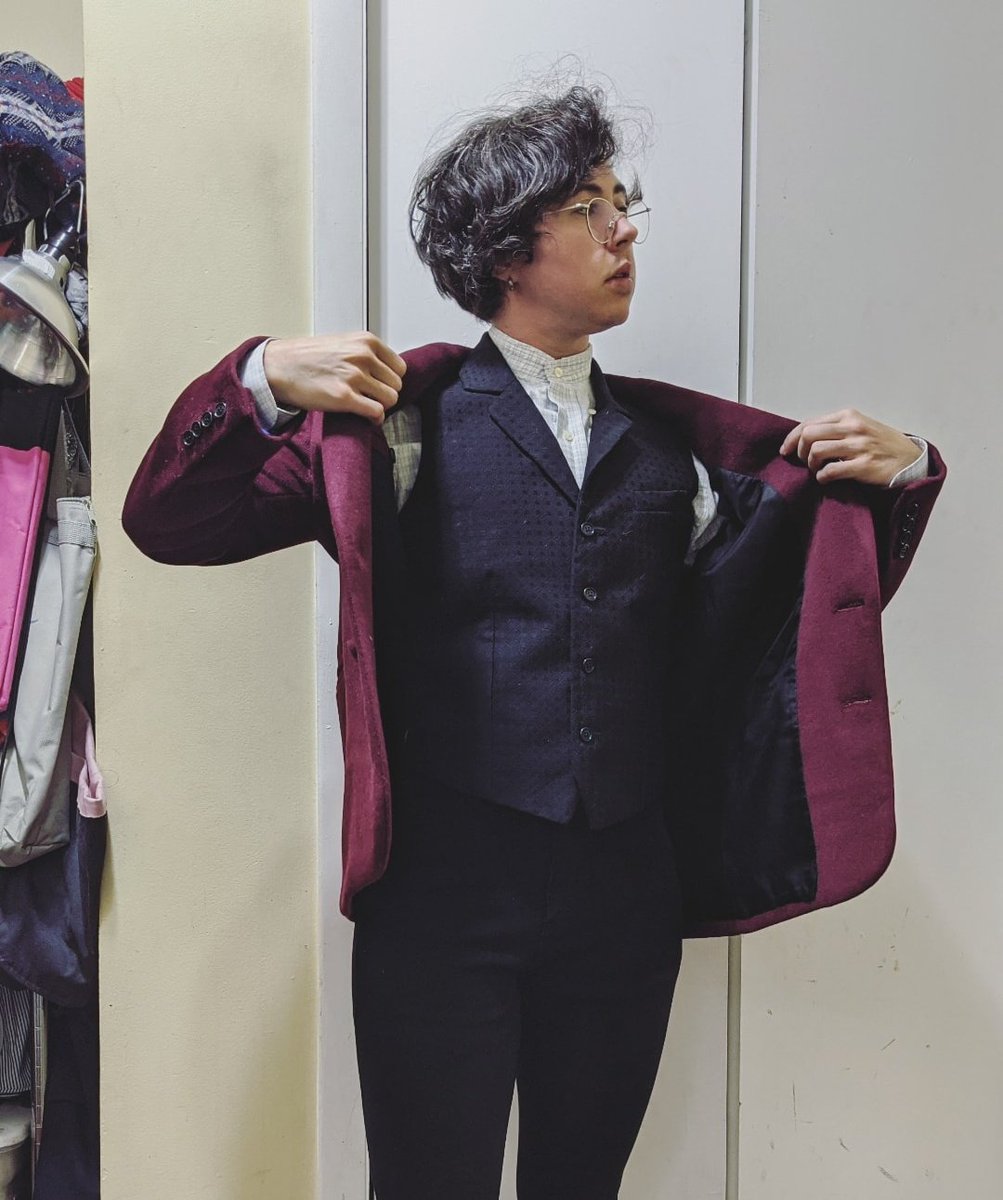
Quick proportion check with the vest. The two lapels/necklines nest nicely :3 Shirt and cravat obviously stand ins lol
Wahhh that lapel is done! Featuring the very stressful tunnel stitching that makes that very beautiful notch join...
And...on! Just sleeves and all the little touches left :& #39;)
Oh my god, yes, more basting, this time a strip of pocketing to keep the armhole from stretching. Second pic also show the ease stitched in to the shoulder area--I& #39;ll steam those ripples out next.
Setting my muslin sleeve. You do this to see how to arrange the ease at the top based on how your arm is angled when relaxed. Also featuring my high armscye for pointing ability lol
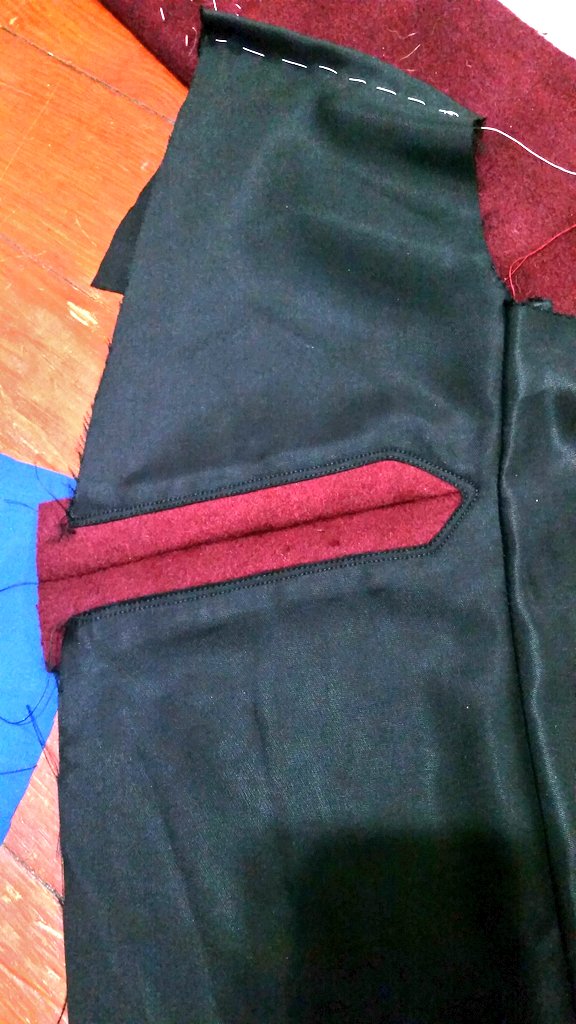
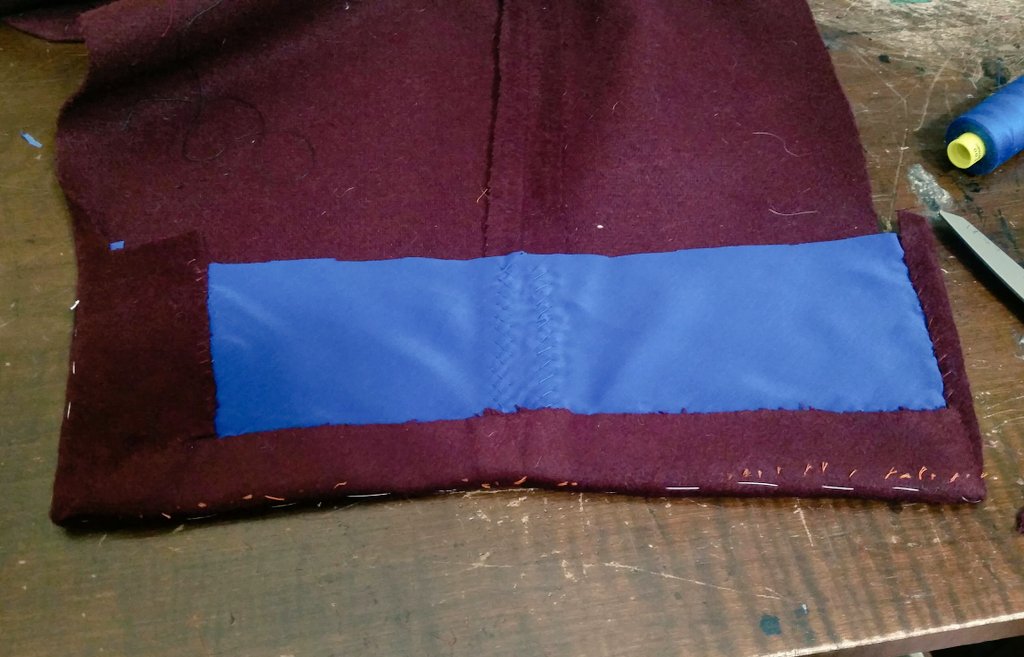
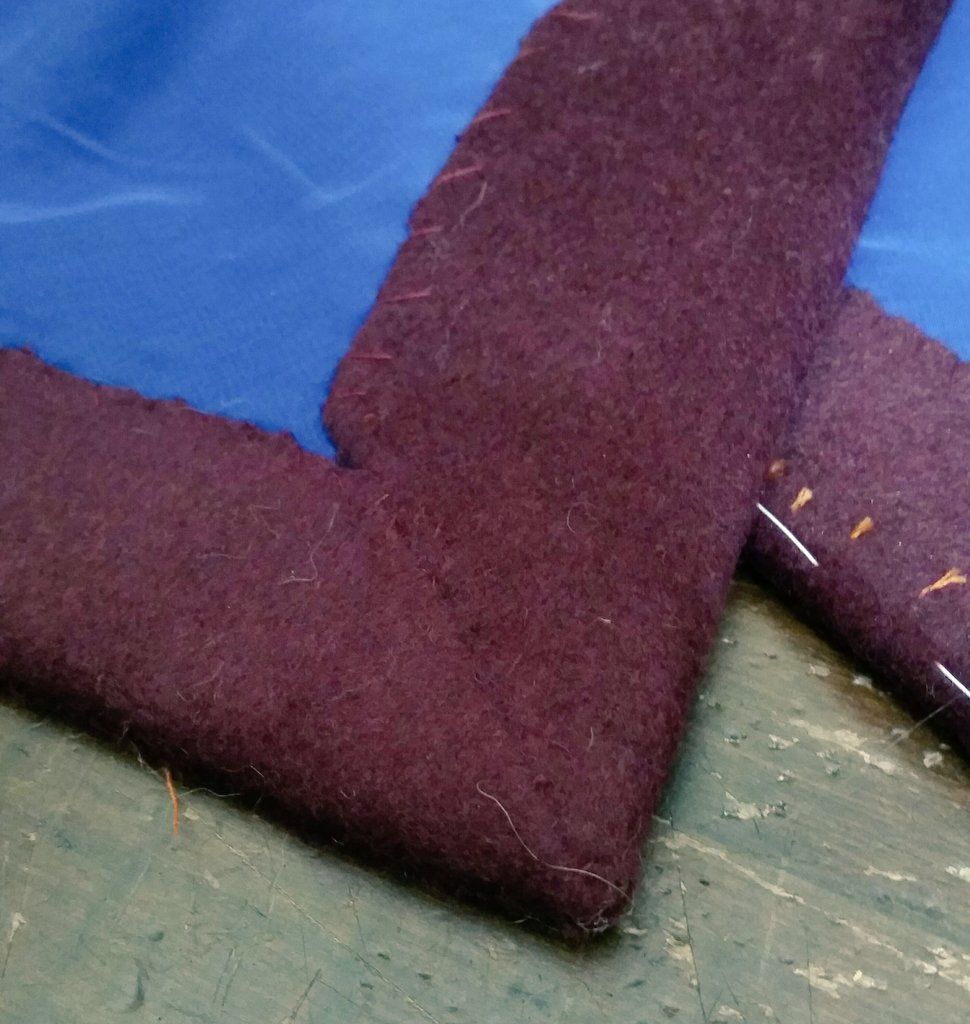
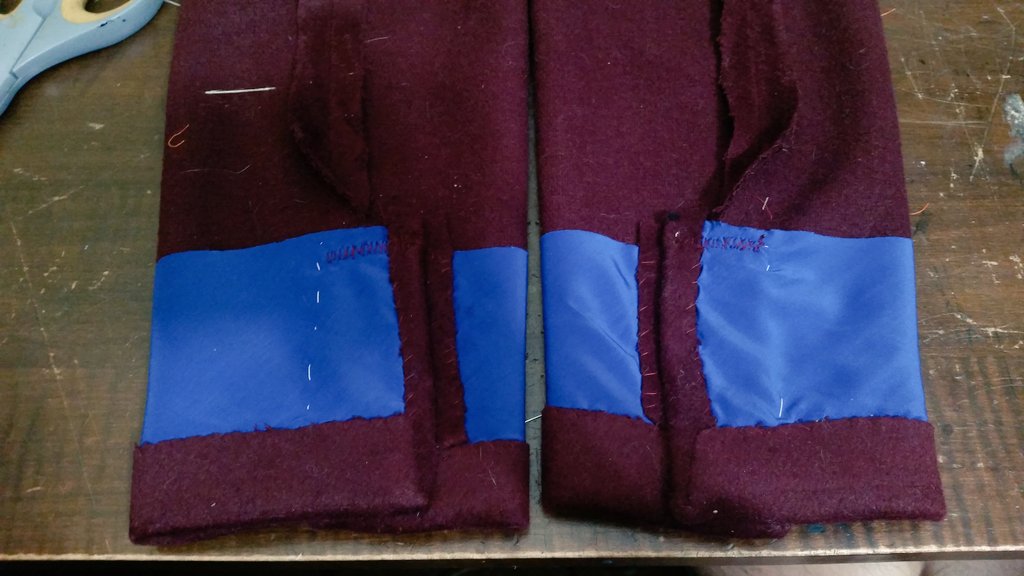
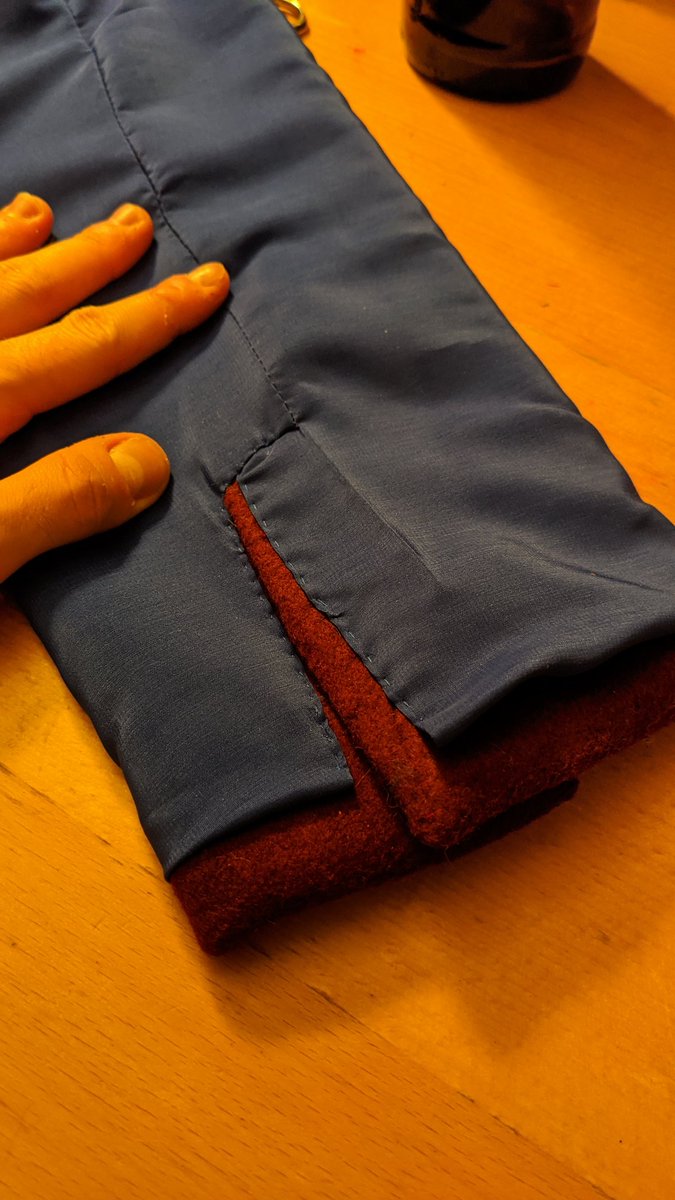
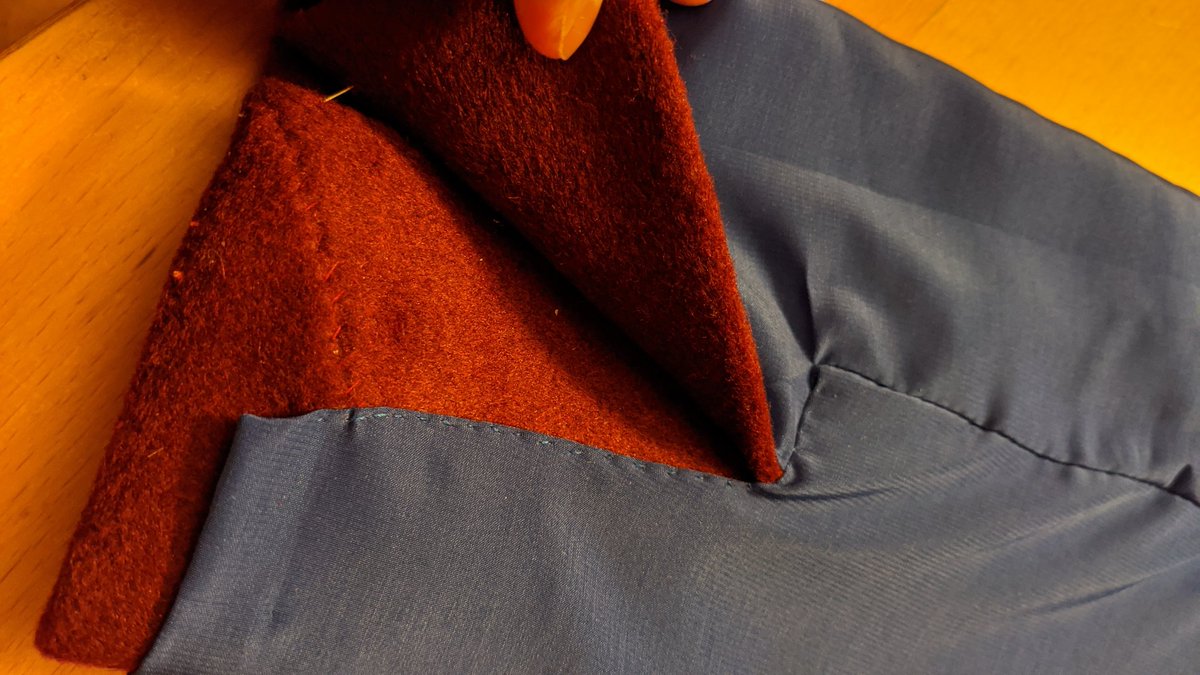
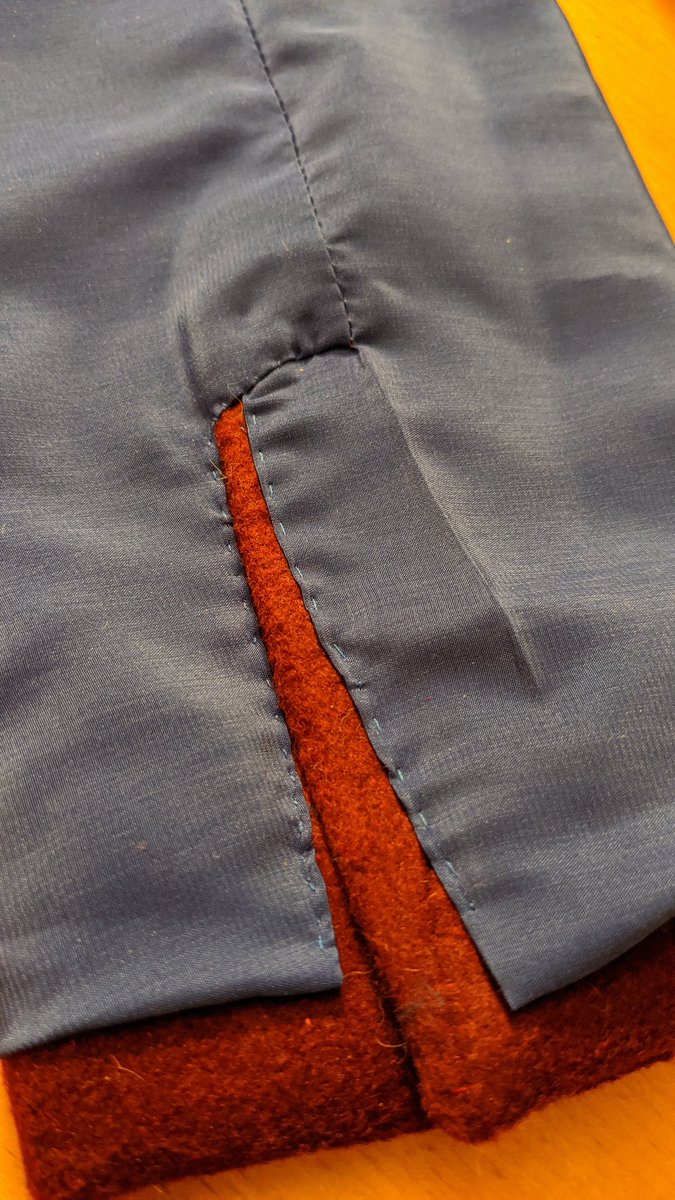
Getting the sleeves ready. A piece of pocketing is used to reinforce the area. The book said not to trim away the excess fabric in these mitered edges, but my fabric is so thick I did so. You also don& #39;t clip the seam allowance at the vent, just press it diagonally
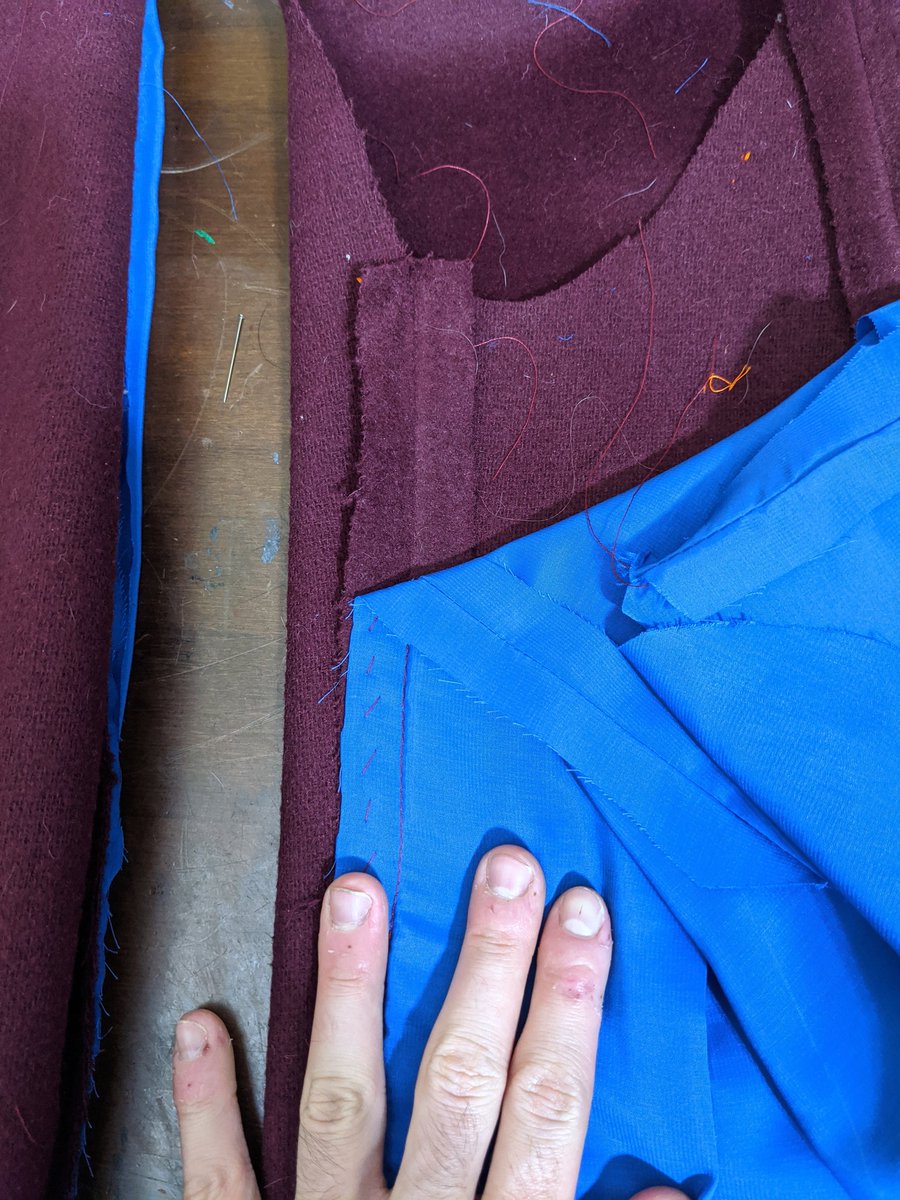
Weird step I& #39;ve never done before, you lay the sleeve on top of the lining, both wrong sides out, and stitch the seam allowances together to keep the lining in place, then pull it all through the lining (I nearly did it backwards)
Ok that *sucked* to double baste in and then steam/shrink the ripples out, but. It looks really good so...! Please excuse the sleeve heads are not in so they look a little floppy
One last check with best and shirt before removing the basting, doing the buttonholes and giving the final pressing. I made the shoulders a tiny bit too big--it was hard to tell until I set the sleeve--but, hey, live and learn and look like a refrigerator man
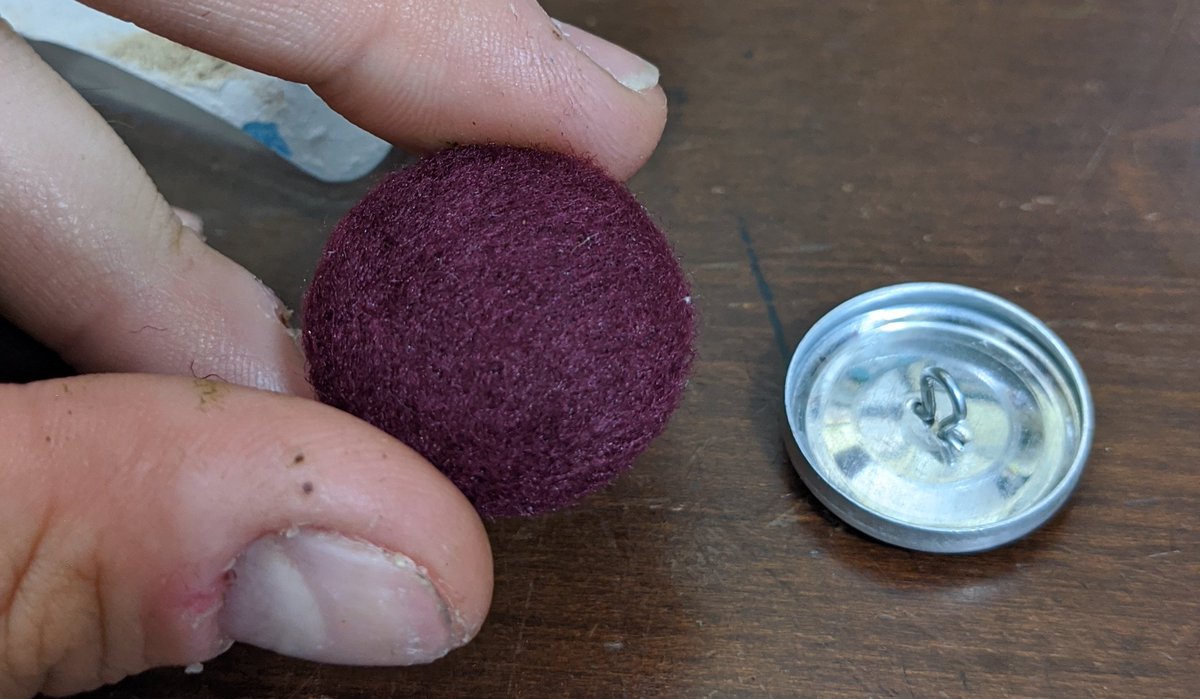
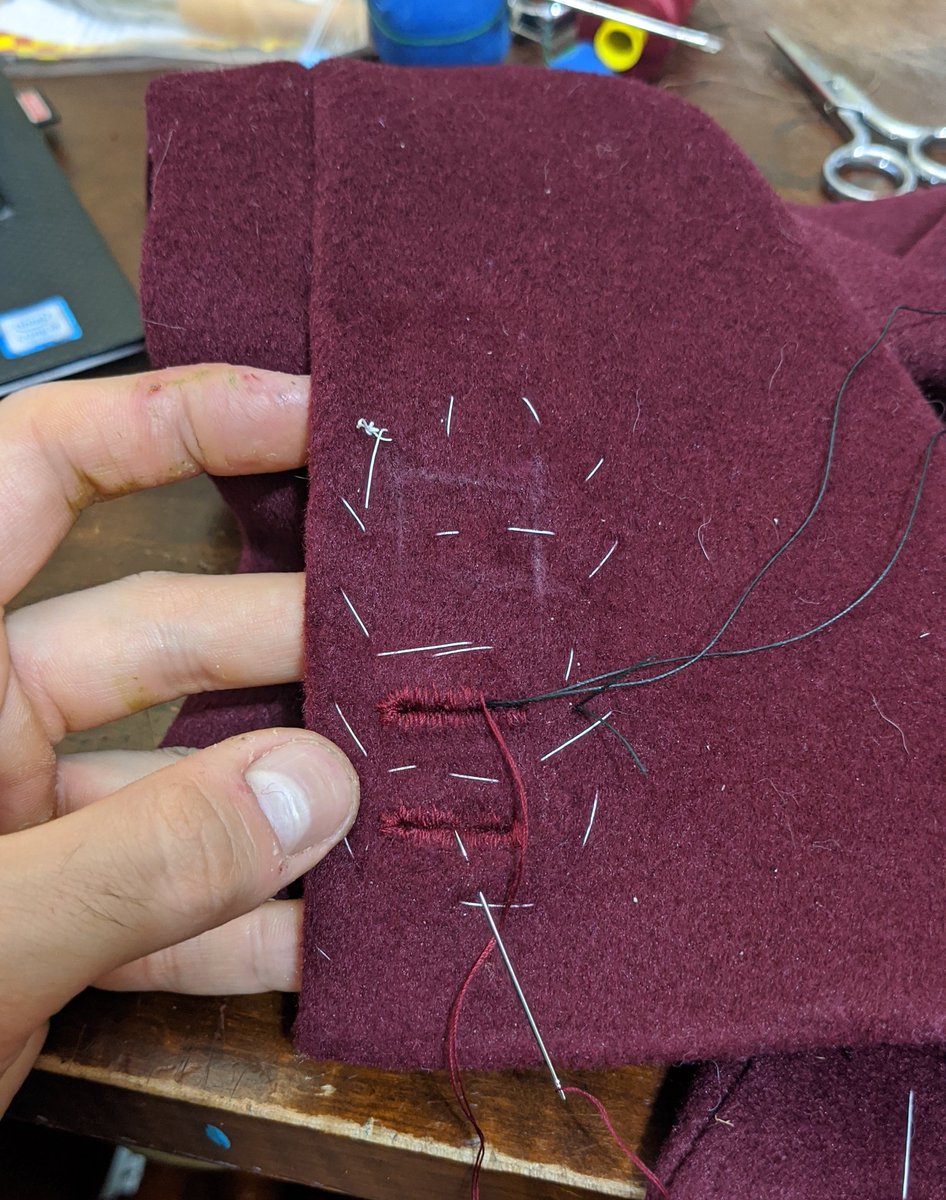
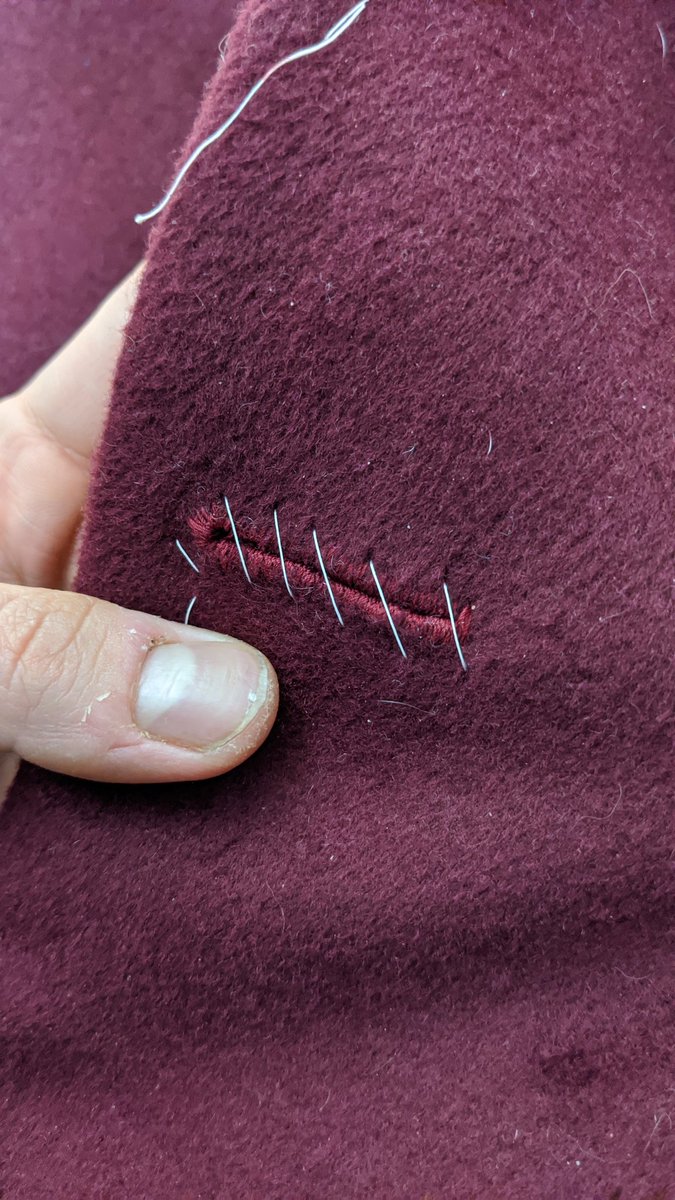
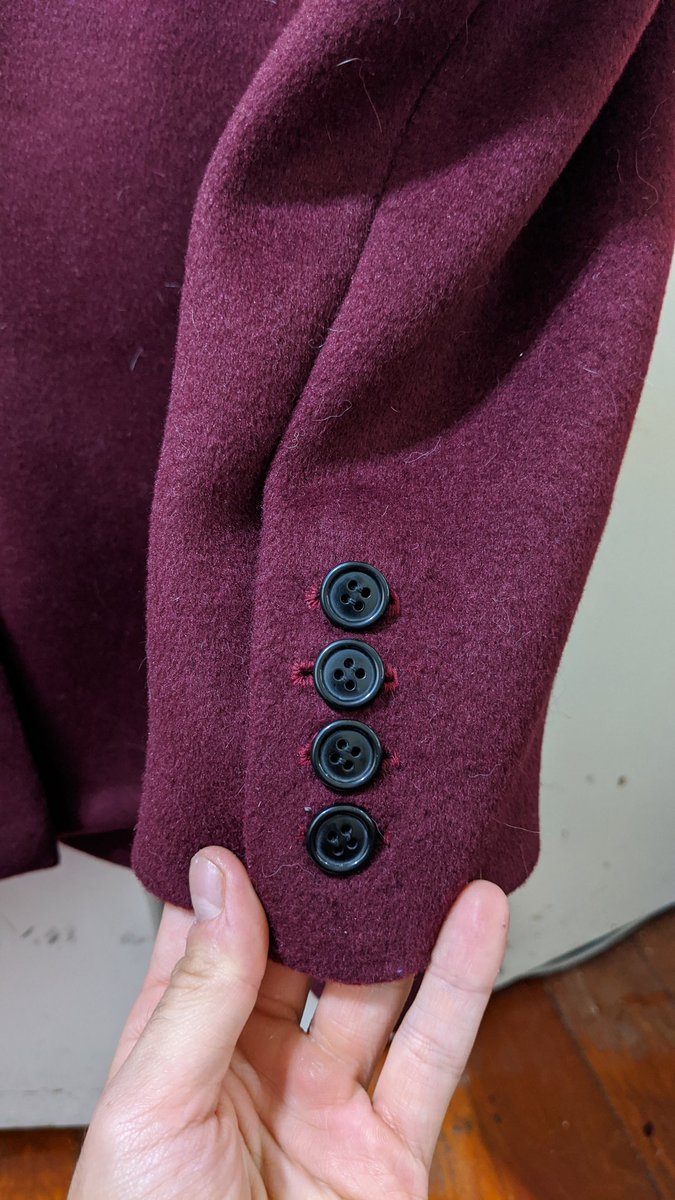
Made covered buttons for the front and started the sleeve buttonholes. Halfway through the second and I& #39;m getting the hang of it...I start on the less visible ones for a reason lol
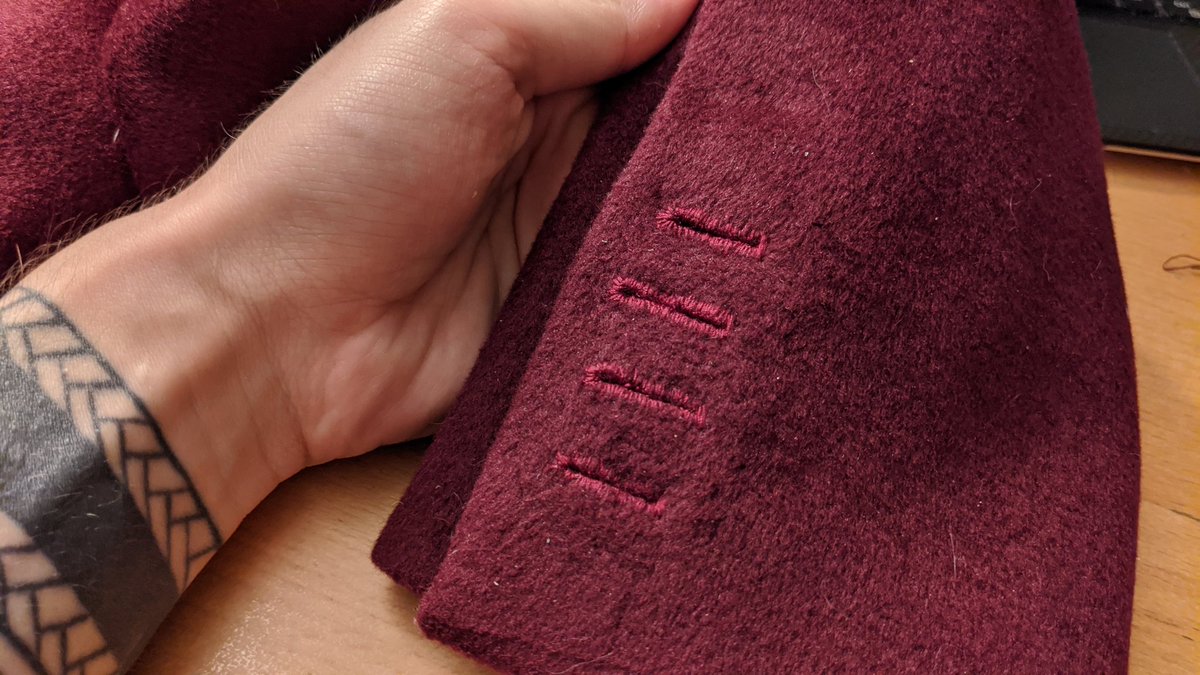
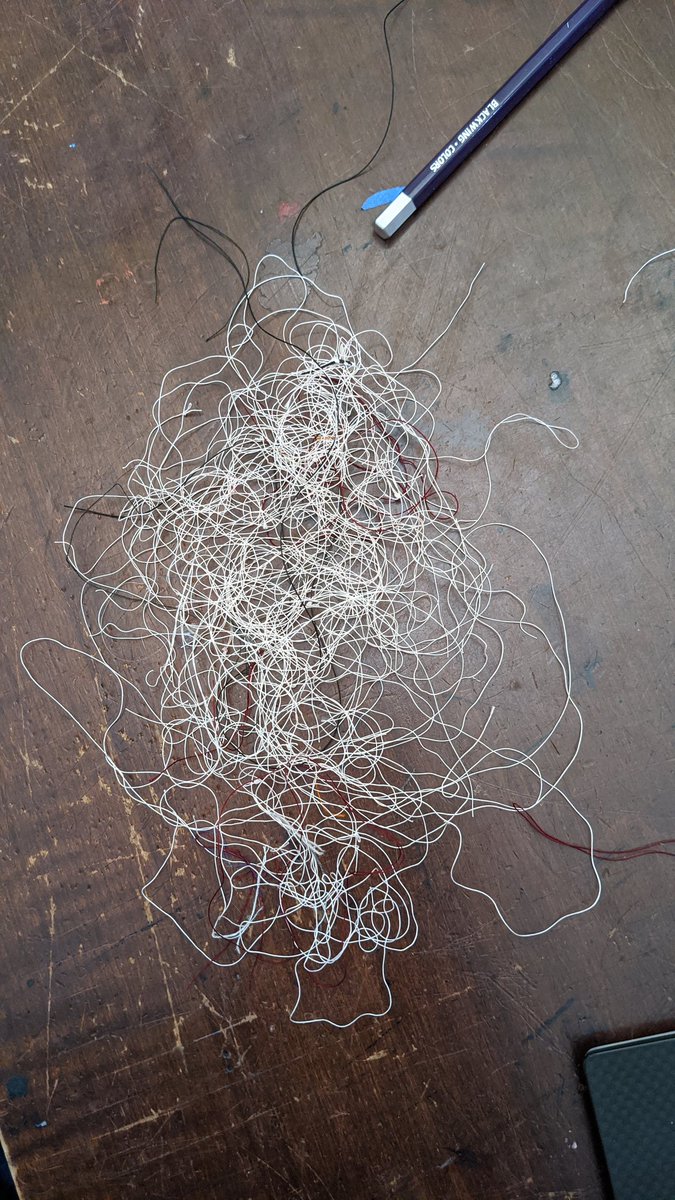
Halfway...yes the second down came out slightly larger but at least I finally figured out how to keep a double strand of silk from tangling (I could not find thicker silk thread in this color...)
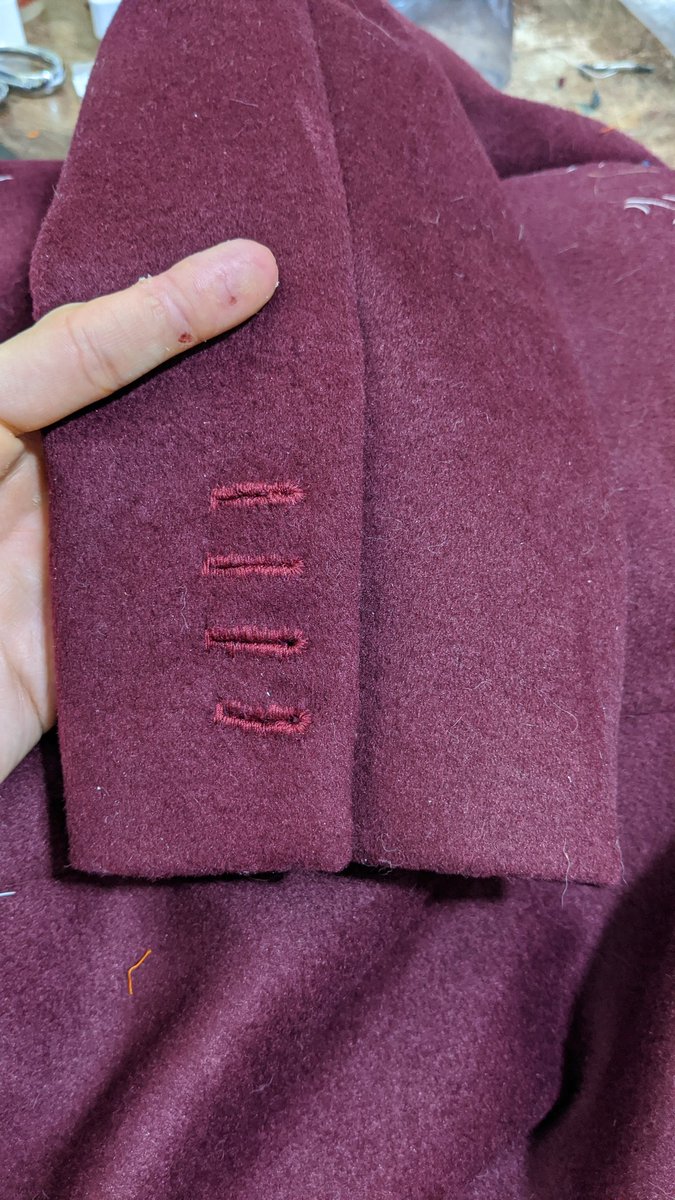
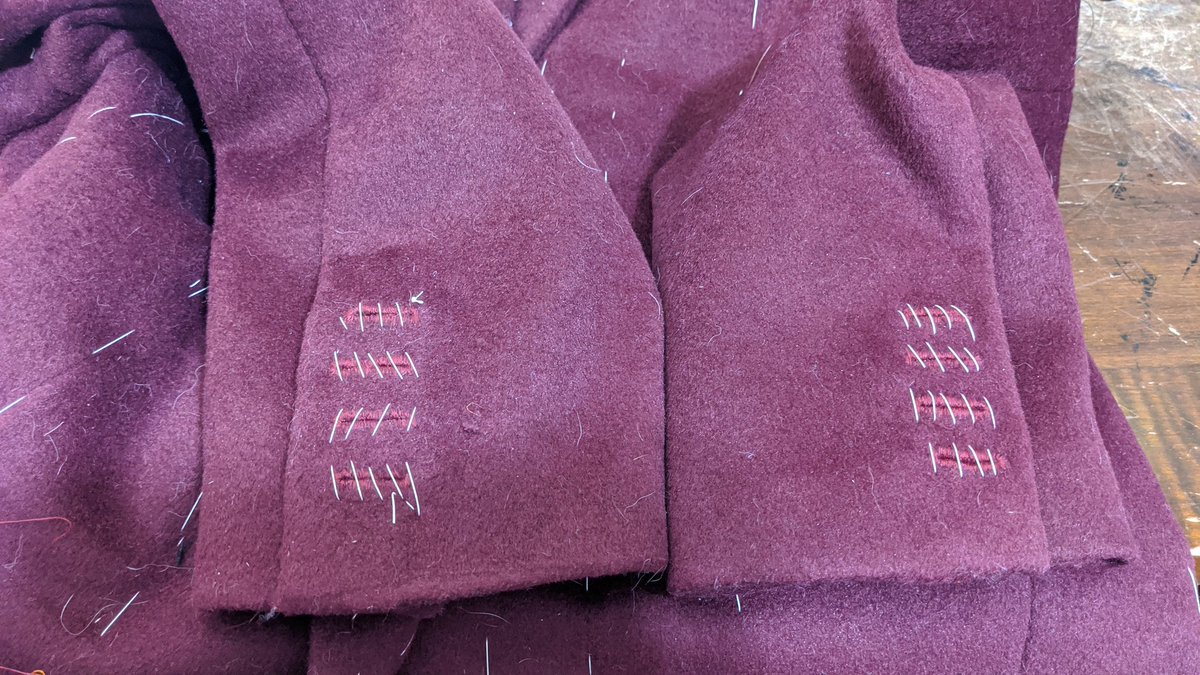
The other side is much better lol. Basted them both shut in advance of the final press. Just the front buttonholes left!
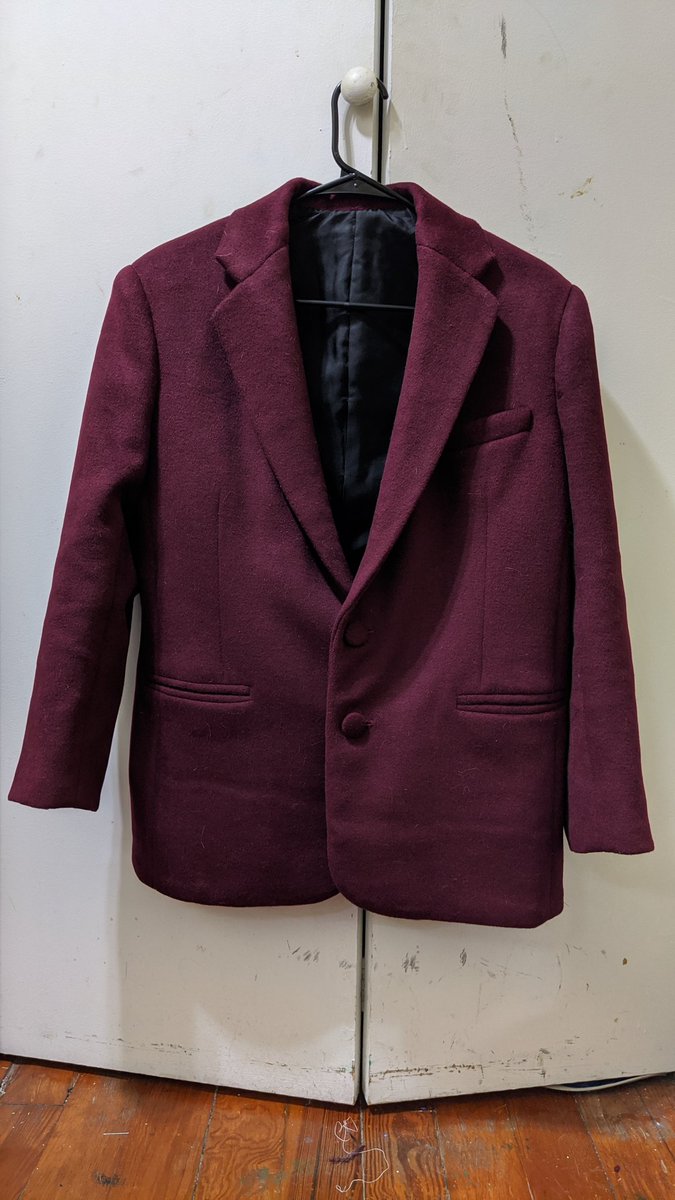
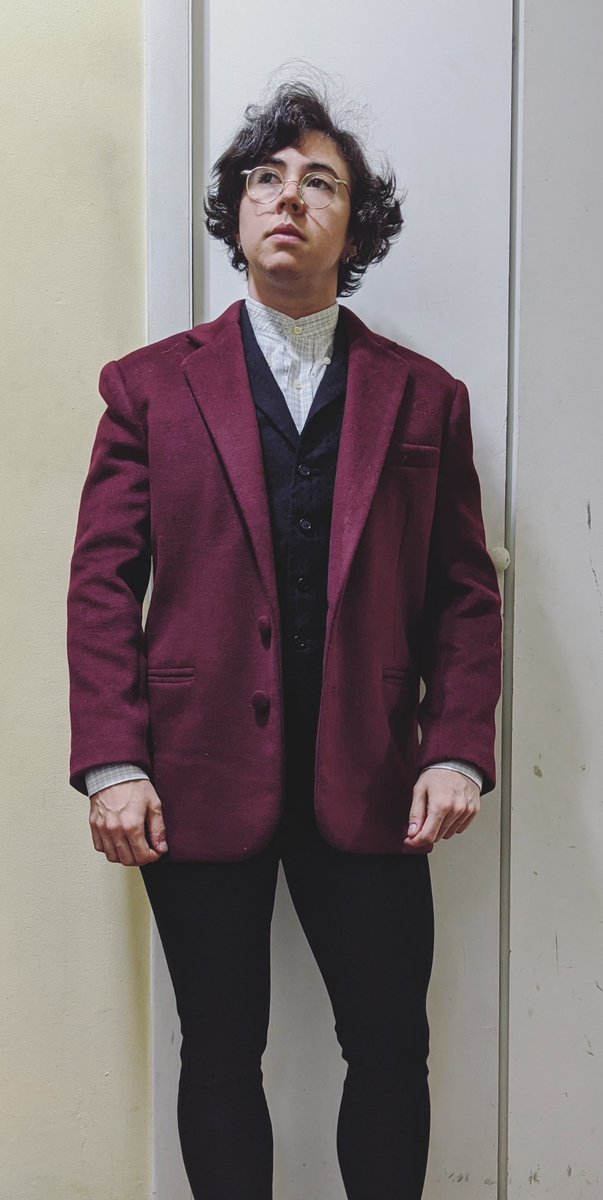
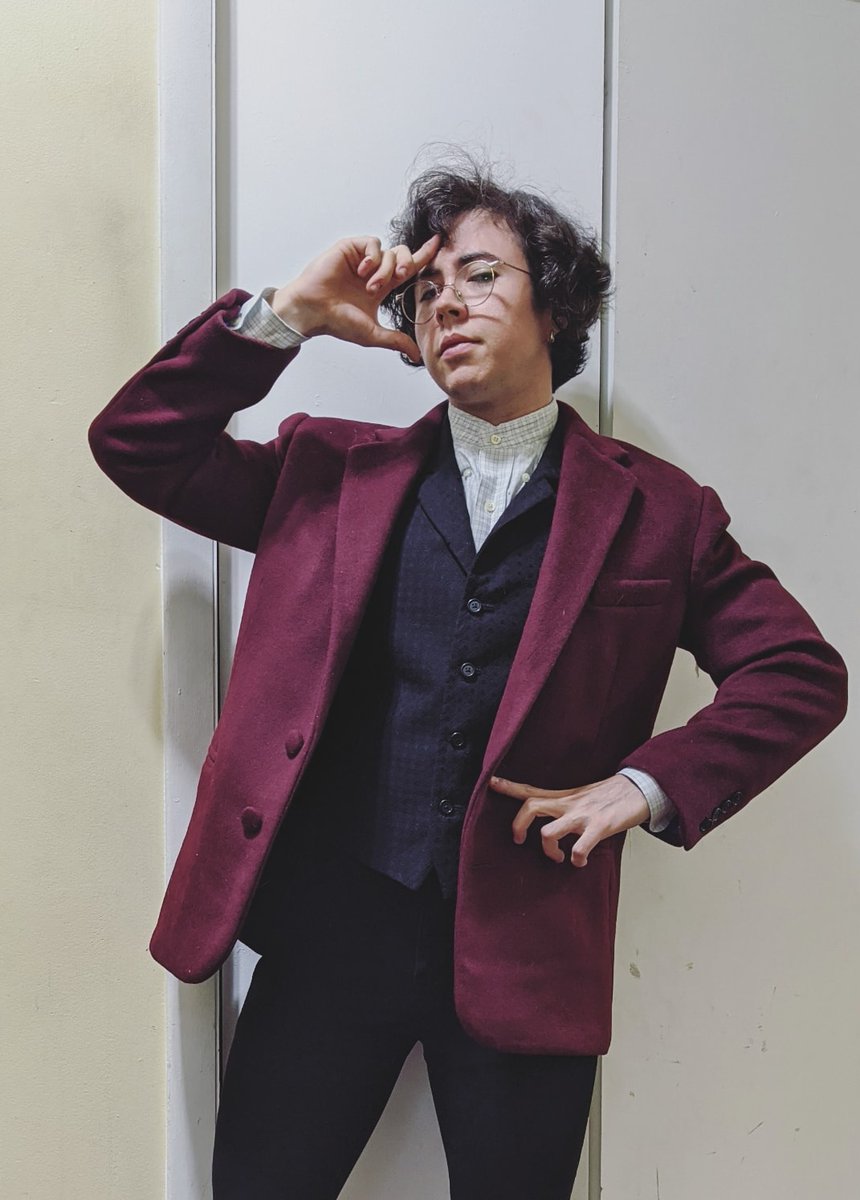
Mile& #39;s jacket is done! My first full canvassed suit jacket! I learned a ton, and can only get better from here on out!
And, on! Placeholder shirt and pants. Next time I& #39;ll nail the shoulder fit, but...not a bad character to end up a little oversize.
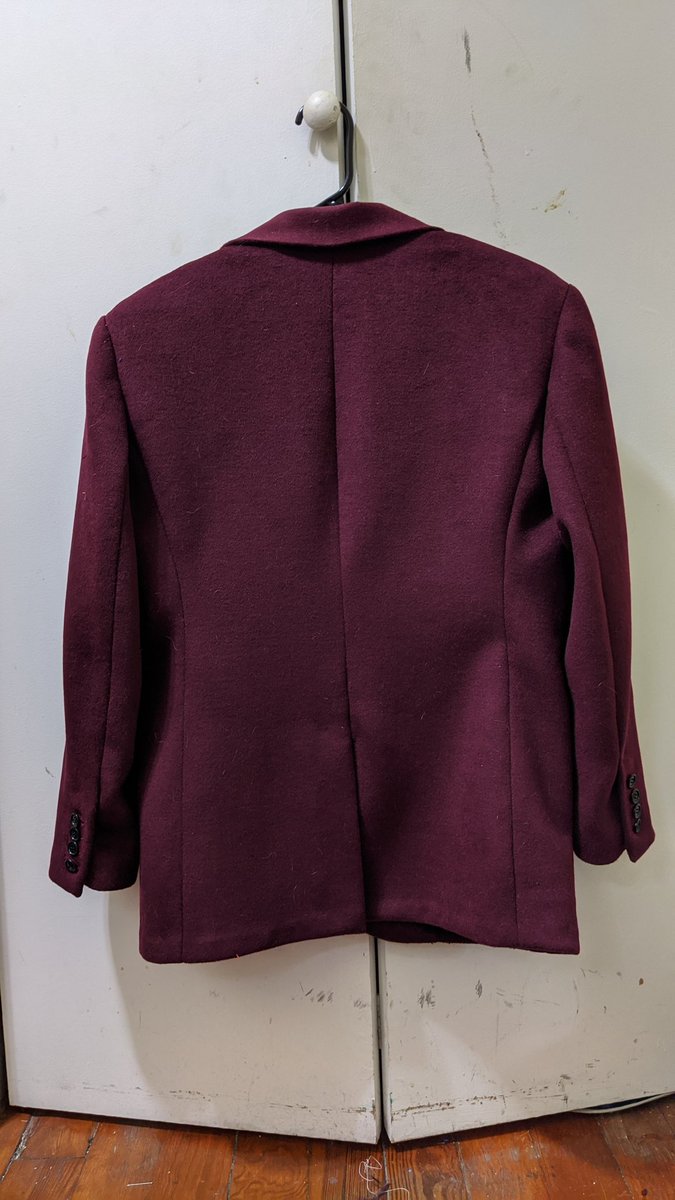
Realized I never posted these details shots...ok with resurrecting this thread today bc I& #39;ll be drafting my pants later

 Read on Twitter