Okay. Technical thread time.
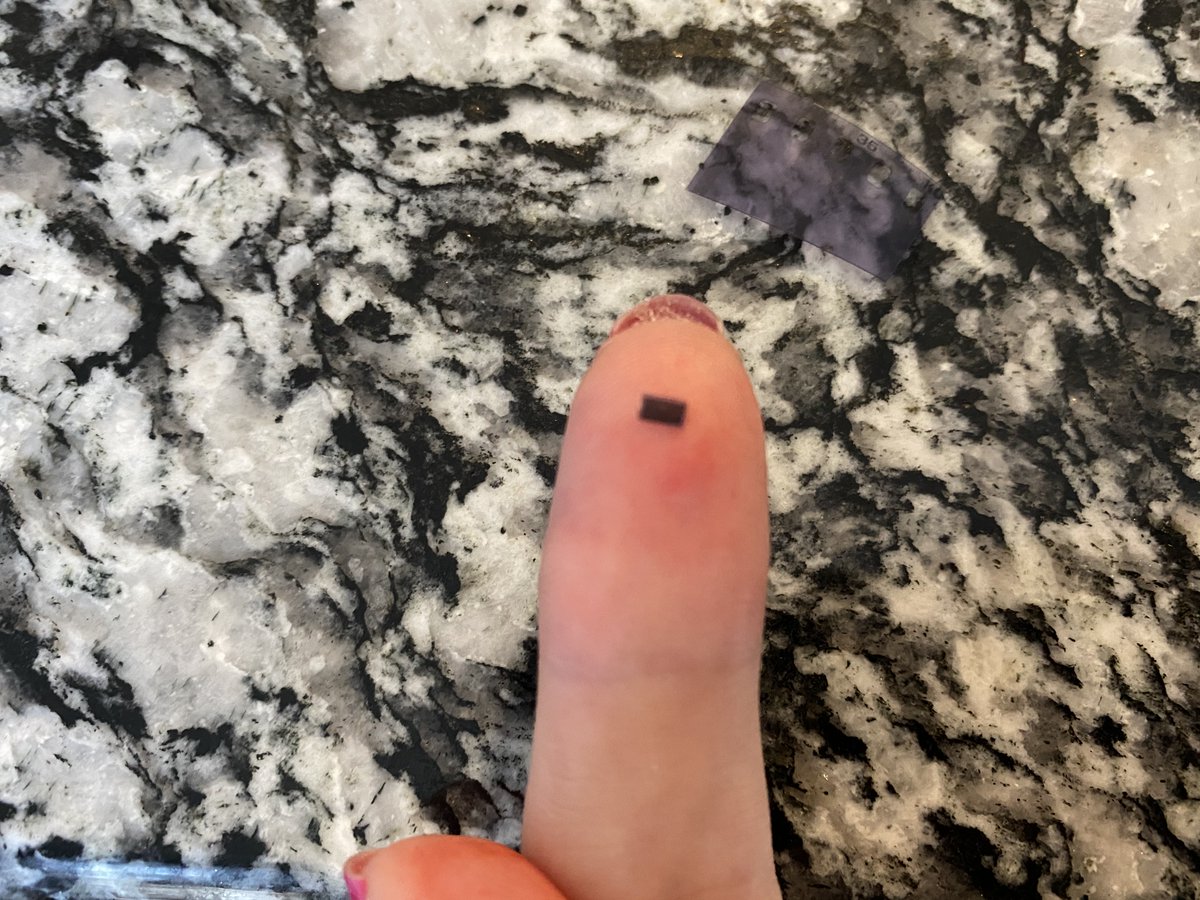
I made a microdot. A real film microdot.
I& #39;ve waited a long time to do this thread. It& #39;s time now, so let& #39;s do it.
In this thread, I& #39;ll show you ever step of the process so you can make your own, and give some history of the dot and the project.
I made a microdot. A real film microdot.
I& #39;ve waited a long time to do this thread. It& #39;s time now, so let& #39;s do it.
In this thread, I& #39;ll show you ever step of the process so you can make your own, and give some history of the dot and the project.
To create this, I only used standard tools and processes that already exist. To the extent that I recreated anything, it was only to fill in gaps in my understanding that I didn& #39;t have strict source material for.
About a year ago, I finished work on the first issue of #TheTeletypist.
The Teletypist was a labor of love stemming from #HackingHistory, and is an artistic reporting project that was a collaboration between myself, @NatSecGeek and @SarahAllenReed (who did the art).
The Teletypist was a labor of love stemming from #HackingHistory, and is an artistic reporting project that was a collaboration between myself, @NatSecGeek and @SarahAllenReed (who did the art).
I wanted to add something unique to the print and electronic copies, and came up with the idea of doing a microdot before the first issue.
It seemed out of reach and way too complicated to make an honest-to-goodness microdot for the issue, so I used an rfid sticker instead.
It seemed out of reach and way too complicated to make an honest-to-goodness microdot for the issue, so I used an rfid sticker instead.
Then about 8 months ago, I was talking to @SarahAllenReed and said, "fuck it. I& #39;m going to make a microdot. It won& #39;t be that hard."
That& #39;s when the research started.
That& #39;s when the research started.
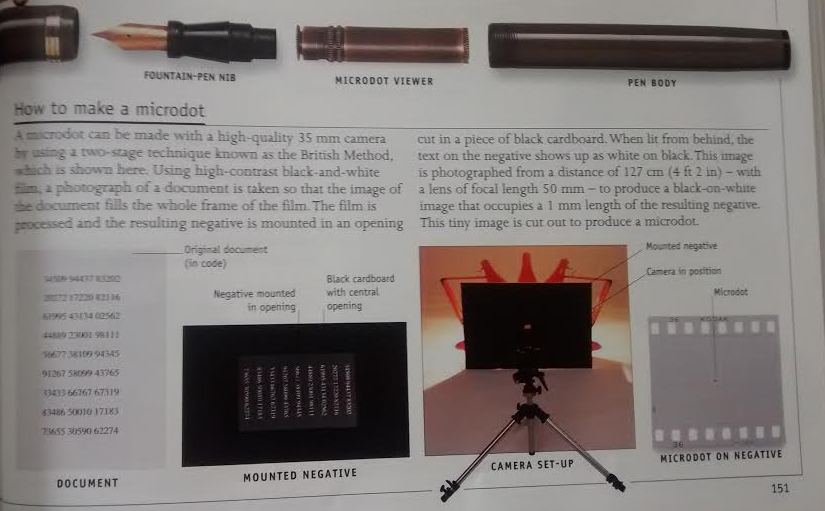
I did a little research and came across this excerpt from an old book by H.K. Melton& #39;s "Ultimate Spy" on page 151
Microdot production methods aren& #39;t all that easy to find because they& #39;re generally considered operational "methods" and are therefore not releasable officially. Melton outlines a technique called "The British Method" which is what I used for this thread.
So when I started this project I had to make an editorial decision about whether to make a literally microscopic piece of dust, or to make something less-than-microscopic, but still still fun for readers. I decided to do both.
So before we get into the technical part, here& #39;s the overview:
I developed two basic methods; a 1-phase, and a 2-phase method. The 1-phase "macrodot" is ~2cm in length while the 2-phase dot comes in ~2-3mm.
I developed two basic methods; a 1-phase, and a 2-phase method. The 1-phase "macrodot" is ~2cm in length while the 2-phase dot comes in ~2-3mm.
So first the 1-phase process.
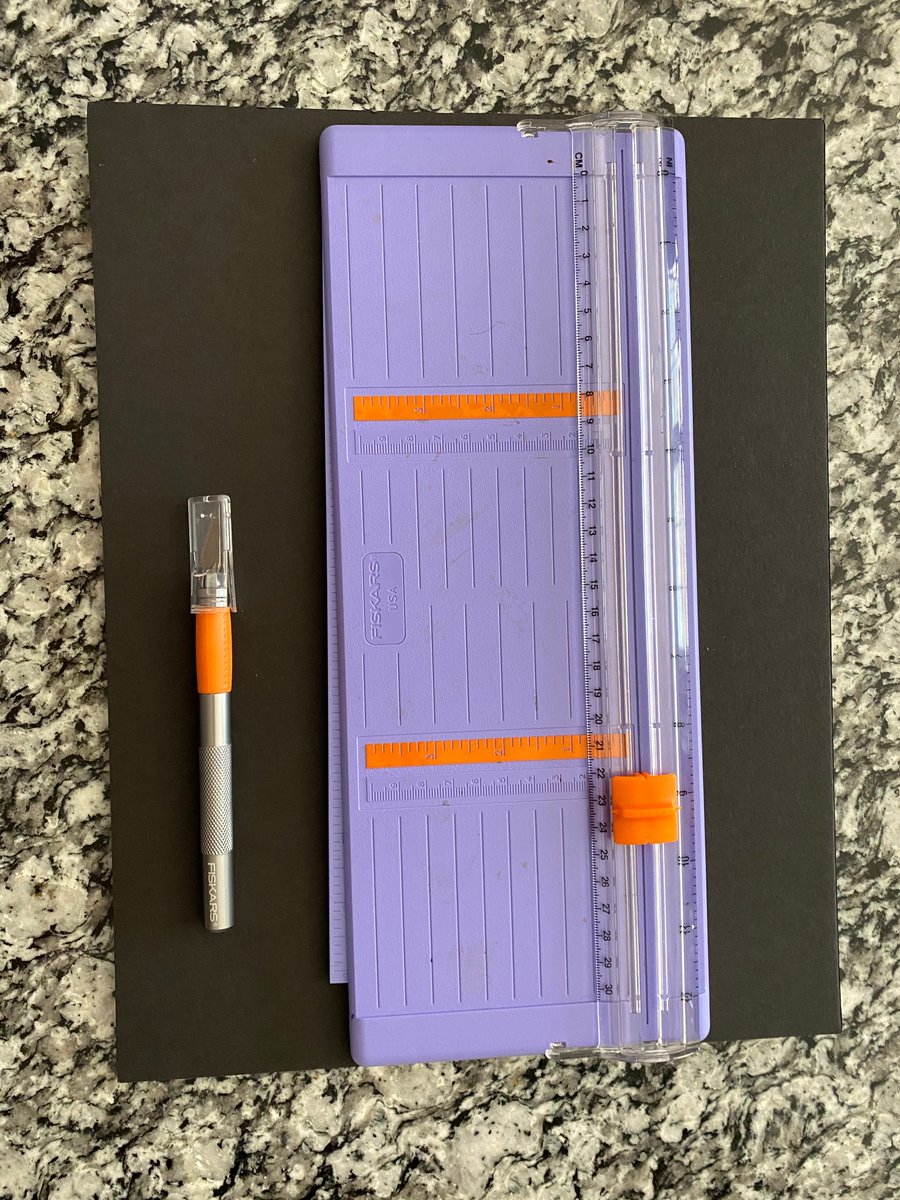
Materials:
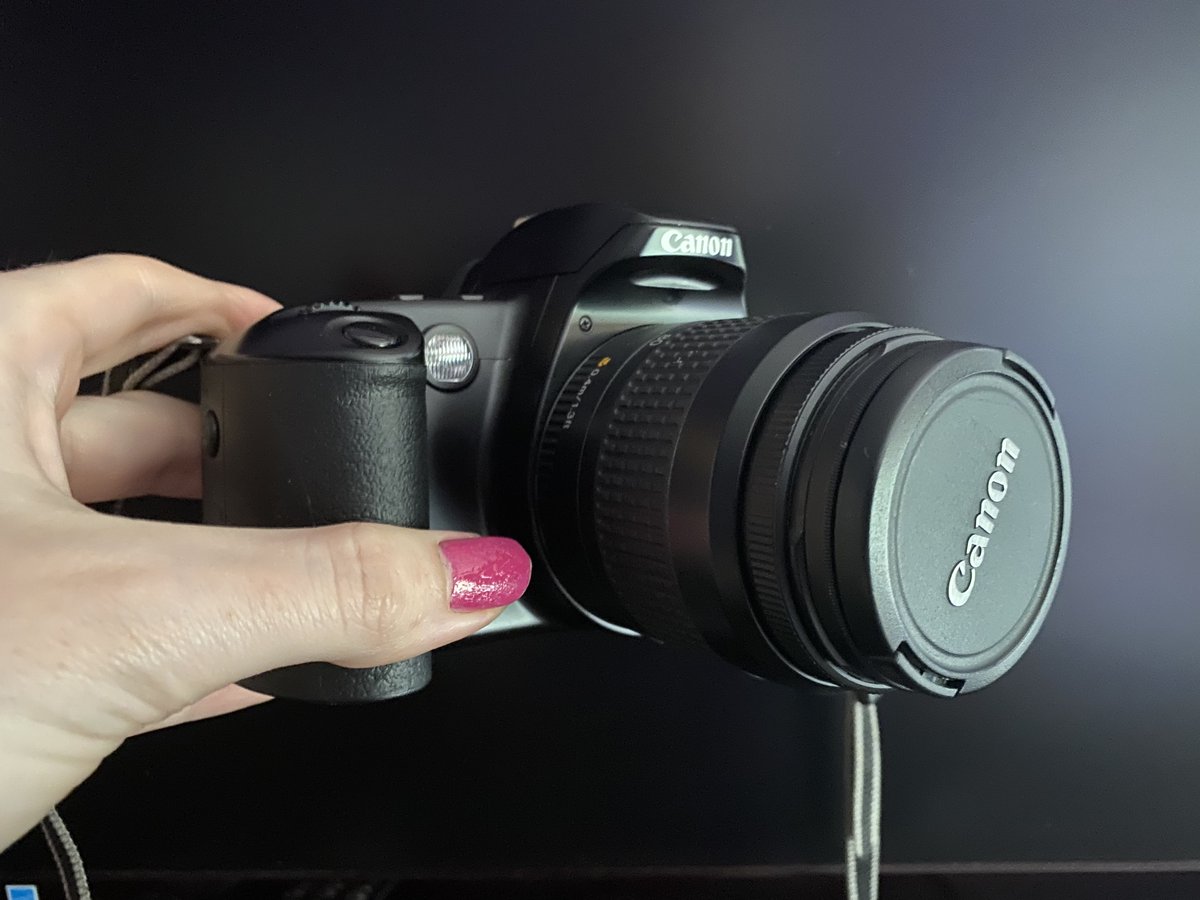
*35mm camera
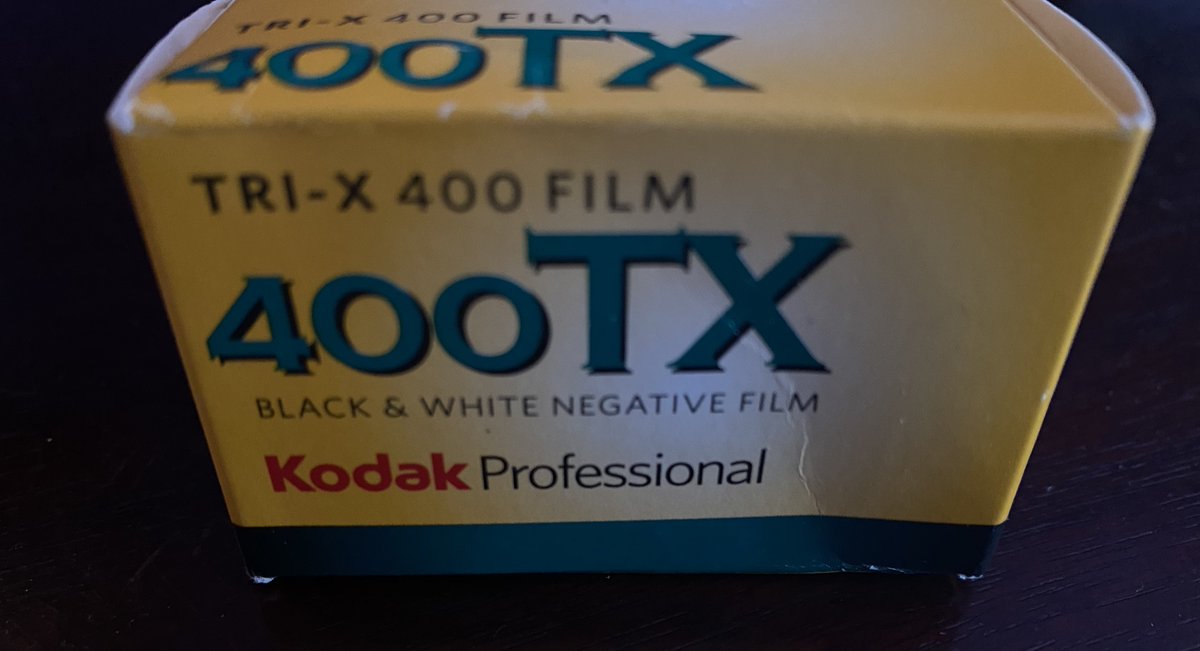
*B&W 35mm film (high contrast, although I& #39;m not sure that& #39;s what this is)
*xacto knife/scissors/whatever
*access to negative development
Materials:
*35mm camera
*B&W 35mm film (high contrast, although I& #39;m not sure that& #39;s what this is)
*xacto knife/scissors/whatever
*access to negative development
You& #39;ll also need some source material to photograph. In this case, I used a "one-time-pad" with a transcribed message written on a standard 8.5x11 sheet of printer paper.
I started by standing straight up with all my 5"6& #39; and taking a photo straight on.
I started by standing straight up with all my 5"6& #39; and taking a photo straight on.
Filling the viewfinder with the image, and snapping the pic. I did this a few times, then I stood on my kitchen counter giving me another few feet of height and did the same thing.
When the film came back, I got two results:
one larger and one smaller miniaturized document.
When the film came back, I got two results:
one larger and one smaller miniaturized document.
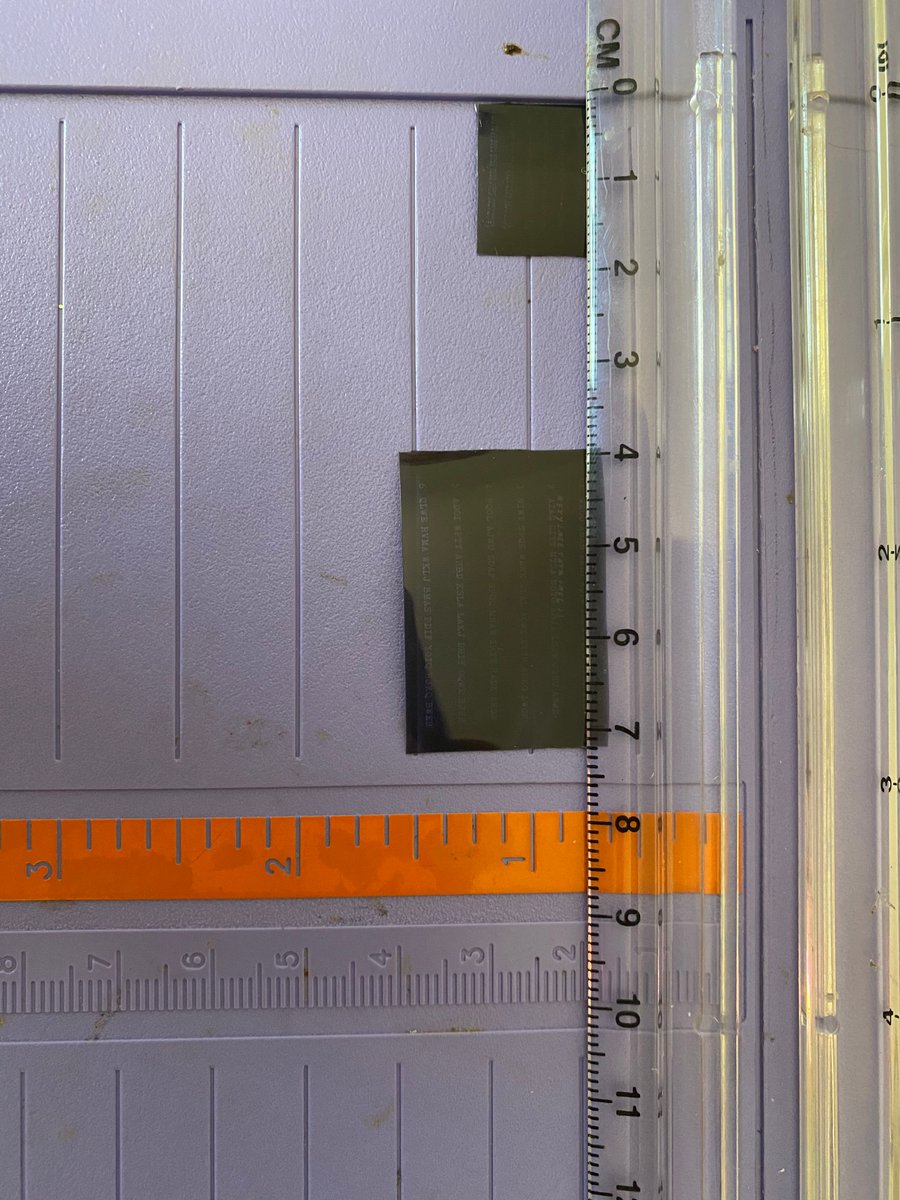
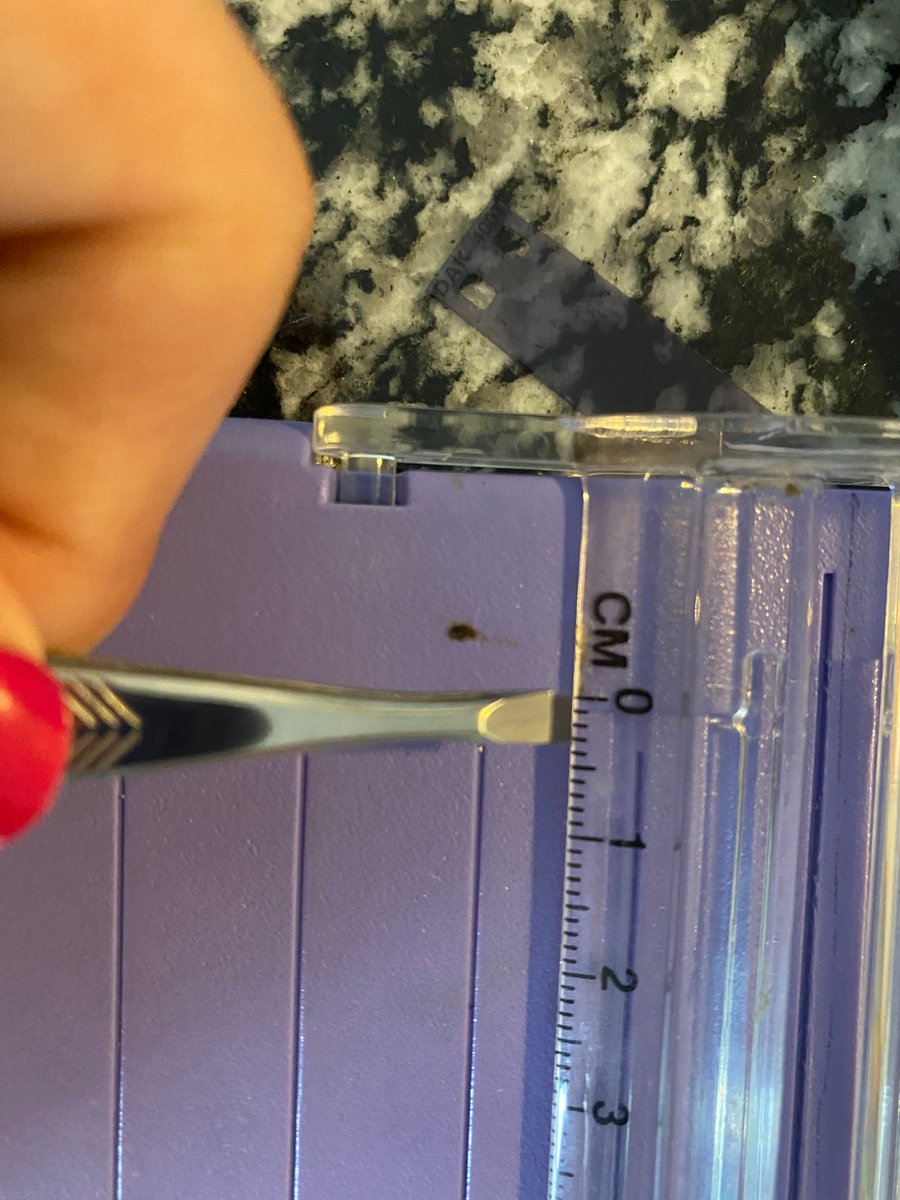
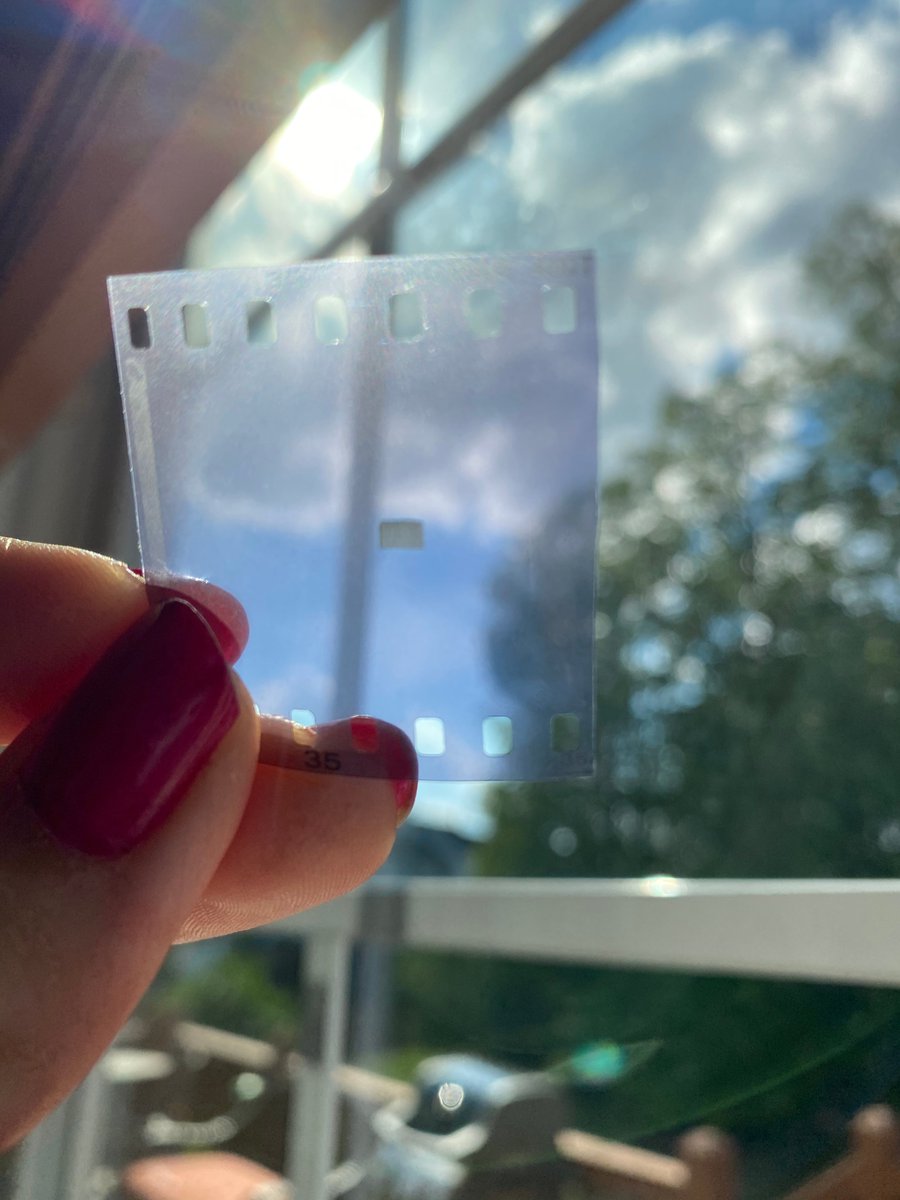
the larger of the two in the last post is a standard, cut-to-size 35mm negative while the smaller of the two (taken from the top of my counter) is about 2cm, or roughly 1/4 the size by my reckoning.
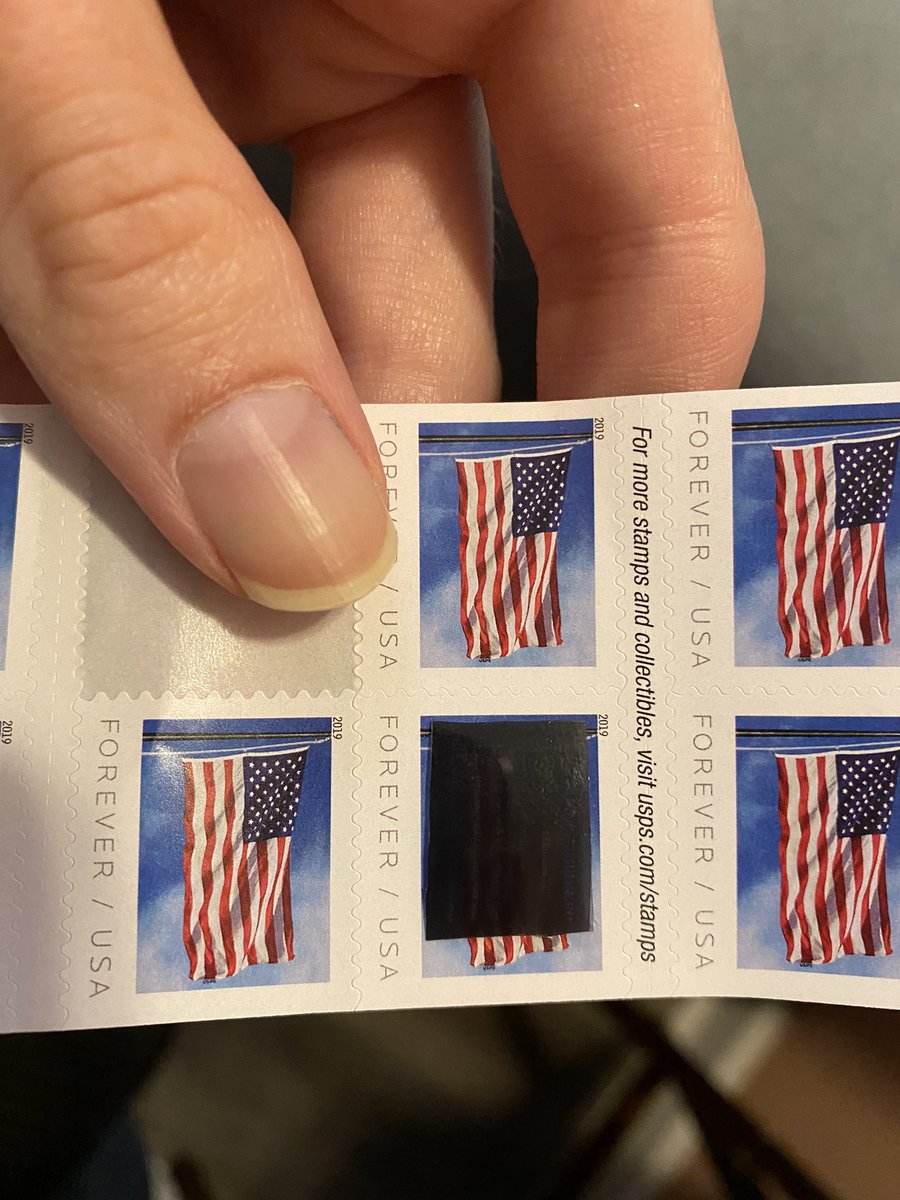
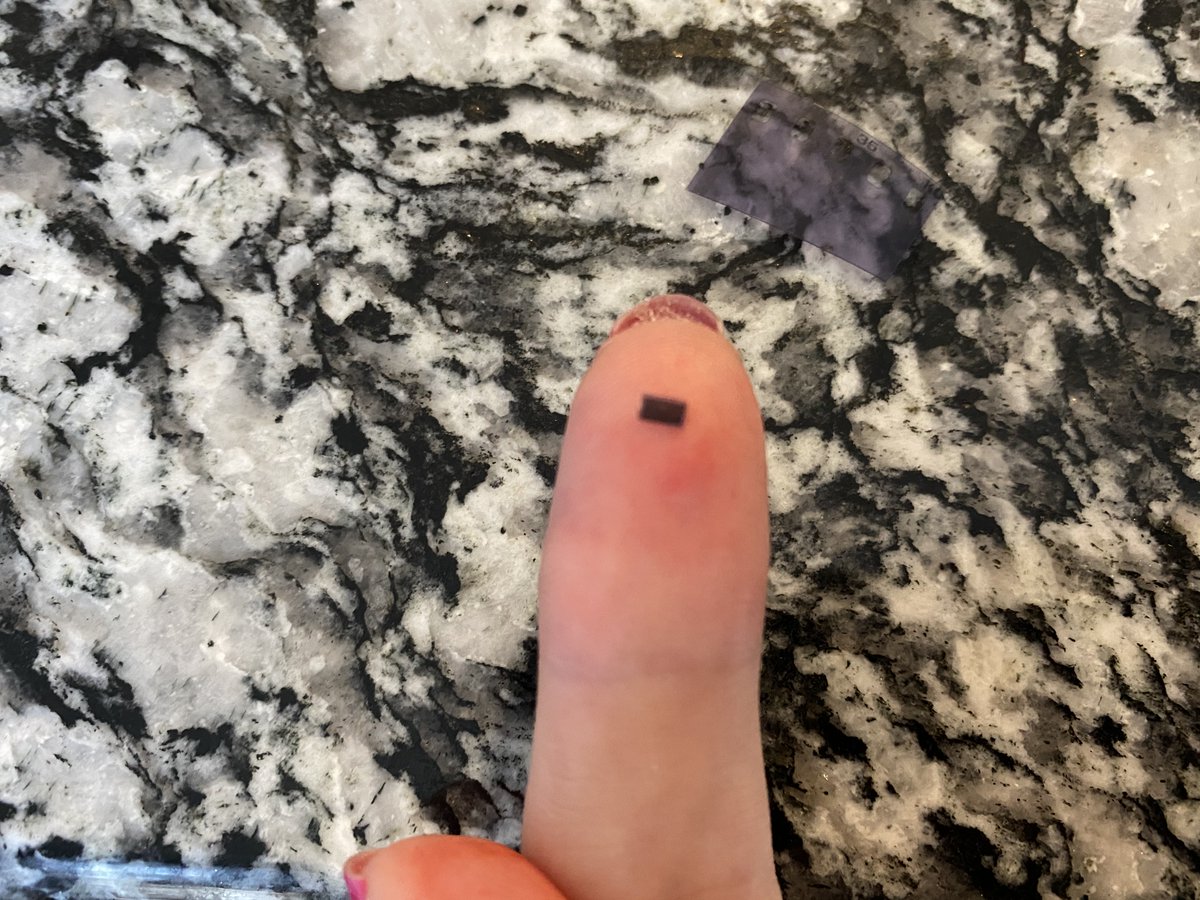
The 2cm "macrodot" is still small enough to be concealed, and can hold an entire page worth of information. It would also fit underneath a standard size postage stamp (true to historic form).
This is also human readable with the naked eye, which I thought was ultra cool. Disregard janky nails pls.
So this is the 1-phase method in its entirety.
Conclusion: substantial size reduction, still operationally viable by most Cold War standards (I& #39;d imagine).
But this is not a true microdot according to Melton& #39;s text.
Conclusion: substantial size reduction, still operationally viable by most Cold War standards (I& #39;d imagine).
But this is not a true microdot according to Melton& #39;s text.
To do this, I need a second phase and a few more materials. Most of the same tools as 1-phase, but adding the following:
*Black mounting board (prefer foam insulated mounting board)
*Bright light source
*tape (if you can& #39;t find foam insulated mounting board)
*Black mounting board (prefer foam insulated mounting board)
*Bright light source
*tape (if you can& #39;t find foam insulated mounting board)
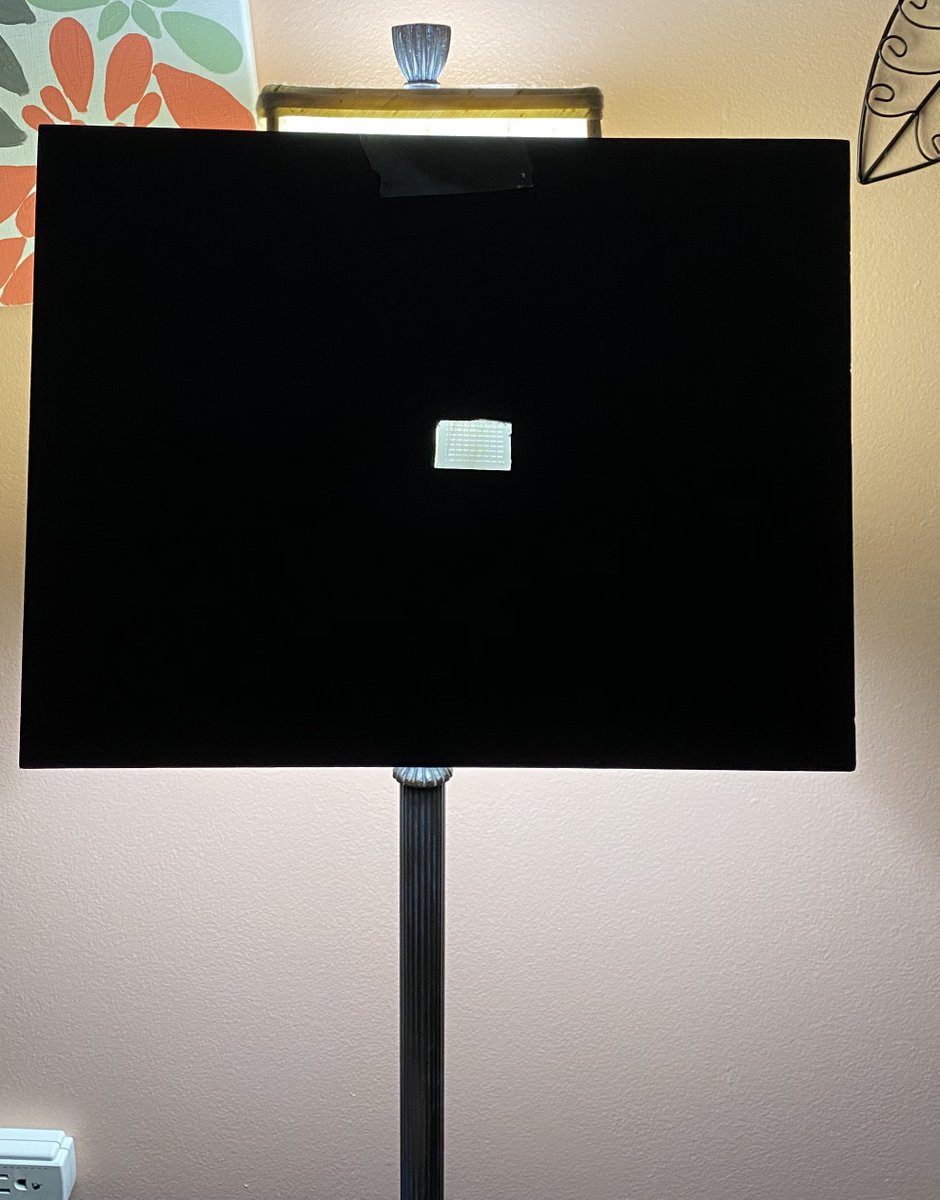
The first step is to take the 35mm negative, and cut a space in the board that allows the negative to sit in the space securely. This is where the foam insulation comes in handy.
Once you have the negative fixed to the board, I taped it to a lamp in my workshop
Once you have the negative fixed to the board, I taped it to a lamp in my workshop
In retrospect, I don& #39;t think I had enough light. This is where high contrast film really comes into play.
I stood about 2 -3 feet back from the lamp, focused as best I could, and took another roll of photos. Again, filling the field of view as best as I could with the negative.
I stood about 2 -3 feet back from the lamp, focused as best I could, and took another roll of photos. Again, filling the field of view as best as I could with the negative.
I should add, I played around with the zoom distance, and distance from the lamp for this one too, because my intent was to produce an entire run of macrodots with a few test microdots on the film roll.
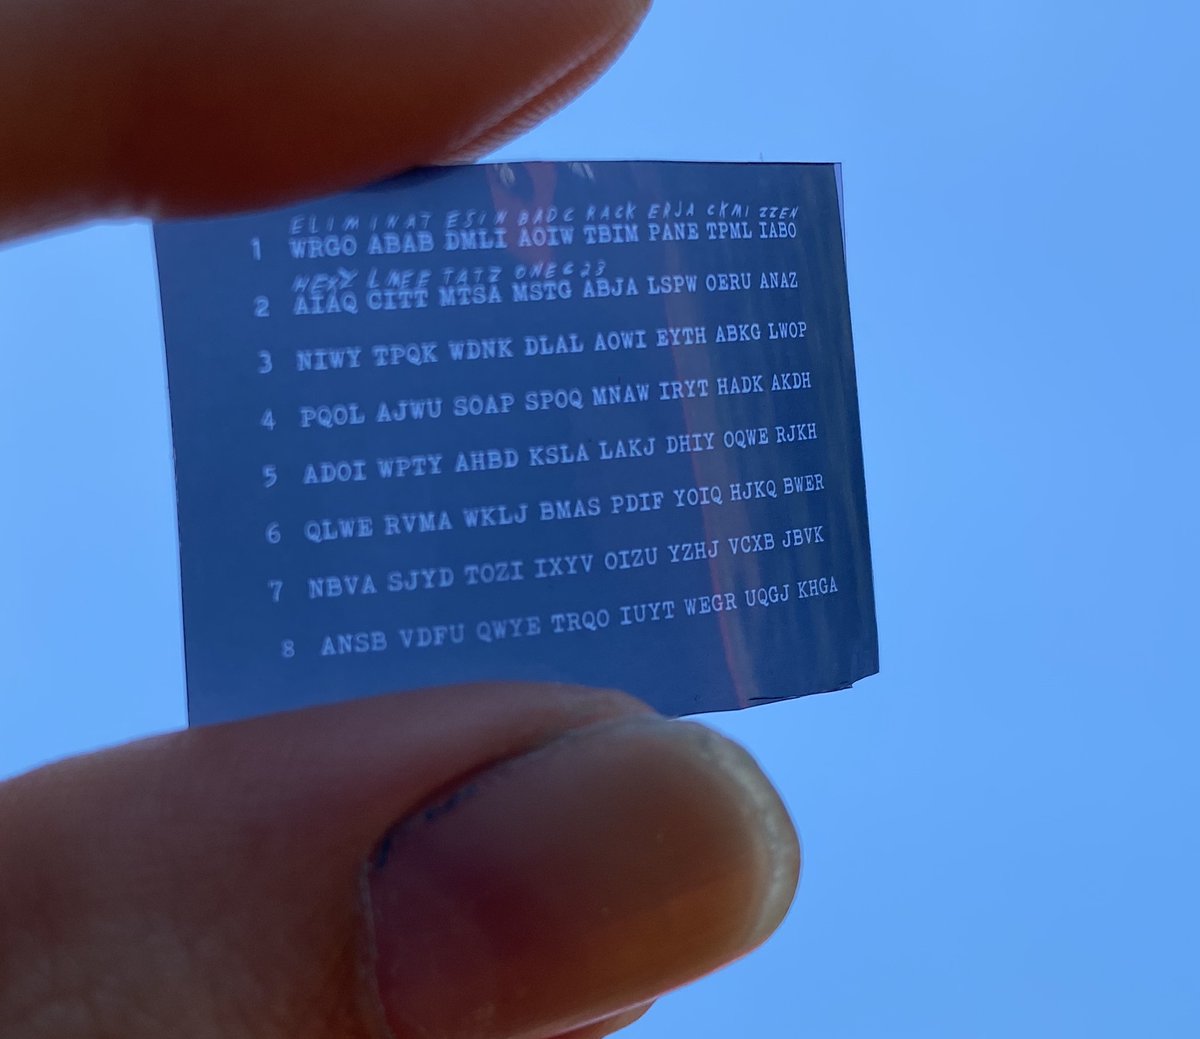
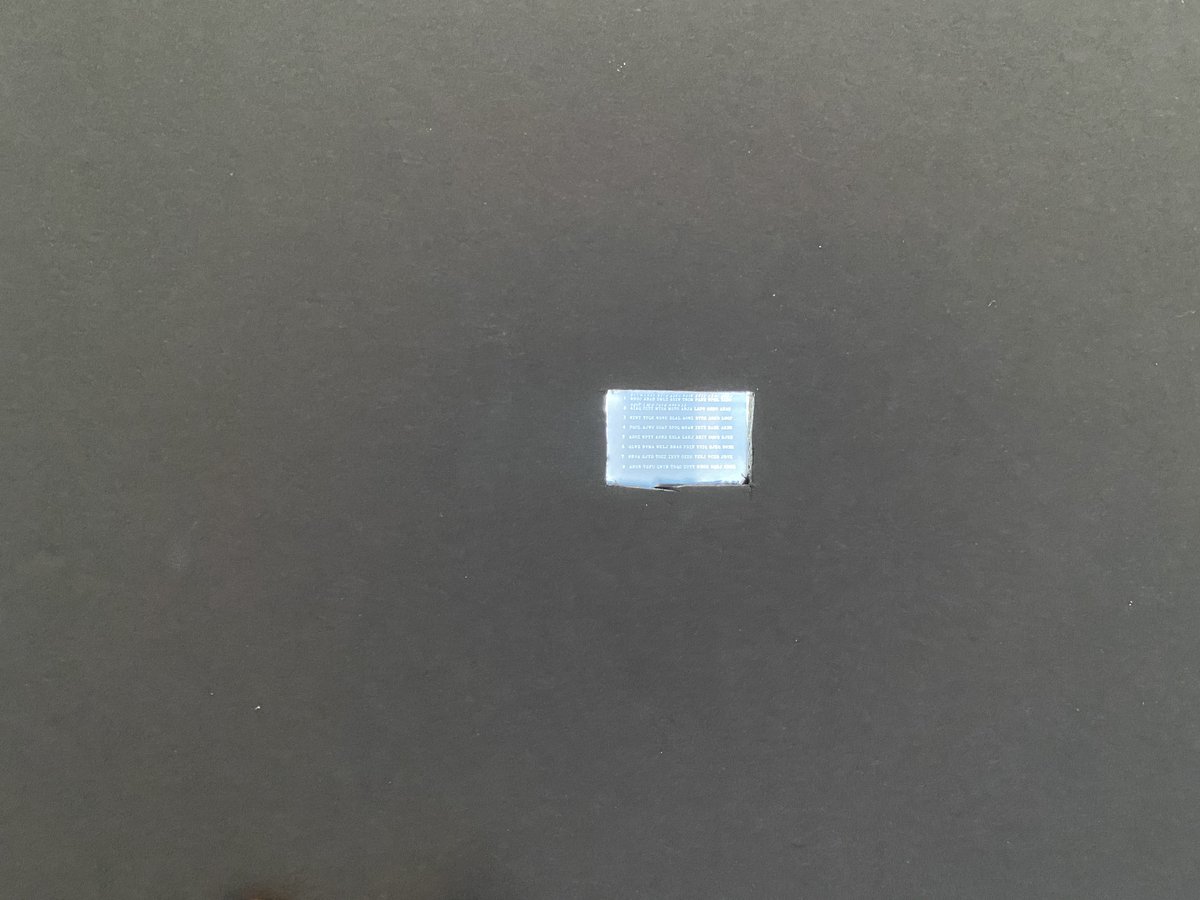
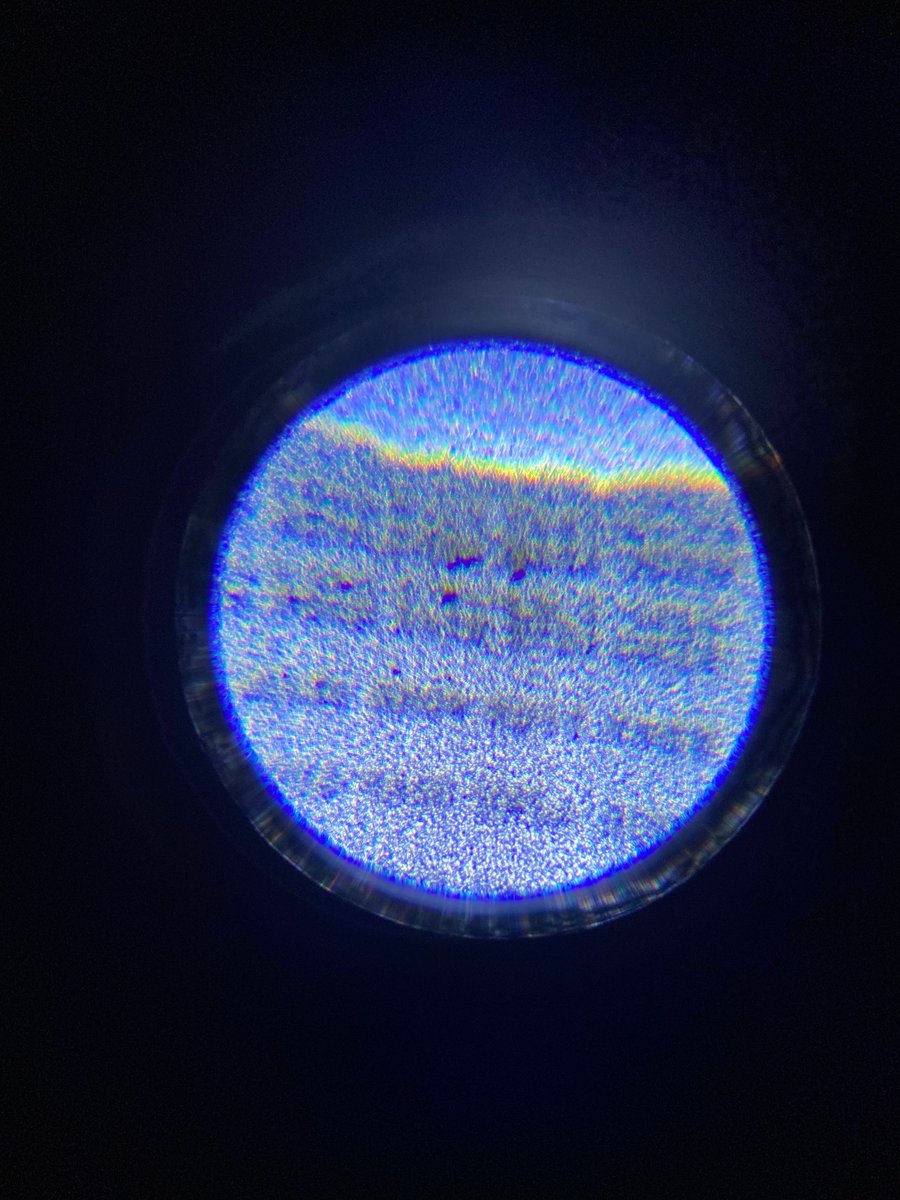
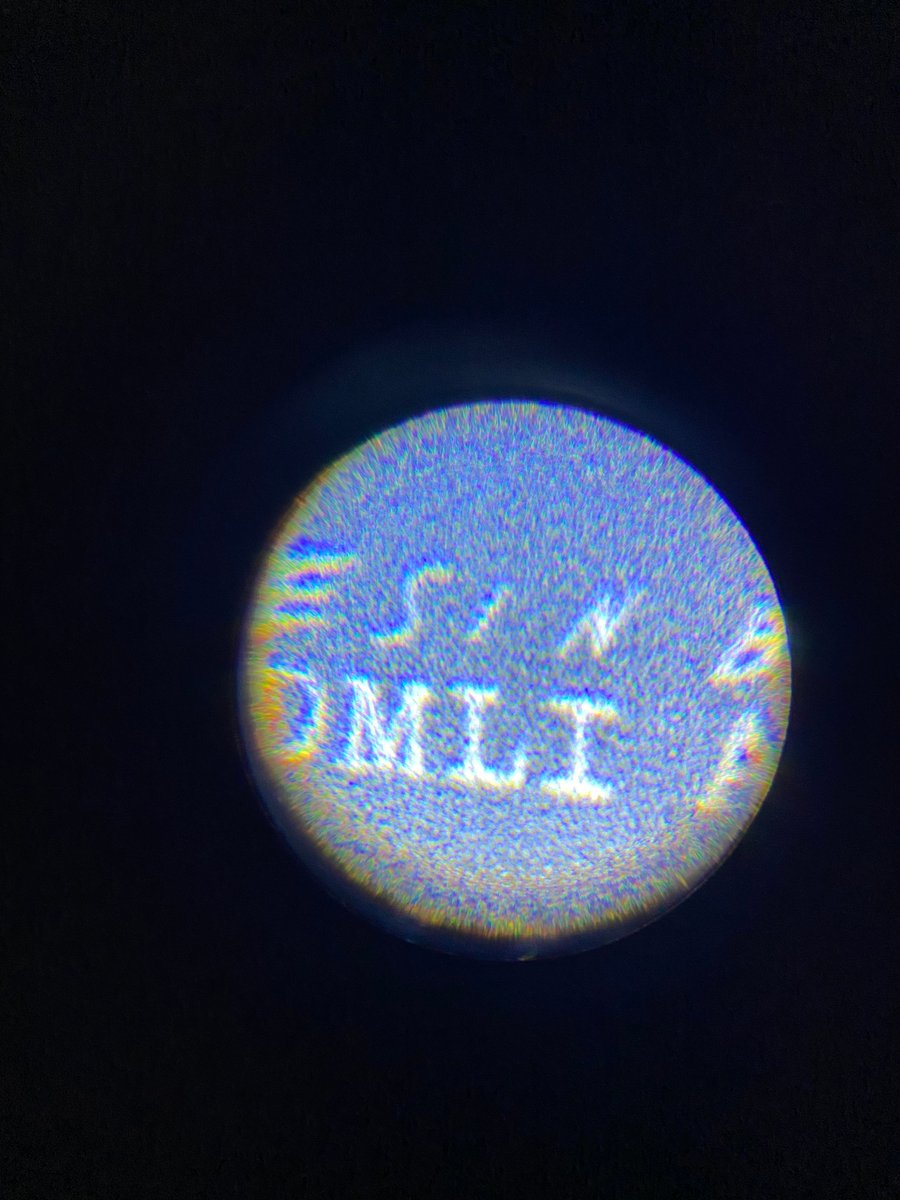
When I got the second roll back, I had what I was hoping for, a true 2-3mm microdot. Still a little bigger than Melton called for, but it felt good to see it on the negatives.
I cut it to size and this is what I ended up with.
I cut it to size and this is what I ended up with.
This is a crude attempt, and most of my microscopic dots didn& #39;t turn out quite right when looking through my son& #39;s hobby microscope, but the slightly larger 1cm dots from the second roll was much easier to read.
So that& #39;s the story.
If you& #39;ve read through the thread, there are a lot of good tips on how this process can be improved by people who know more than I do about it.
Film quality is ultimately the reason I didn& #39;t have success on my smallest microdot I think.
If you& #39;ve read through the thread, there are a lot of good tips on how this process can be improved by people who know more than I do about it.
Film quality is ultimately the reason I didn& #39;t have success on my smallest microdot I think.
I unrolled this thread for you already into a github post that you can find here: https://github.com/hexa-decim8/microdot">https://github.com/hexa-deci... if you want to read the whole process. I still have to fix the images so they match the guide though, so its on my to do list.
Ultimately, I learned a lot from this process and I detailed some imagined applications for analog/digital microdot crossovers in the github. I& #39;m glad I did it, and legend has it that a macrodot may be present in the next print issue of #TheTeletypist.
Special thanks to Jonna Mendez who helped in a consulting role on this for context and pointers on reproduction. Also tagging my friends @IntlSpyMuseum in case any of them want any portion of this.
Thanks for reading!
Thanks for reading!

 Read on Twitter