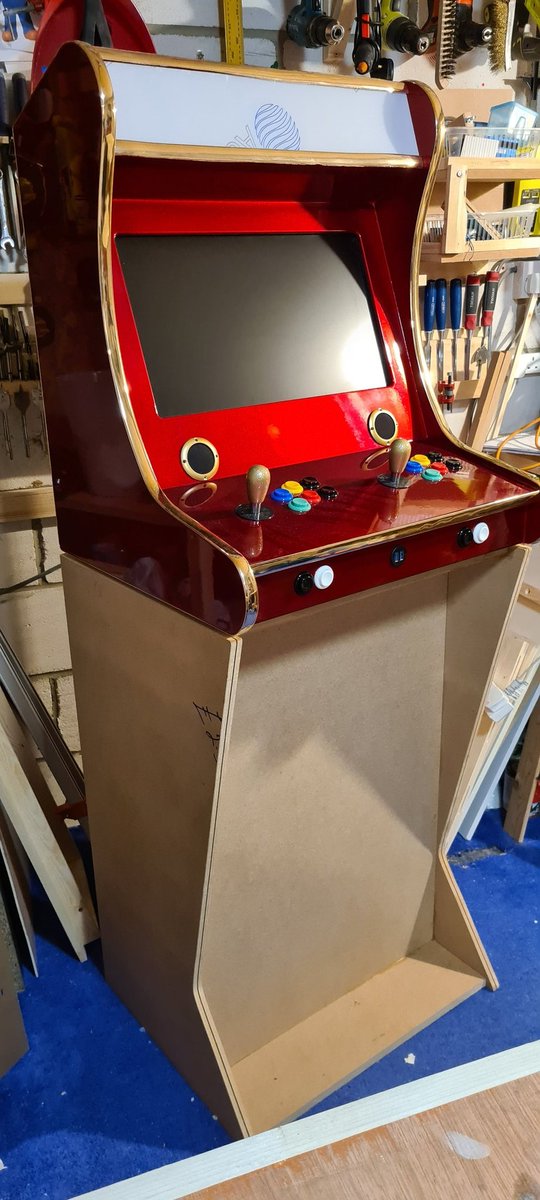
NEW PROJECT THREAD.
TerryCade (arcade machine for my lovely neighbour Terry)
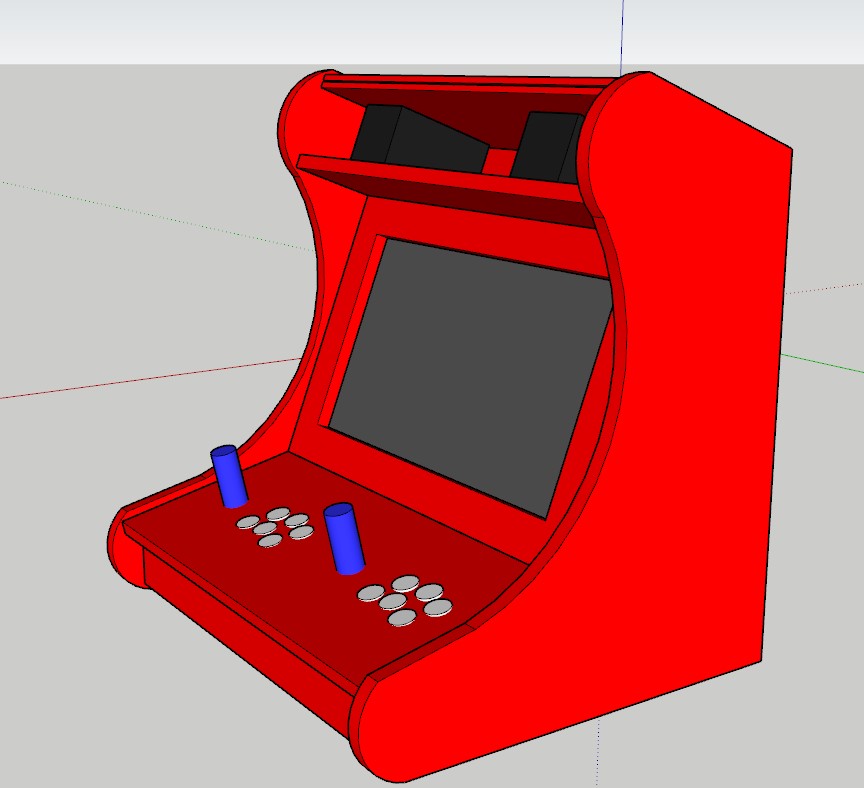
22" screen. RPi 4 2gb. Bartop with 2 player controls, 6 buttons each.
I only have to build it, he is taking care of the finish.
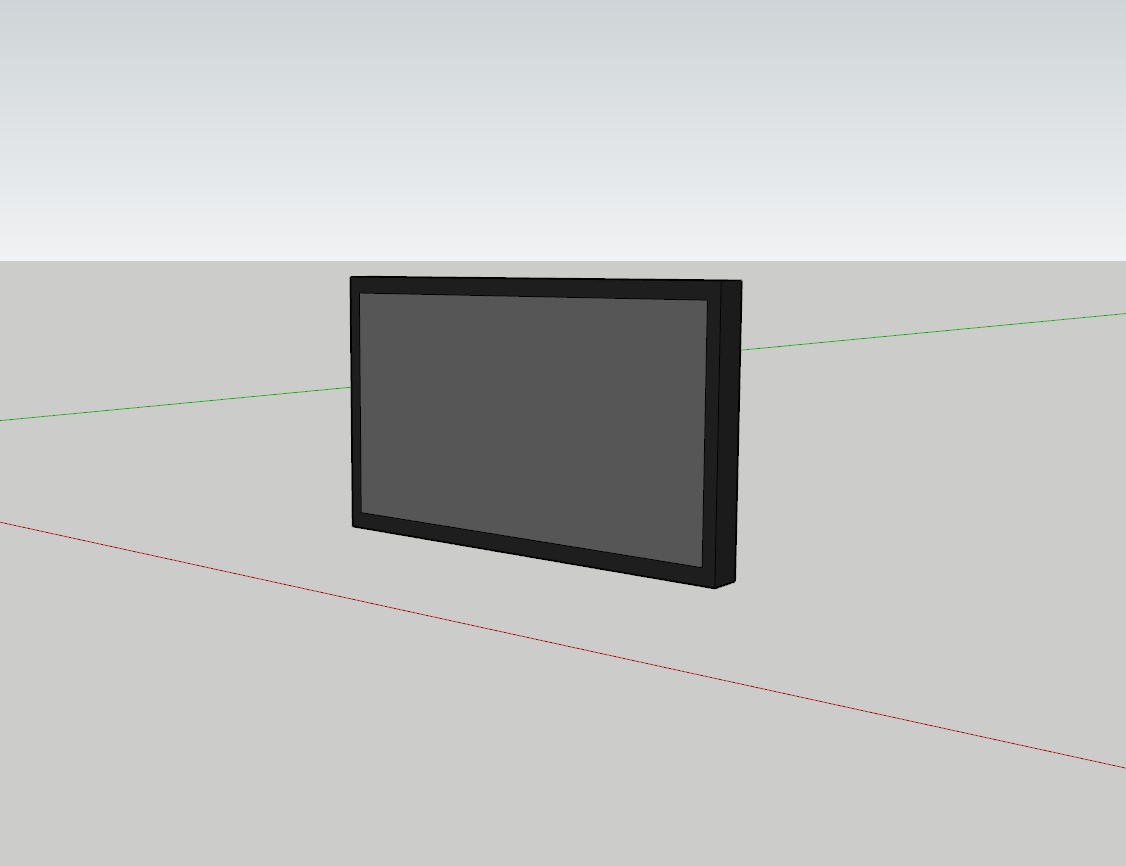
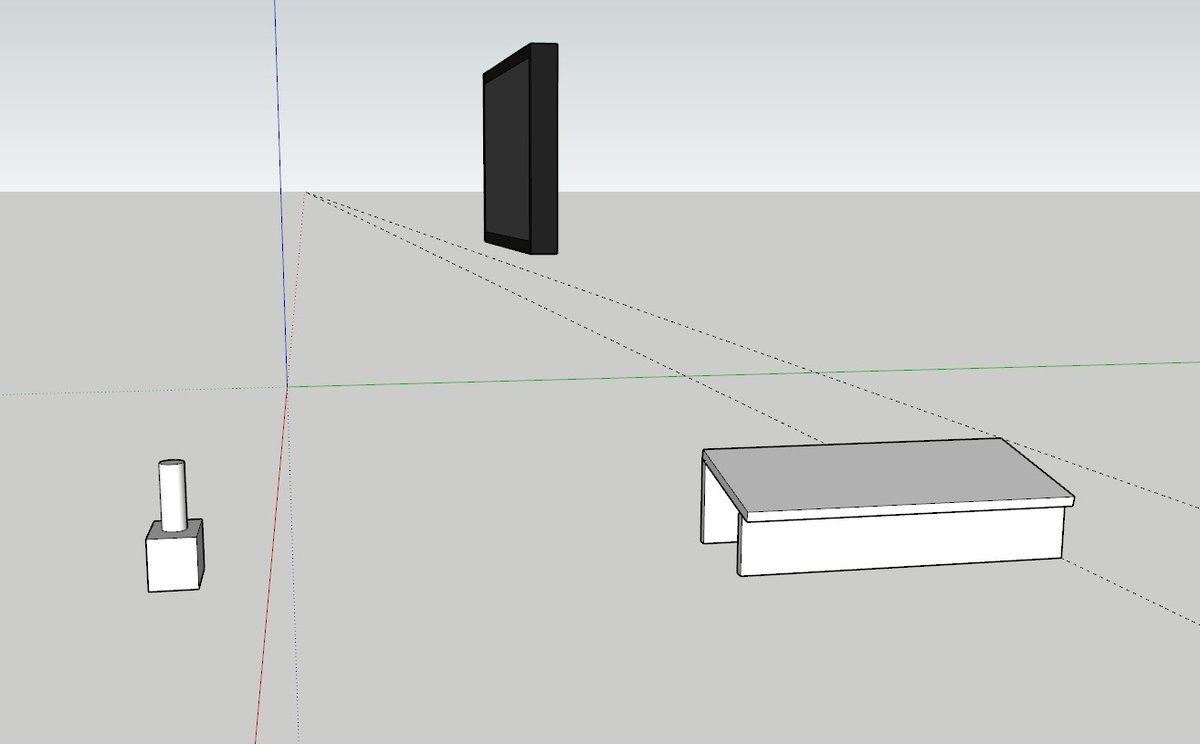
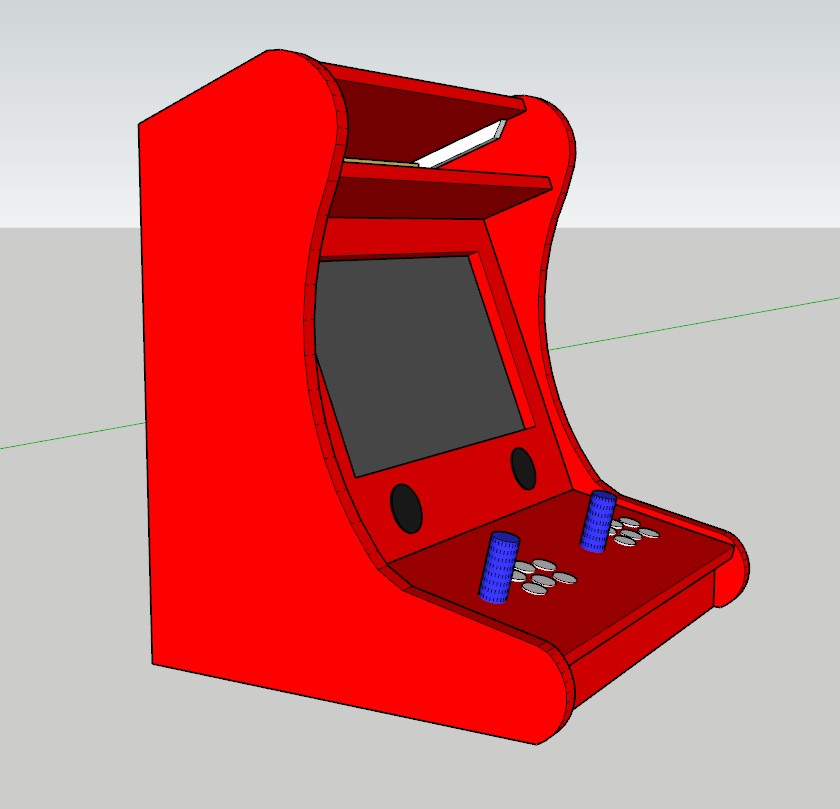
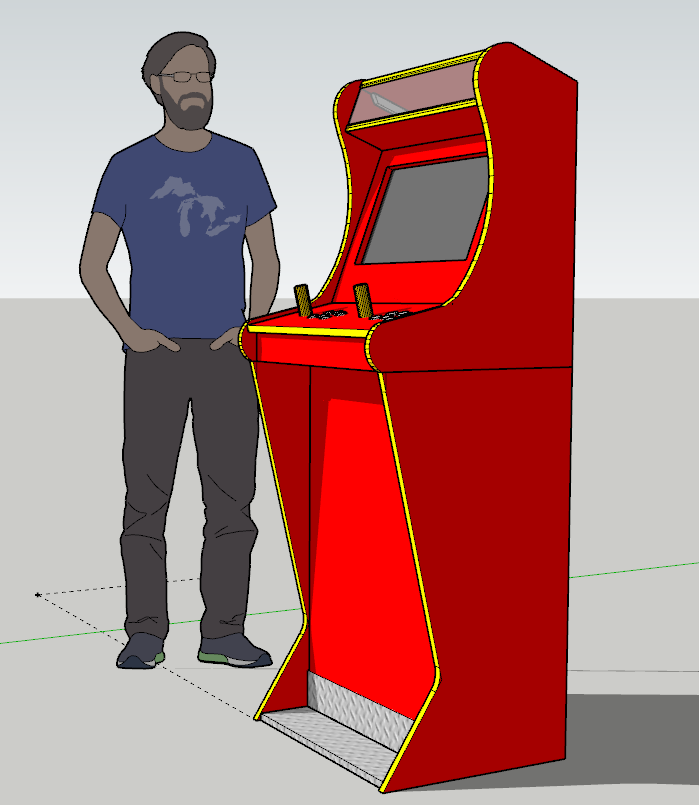
Started the sketchup design process.
TerryCade (arcade machine for my lovely neighbour Terry)
22" screen. RPi 4 2gb. Bartop with 2 player controls, 6 buttons each.
I only have to build it, he is taking care of the finish.
Started the sketchup design process.
Already have a screen, controls, and speakers. Basically, all I have to do is join the dots!
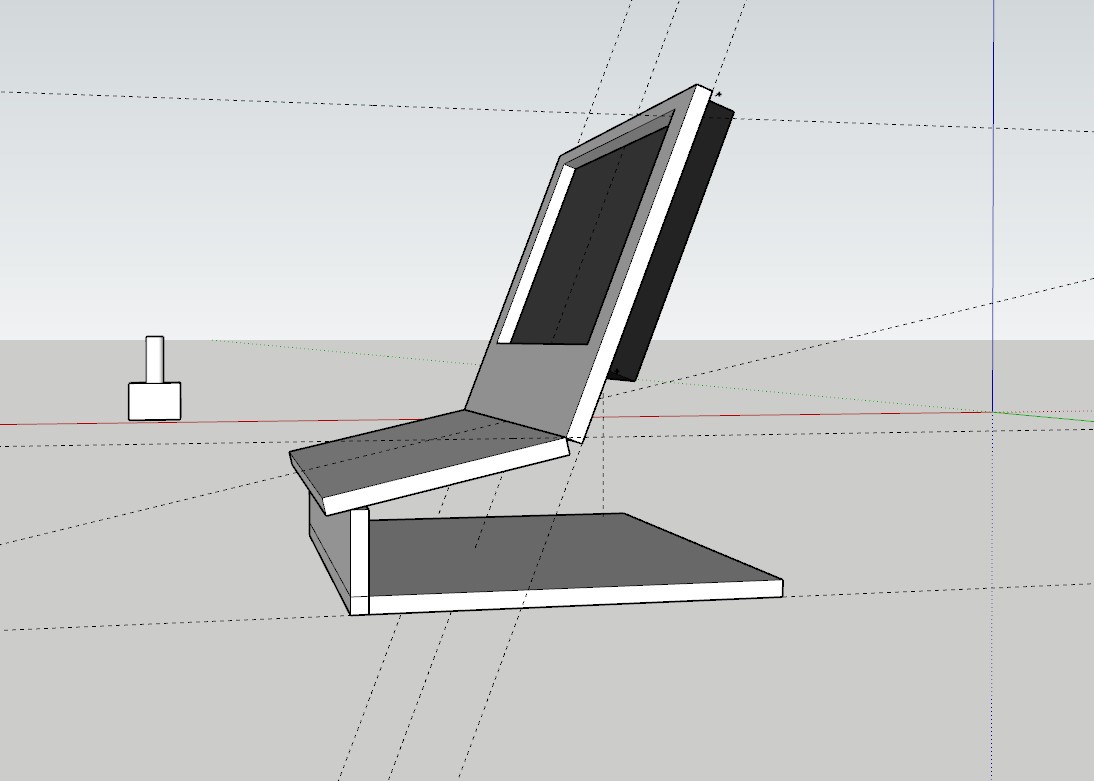
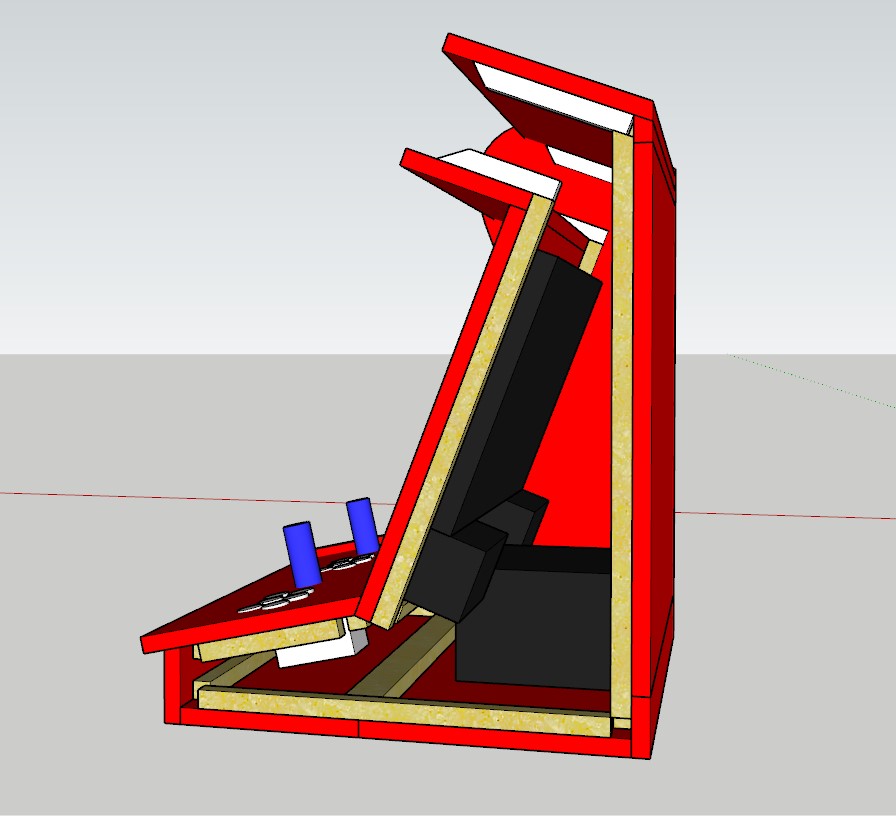
Progress on the design. Pretty simple so far. Got all the major components measured inside. Lot of tweaking to do. I think that screen could do with being higher. Might spoil the lines though.
I& #39;m at that point in the project where I could carry on tweaking the design to waste time, or just pull the trigger and start cutting wood.
Just waiting for a few parts to be delivered and then it will be time to get cracking. Considering making this into a build video from start to finish.
Just had a chat with Terry. Project TerryCade is no longer going to be a bartop size. We are going all in and making a full size arcade machine  https://abs.twimg.com/emoji/v2/... draggable="false" alt="😲" title="Erstauntes Gesicht" aria-label="Emoji: Erstauntes Gesicht">
Does mean a redesign but there& #39;s a lot of plans already made I can use.
Does mean a redesign but there& #39;s a lot of plans already made I can use.
Bit more of a challenge in some ways, but this will actually make it an easier build. I won& #39;t be space constrained so no need to plan the components to the mm.
Hold the phone! We are back to a bartop. Had a chat and decided that bartop is the way to go as we already have the monitor and at 21" its too small for a full-size standup cabinet.
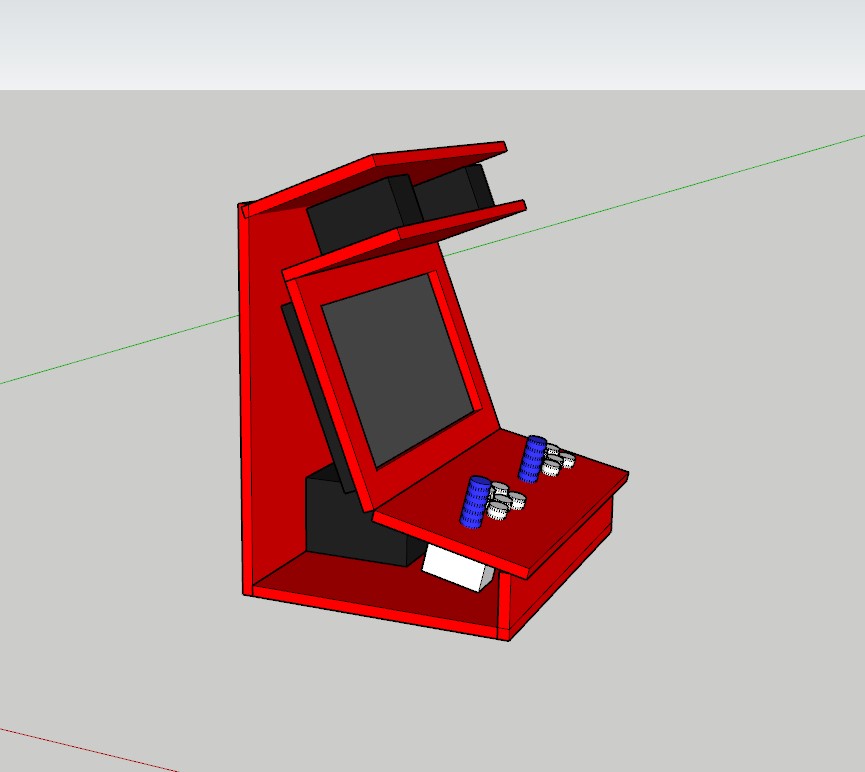
Tweaking the design before I am fit enough to start working on this. Have moved the screen up and made room for speakers at the base of the bezel. I might put them in the marquee, we will see. This is going to be a LARGE bartop
#RETROGAMING
#RETROGAMING
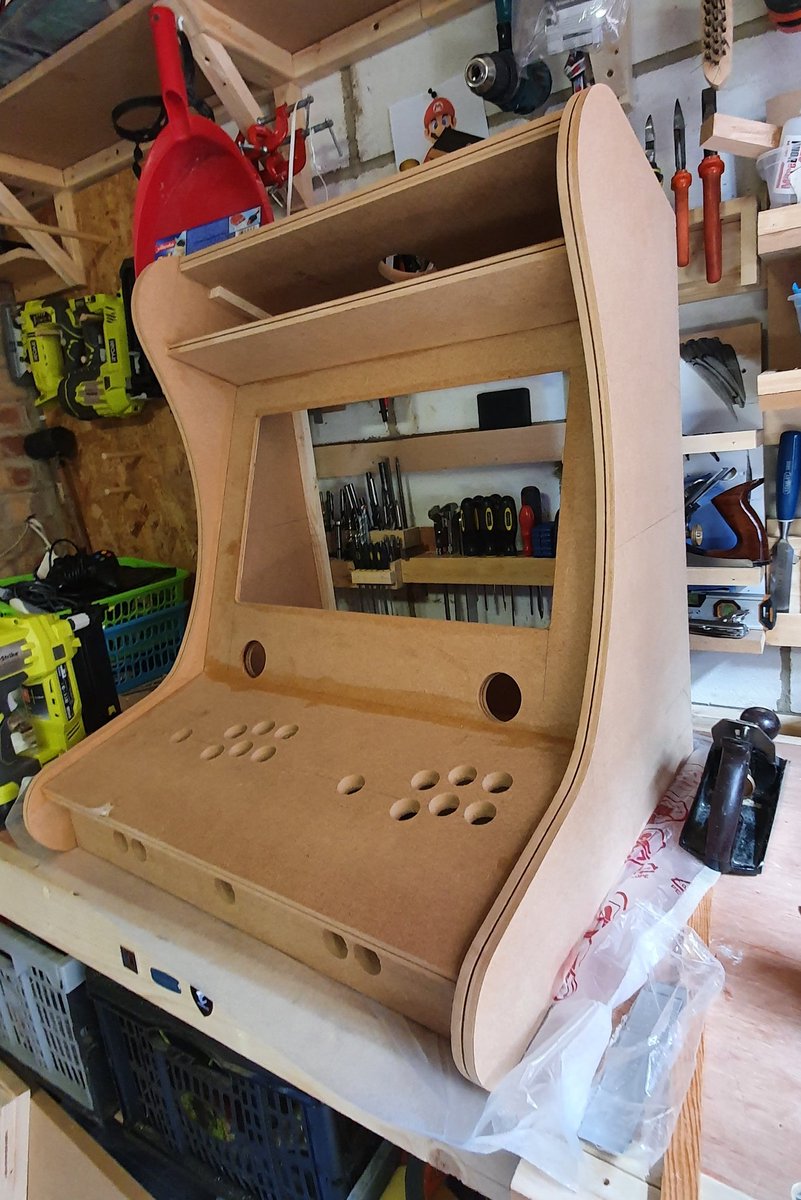
Most of the work is inside. Have to plan every part so I dont get any nasty surprises. Still need to decide on the power strip and where that goes as it is the last big component the fit inside. You can see the speakers and the woofer, and the bases of the joysticks.
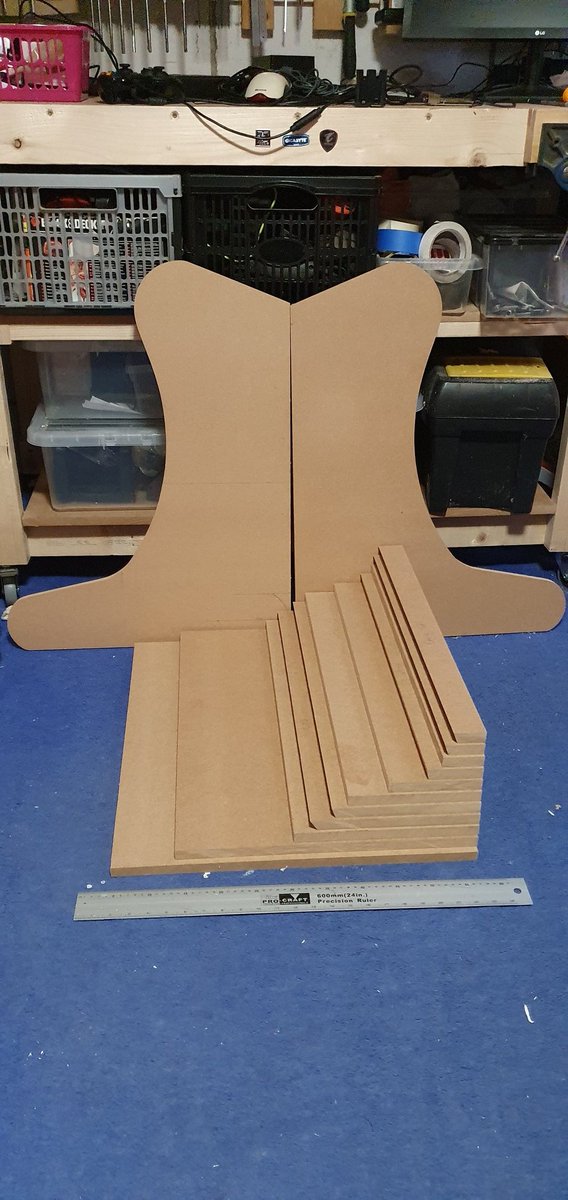
First cut made! Project TERRYCADE is GO!
It& #39;s hard to move from planning to building, I struggle to let go of the fear of making a mistake. But once I& #39;m going it& #39;s such a good feeling. And it& #39;s wood; if I make mistakes I can fix them!
This build is going to be big!
This build is going to be big!
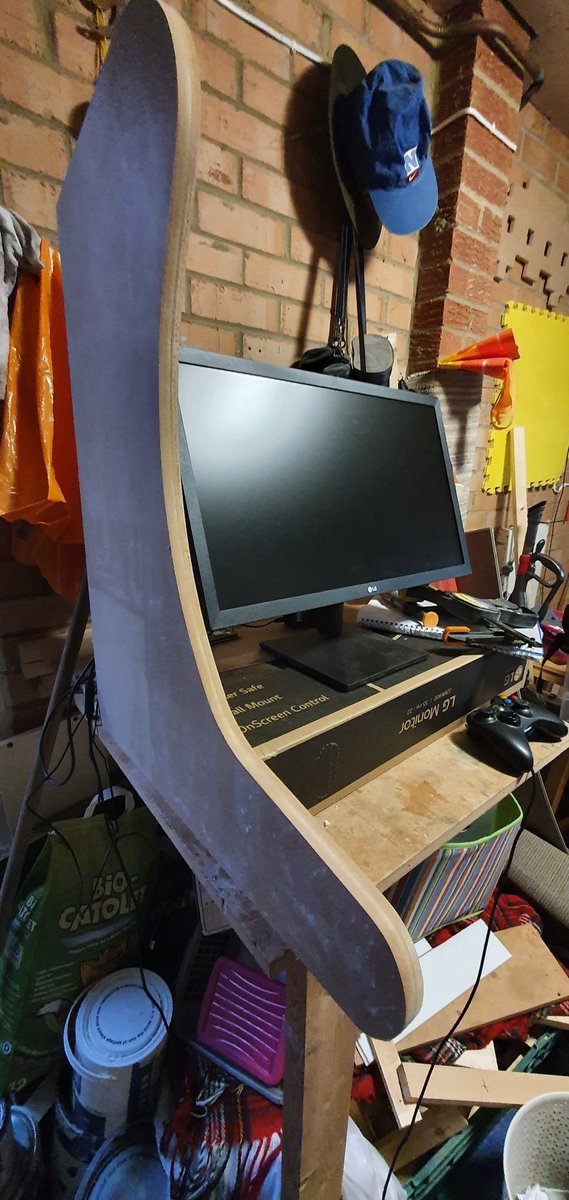
I have to cram this monster into the back of the cabinet. According to my measurements there& #39;s just enough room. But that& #39;s before I& #39;ve added support for behind the screen. I might need to make precision adjustments with a hammer
I& #39;m getting pretty good at this! My first arcade machine took weeks to get to this stage. These cuts took 2 days (only a couple of hours of each day). I& #39;ve got 3 different angle bevel cuts and all of them are perfect. Hope the rest of the build goes this well and this fast!
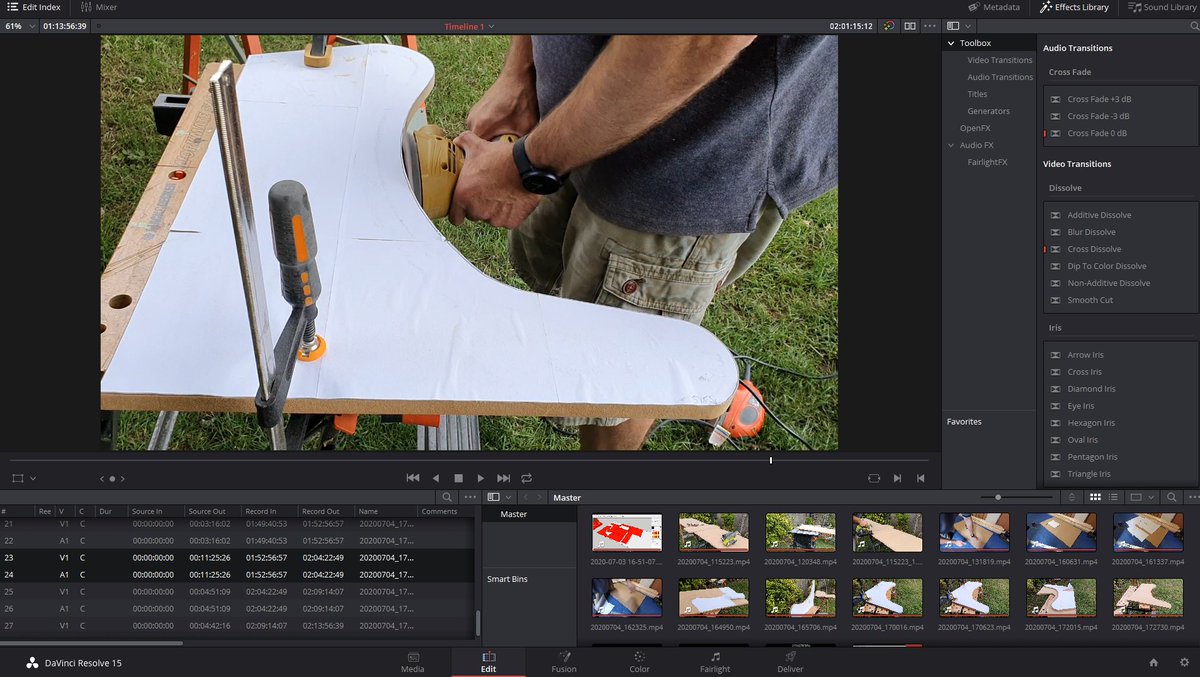
It& #39;s raining, and as a mostly outdoor woodworker, this means I can& #39;t use my table saw or mitre saw. So I think I will start editing some of the early footage of the build and possibly think about putting it out in smaller episodes rather than one large vid.
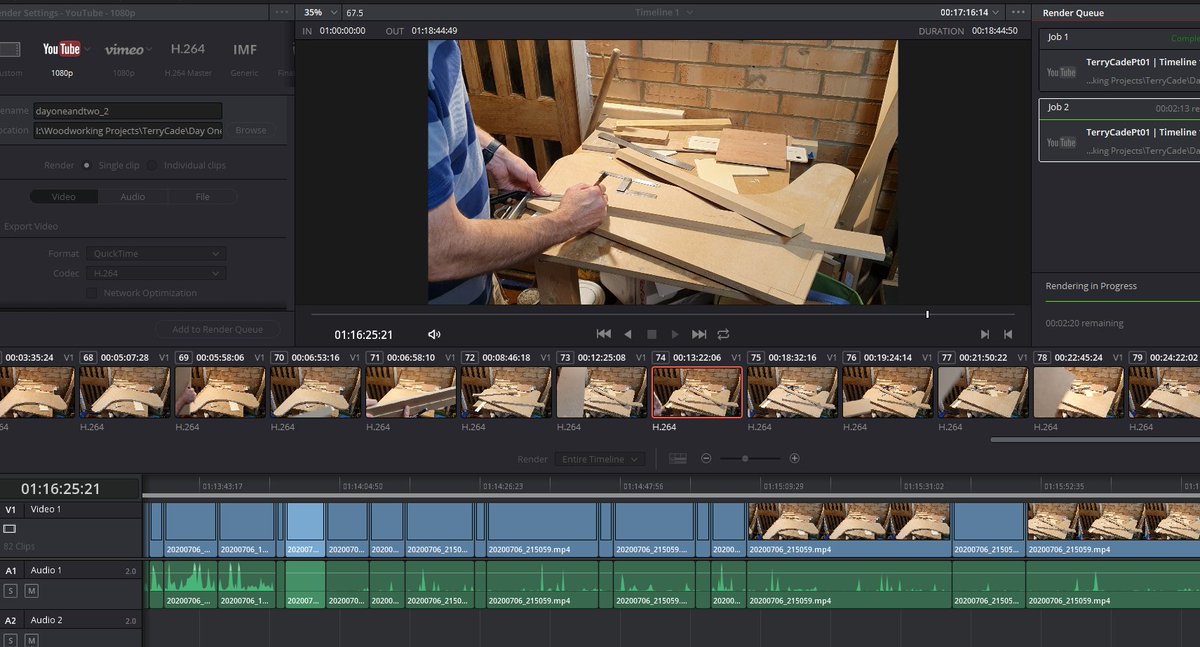
Video is rendering. Two days of the build so far cut and narrated. I will upload this tonight and release it sometime tomorrow!
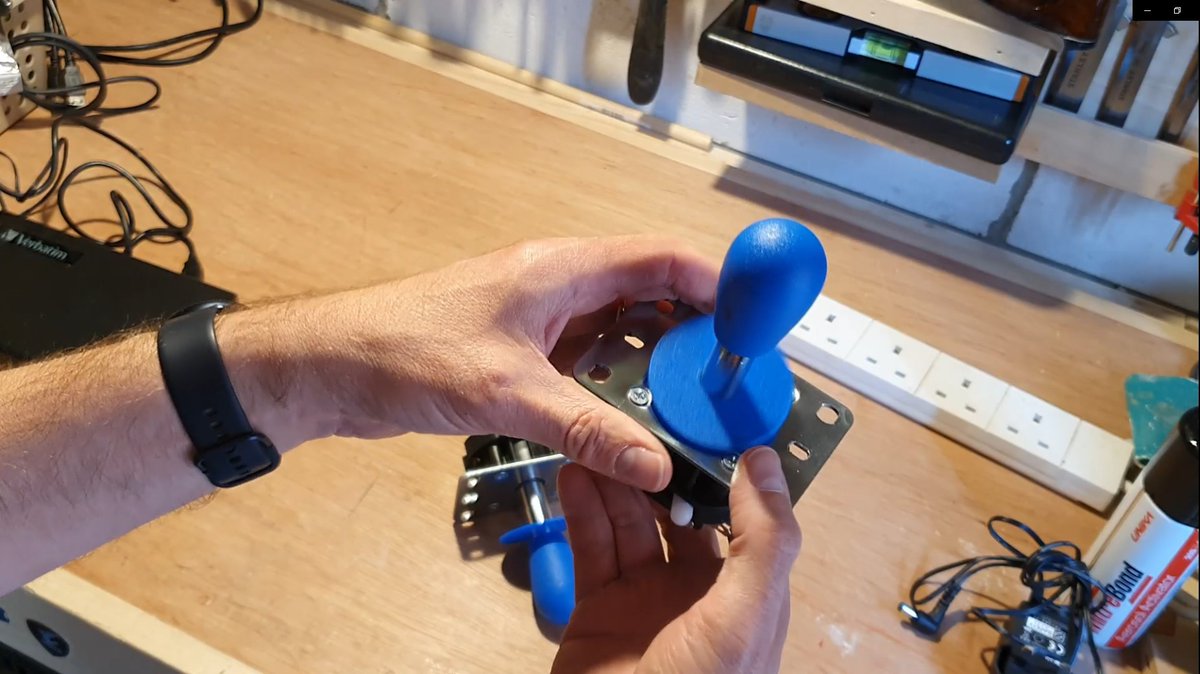
Video Part 1.5 uploaded. Scheduled for tomorrow at noon. Just a quick rundown of all the parts that will be going inside the cabinet. Have also made some actual progress on the build but will wait for a bit more before I release that video.
Part 1.5 is here! I& #39;m showing off the ingredients needed to make an arcade machine. https://youtu.be/ybiAcBReM-A ">https://youtu.be/ybiAcBReM...
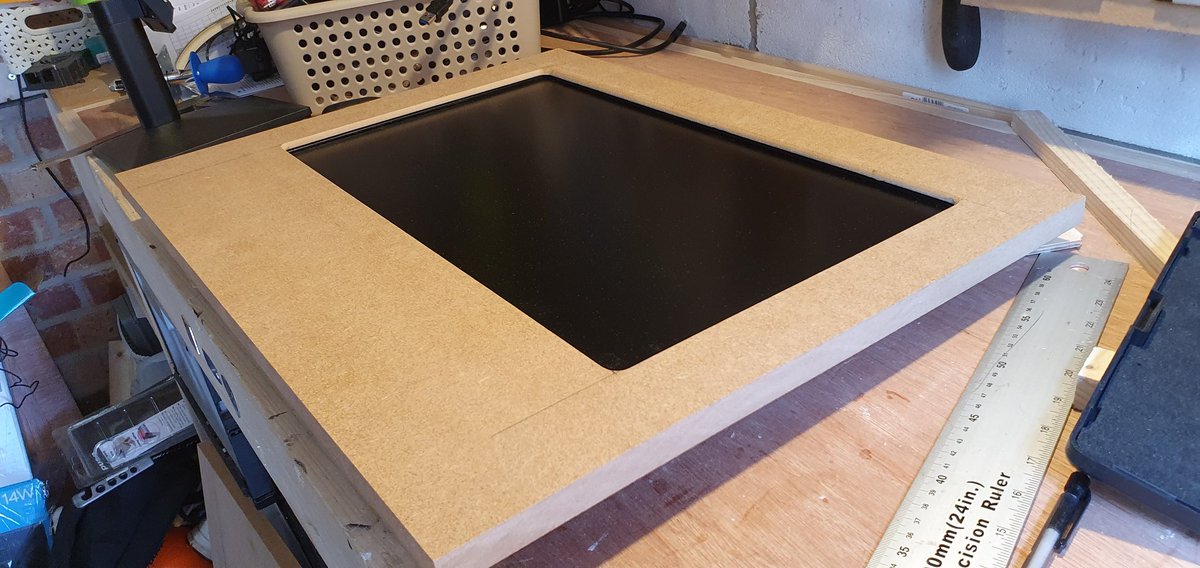
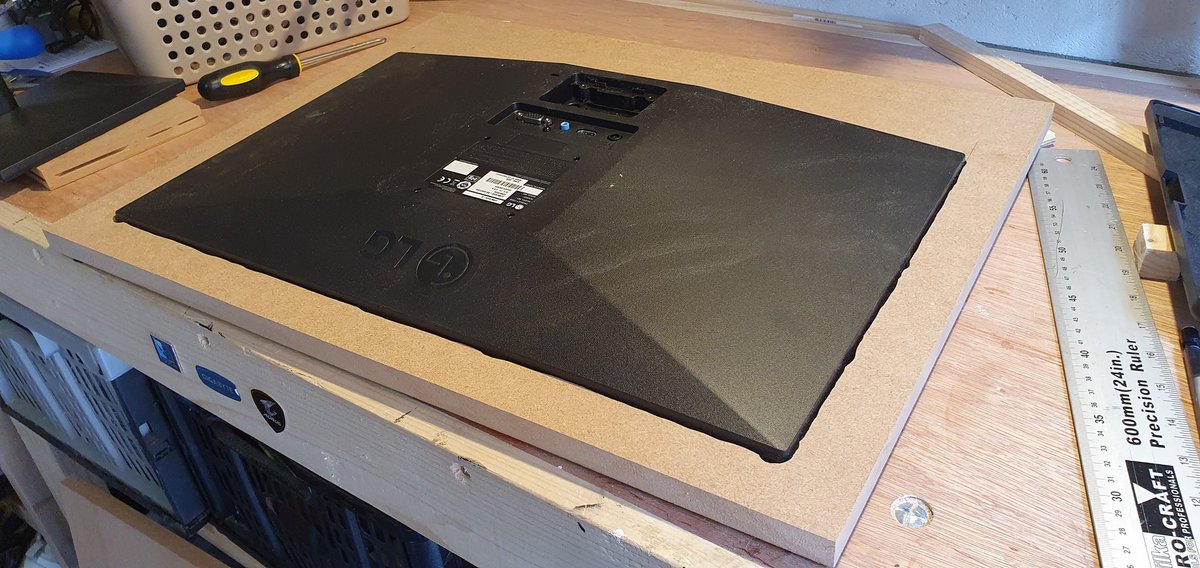
Just cut the bezel and recessed the screen into the back of it. It& #39;s come out perfect! (one or two hairy moments along the way!)
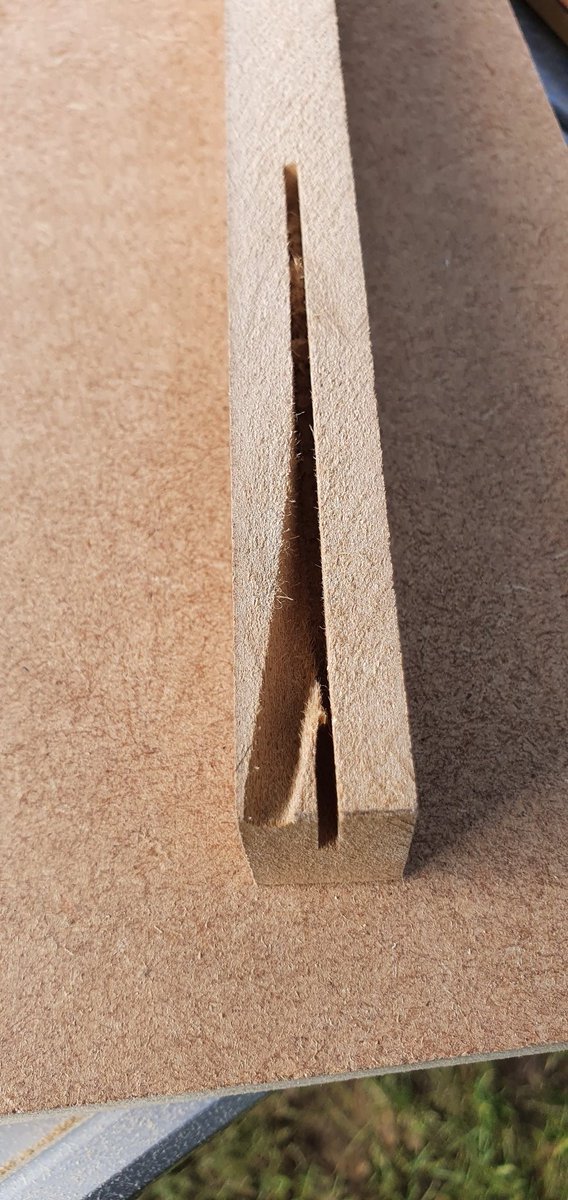
Pleased with progress yester, but it wasn& #39;t without its setbacks. This was the edge of the control panel. Cutting a slot for T-molding and... Oops! Had to recut that whole panel. Thankfully it wasn& #39;t a side panel.
Today& #39;s list:
Cut holes for speakers.
Cut holes in back bottom panel for power and speaker controls.
Cut rebate in marquee for plexiglass.
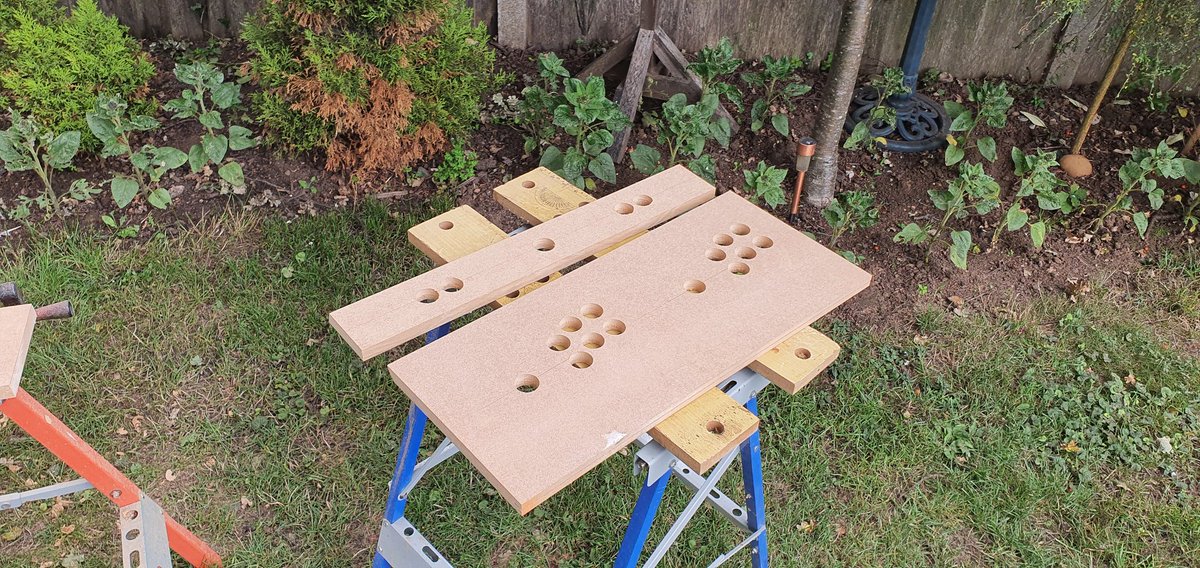
Drill out controls holes.
Plus holes in front panel for start and select and usb ports.
Its gonna get dusty!
Cut holes for speakers.
Cut holes in back bottom panel for power and speaker controls.
Cut rebate in marquee for plexiglass.
Drill out controls holes.
Plus holes in front panel for start and select and usb ports.
Its gonna get dusty!
More sexy gif action from yesterday.
Routing out the recess for the screen in the bezel panel
Routing out the recess for the screen in the bezel panel
Control panel Swiss cheesed
Back bottom panel well and truly holed
Just a few more holes to drill: bass speaker, bottom and top fans. Then it will be time to fit this jigsaw together!
Spur of the moment decision to put this together last night. Considering I was shattered, and could hardly see with tired eyes, it went together really well. And it& #39;s HUGE! When it& #39;s full of its inside bits it& #39;s going to need two to lift it.
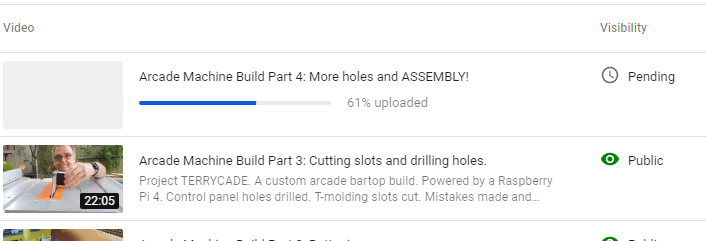
Making steady progress on this monster. At a stage where the gains are smaller each day, but it& #39;s moving forward. Probably not enough footage for a video yet. Hopefully episode 4 during the week.
The last holes are drilled. It& #39;s now ready to be painted hopefully later this week! When it gets back from its makeover it& #39;ll be time to put all the magic inside.
Time to start putting the next video together!
Finished writing the script last night. Was too tired to record, would have just been a series of yawns and snores. Will record it tonight and release tomorrow lunch time.
24 days ago I made the first cut. Considering I only get a few hours a day, and depending on weather, that& #39;s pretty quick. Still a lot to do though!
It& #39;s gone! On its way to be painted!
Narration recorded. Need to splice it into the video, render that, then upload, then play vidja ghems.
Rendering! I really enjoy making these videos. And it& #39;s really nice to see people are enjoying watching them.
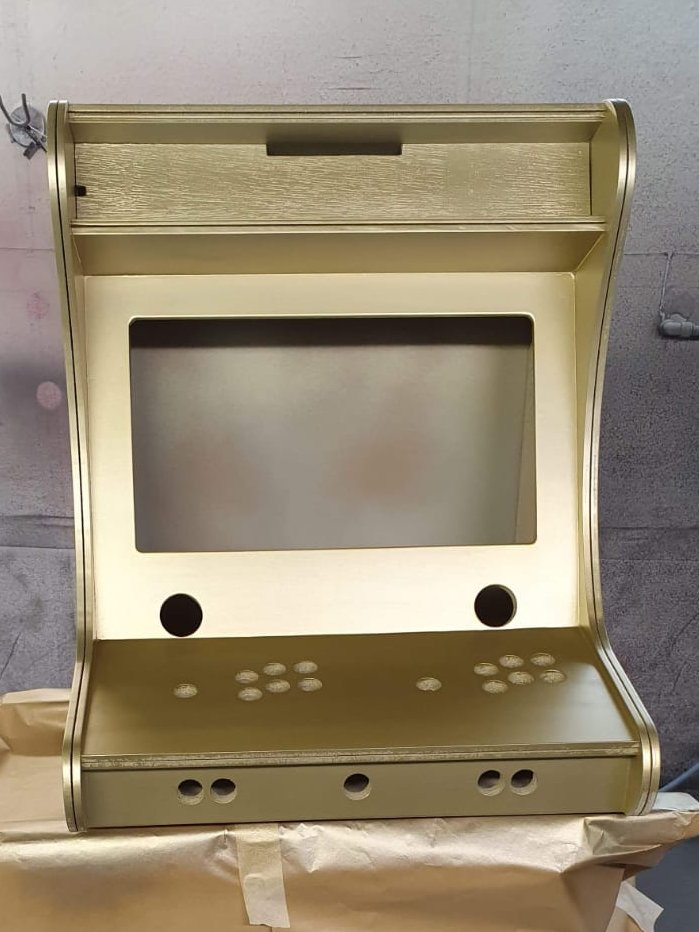
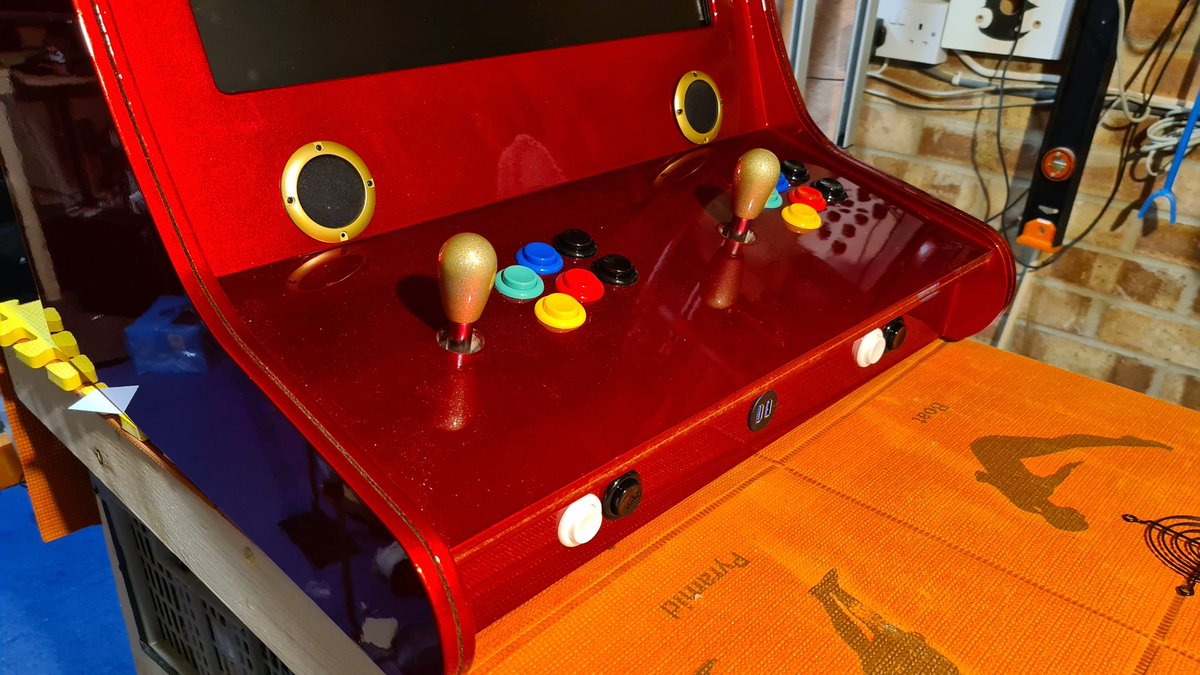
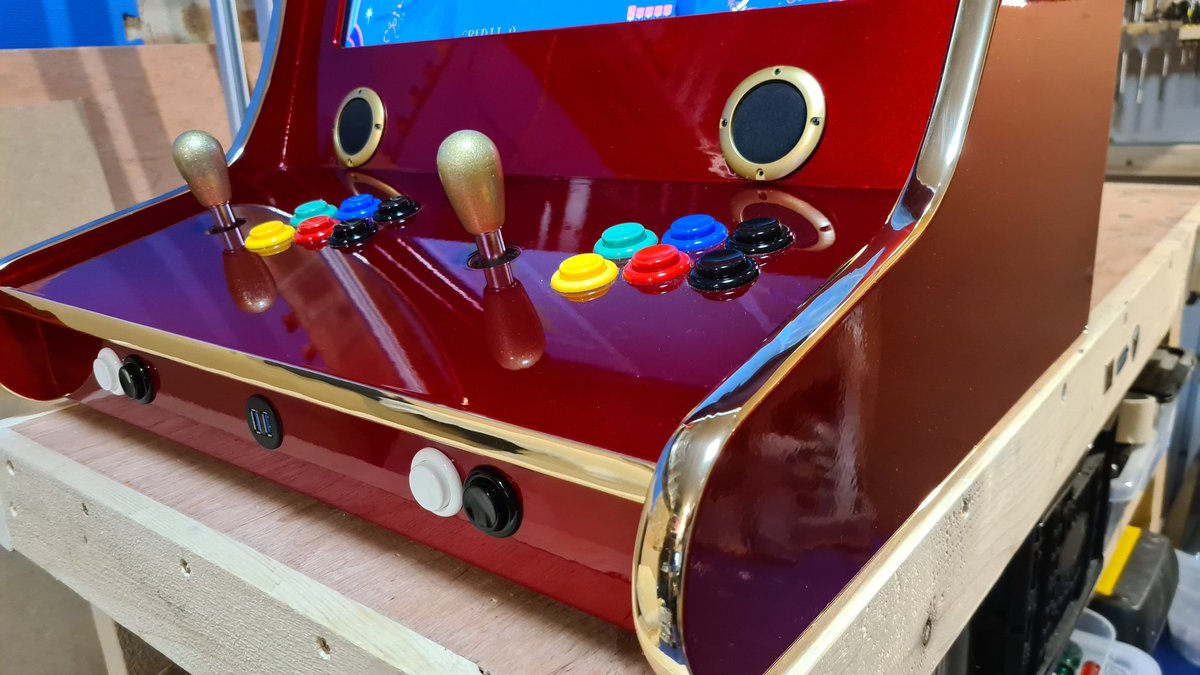
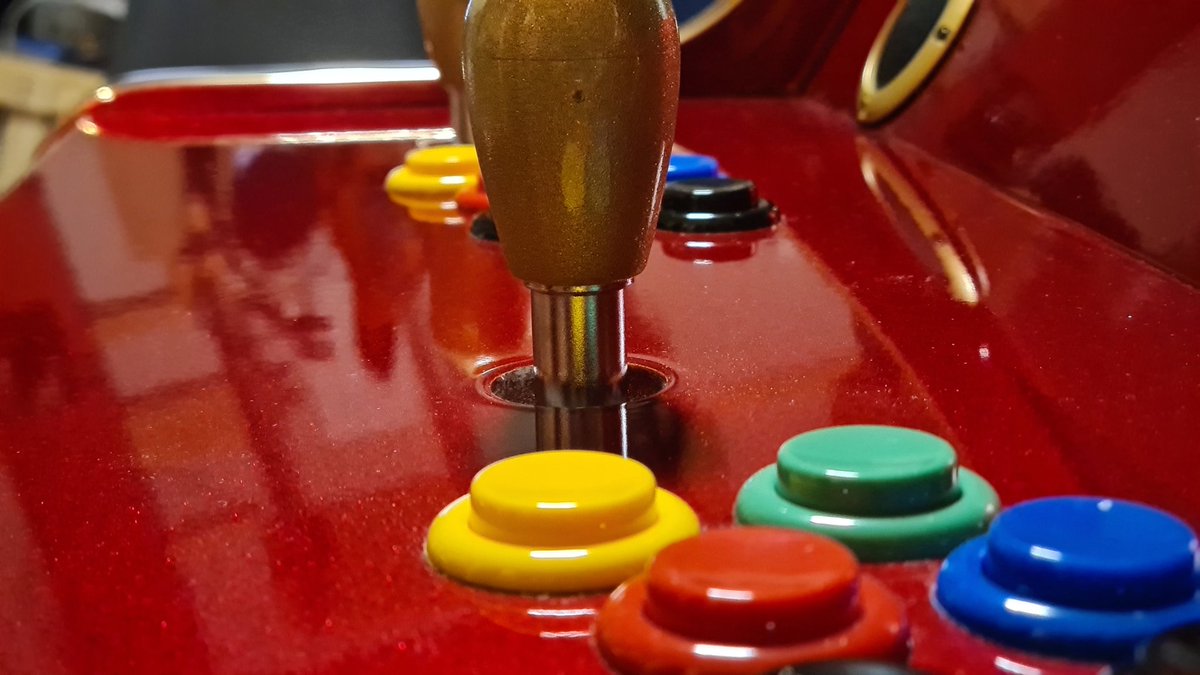
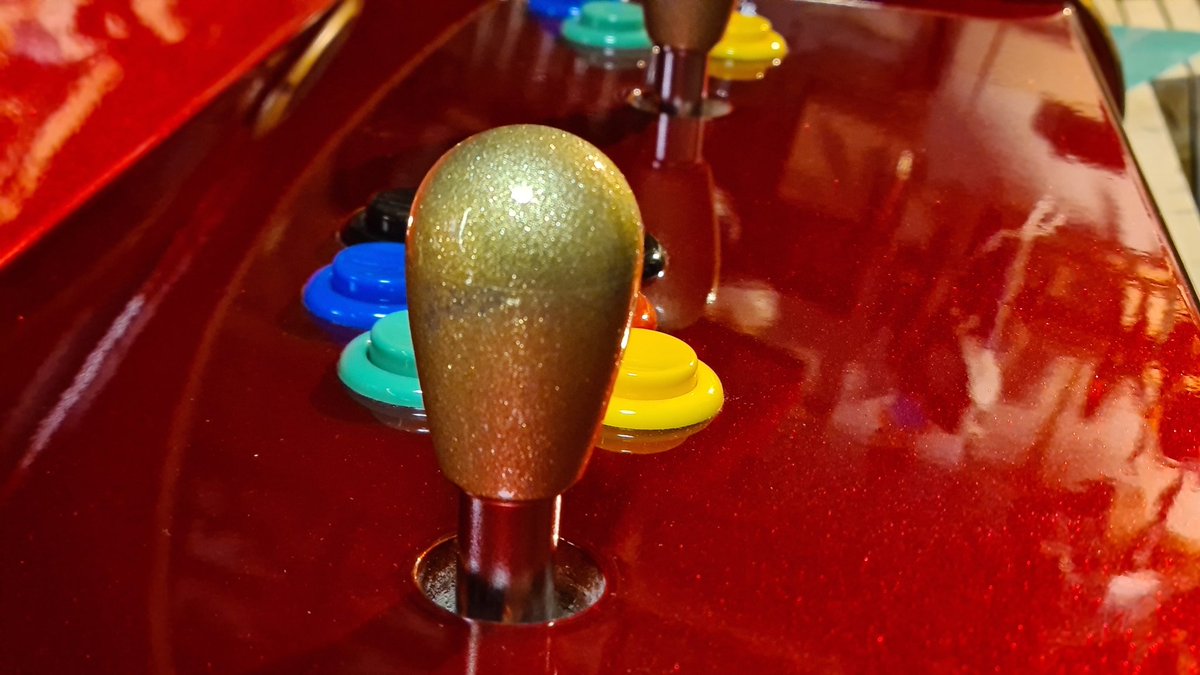
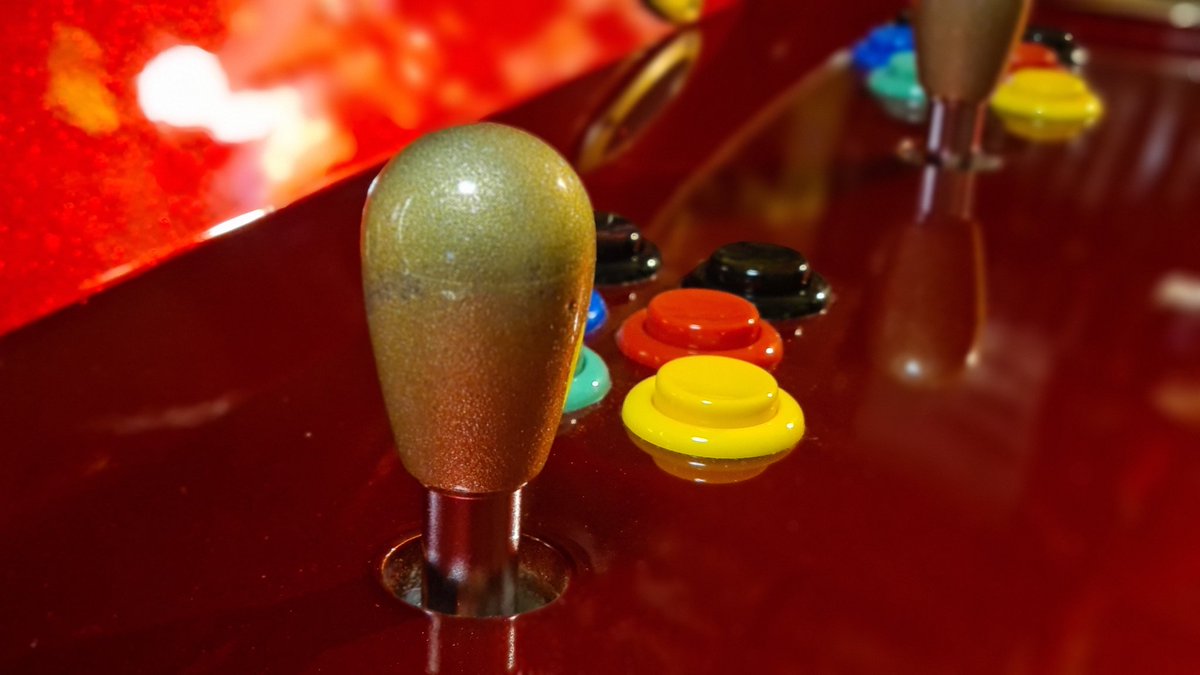
Red over gold. This is a pro-level custom paint job that I could never have hoped to achieve in my back garden. I should have it back early next week and will take some high quality pics then. Stunning work!
Sorry I& #39;ve been a bit quiet on this. Had a few issues I needed to address before I could start on this again. It& #39;s really getting there now! Have a lot of video banked, will be getting to that when this next phase is complete.
The insides are mostly full! Tony bit of cable management... Need to wire all the controls tomorrow. Waiting for marquee lights and final design for marquee artwork. It& #39;s very close! I played games on it!
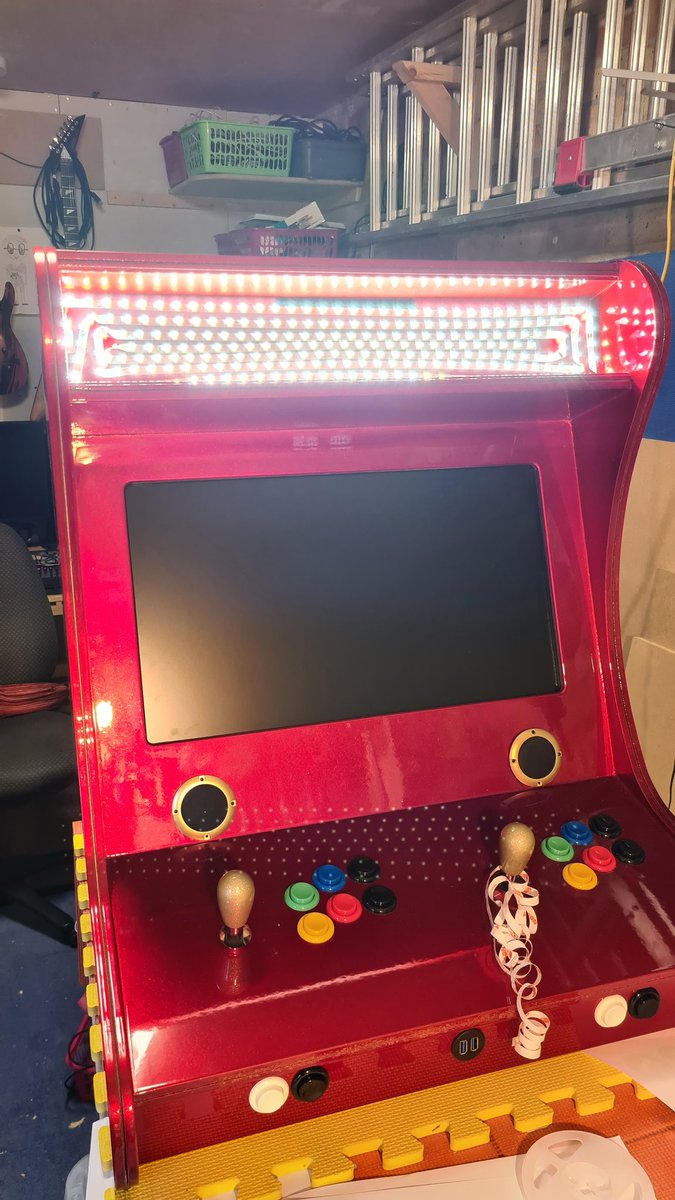
Have installed the sun in the marquee. Camera is under exposing like crazy. Pretty sure I& #39;ve burned holes in my retinas!
When I turn my back for a second...
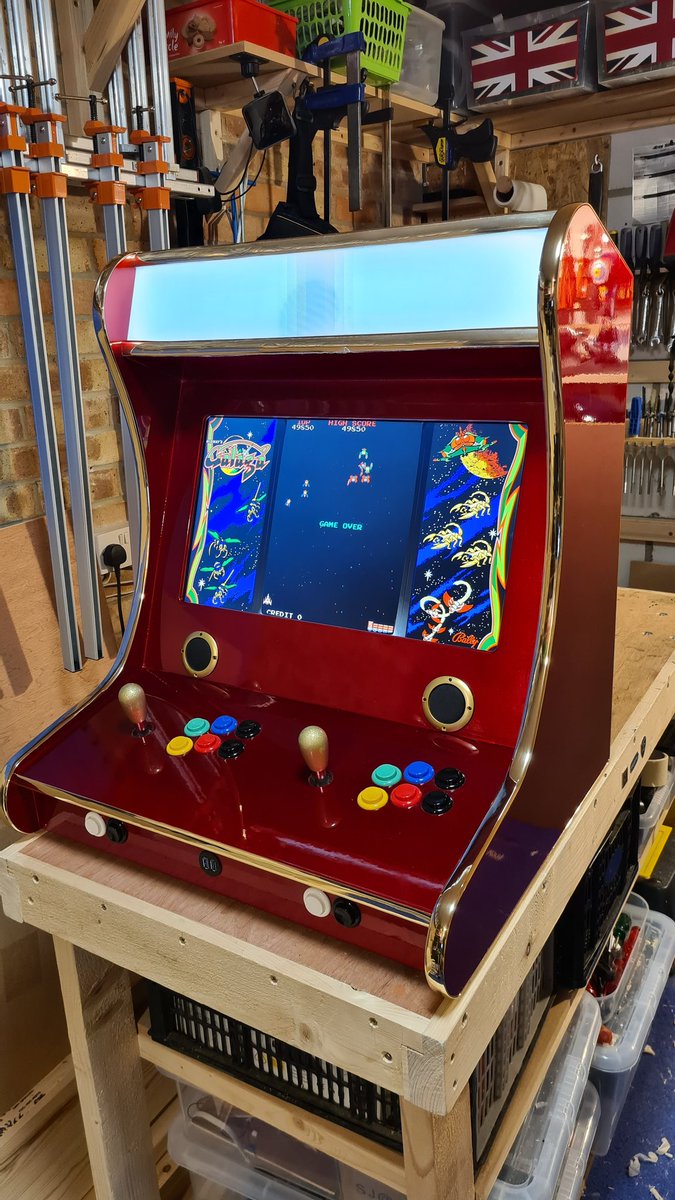
Well this is looking nice with its trim in place! Still missing dust covers on the sticks and the marquee is at the printers. The trim around the marquee is rough as it& #39;s not hammered in place and still had its protective plastic coating on.
Troubleshooting an irritating problem. The arduino encoders I used are emulating xbox 360 pads, they work fine on their own. When I plug in an actual xbox pad to play emulated console games that require analogue input it all goes haywire.

 Read on Twitter