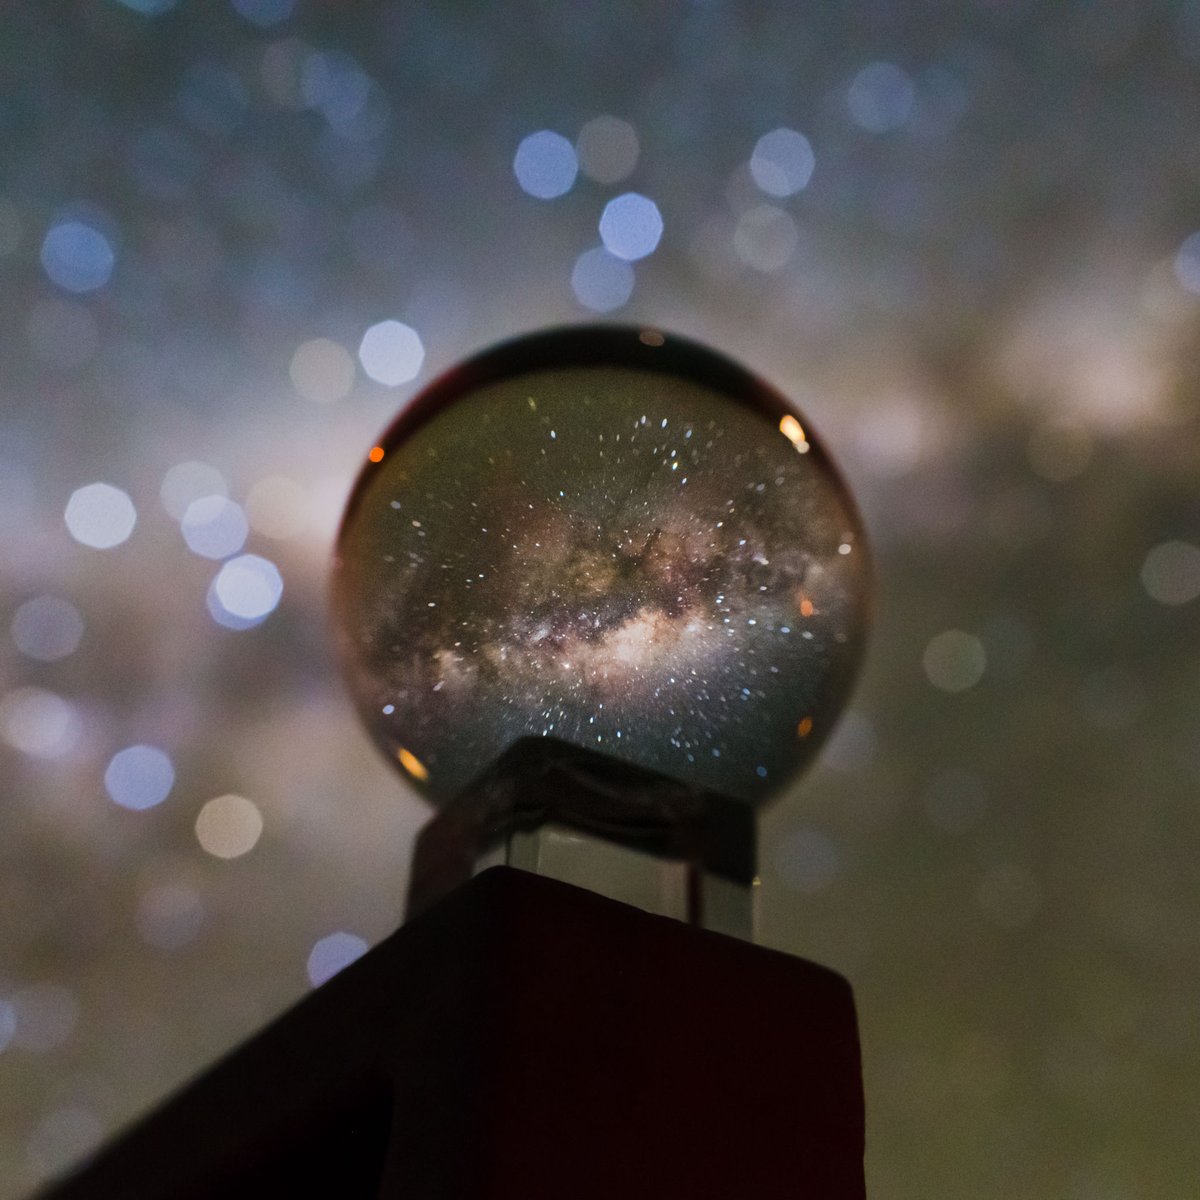
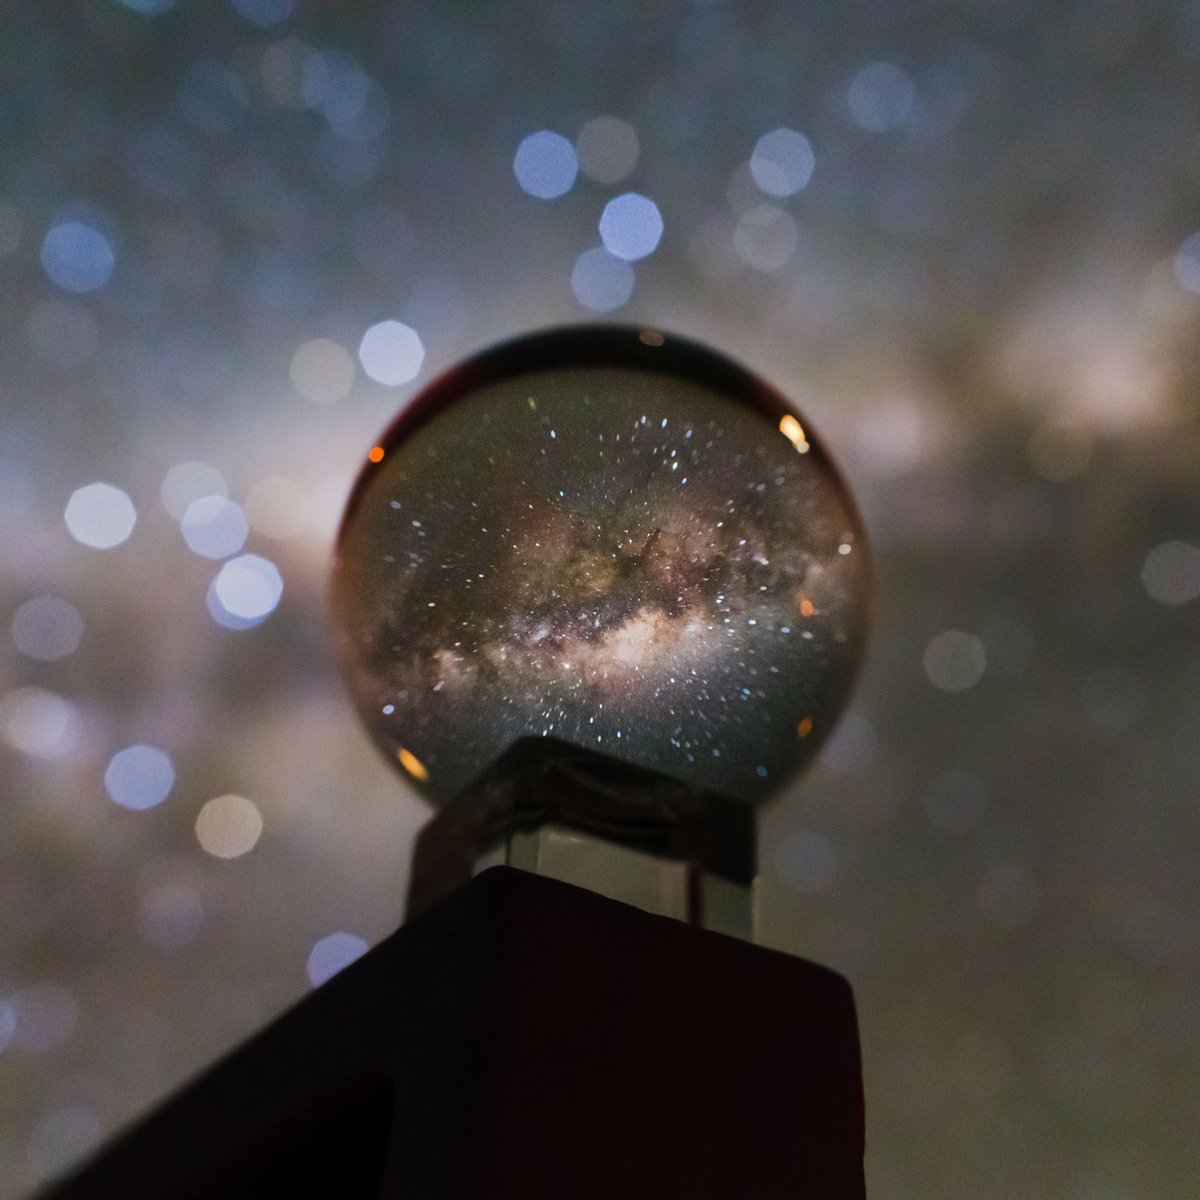
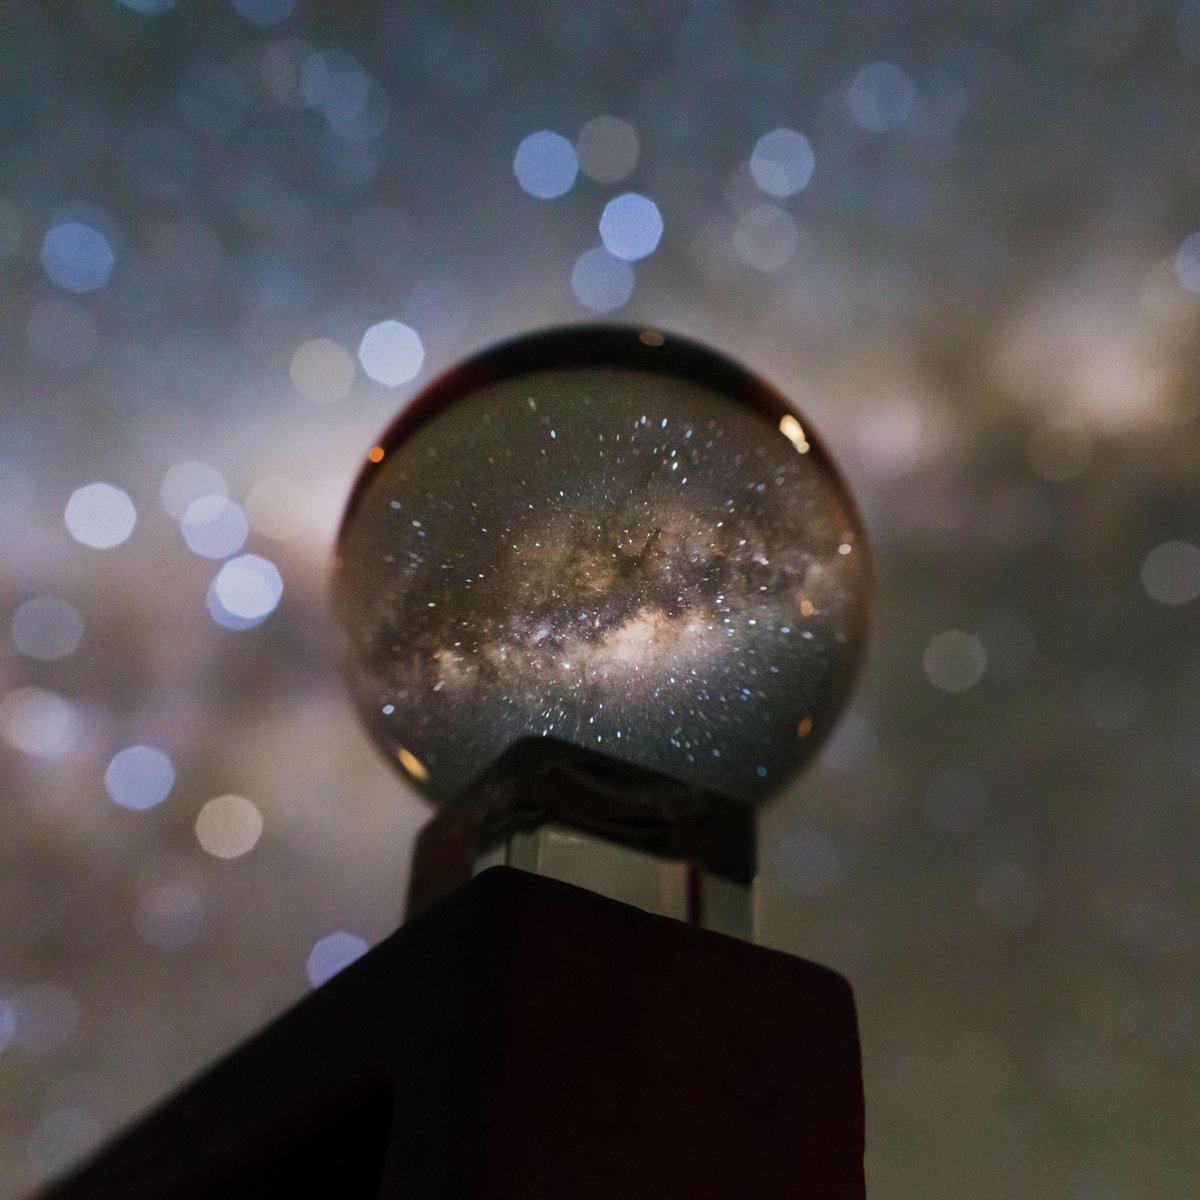
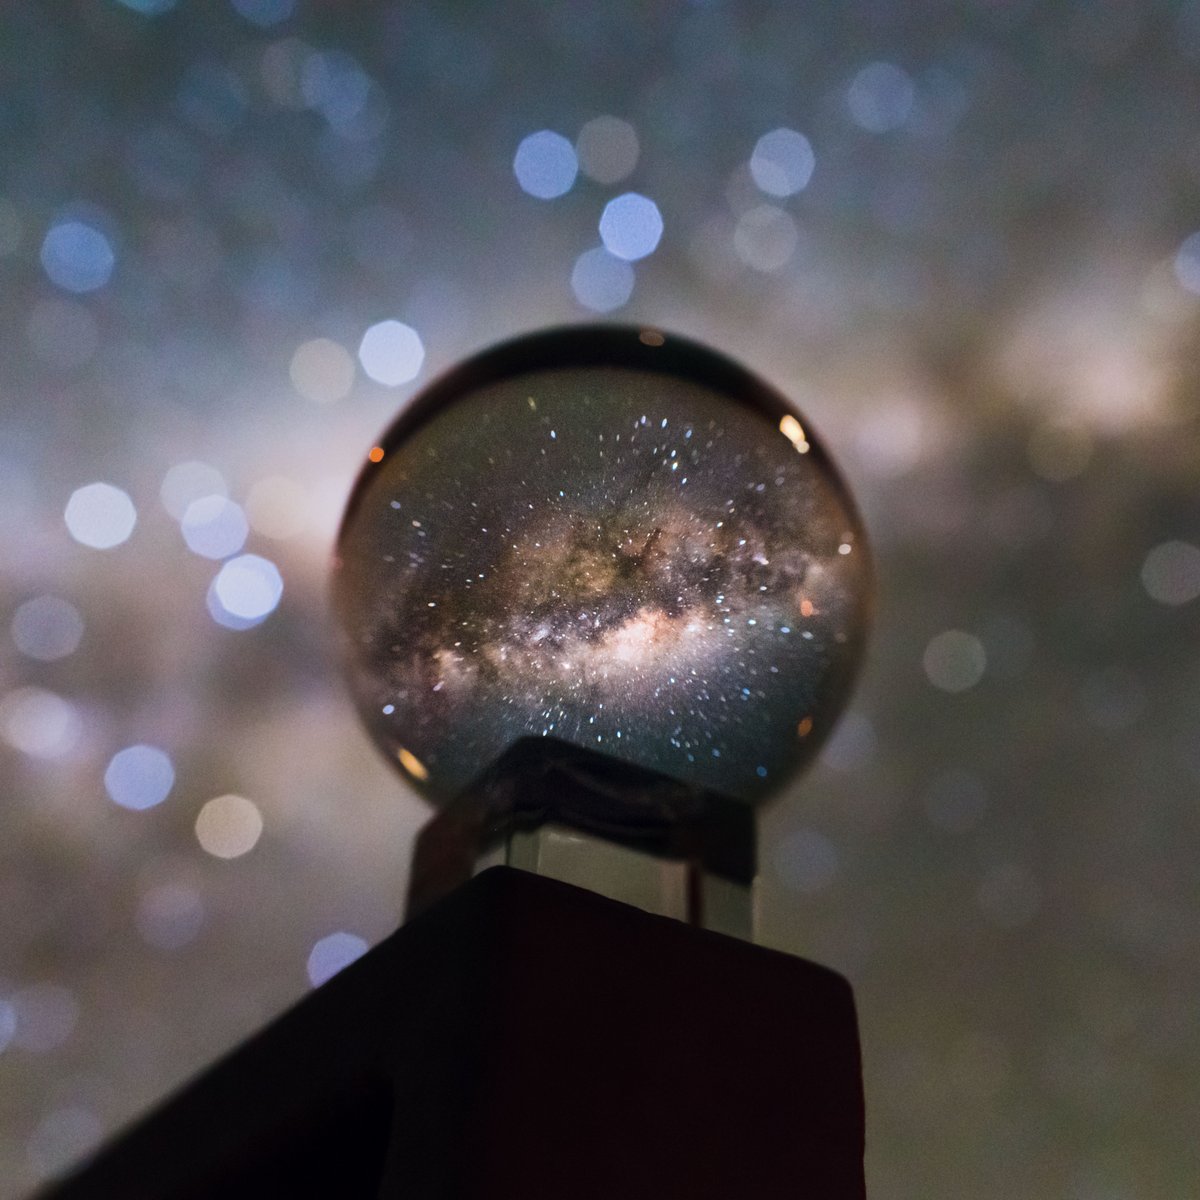
1/ Today I’d like to explain the “making of” behind this picture I took at Paranal a few years ago. I’ll show you how I planned it, several test raw images, and the whole editing process that led to the final image. Thread! https://twitter.com/astro_jcm/status/1009119140945285120">https://twitter.com/astro_jcm...
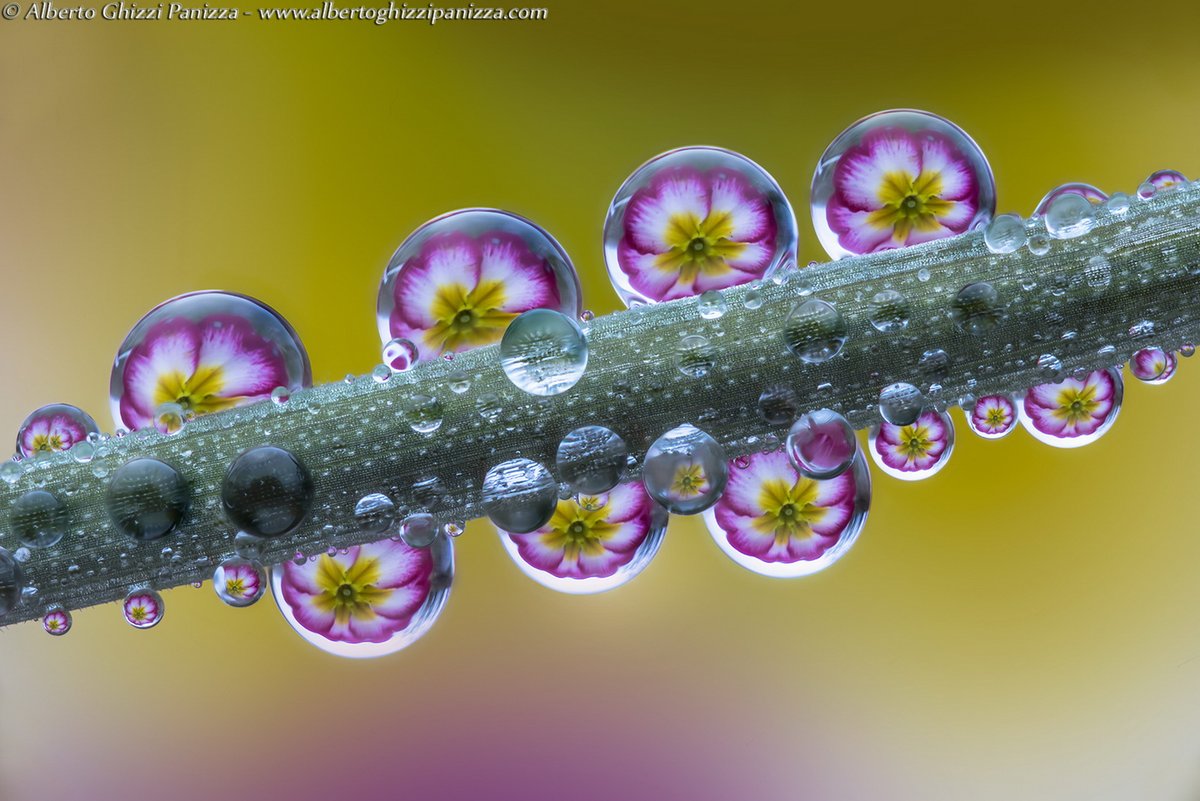
2/ Back in 2015 Alberto Ghizzi, an Italian photographer who specializes in macro photography, gave a talk at the ESO HQ in Santiago where he showcased amazingly beautiful images of tiny insects, dew, and water droplets. http://www.albertoghizzipanizza.com/ ">https://www.albertoghizzipanizza.com/">...
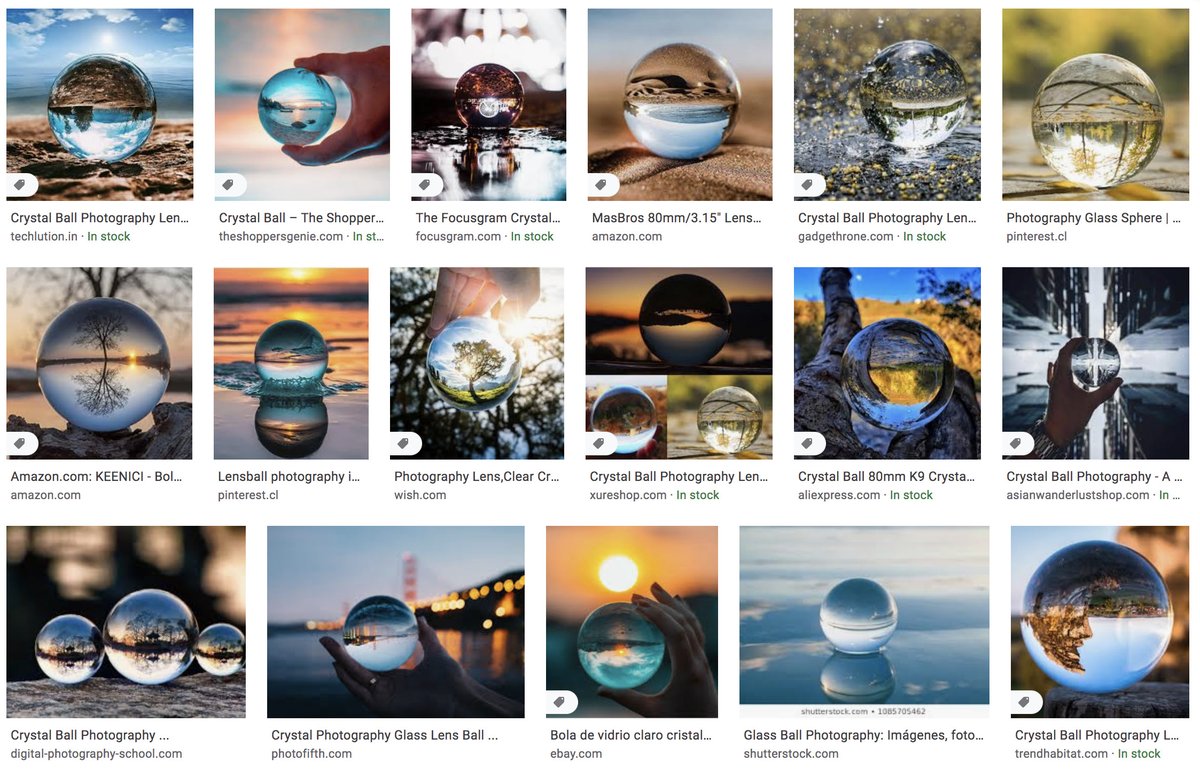
3/ I thought it would be cool to try something similar with the Milky Way and a crystal ball. I’ve never been a huge fan of crystal balls in photography, because in general they’re used as a gimmick without an actual narrative intention, but I thought it was worth trying anyway.
4/ Back then I was just starting with astrophotography, and my pics were kind of meh; technically nod bad, just not very creative. I didn’t think I could pull it off, so I slowly forgot about the idea.
5/ Flash-forward to 2018. I went for a stroll to Lastarria, a neighborhood in Santiago with a nice flea market. There was this one stand selling all kinds of used artifacts; among them, you guessed it: crystal balls for just a few bucks! I bought one and took it to Paranal.
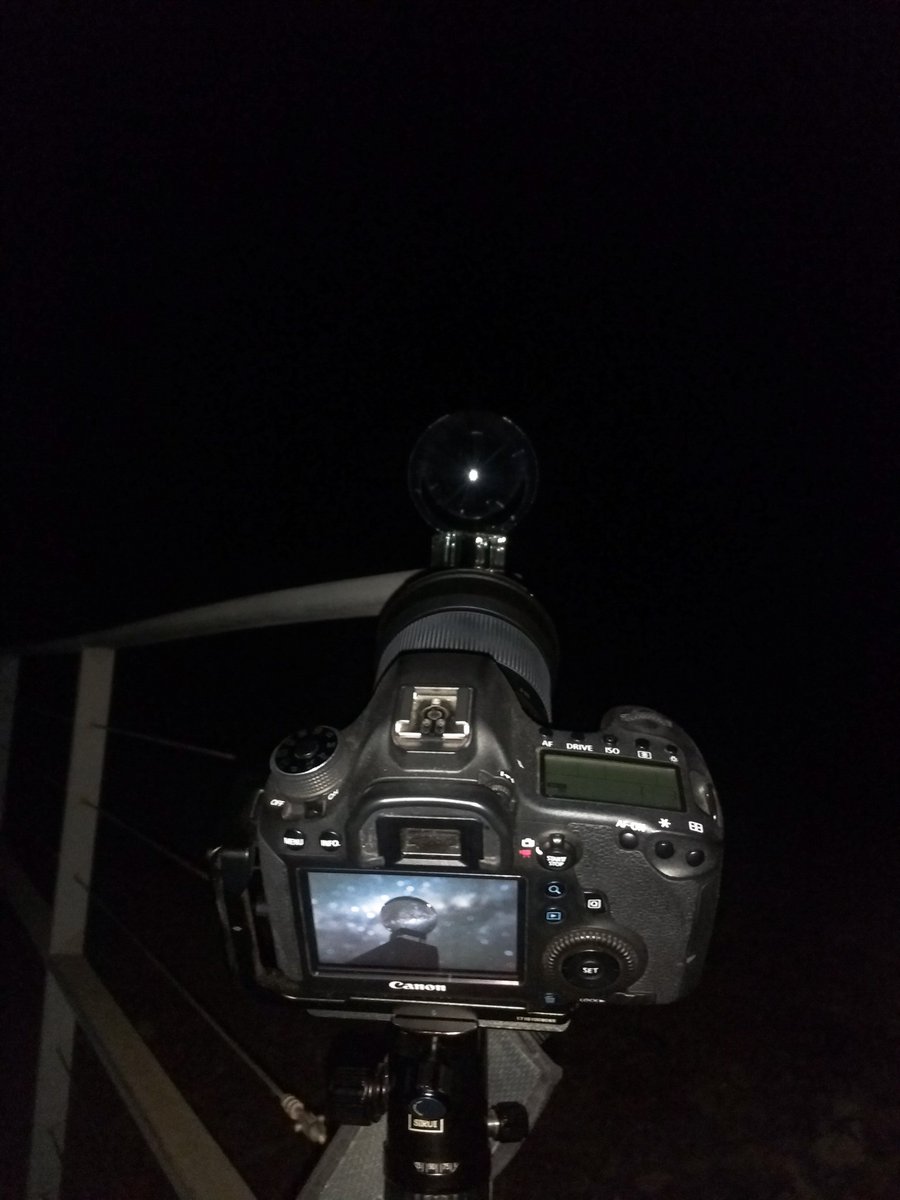
6/ At Paranal I found the perfect spot for this shot: I put the ball on top of one of the handrails of the entrance corridor to the residencia, and placed the camera on a tripod, slightly below the ball. That way I could point towards the Milky Way as it set in the West.
7/ Fun fact: I almost did not take this picture! I was so tired after my night shift that I went straight to bed. Luckily I managed to convince myself to go out again and take the damn picture :-)
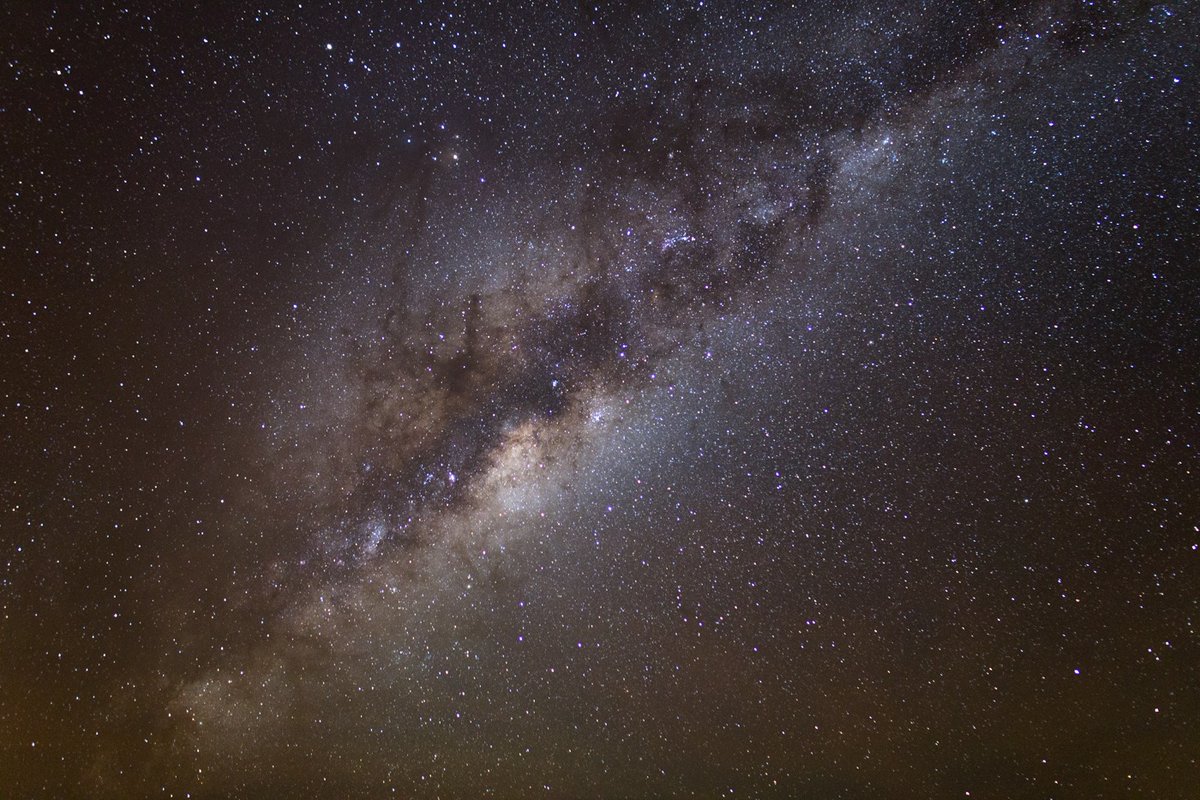
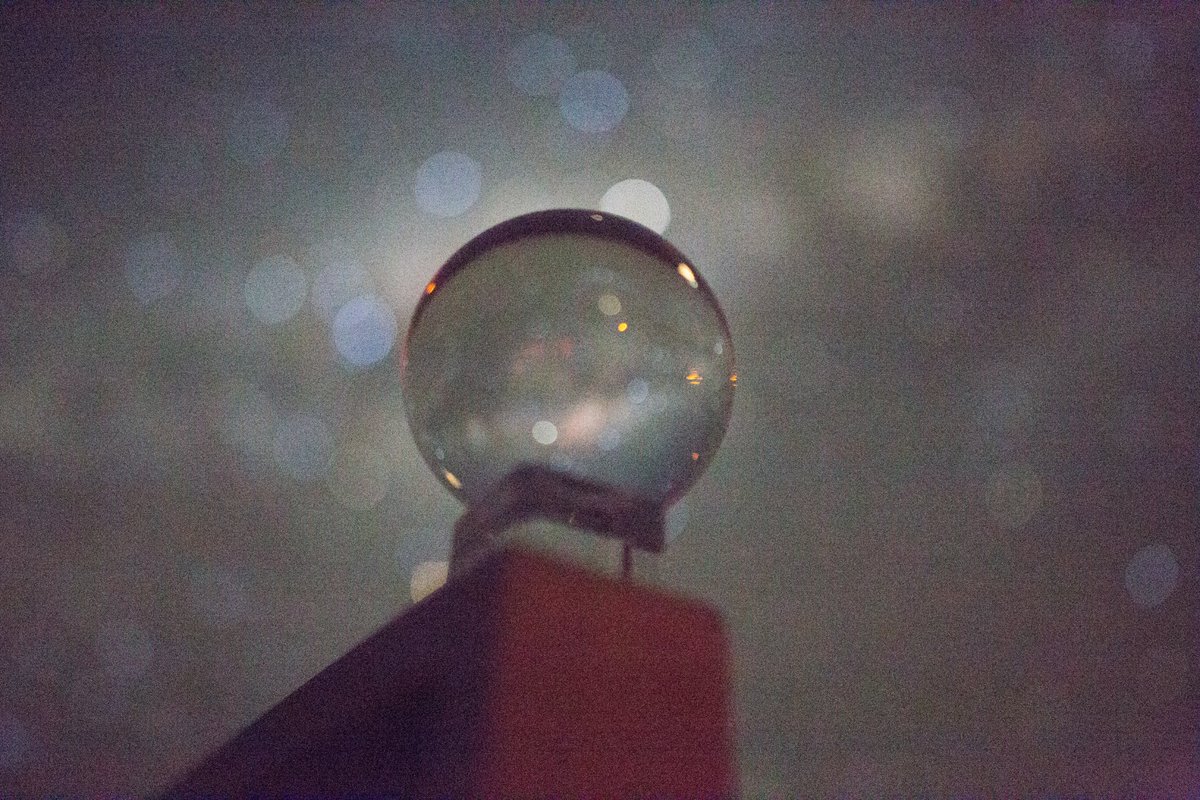
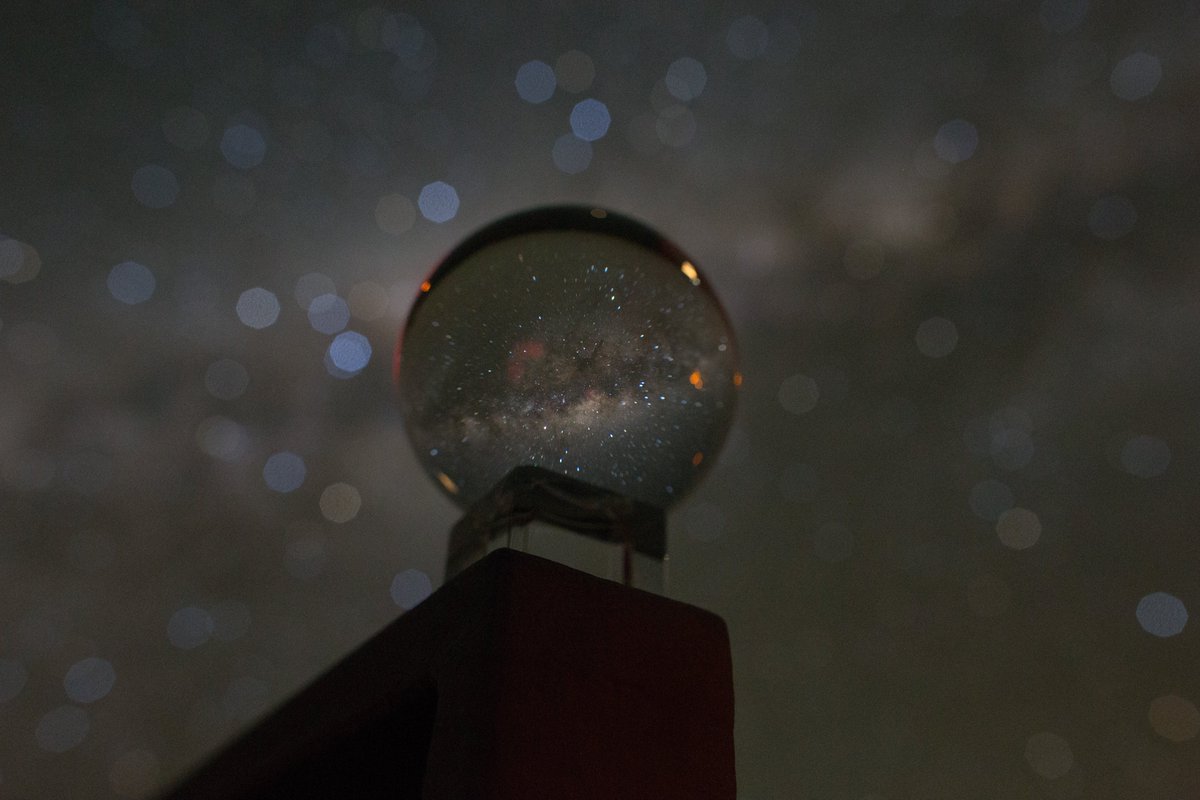
8/ This was my first attempt. It looks so noisy because it’s just a quick one second exposure to correctly frame the ball and focus on the stars.
9/ I focused by trial and error: take a shot, check the image on the camera screen, refocus and repeat. It took a few attempts but I finally nailed the focus.
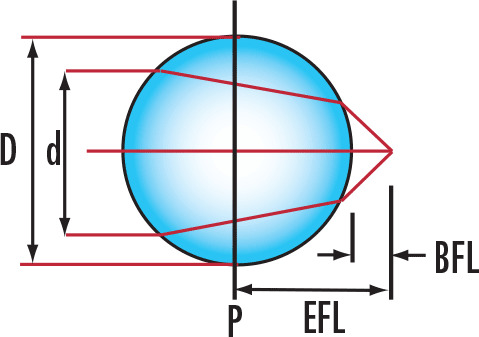
10/ Note that even though the stars appear to be “inside” the ball, the ball is actually projecting the background image a few centimeters in front of the ball. So the lens is actually focused somewhere between the ball and the camera. https://www.edmundoptics.com/knowledge-center/application-notes/optics/understanding-ball-lenses/">https://www.edmundoptics.com/knowledge...
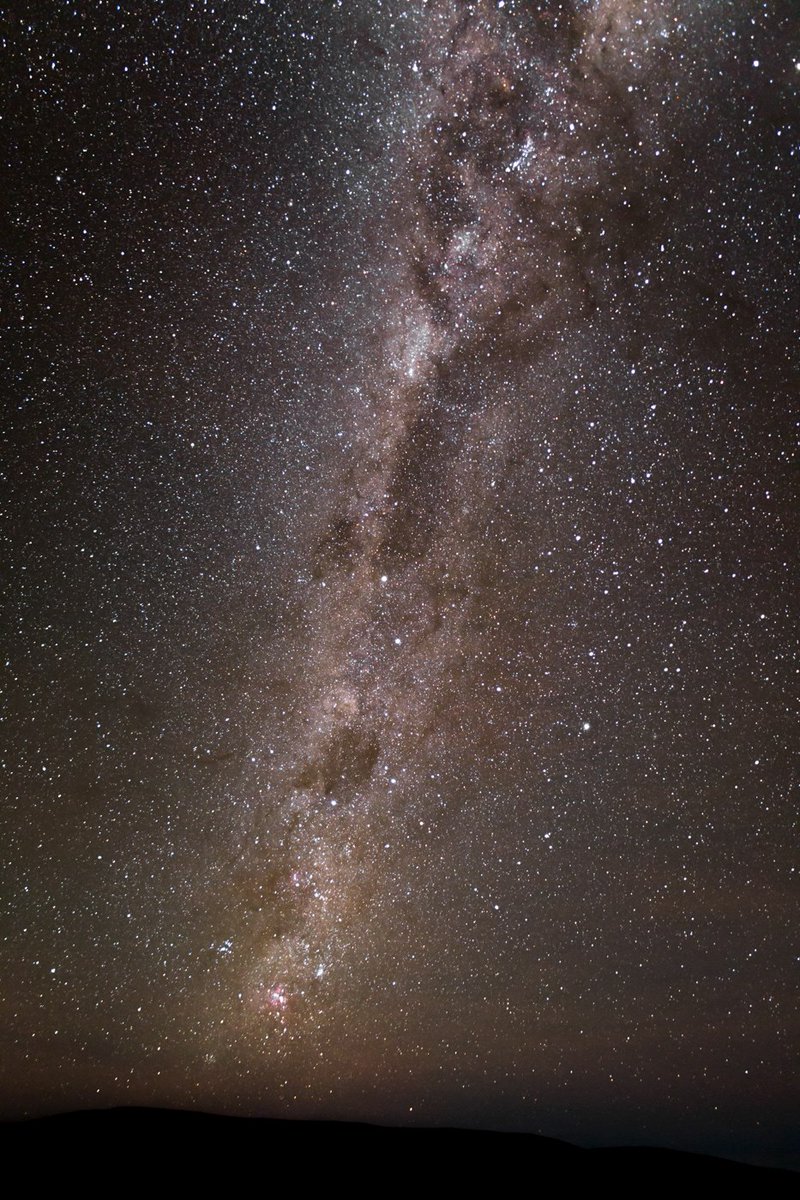
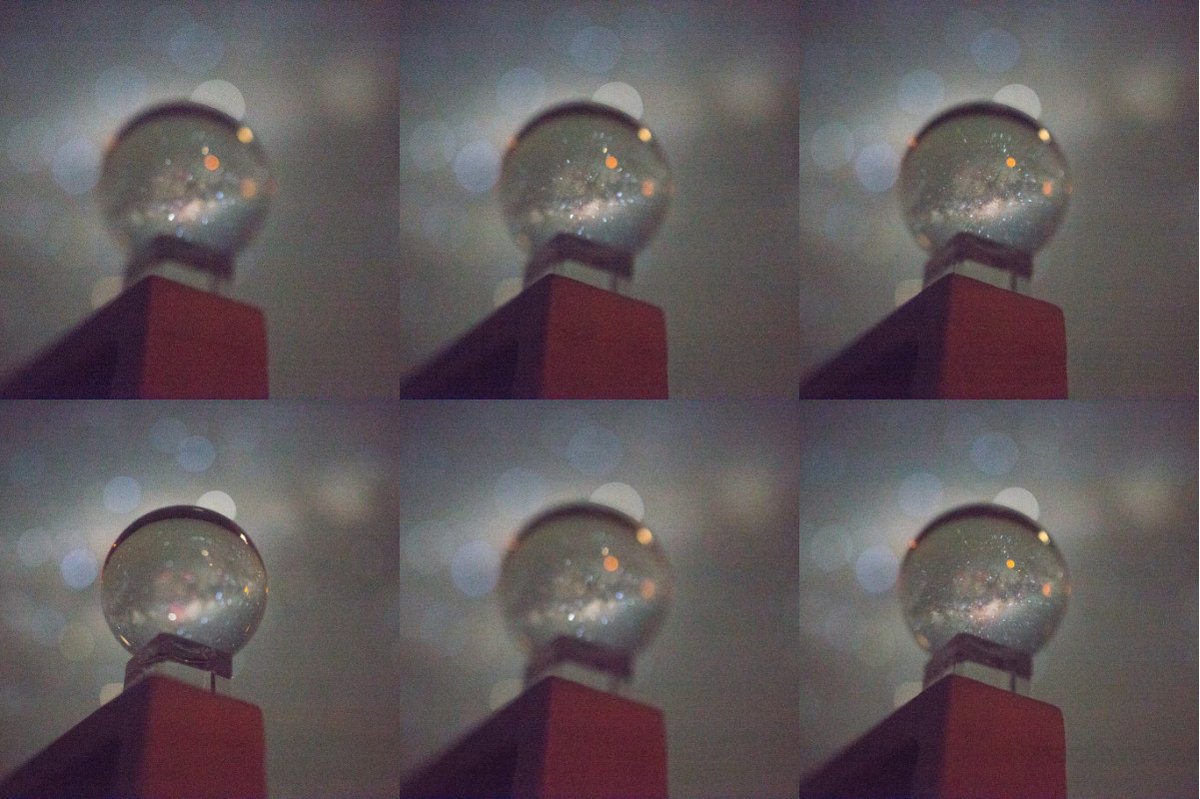
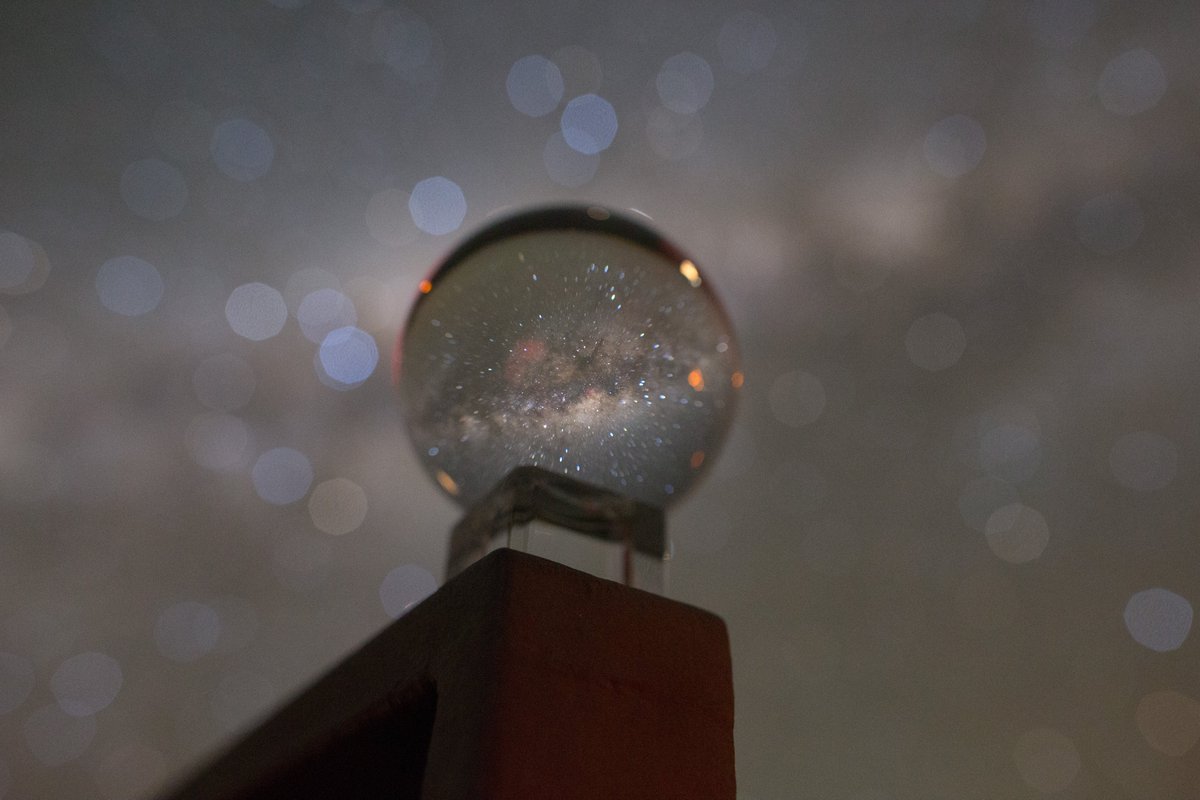
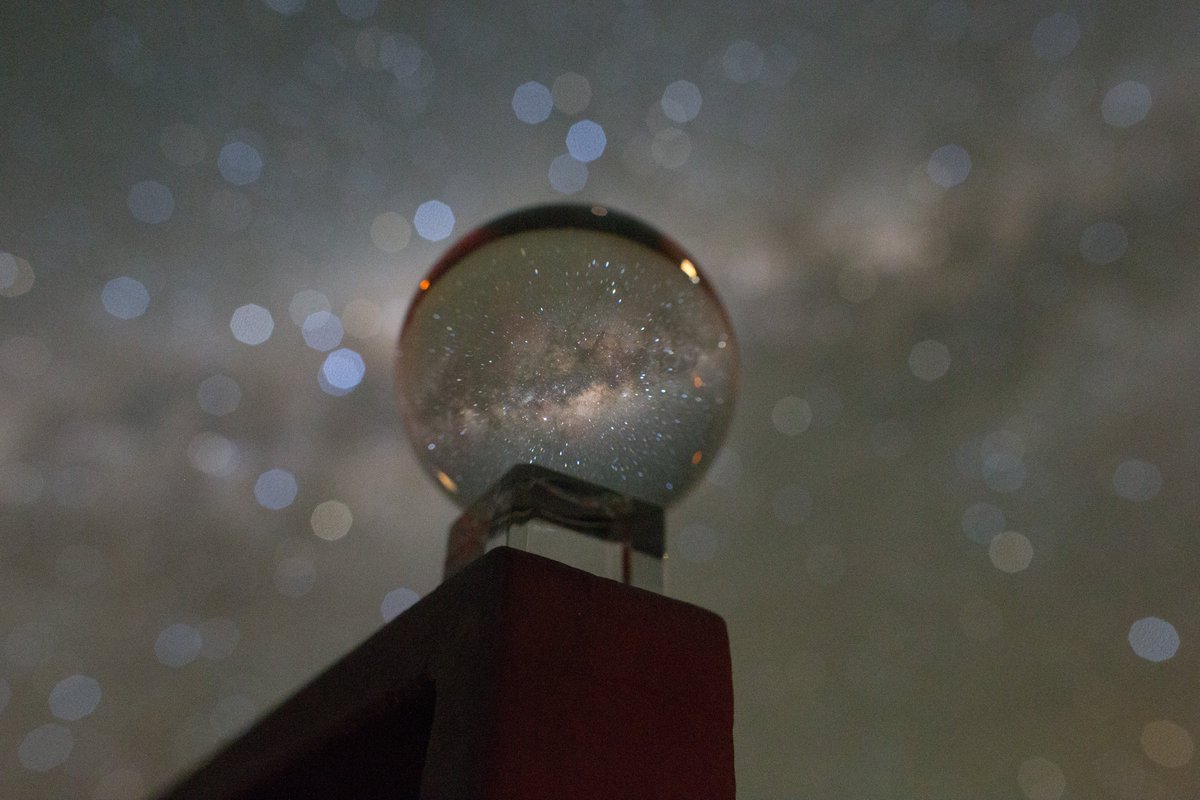
11/ I then had to choose the right aperture. Large apertures (right image) let through more light, but yield a narrower depth of field: the edge of the ball is more out of focus, and the bokeh of the background stars is larger. I didn’t want this, so I chose an aperture of f/4.
12/ This is the final image I chose (30 secs). Why do the colors look so flat and dull? Because it’s a raw image. Shooting in raw format gives you much more dynamic range than jpeg, and this is critical in astrophotography. But the images need to be edited by hand.
13/ Sidenote for those who brag about not editing their pictures: if you shoot in jpeg, then your pictures have been already edited by the camera. Nothing wrong with that, just keep in mind that what you’re calling “straight out of camera” shots aren’t really that ;-)
14/ I first did some basic editing in Lightroom: stretching the white and black points to make use of all the dynamic range, doing some noise reduction, and bringing back some of the contrast and color saturation.
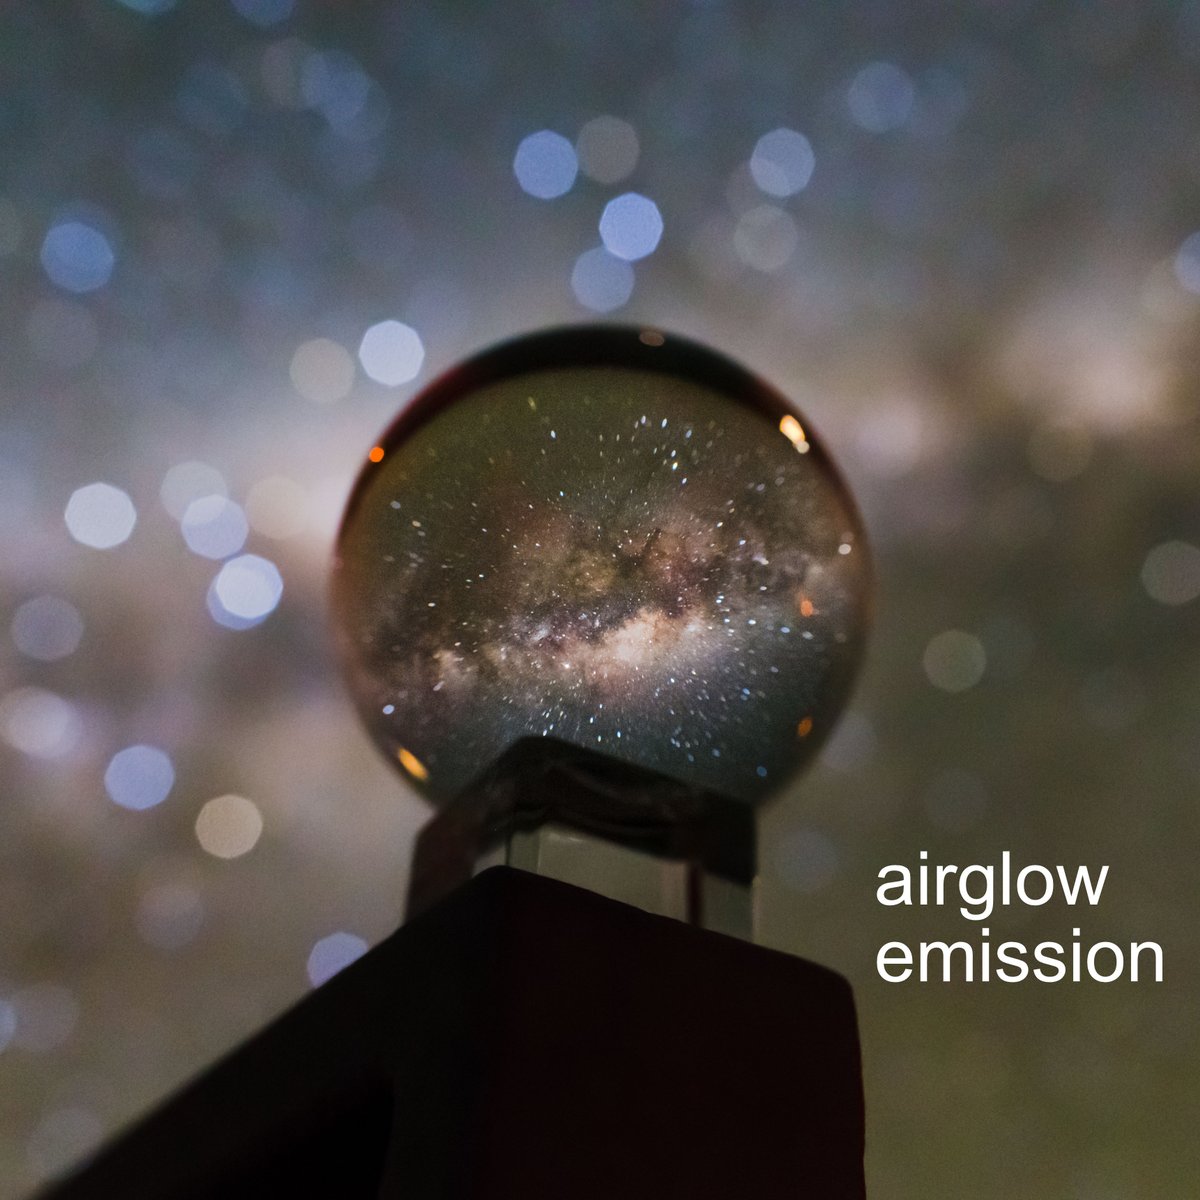
15/ I did the rest of the editing in @affinitybyserif Photo. There’s a yellow/green tint in the lower part of the image due to airglow (natural emission of certain molecules in the atmosphere). I didn’t like it, so I made the color palette more uniform throughout the image.
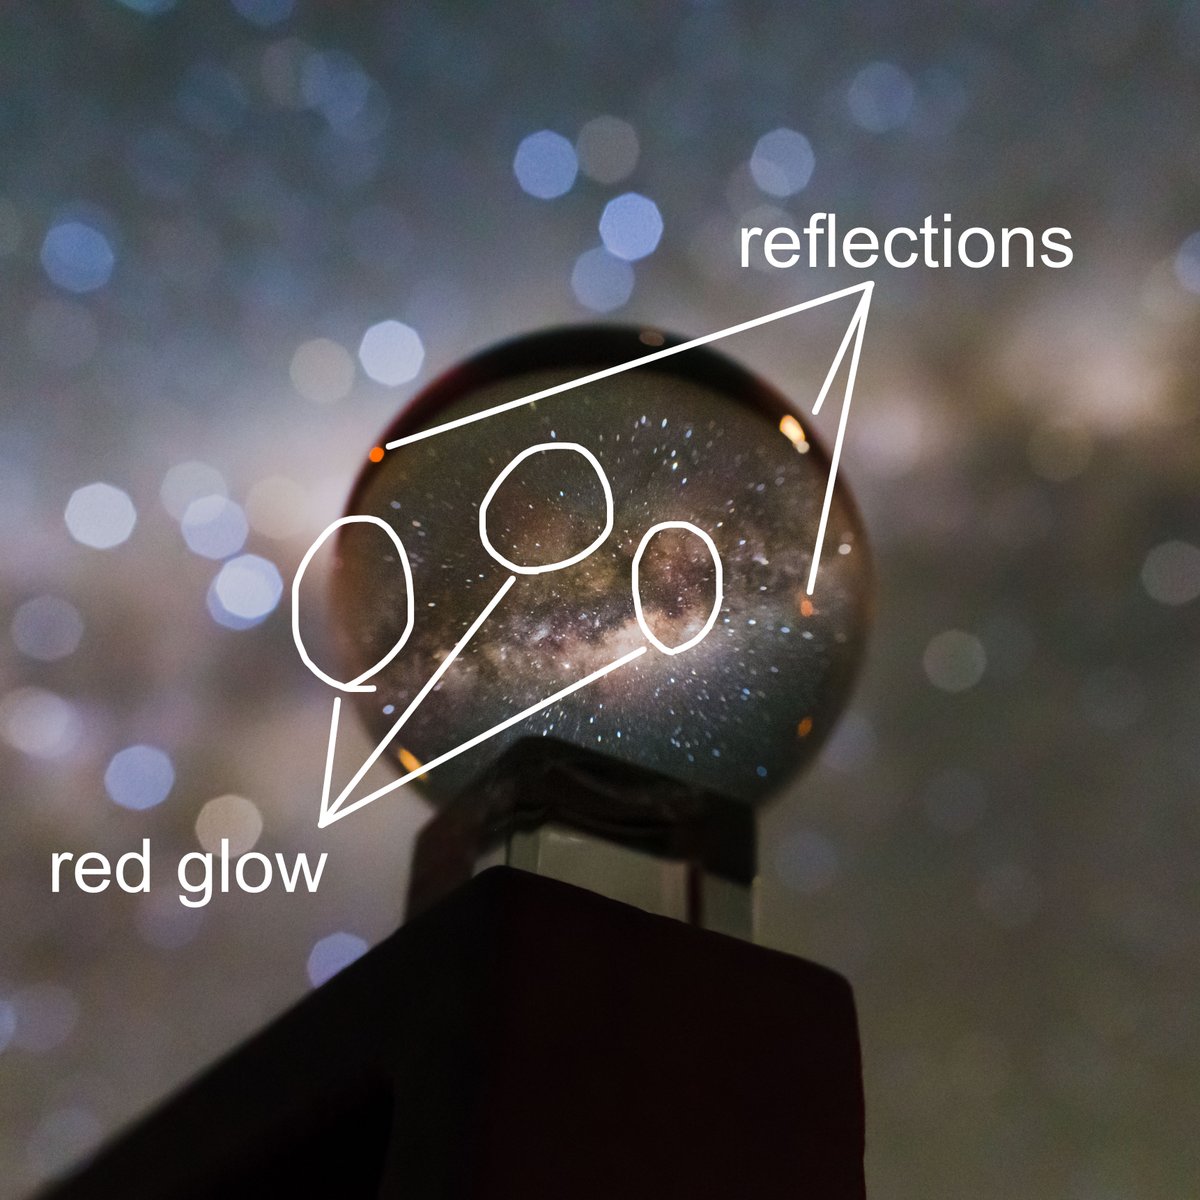
16/ There were some reflections from light indicators in the road nearby. I liked them, they gave volume to the ball, but they were too bright and saturated, so I fixed that. I also removed a subtle red glow inside the ball coming from one of these lights.
17/ I then applied some further color corrections and increased the contrast a tad. I also used Color Efex Pro (from Nik Collection) to add more punch to the Milky Way within the ball. I love this plugin, it’s awesome to do tonal contrast adjustments.
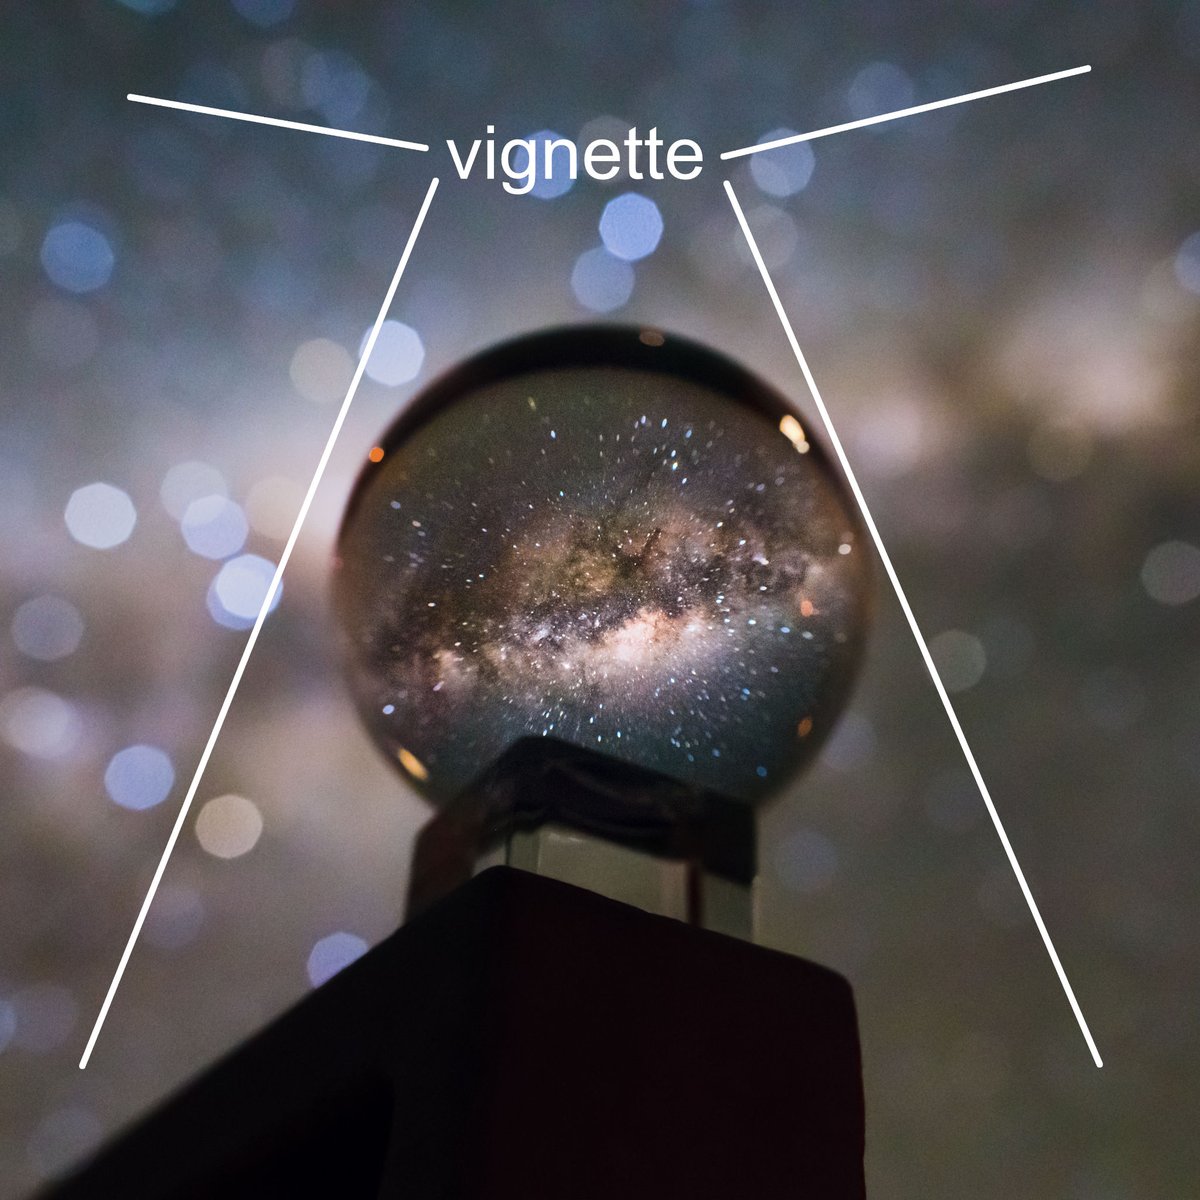
18/ Finally, I added a very subtle vignette in the corners of the image. I do this with almost all my images, because it really helps to draw your eyes towards the main subject. The trick is to make the vignette so subtle that you can’t tell it’s there.
19/ And that’s it! I hope this helps you understand the planning, execution and editing challenges behind this picture. If you have any questions, shoot!

 Read on Twitter