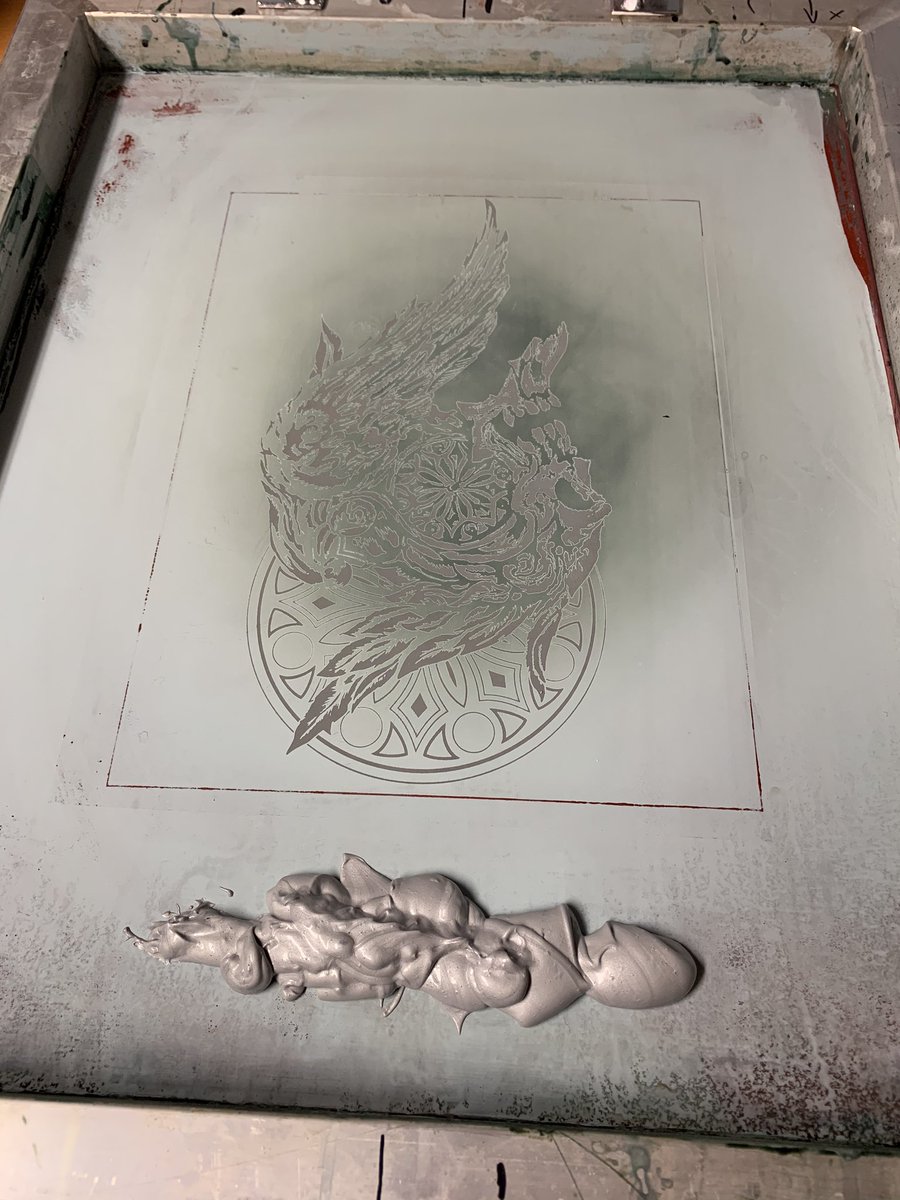
Plus my big screen is damaged from improper cleaning in the past so I have to arrange designs around a lot of dead space now.  https://abs.twimg.com/emoji/v2/... draggable="false" alt="💔" title="Broken heart" aria-label="Emoji: Broken heart">
This part was actually done a couple weeks ago but then I became an impromptu mask factory and the project got sidelined.
Came out nice and clean at I believe 9:45 mins exposure time and a glass pane from a picture frame placed over it for weight, but you can see the edges of the glass. xD
Screen filler applied and all set up to print.  https://abs.twimg.com/emoji/v2/... draggable="false" alt="👌" title="Ok hand" aria-label="Emoji: Ok hand">
Someone thought I did this part by machine but I actually just align and center stuff using masking tape guides on my work surface. xD
Slight color variations between old and new jar of ink so I’m mixing them together for better consistency. Not sure how much I’ll use for the whole run (printing 10 bags) but metallic ink prints very thick and always surprises me with how much is needed.
Once you start printing it’s go go go before the ink dries but here’s the basic gist of it for anyone curious: plop the ink on the screen, run the squeegee over it then back again (& again), lift screen, replace bag, repeat until you have consumed all drying space in your house.
The first few got kinda cut off at the top there, but once I resolved that problem these became some of my best prints yet. :D
I wanted to keep going with some paper prints but all I had in a large enough size was this green which doesn’t really work. It’s getting really hard to find colored paper in 11 x 17 since many specialty paper shops have been going out of business. D:
But!! Since I still had ink and my screen wasn’t drying up yet, what I did do was print this design onto the back of some of my existing stock, such as my Star of Lucis tote. :) These will all be updated in my shop soon!!

 Read on Twitter


 " title="Screen filler applied and all set up to print. https://abs.twimg.com/emoji/v2/... draggable="false" alt="👌" title="Ok hand" aria-label="Emoji: Ok hand">">
 " title="Screen filler applied and all set up to print. https://abs.twimg.com/emoji/v2/... draggable="false" alt="👌" title="Ok hand" aria-label="Emoji: Ok hand">">


