Okay fine I& #39;ll try for my second DF game of the lockdown
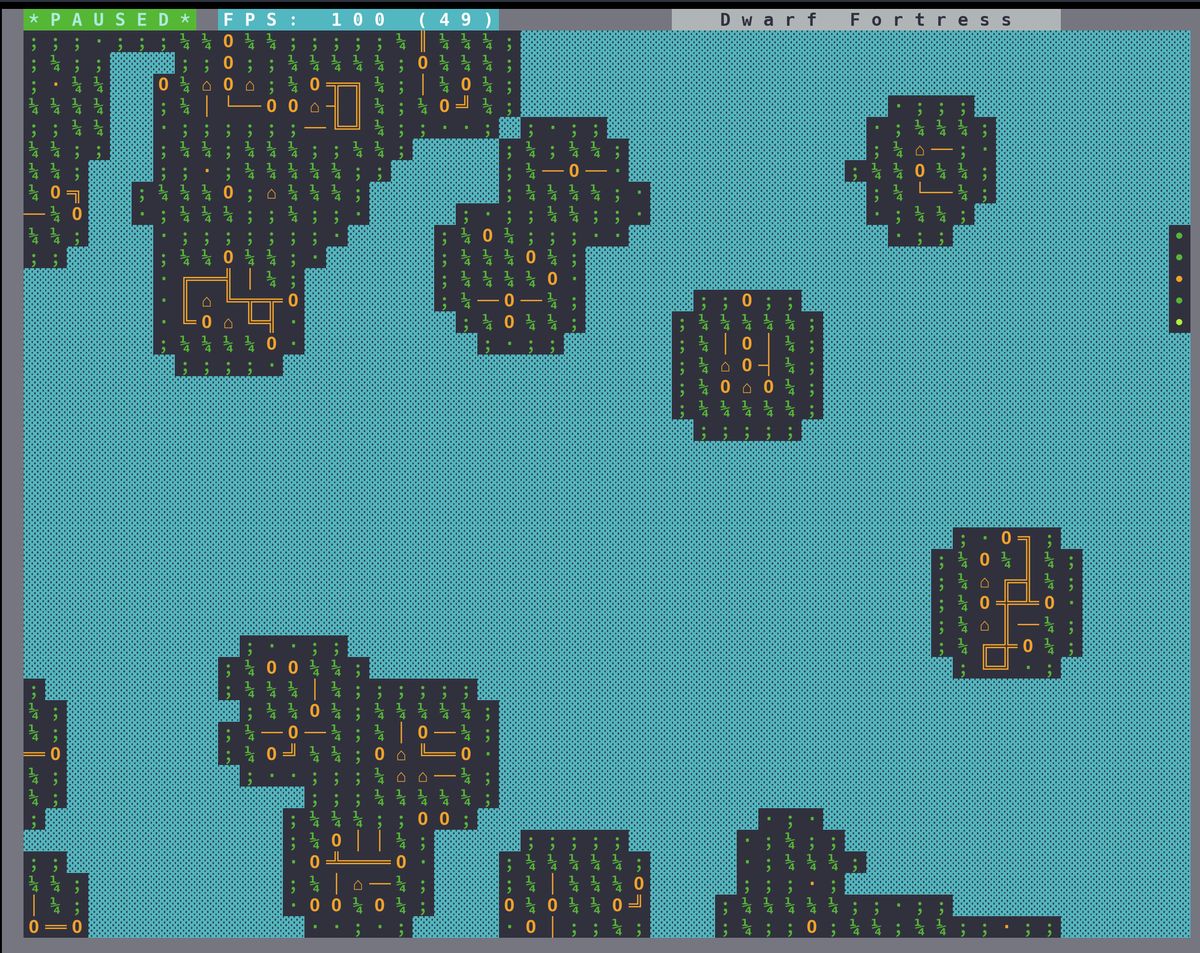
The first was a disaster ~1 week ago when I spent the entire first year excavating a majestic entranceway on seven levels, ramping down into the hillside, followed by a 2-wide snaking path lined with traps into the fortress and barely got a trade depot built before the caravan.
it would have looked glorious in isometric;;; unfortunately, in slice view, lol
So, step 1, new world.
Wait wait wait, no. Step zero, config files. This is dwarf fortress. The fun begins before you launch the game.
Wait wait wait, no. Step zero, config files. This is dwarf fortress. The fun begins before you launch the game.
(step negative one, install dwarf therapist)
(you can install other mods but tbh that& #39;s a clusterfuck on linux so I don& #39;t bother)
(you can install other mods but tbh that& #39;s a clusterfuck on linux so I don& #39;t bother)
Two config files:
- world_gen.txt, to set world-wide "easy" mode
- embark_profiles.txt, to set game-wide "easy" mode
Aside: in DF you make a world and you can have any number of games / sessions in it, but only one at a time
- world_gen.txt, to set world-wide "easy" mode
- embark_profiles.txt, to set game-wide "easy" mode
Aside: in DF you make a world and you can have any number of games / sessions in it, but only one at a time
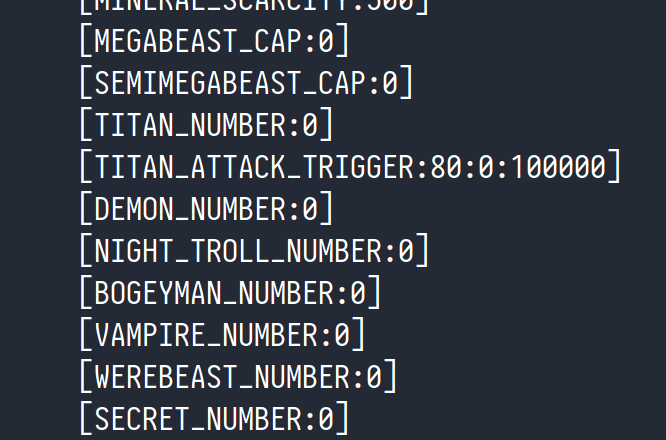
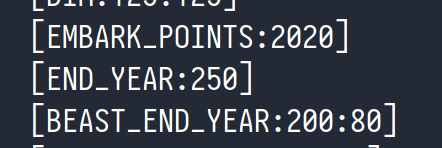
In world_gen.txt, these are the parts you want:
1. set all beasts and monsters to 0. "secret" is a beast.
2. disable savagery generation
3. increase the starting ("embark") point count and shove year count way down
4. decrease mineral scarcity (make it easier to mine)
1. set all beasts and monsters to 0. "secret" is a beast.
2. disable savagery generation
3. increase the starting ("embark") point count and shove year count way down
4. decrease mineral scarcity (make it easier to mine)
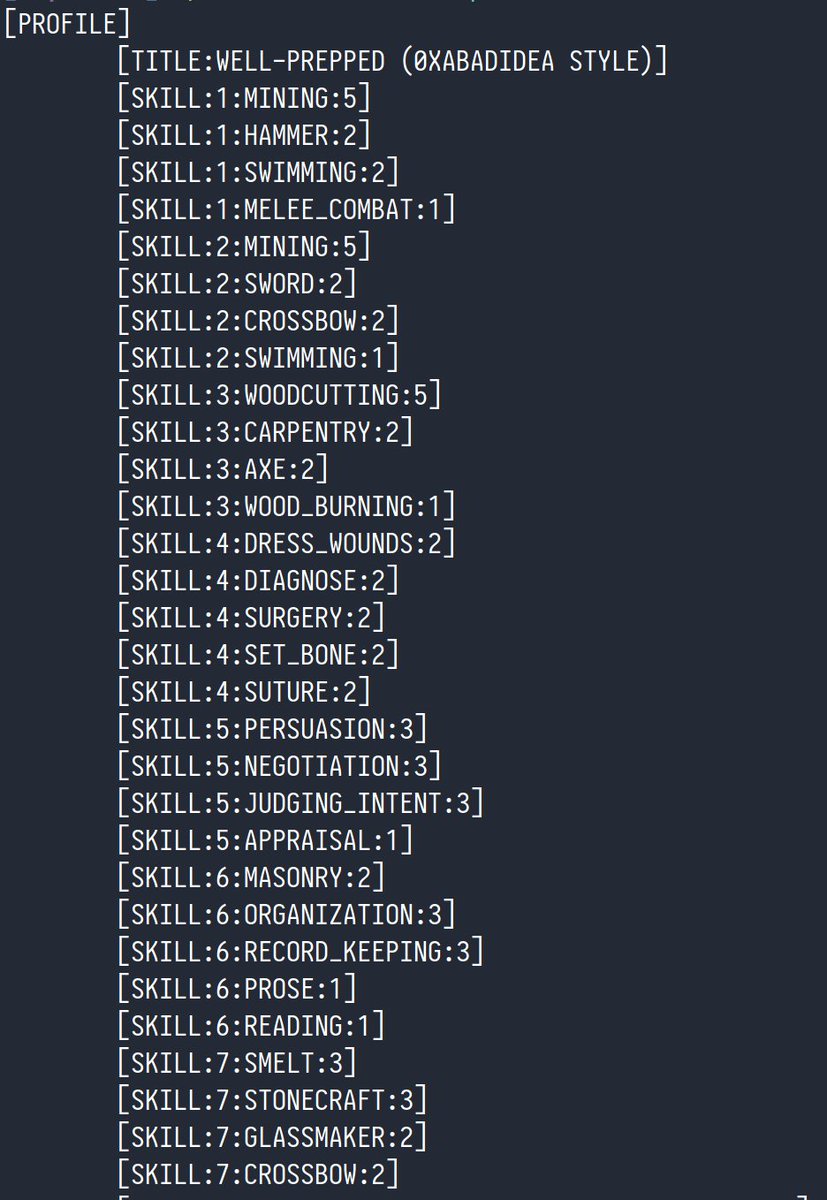
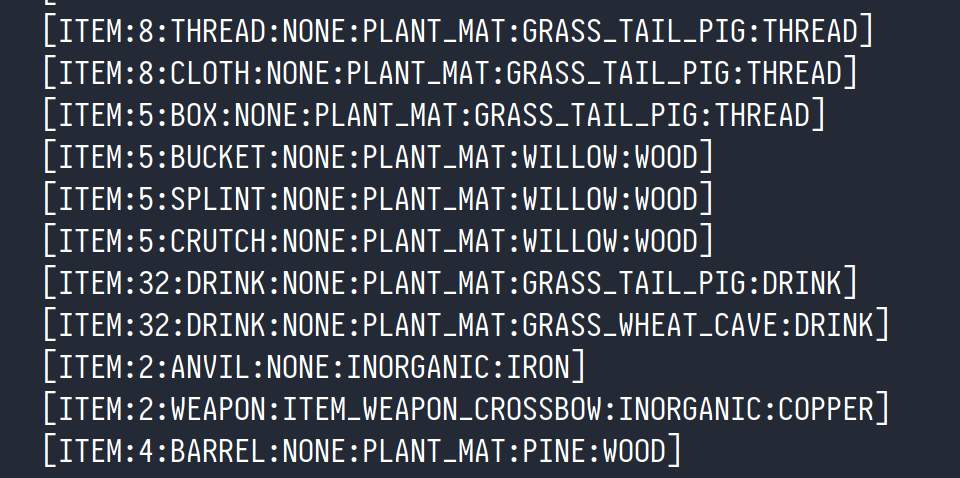
In embark_profiles.txt, what I use is a "@0xabadidea-style" profile, somewhat further customised:
1. 7 dwarves with a good range of skills
2. lots of copper picks instead of few iron ones
3. lots of food
4. medical and other supplies
1. 7 dwarves with a good range of skills
2. lots of copper picks instead of few iron ones
3. lots of food
4. medical and other supplies
Actual files for copy-pasting: https://gist.github.com/passcod/0a16a56ace77492529a7ffc5432568a5">https://gist.github.com/passcod/0...
Then you start the game, make a new world with advanced params, select one of your customised world gen profiles (e.g. mine are called easy)
Aside: you can customise colours to be less harsh / fit your theme better.
Aside: you can customise colours to be less harsh / fit your theme better.
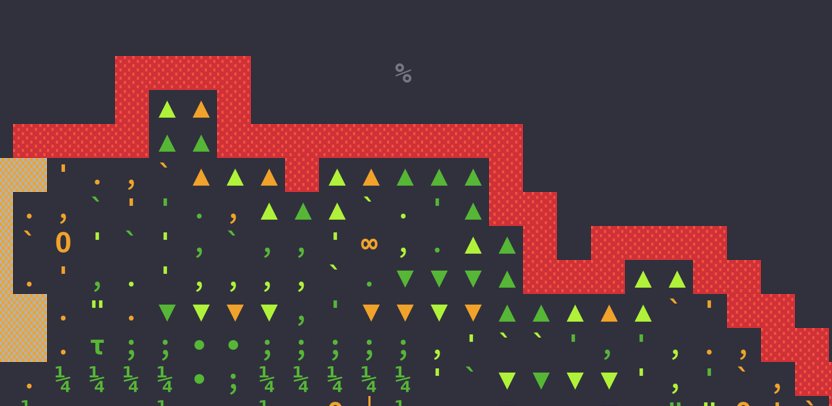
You might need to allow rejection for volcanism (t) to get a valid world with my configs, FYI.
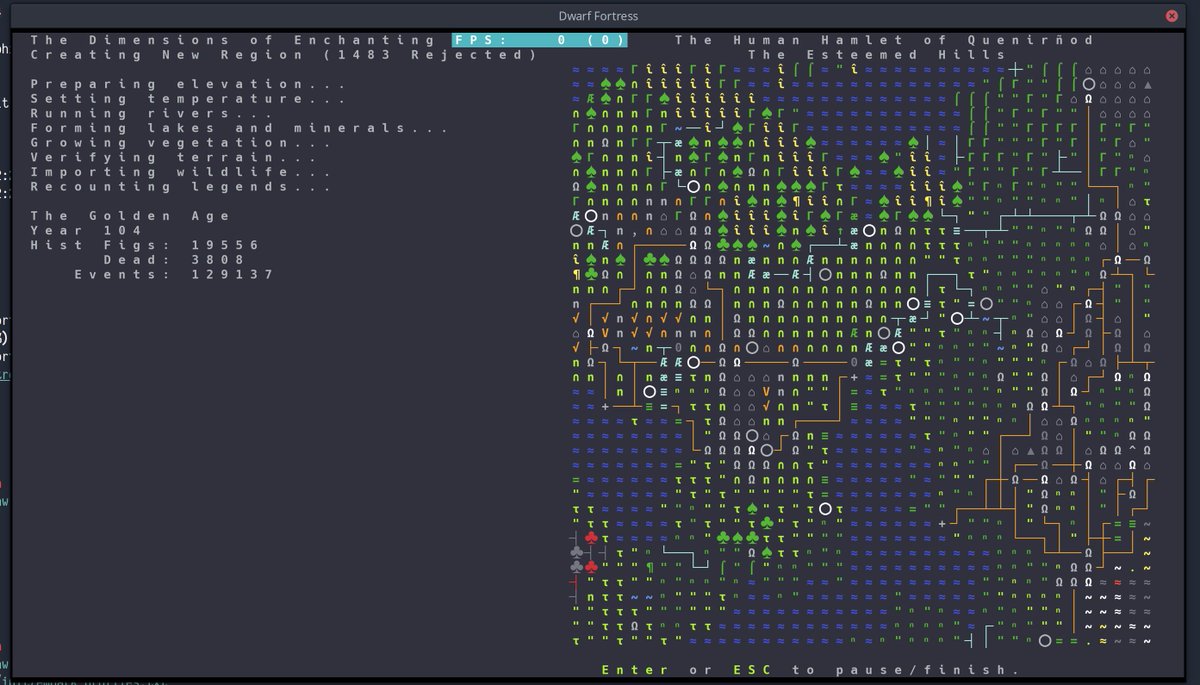
Once it gets to the recounting legends stage, let it run til the end, which was earlier config& #39;d to 250 years. Might take 3-5 minutes
Once it gets to the recounting legends stage, let it run til the end, which was earlier config& #39;d to 250 years. Might take 3-5 minutes
You want a good amount of history so other civilisations (who you do trade with) are well established, plus various other things.
Once that& #39;s done, you get the explore view on the side. Use that to *briefly* look around (shift + arrow keys) and, once you get a bit more experience, sight 1-2 general places that look good.
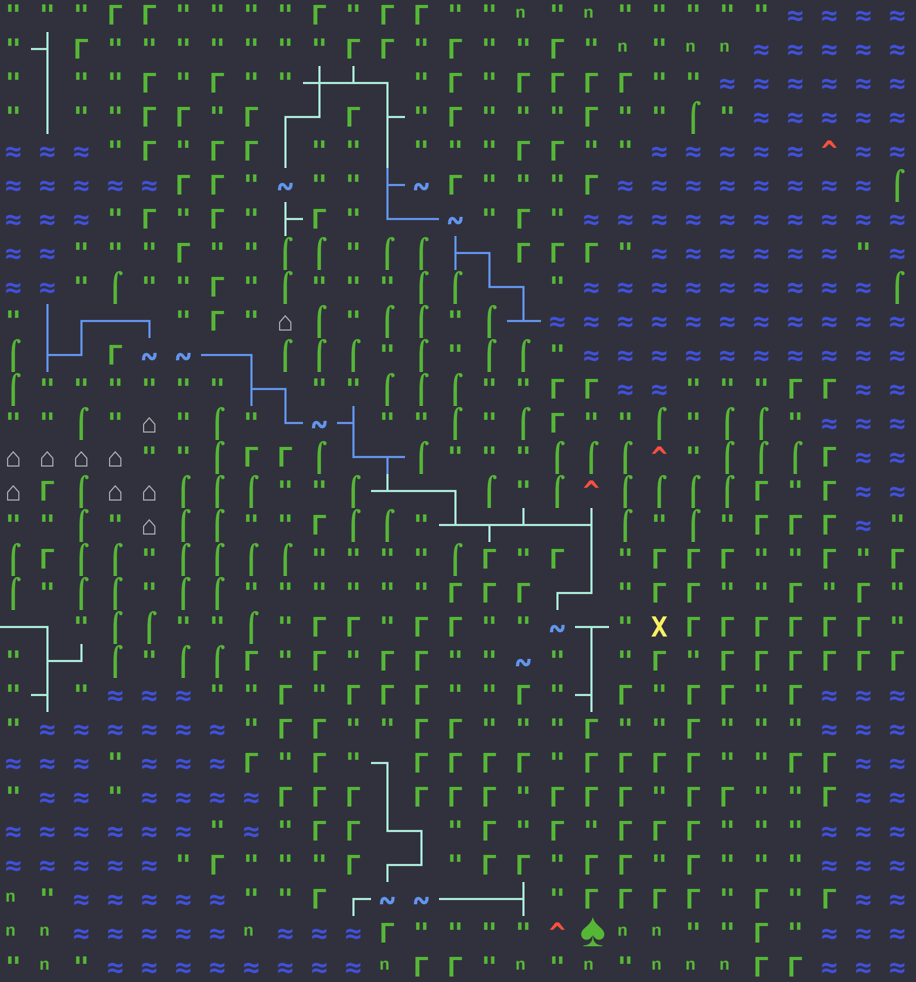
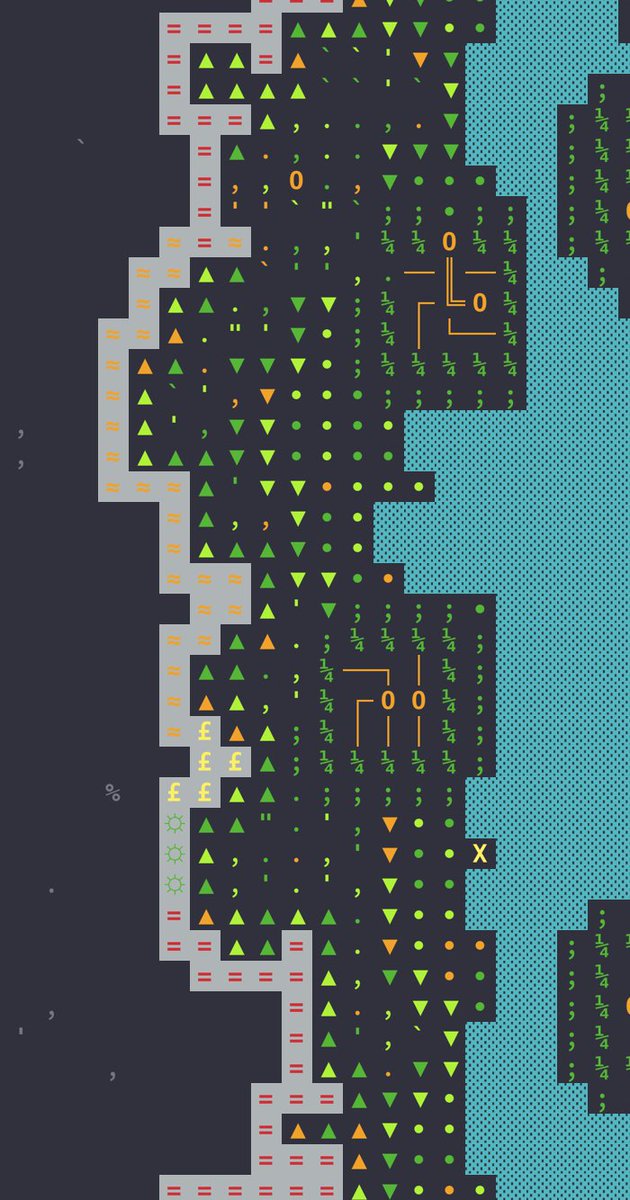
E.g. 2nd pic: rivers, mountains, lots of green, few volcanoes. Swamps and woodland.
E.g. 2nd pic: rivers, mountains, lots of green, few volcanoes. Swamps and woodland.
Enter to accept, wait another while for the initial save... which dump you back to the title screen. (1)
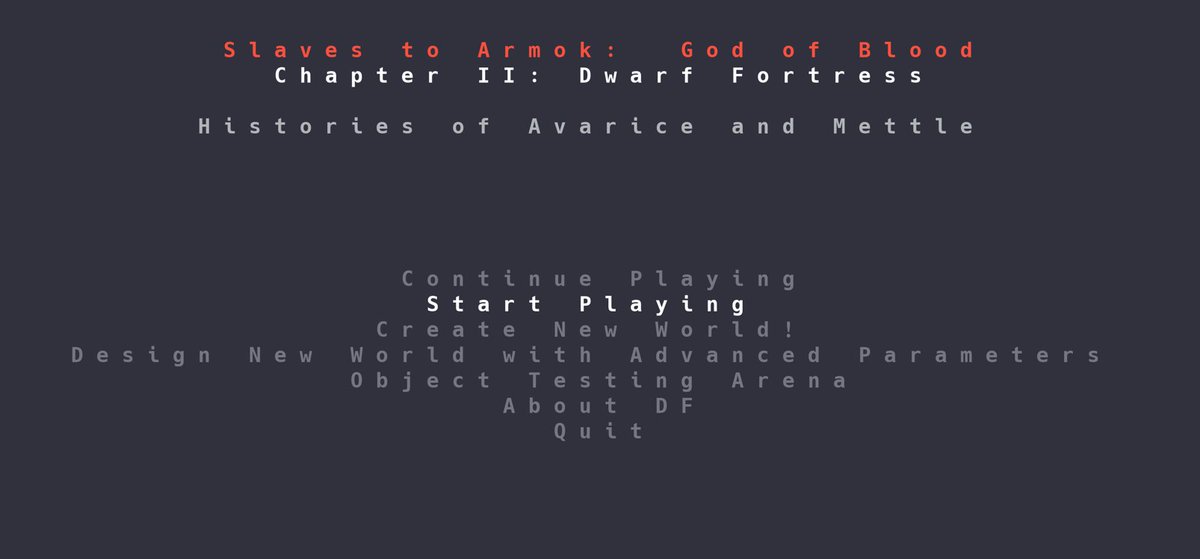
Select "start playing", which uses your latest world, and then you get the site selection screen. (2)
Select "start playing", which uses your latest world, and then you get the site selection screen. (2)
First look at the *world* and the *regions* sections. The latter is a horizontally-compressed view of the explore view just before. Find your way (shift + arrows) to where you sighted some possibly good area. Use the *world* section to orient yourself wrt large features.
Now you want to scroll around with just arrow keys (no shift) and look at the site summary on the right.
You want
- temperate or warm
- woodland
- calm or wilderness
- shallow soil or clay
- shallow and deep metals
- no construction
- a water source (river)
- flux stone if u can
You want
- temperate or warm
- woodland
- calm or wilderness
- shallow soil or clay
- shallow and deep metals
- no construction
- a water source (river)
- flux stone if u can
I had to move around quite a bit to find something I liked, here. I& #39;m in a completely different region... that& #39;s quite alright.
Now is precise site selection. My configs already have a larger-than-vanilla zone, so there& #39;s no need to adjust that.
Movement keys: u↑ m↓ k→ h←
Now is precise site selection. My configs already have a larger-than-vanilla zone, so there& #39;s no need to adjust that.
Movement keys: u↑ m↓ k→ h←
In my keyboard layout that makes zero sense, but I got used to it.
This area is pretty consistent so I could go almost everywhere. I chose to get the spring (hoping for reduced water layer) plus some forest (lots of wood) plus some woodland/plains (plant gathering)
Try to place the river in such way that it doesn& #39;t impede / you can work around.
Try to place the river in such way that it doesn& #39;t impede / you can work around.
e to embark. You get a warning about aquifers... you can select something without aquifers and that& #39;s somewhat easier, but I don& #39;t mind them too much and water will be plentiful.
This can be a mistake! Sometimes you get really stuck. I like to take my chances.
This can be a mistake! Sometimes you get really stuck. I like to take my chances.
Take care to select the embark profile!
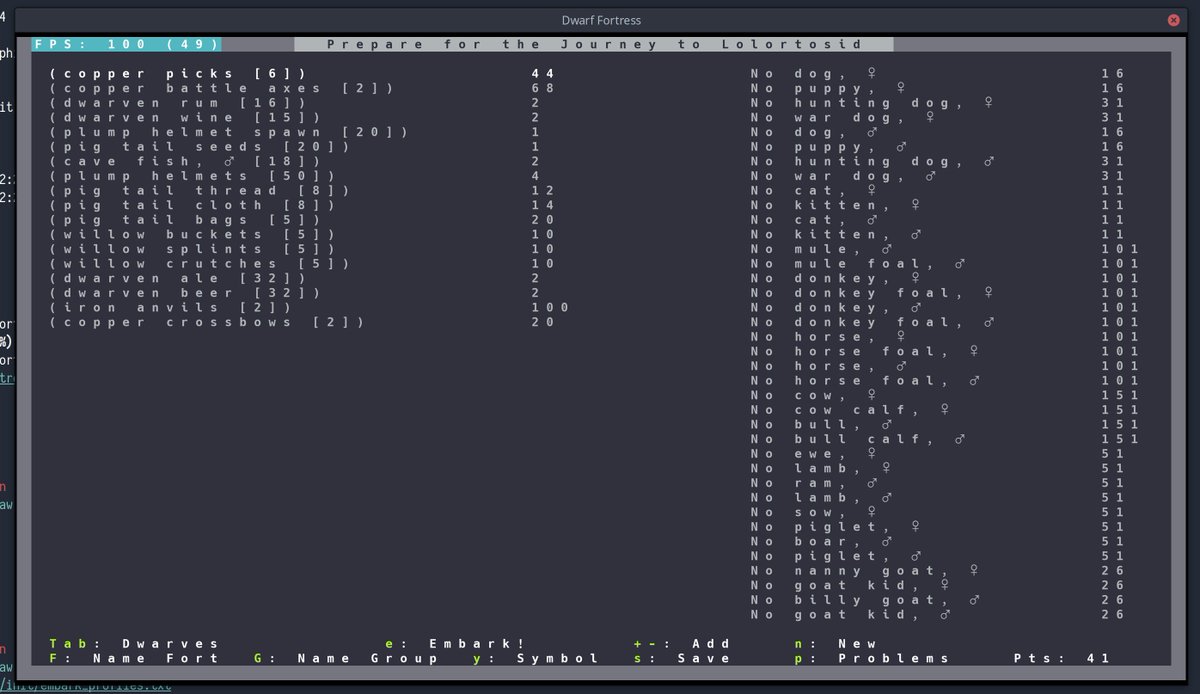
It might drop you into the embark prep screen anyway, likely due to changes between versions. Tab to the object selection screen and spend your remaining points (bottom right)
And then e to finally embark!
It might drop you into the embark prep screen anyway, likely due to changes between versions. Tab to the object selection screen and spend your remaining points (bottom right)
And then e to finally embark!
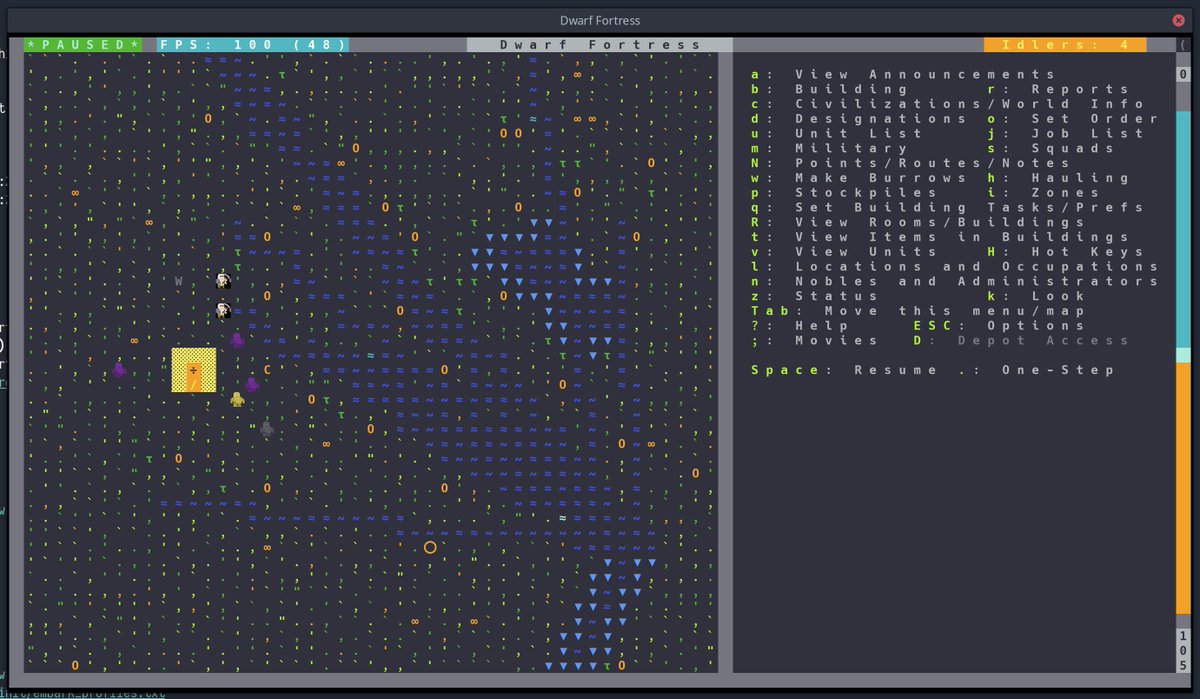
You& #39;re finally in the game! Immediately hit pause (space) to take stock and look around.
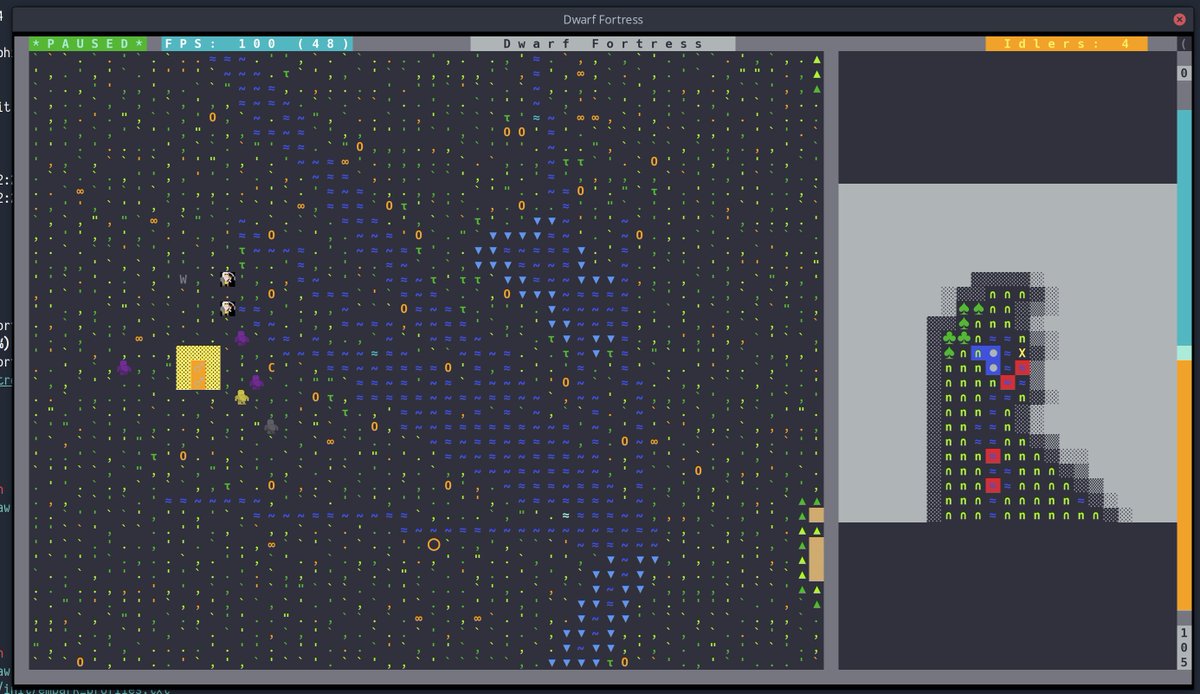
Large map is right, local map (main play area) is left, menu is centre. What I like to do is look around, get a good grip on the layout, and then hit Tab twice to hide the large map. You can also hit Tab another two times to hide the menu instead while you& #39;re looking around.
Movement!
Shift-arrow keys to go 10 blocks sideways.
Arrow keys to go 1 block.
< and > to move layers.
Shift-arrow keys to go 10 blocks sideways.
Arrow keys to go 1 block.
< and > to move layers.
This is a great map.
There& #39;s a single valley floor. That means no chasing dwarves around z-levels.
You can get on both sides of the river just by walking, and there& #39;s a large space above it.
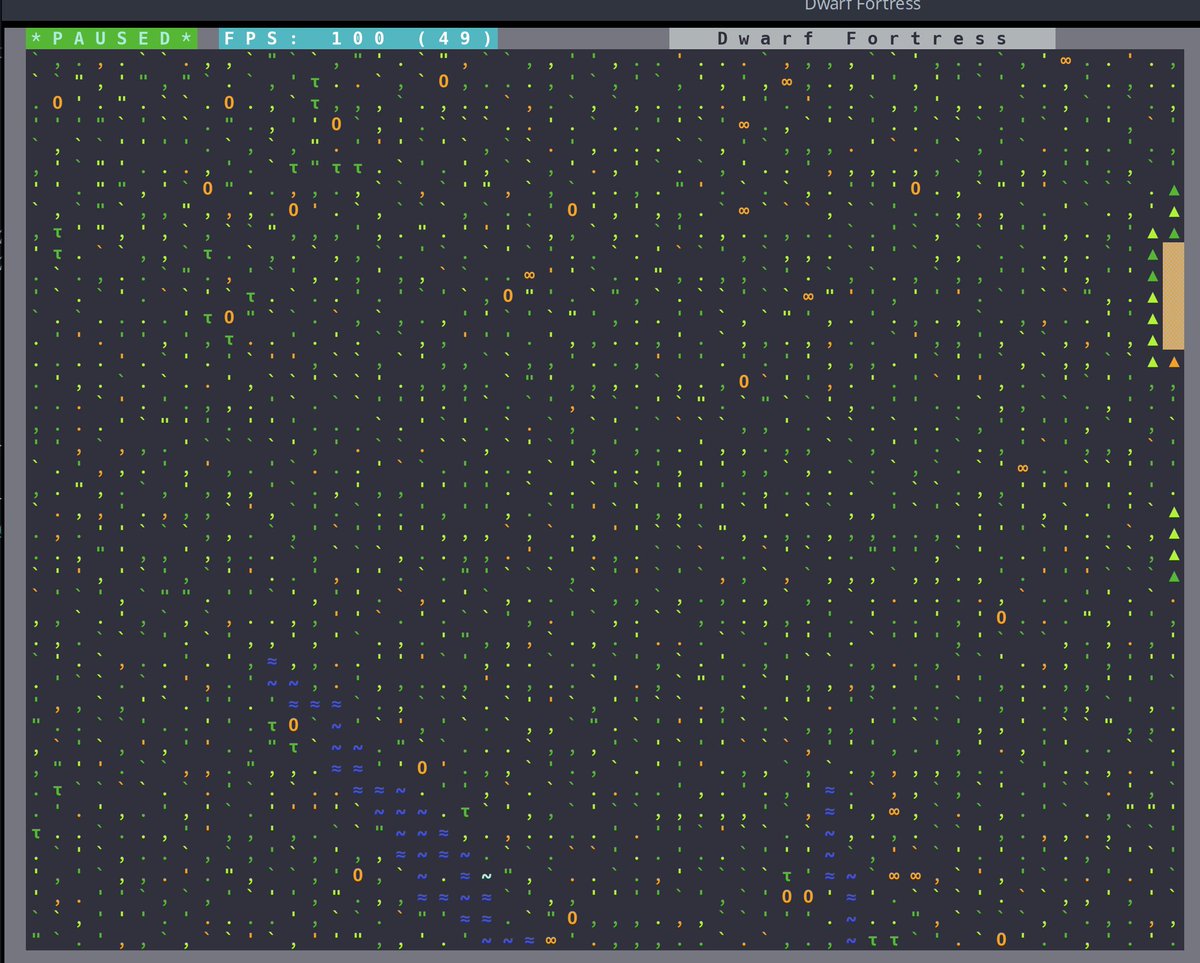
Going 2 Zs up, you can see plenty of trees *and* plenty of free space.
There& #39;s a single valley floor. That means no chasing dwarves around z-levels.
You can get on both sides of the river just by walking, and there& #39;s a large space above it.
Going 2 Zs up, you can see plenty of trees *and* plenty of free space.
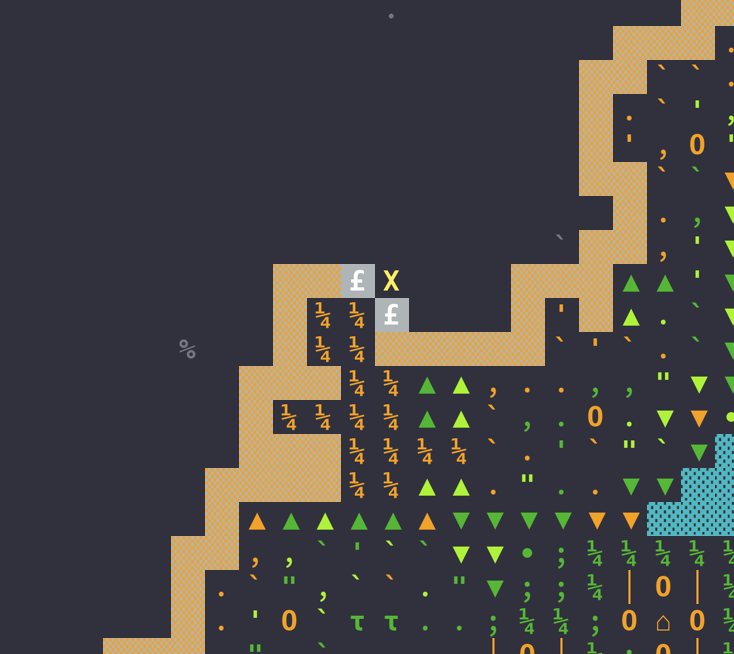
There& #39;s exposed economic stone (pound and equal symbols) AND GEMS (green suns) on the sides of the valley. (1)
A very good find: platinum ore. This will kickstart trade. (2)
There& #39;s sand (to make glass). (3)
A very good find: platinum ore. This will kickstart trade. (2)
There& #39;s sand (to make glass). (3)
I& #39;m taking a lot of time to thread and show around... normally I would be started 5 minutes in, so don& #39;t look at the timestamps with despair lol.
But also this is a gorgeous map, I love it.
But also this is a gorgeous map, I love it.
Breather while I tar up that save.
If it turns out well once the earth is struck I& #39;ll provide it later so you can skip all the initialisation and jump straight into a game right out of embark with this superb map if you want.
If it turns out well once the earth is struck I& #39;ll provide it later so you can skip all the initialisation and jump straight into a game right out of embark with this superb map if you want.
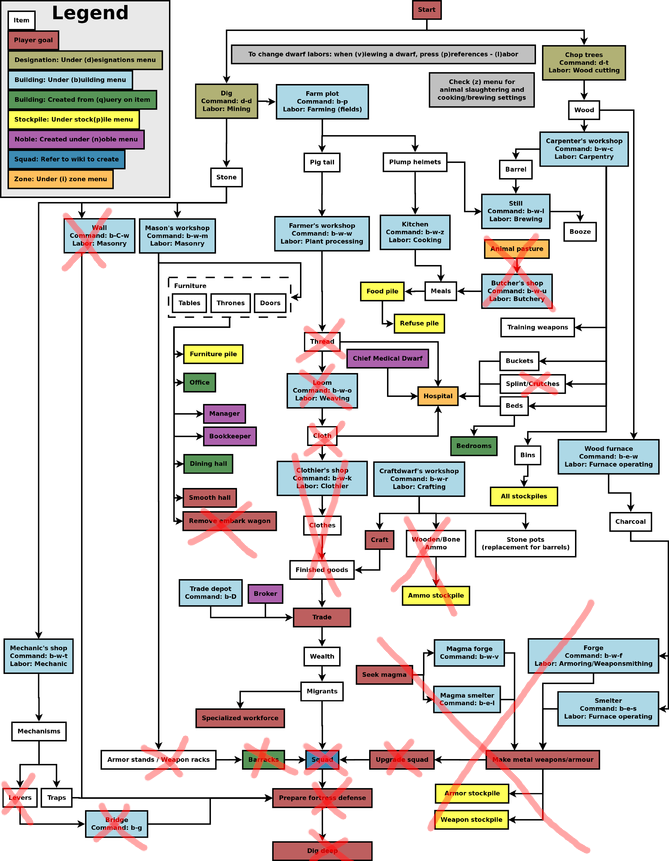
If you look at the scary beginner flowchart... I& #39;ve crossed out a whole bunch.
- because I& #39;ll substitute something else (thread, splints, cloth)
- because it& #39;s too far into the game for this thread (army, weapons, bridges, magma)
- because I don& #39;t usually bother (husbandry)
- because I& #39;ll substitute something else (thread, splints, cloth)
- because it& #39;s too far into the game for this thread (army, weapons, bridges, magma)
- because I don& #39;t usually bother (husbandry)
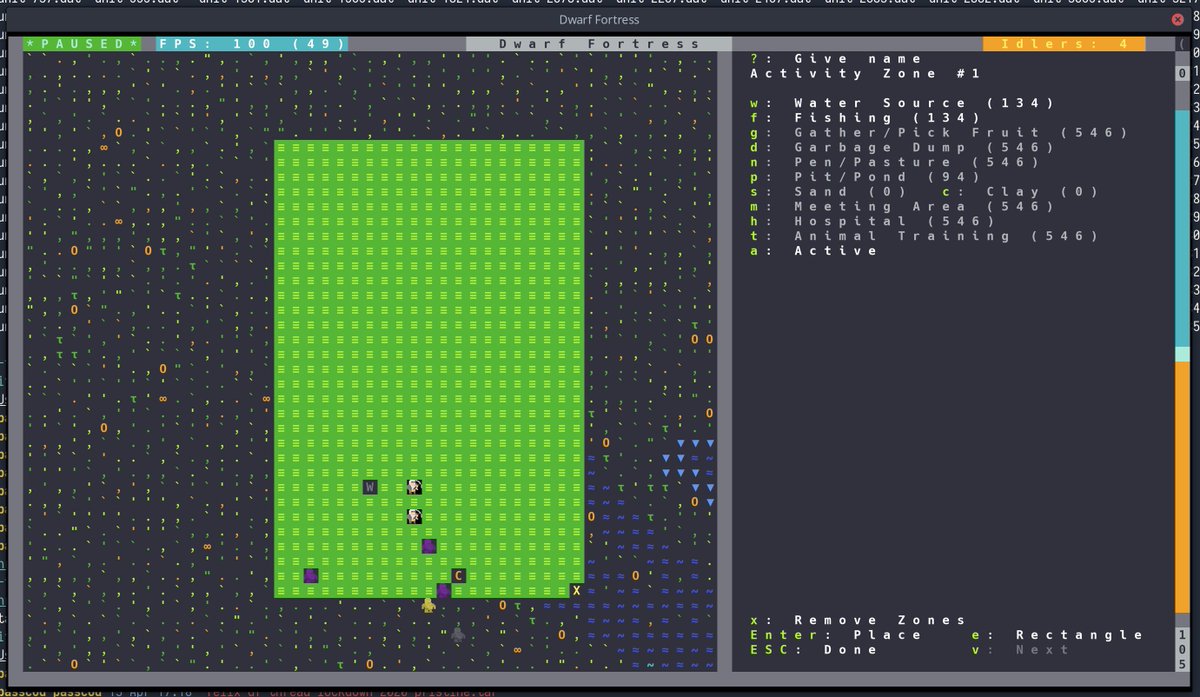
First step is designating a fishing and drinking source so dwarves will tend not to go far for that.
i for... "zone"
place the first corner (enter)
move (arrows) and place other corner
hit w and f to select water and fishing
Esc to leave that menu
i for... "zone"
place the first corner (enter)
move (arrows) and place other corner
hit w and f to select water and fishing
Esc to leave that menu
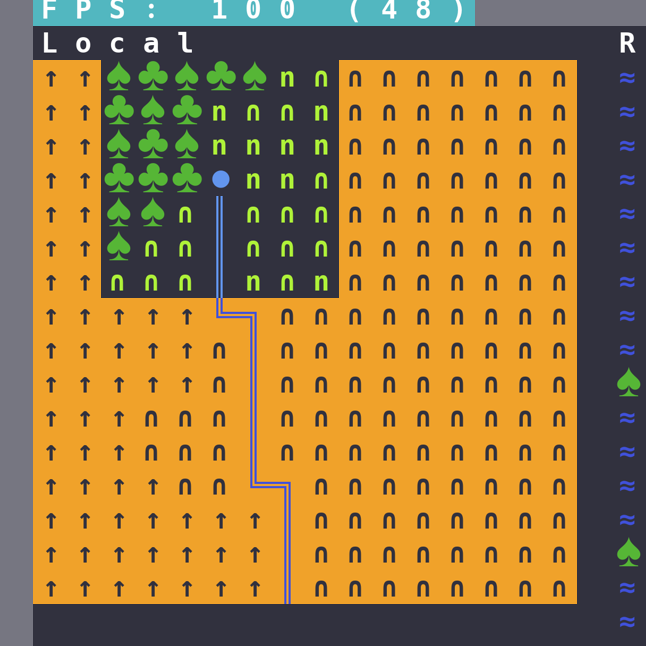
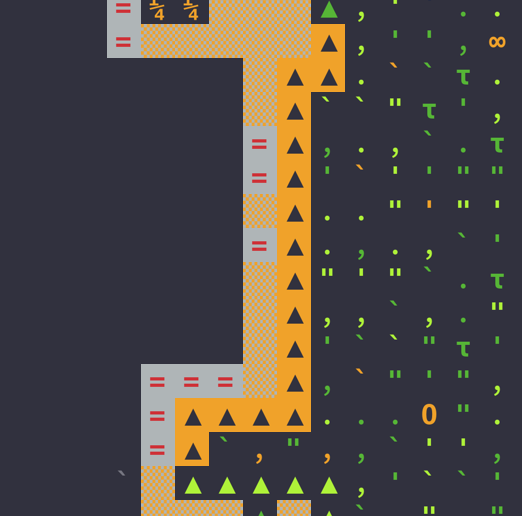
Then I selected a place to start the dig. What I like to do is to remove slopes around that area to clearly and quickly mark it.
This is all planning phase, we& #39;re still paused.
d for "designate"
z to remove up ramps (slope)
mark a rectangle as above
orange is what& #39;s been markd
This is all planning phase, we& #39;re still paused.
d for "designate"
z to remove up ramps (slope)
mark a rectangle as above
orange is what& #39;s been markd
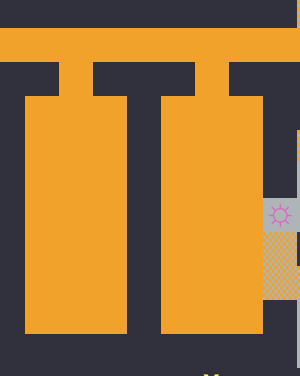
Then designate for mining. You can do smaller, but what I like is a nice decadent 4x10 preambule / cave entry.
Immediately off to the side, space for the trade depot. Entry is 2-wide, and then a space roughly 6x6 or 7x7.
A feature of my fortresses, the entry serpentine. This is a snaking passage that can fit lots of path in a reduced space.
The blue is "marker only" designation, toggle with m, which here I use to lay out an expansion of the tunnel to 2-wide, but only dig 1-wide at this point.
The blue is "marker only" designation, toggle with m, which here I use to lay out an expansion of the tunnel to 2-wide, but only dig 1-wide at this point.
After the serpentine is the vestibule (the 4x4 box), followed by a 2x3 hallway, followed by the main staircase hall (the last 4x4 box).
Important is to start slow. Don& #39;t build a 2x2 staircase over 15 levels straightaway. Ideally this is where it will be, but you might dig around and find some obstacles and it would be a waste.
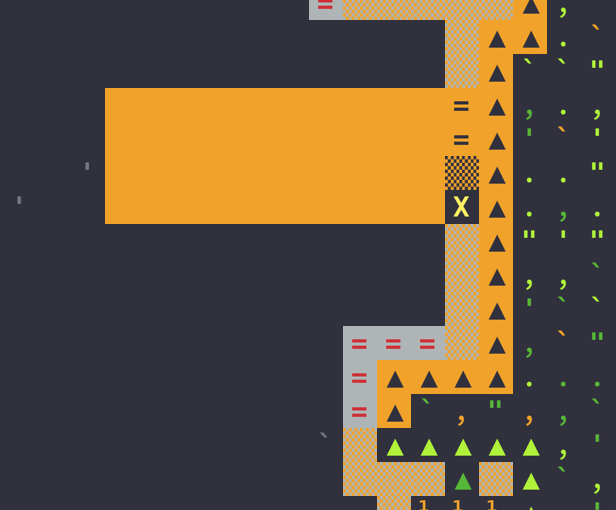
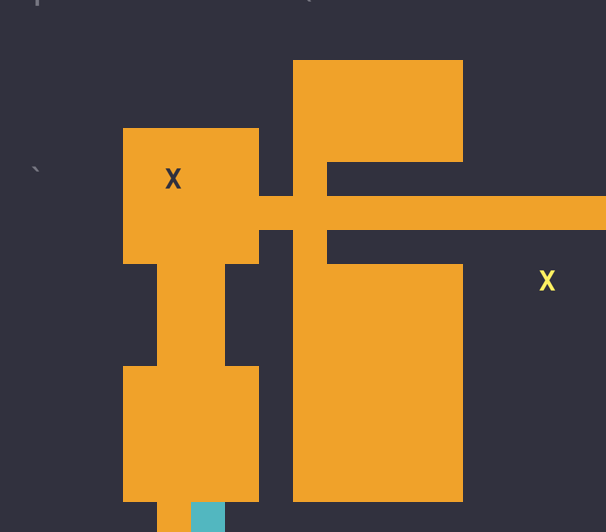
Designate an up/down stair (i), only on this level, 1x1. That& #39;s the x here.
Designate an up/down stair (i), only on this level, 1x1. That& #39;s the x here.
Then place your cursor on it, zoom up some levels (always one below surface if you have that), designate i, hit enter, zoom down some levels, hit enter again.
That creates a 3D designation, 1x1, vertically whatever levels you selected.
That creates a 3D designation, 1x1, vertically whatever levels you selected.
Add a hallway to the side of the main stairwell, add a medium room (about 7x5) and a small room (about 3x5). This will be your meeting hall and the manager& #39;s office respectively.
Then add two long narrow (3-wide) rooms. These will be your initial and overflow dorms. ALWAYS keep dorms at least 15 blocks away (in 3 directions) from any workshop, and prefer not to mine or have pathways nearby either (to keep noise levels comfortable).
Actually those dorm doors are badly placed, so use x to remove the designation, and d again to mine them in the right place.
To the left of the corridor will be stockpiles. To the right, industry.
First up is food prep, production, and storage.
Left: small storage area. Food stacks in bins, lots of food fits in little space. Open access / no doorway.
Right 1: farm+prep
Right 2: dwarven airlocked room
First up is food prep, production, and storage.
Left: small storage area. Food stacks in bins, lots of food fits in little space. Open access / no doorway.
Right 1: farm+prep
Right 2: dwarven airlocked room
What I call a dwarven airlock is this construction with diagonal passage: beings, creatures, and liquids can pass through, but miasma (airborne disease clouds) cannot. Miasma is a big risk around food prep, so airlocking is a simple way to contain any spread.
Leave some breathing room and add a big space. This will be the main workshop floor. I like to do open space, it saves on digging individual rooms.
Initial stockpile. I like to do a layout like this that is mostly open space with clear wall for demarcation, and plenty of movement space. You can be a lot more conservative.
You& #39;ll want 2 large and 4 medium sized piles.
You& #39;ll want 2 large and 4 medium sized piles.
That& #39;s it for mining. Final step is to designate the entire front lawn once as plant gathering (p), and another time as tree cutting (t). That will keep you well stocked in wood and food for at least a few seasons.
With that, you can hit space to unpause and watch your dwarves get to work.

 Read on Twitter